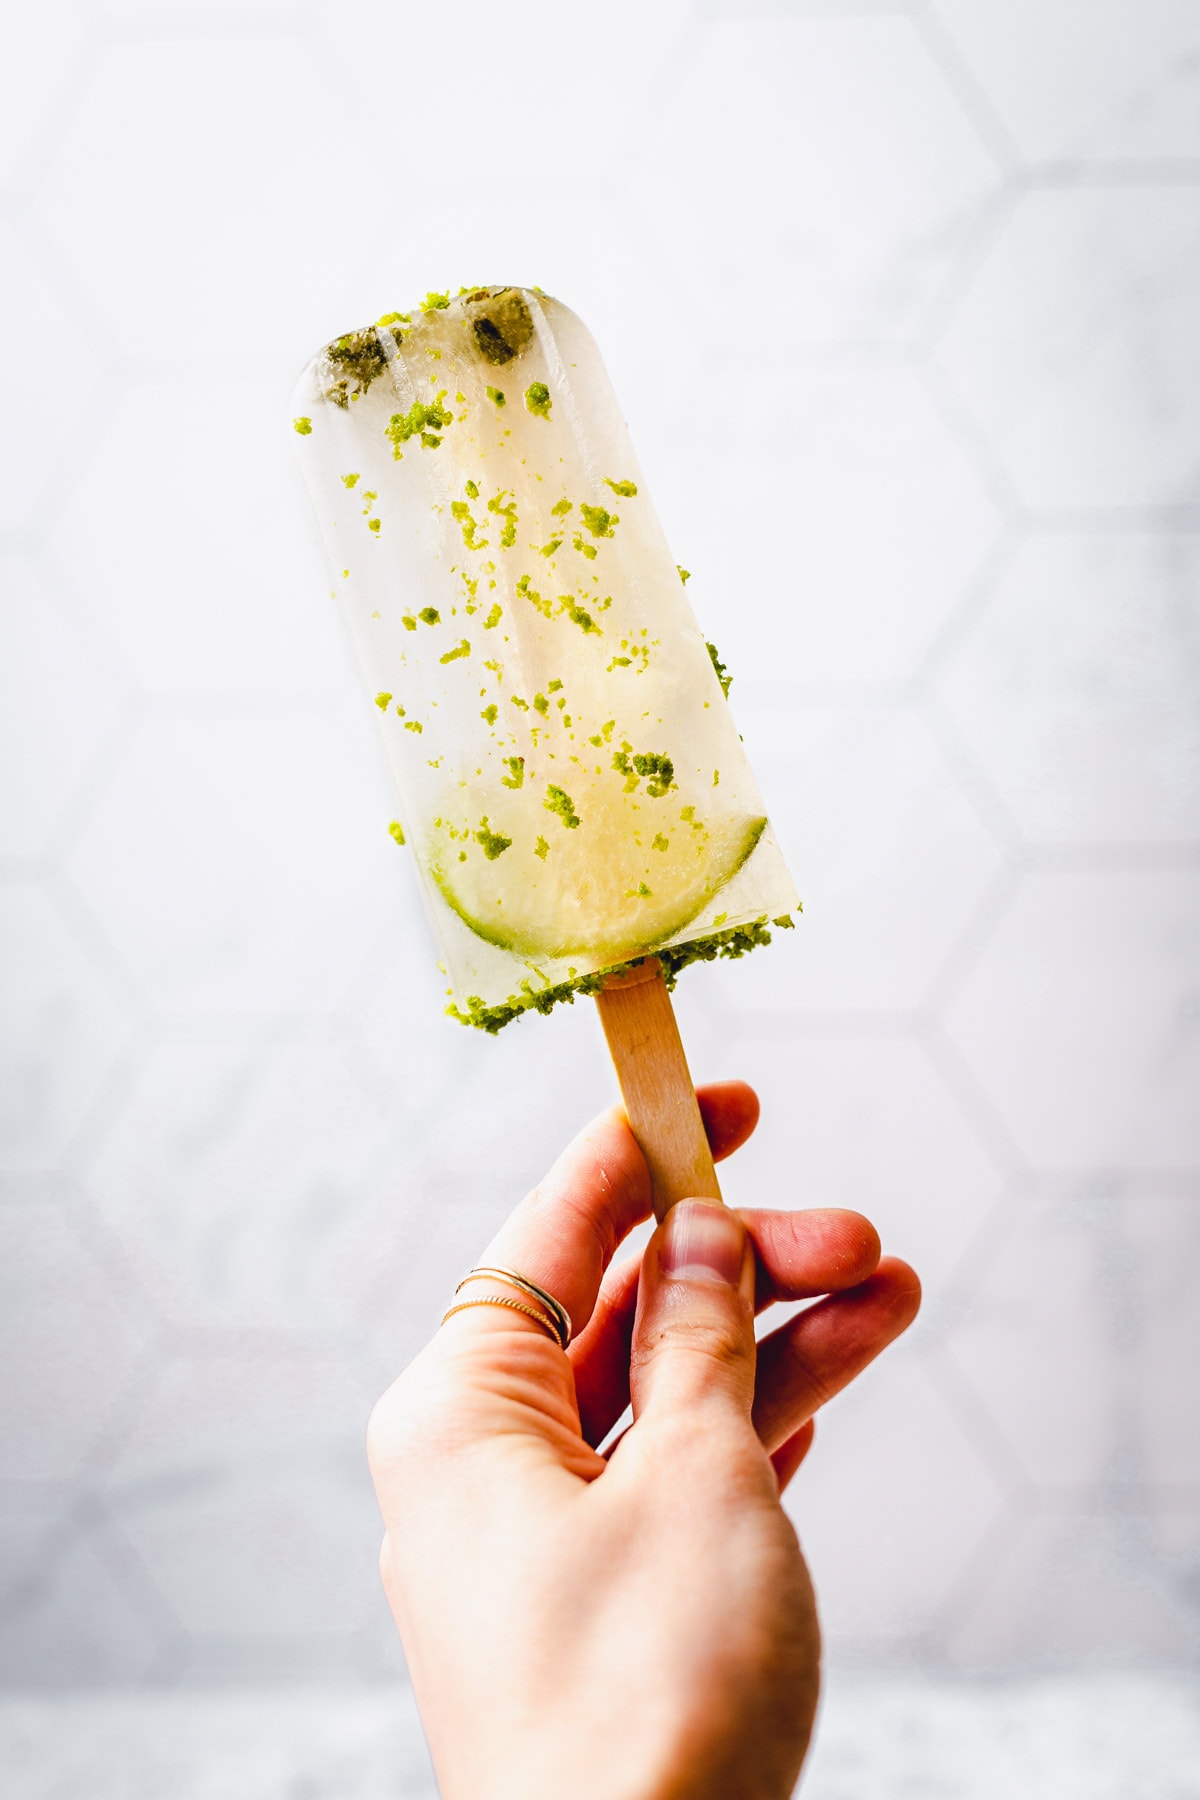
Refreshing, zingy and icy lime popsicle with a hint of mint and lemon. 4 ingredients only, low in sugar, customisable and super easy to make.
Why This Recipe Works
- Looks good and tastes even better
- So easy to make
- Super unique flavour
- Just 4 (!) ingredients needed
- With a hint of refreshing mint
- A playful combination of lime & lemon
- Can be made in big or small batches
The Ingredients
You’ll need to put the following ingredients on your shopping list.
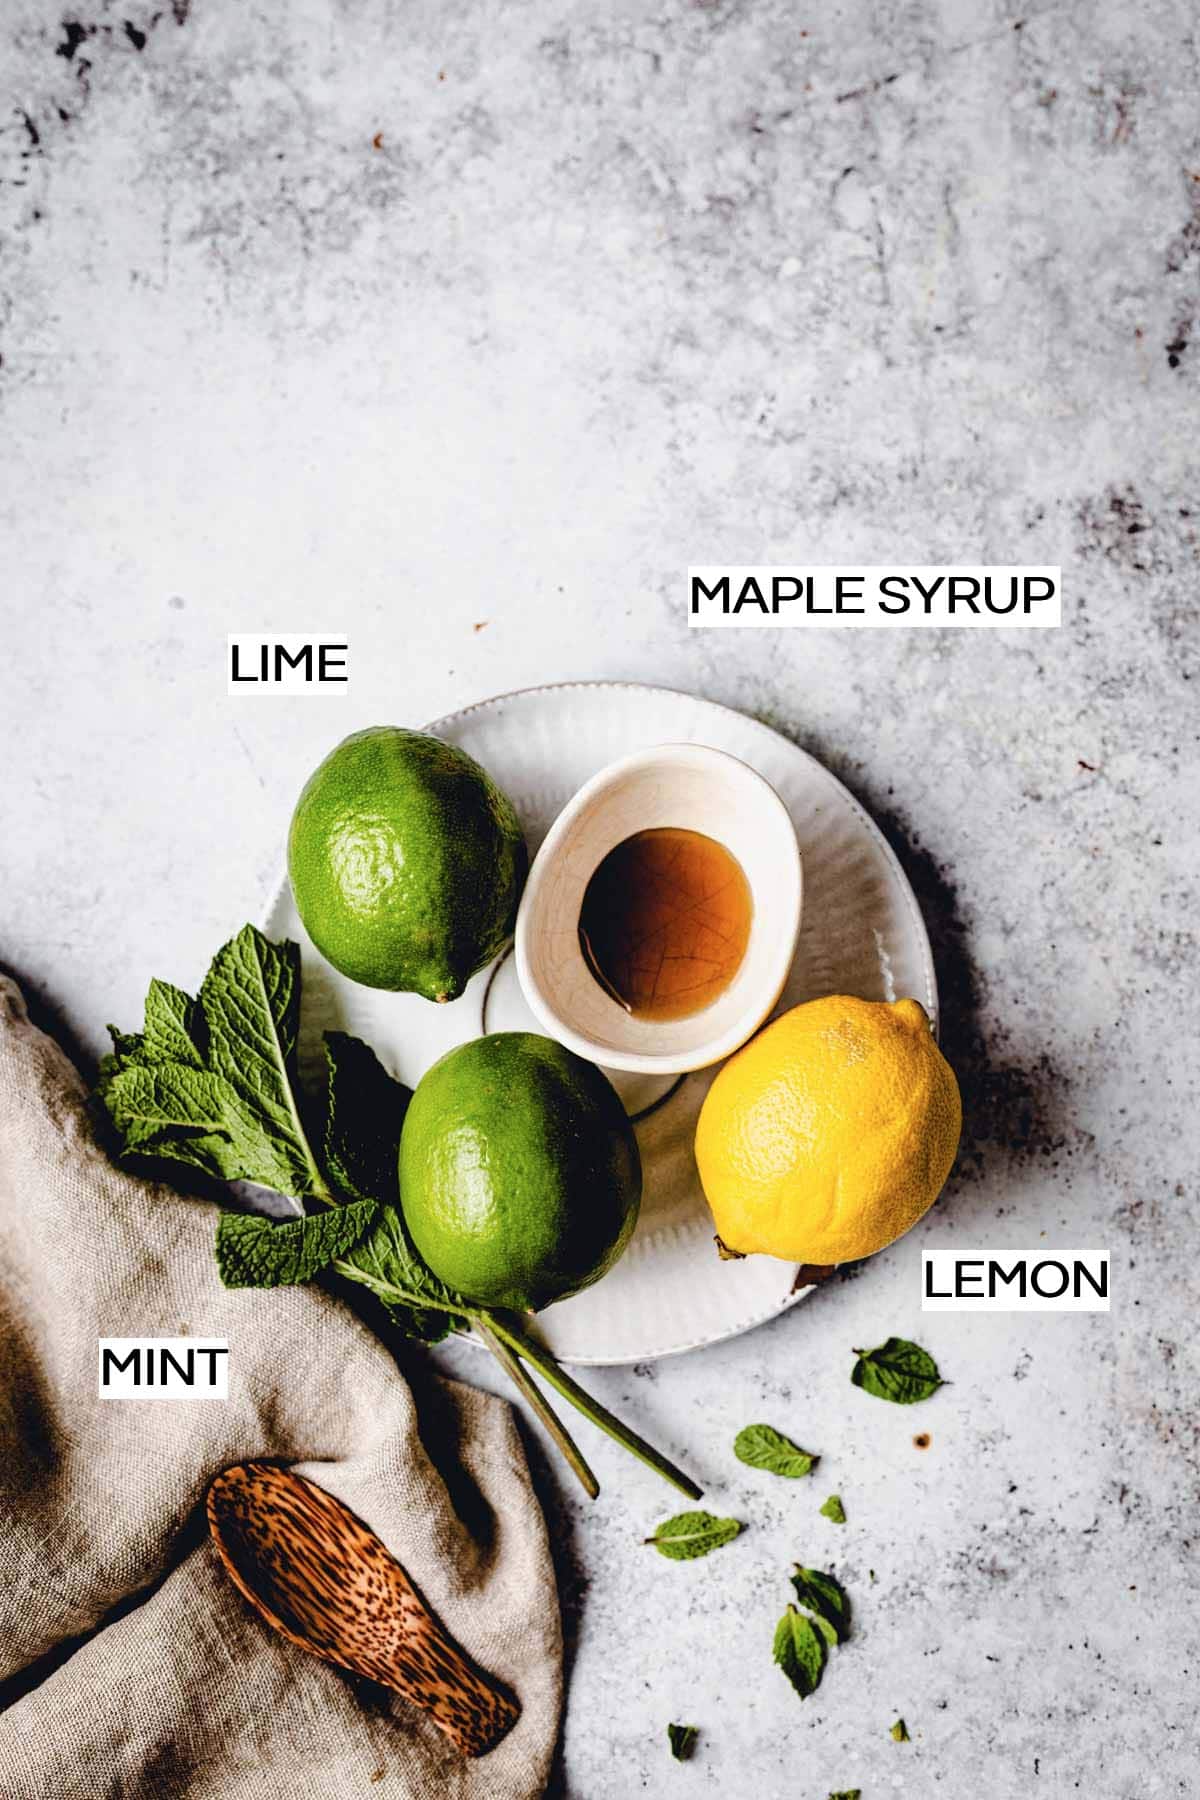
A couple of more notes regarding the ingredients.
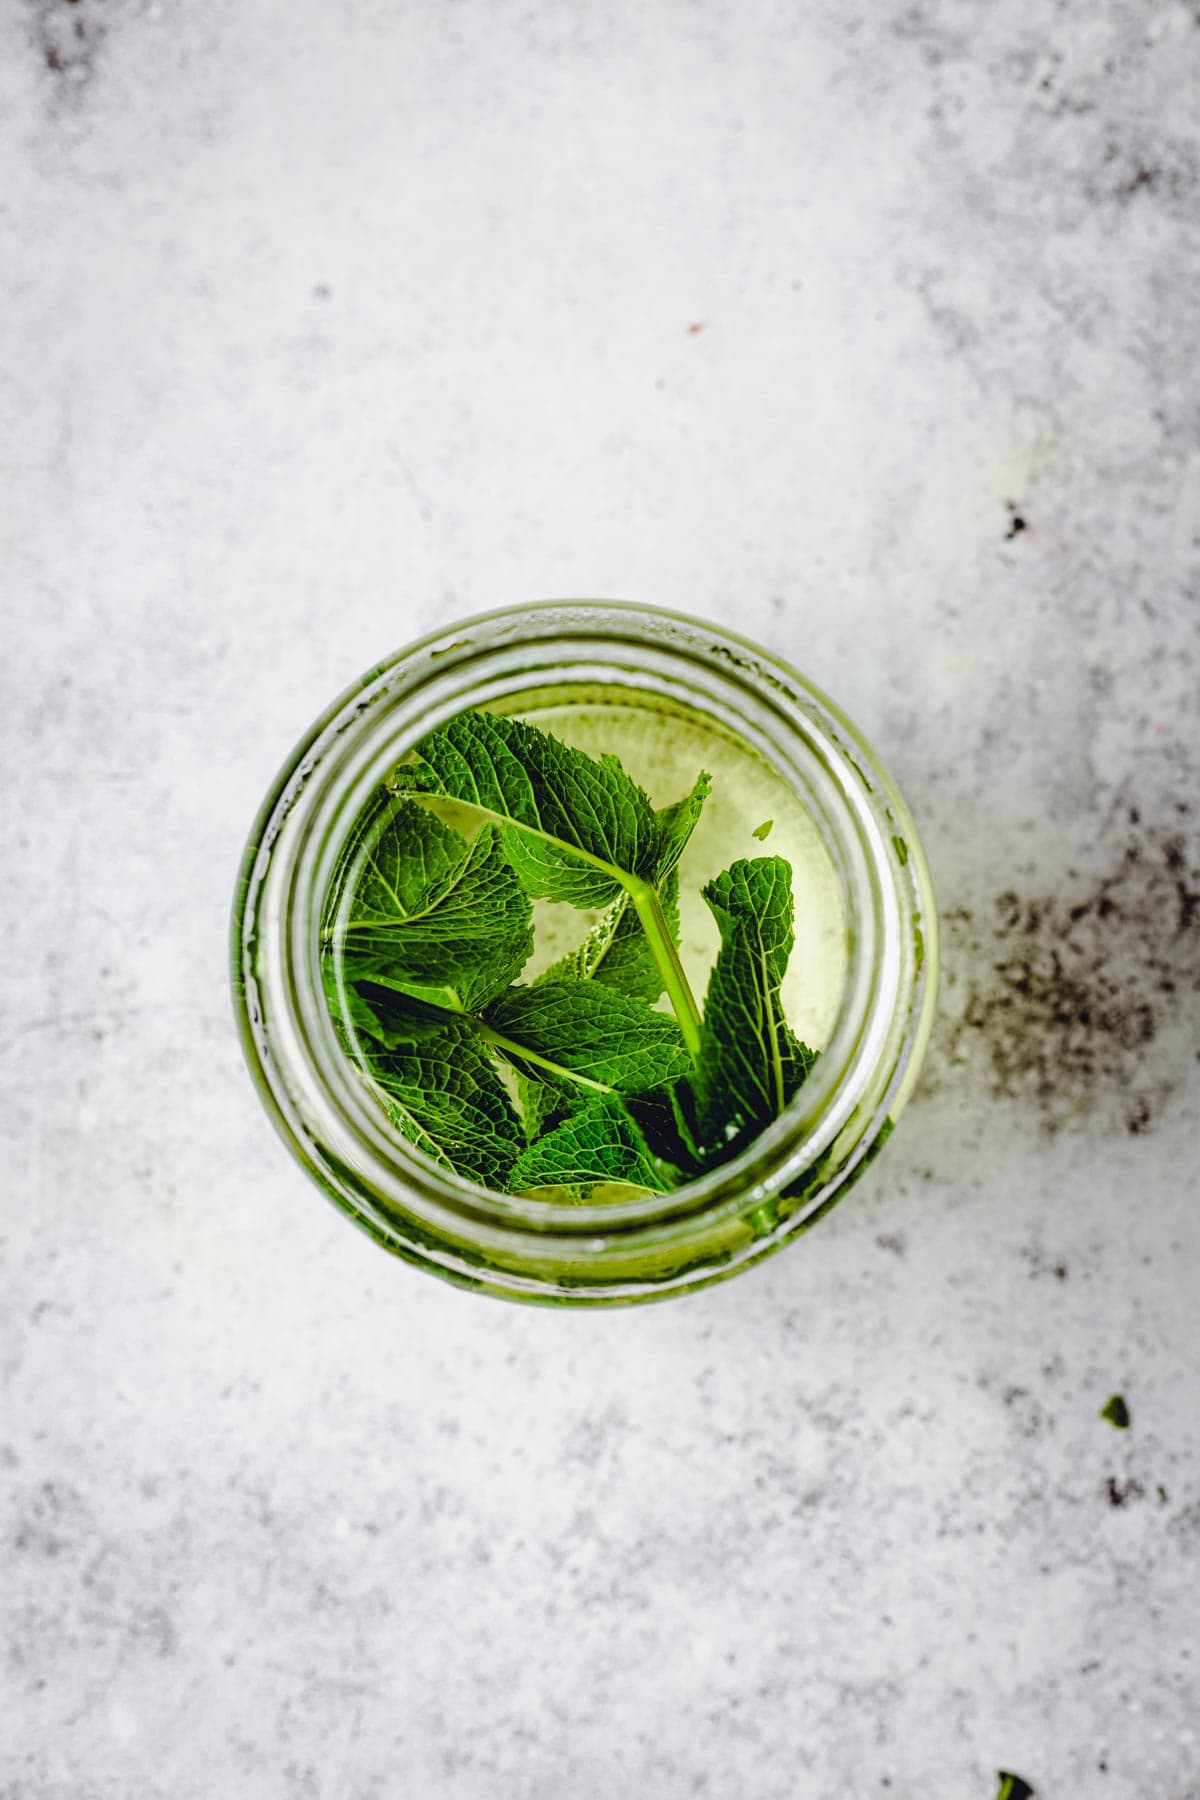
Mint: I decided to use fresh mint, but you can substitute that for bags of mint tea from the supermarket.
Maple syrup: I used maple syrup to sweeten these popsicles. This can easily be substituted for a different sweetener of your choice. Try to stick to liquid sweeteners such as agave nectar as opposed to sugar.
Step-by-step Photos
Never made popsicles before? Don’t worry. This recipe is super easy and you practically can’t go wrong if you follow the visual guide below.
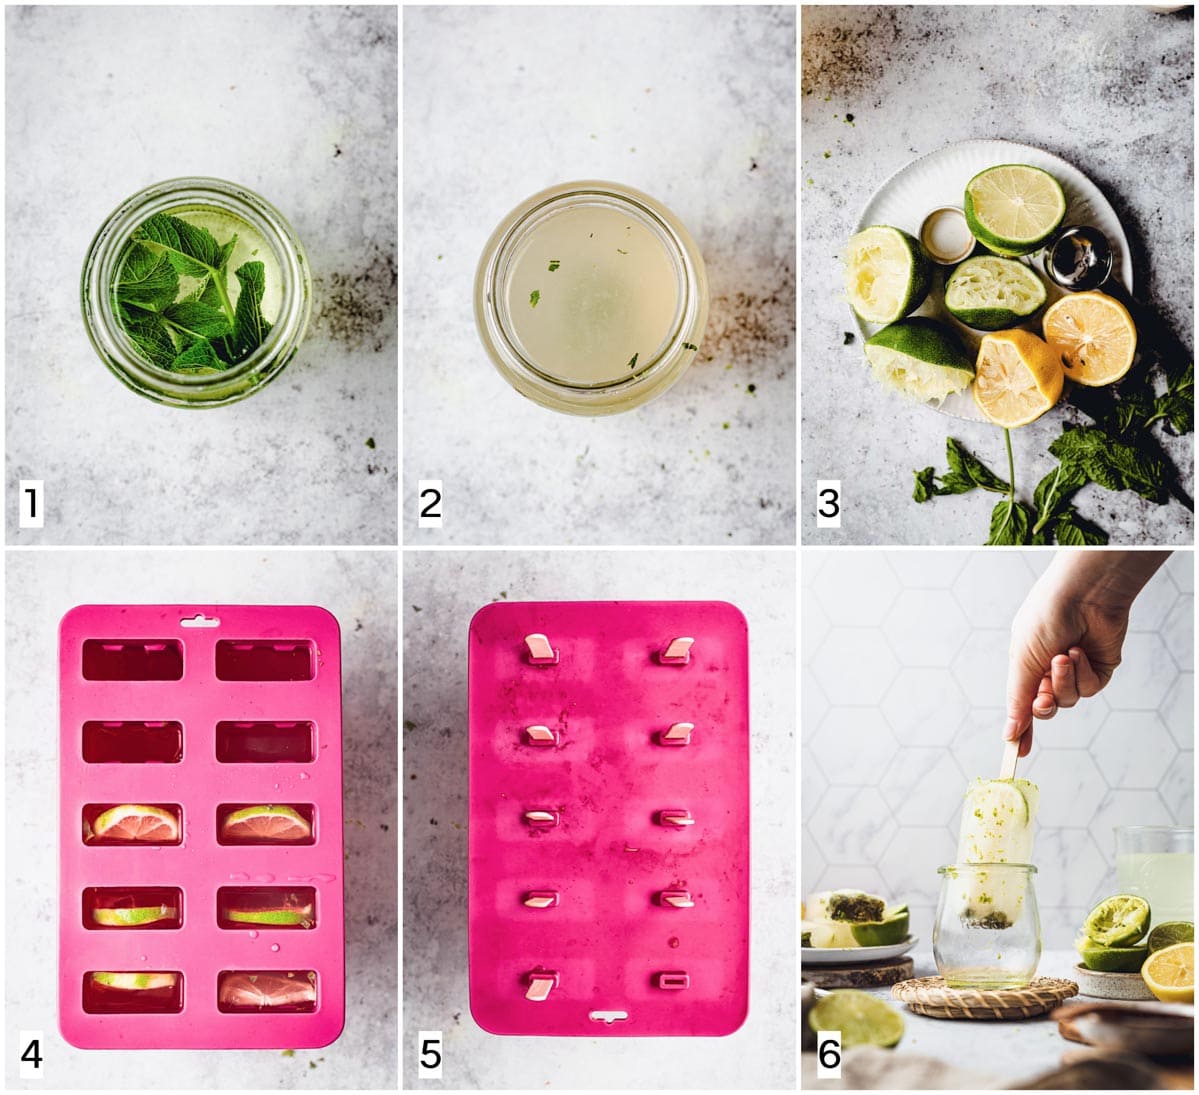
- Make mint tea by combining boiling hot water and mint leaves. Stir and let steep for 5 minutes.
- Add lime, lemon and maple syrup to your mint tea. Stir well.
- Add in some lime or lemon zest if desired.
- Strain and pour into your popsicle moulds, making sure you don’t fill it all the way to the top. The liquid will expand as it freezes so leave a little bit of space on top.
- Cover and freeze for about 8 hours.
- Run under warm water before taking out of the mould. Enjoy!
Expert Tips
1. Wait approx. 8 hours
I recommend waiting for approx. 8 hours before removing the popsicles from the freezer and eating them. This will ensure that they are properly frozen.
2. Use warm water to remove
Popsicles are known for being a little bit tricky to remove from their moulds. But don’t worry, my expert tips will help you out.
Firstly, make sure to follow step 1 described above and wait until the popsicle is properly frozen.
Secondly, before trying to pull out your popsicle from the mould, run it under warm (but not super hot) water. This will help release it from the mould, making it considerably easier for you to remove.
3. Serve over ice
If you’re anything like me, you’ll want to eat these delicious popsicles as soon as you’ve removed them from the mould.
However, if you want to impress your guests and loved ones, grab a large tray and fill it with plenty of ice (preferably slightly crushed ice). You’ll need to use a tray that’s at least slightly deep and not completely flat as this would make it difficult to carry without dropping some of the ice.
Once you’ve filled your tray with ice, place your popsicles on top, making sure the popsicle surface is touching the ice.
If you want to go a step further, you can sprinkle the popsicles with some thinly chopped mint leaves or grated lime zest.
F.A.Q.
In my experience, it takes at least 8 hours to freeze them properly.
If you’re not a fan of super icy and hard popsicles, you will need to add more sweetener.
I have tried everything from hard plastic, aluminium and silicone moulds and can confirm that silicone moulds are my absolute favourite. The popsicles are considerably easier to remove when using a silicone mould.
Not. In fact, hot water can freeze faster than cold water (source). This means there’s absolutely no need to wait for the water to cool down.
Simply pour them into your moulds and stick straight into the freezer, even if the water is still hot.
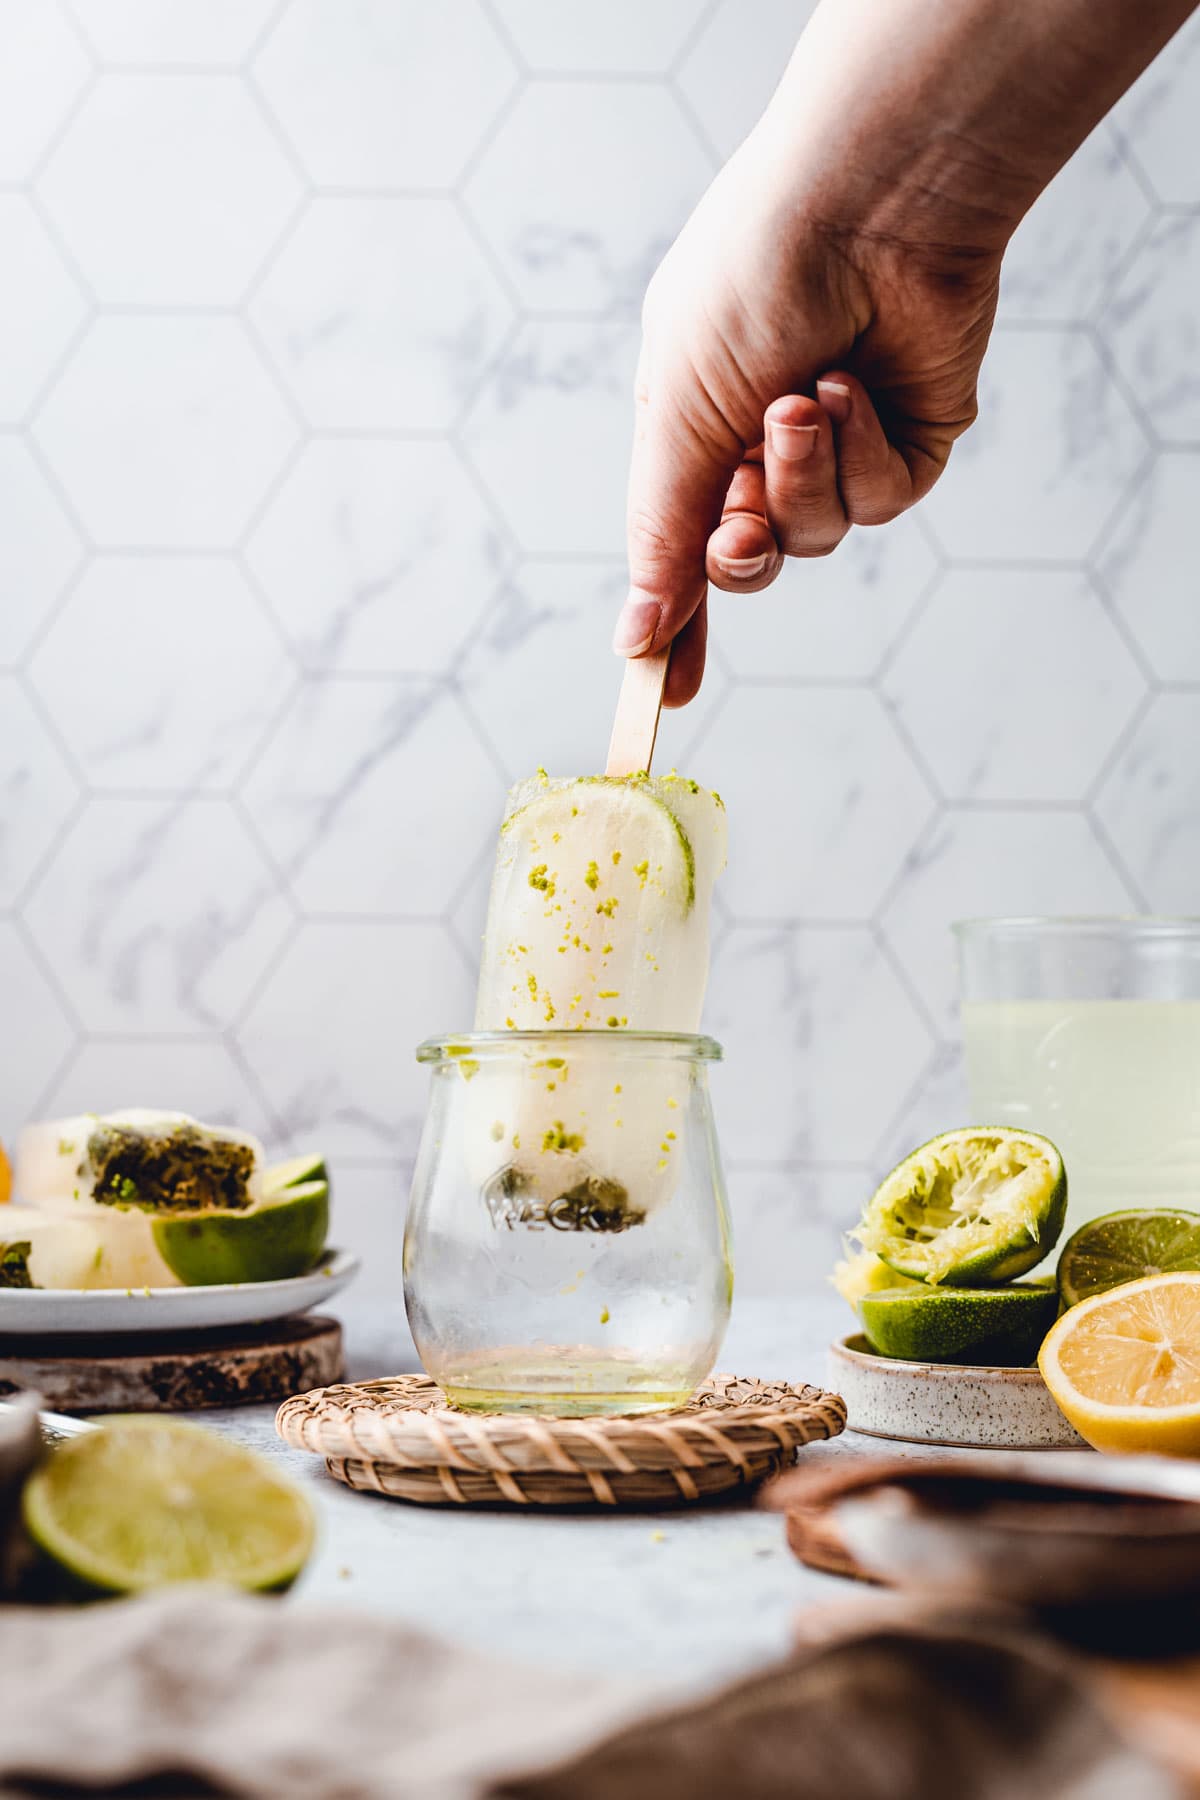
You’ll see that in some of the images above, I have added a very thin slice of lime to the popsicles. Did I do this to make the images look better? Yes! Would I do it again? Not really.
This recipe has been tested several times and I can confirm that adding whole pieces of fruit didn’t make it any better. In fact, a large piece of fruit actually made them more difficult to eat.
If you enjoyed my lime popsicle recipe, I’ve got some more lovely summer recipes in store for you. Check out my delicious iced latte, chocolate milkshake or refreshing iced chai latte (all vegan). Feel free to check out my full desserts section here.
Liked my lime popsicle recipe? Please consider leaving a review or comment below - this helps me run this blog and make My Vegan Minimalist a more helpful community overall. Thank you!
🍴Recipe
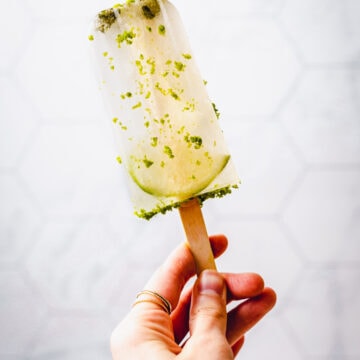
The Best Lime Popsicle
Equipment
- Popsicle moulds
Ingredients
- 3 tablespoon lime
- 1 teaspoon lemon
- 2 tablespoon maple syrup can be substituted with a different sweeneter
- 12 mint leaves or substite for 3 bags of mint tea
Instructions
- Make mint tea by combining 800 ml (equals 3 ⅓ cup) boiling hot water and mint leaves. Stir and let steep for 5 minutes.
- Add lime, lemon and maple syrup to your mint tea. Stir well.
- Add in some lime or lemon zest if desired (adjust according to taste).
- Strain and pour into your popsicle moulds, making sure you don’t fill it all the way to the top. The liquid will expand as it freezes so leave about 0,5 cm of space on top.
- Cover and freeze for about 8 hours.
- Run under warm water before taking out of the mould. Enjoy!
Notes
- If using mint tea bags instead of fresh mint leaves, follow the exact same recipe but substitute fresh mint for teabags. I use 3 mint tea bags to ensure a strong flavour.
- I recommend waiting for approx. 8 hours before removing the popsicles from the freezer and eating them.
- Trying to remove your popsicle? Before trying to pull out your popsicle from the mould, run it under warm (but not super hot) water. This will help release it from the mould, making it considerably easier for you to remove.
- You can add a very thin slice of lime to your popsicle before freezing. This will create a beautiful visual effect, however, it's going to be harder to eat the popsicle.
Nutrition
Disclaimer: The nutritional information above is calculated automatically. The author of this post cannot guarantee 100% accuracy of this data.



Leave a Reply