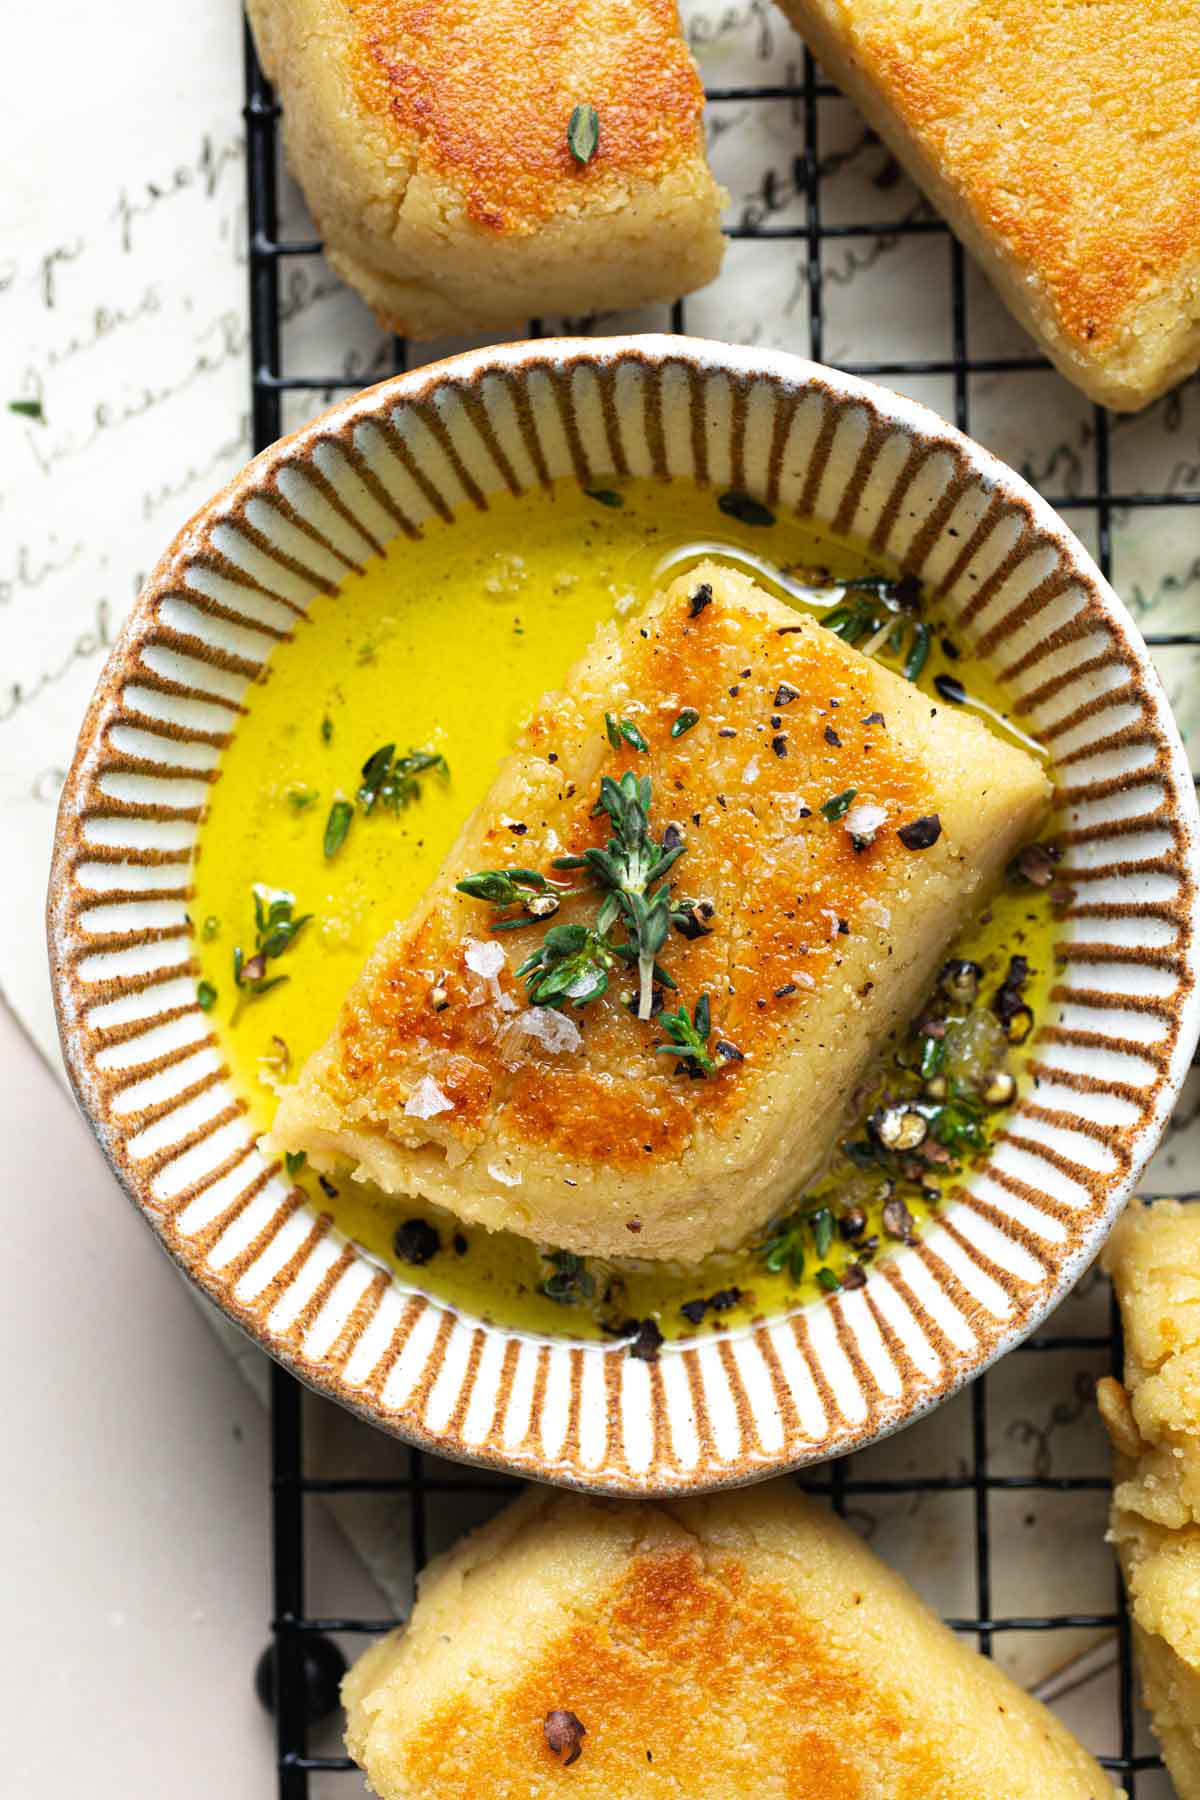
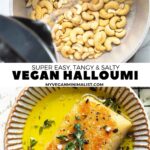
This vegan halloumi cheese is a fun dairy-free alternative based on cashews. Surprisingly easy to make, this vegan cheese is tangy, salty, chewy, and SO versatile! If you're a cheese lover embracing a plant-based diet, this one's for you!
After my vegan burrata recipe went viral and became my most popular blog post, I explored vegan cheeses further and created this vegan halloumi alternative. This salty cheese is perfect on everything from a Greek salad to pasta, sandwiches, and even pizza. Let's dive in!
Jump to:
💌 Why I Love This Recipe
- Uses protein-packed cashews
- Simplified recipe
- Great texture
- It can be grilled, fried, baked
- Easy to customize to taste
- No coconut oil needed
- Serve it hot or cold
It also pairs well with a variety of comfort foods like pasta, pizza, sandwiches, and grilled dishes.
🛒 Main Ingredients
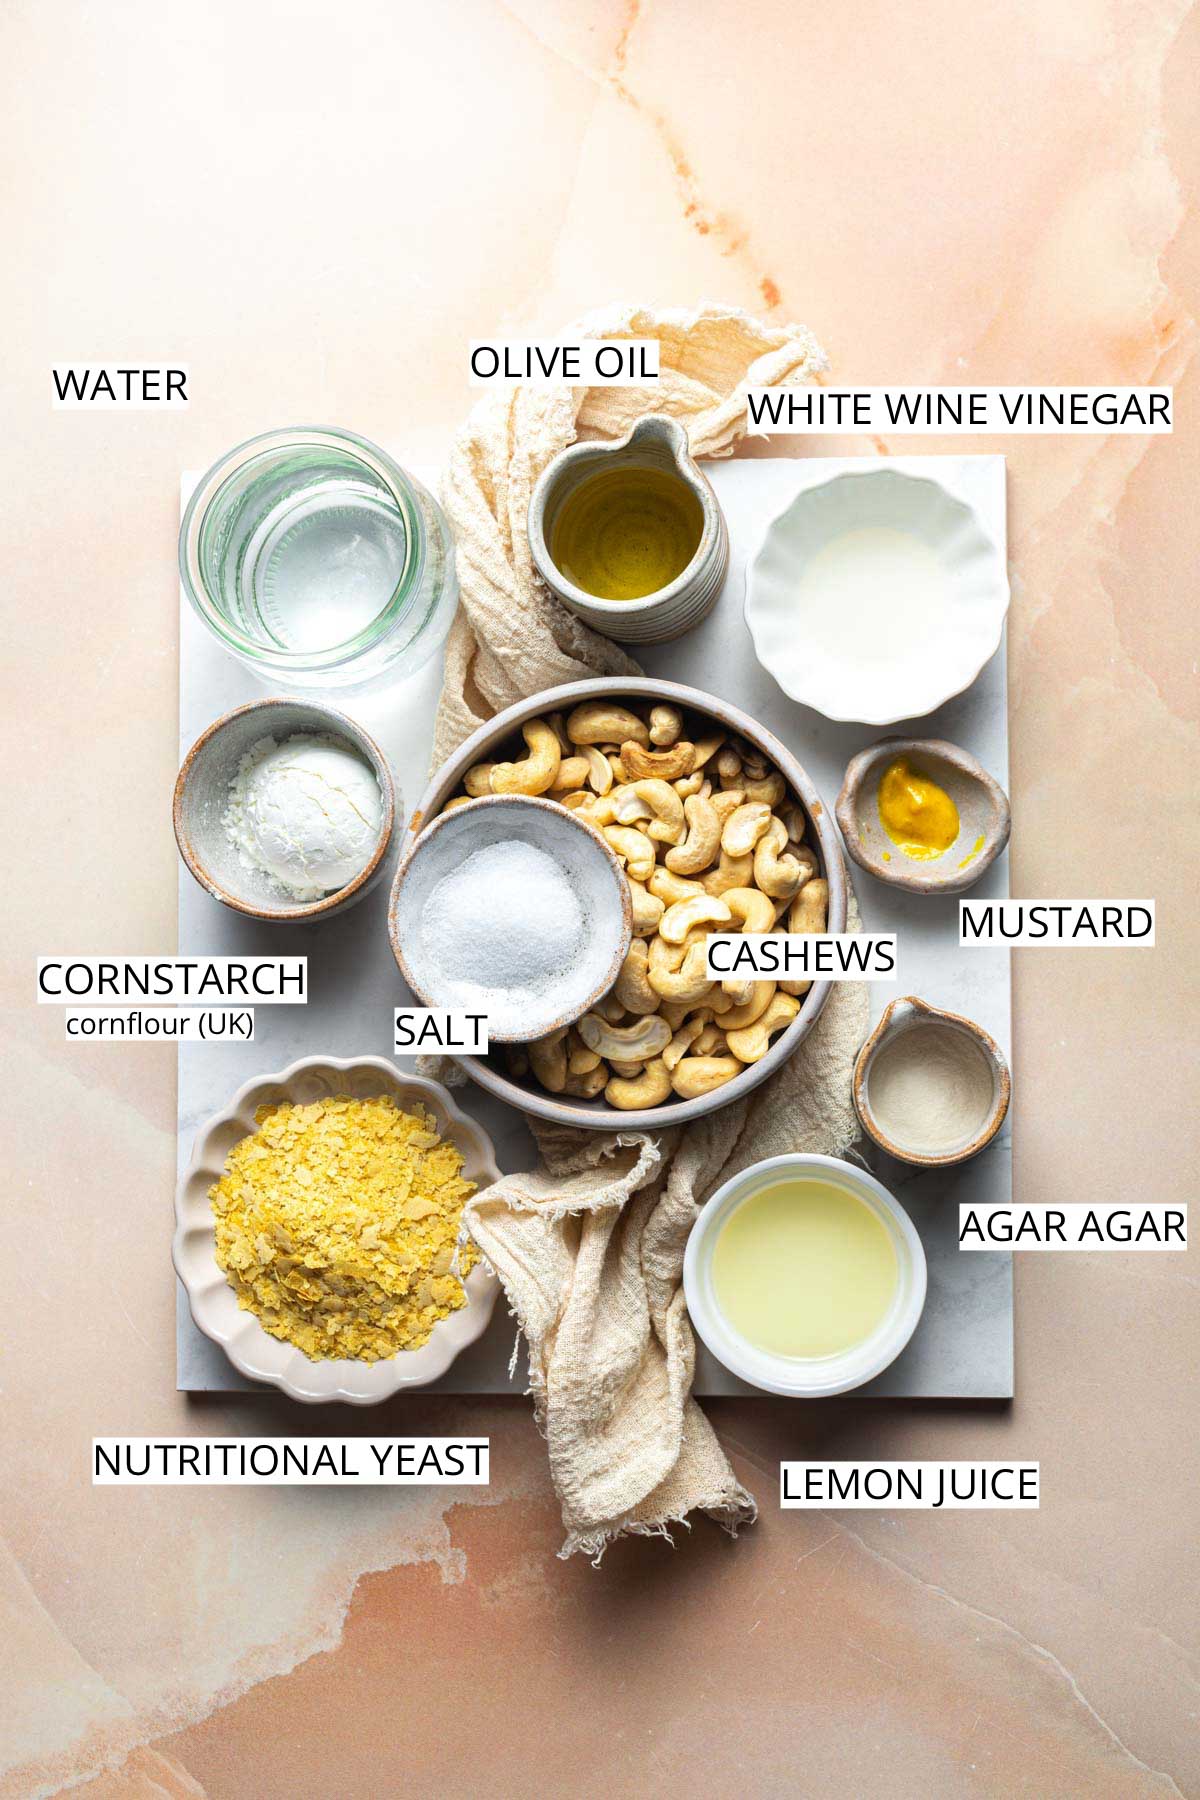
- Raw cashews: Provide a rich and creamy base for this halloumi.
- Lemon juice: I recommend freshly squeezed lemon juice to mimic the tanginess of traditional halloumi.
- Light Olive Oil: Adds a hint of flavor, helps achieve a crispy exterior, and seals in moisture.
- White Wine Vinegar: We'll add a tiny amount to provide acidity and balance the flavors. You can use apple cider vinegar instead.
- Nutritional Yeast Flakes: Add a cheesy flavor to the halloumi.
- Agar Agar: This is a vegan gelling agent you might have to buy online or in specialist stores. Ensure you are using agar agar (sometimes called agar powder) and NOT agar flakes (they are not the same).
- Cornstarch: helps thicken and bind the ingredients together. It's usually found in the baking section of grocery stores.
- Dijon Mustard: Adds a sharp, tangy flavor. I've also tried this recipe with English mustard which I found too overwhelming.
You'll also need sea salt and cold water.
Why two different thickening agents? It might sound like a lot. To try to mimic the real thing, I've tested close to 10 variations of this recipe and found that a combination of cornstarch and agar agar works best.
🍴 Equipment
- Food processor or high-speed blender
- Non-stick pan
- Shallow dish (like a Tupperware or Ikea box)
- Frying pan
👣 Step-by-Step
Hint - This is a quick visual overview of my vegan halloumi recipe. If you prefer to skip this and not read my tips & FAQ, just read the recipe card at the bottom of this page.
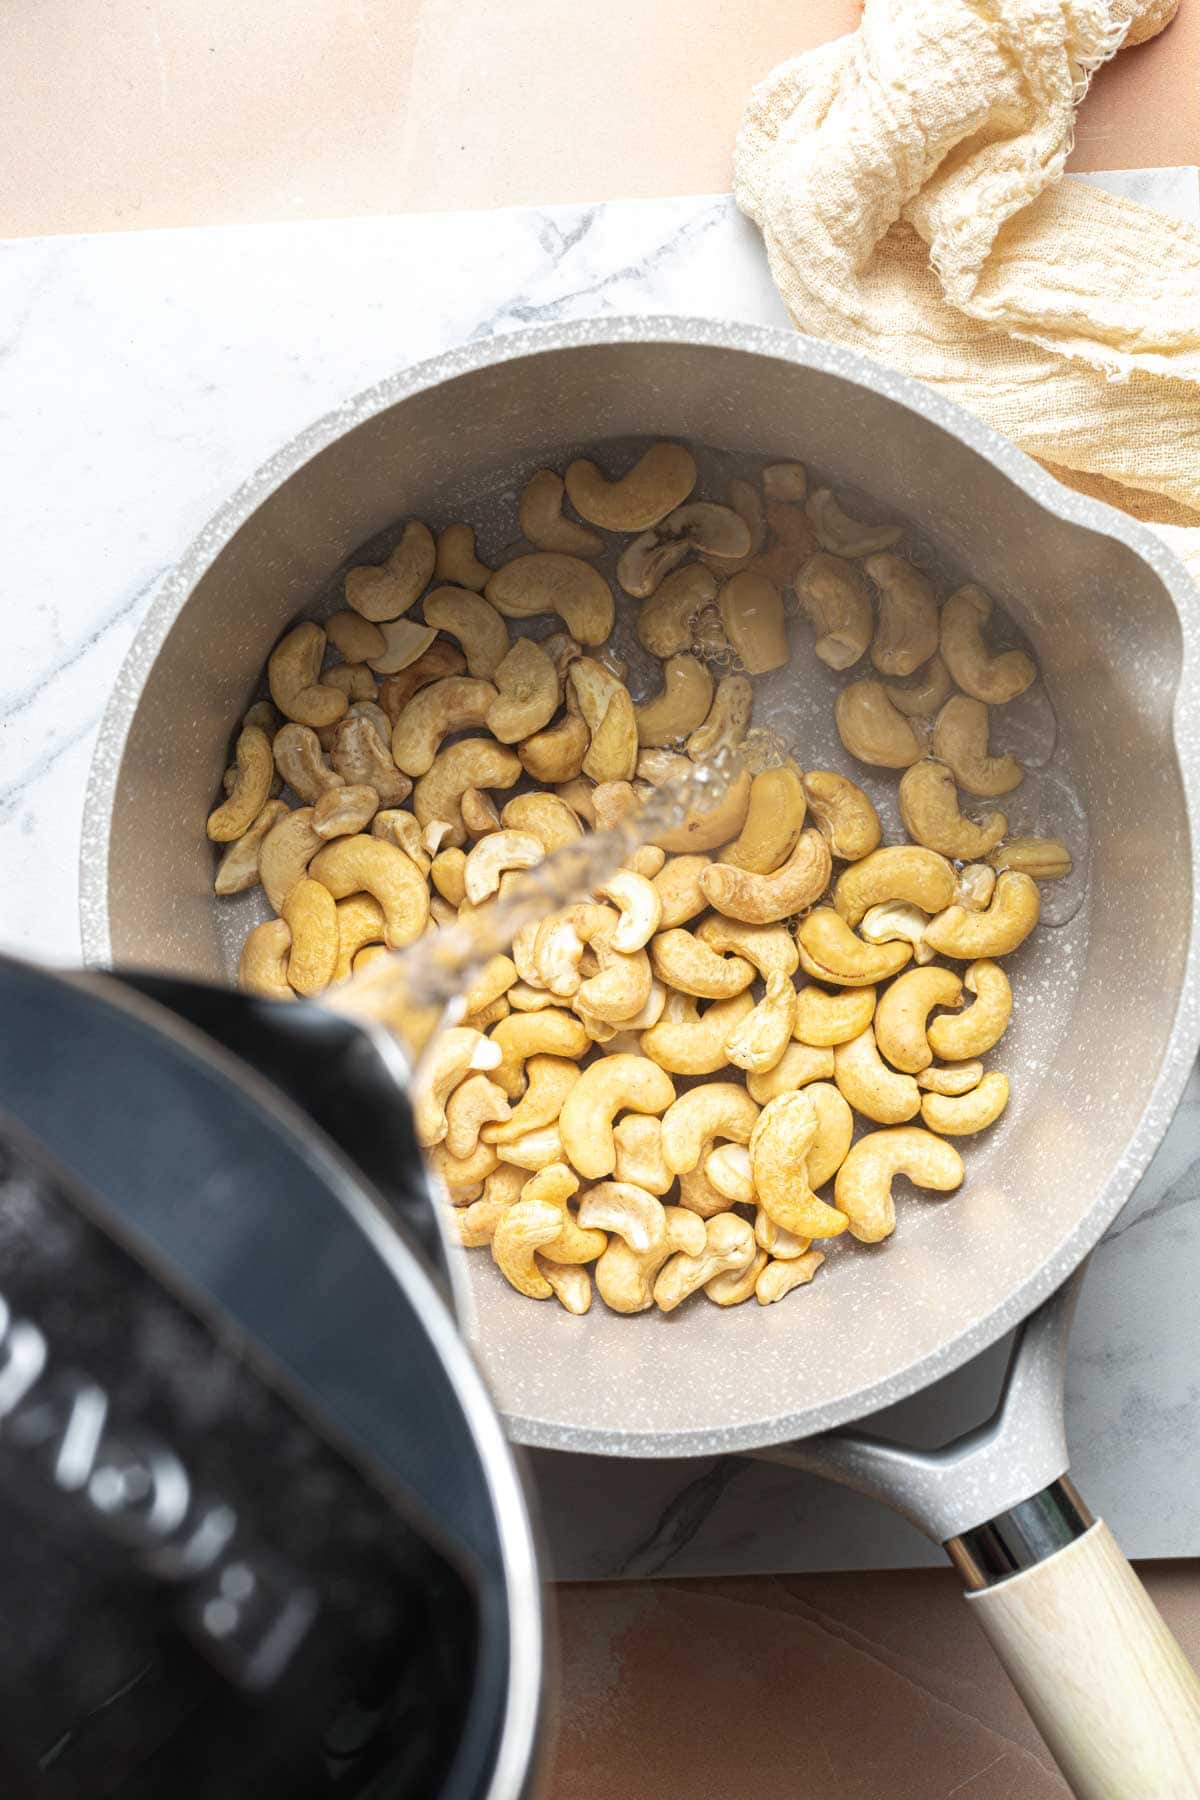
Boil cashews. Add cashews to a medium pan. Add boiling hot water. Boil for 15 minutes to soften. Drain well.
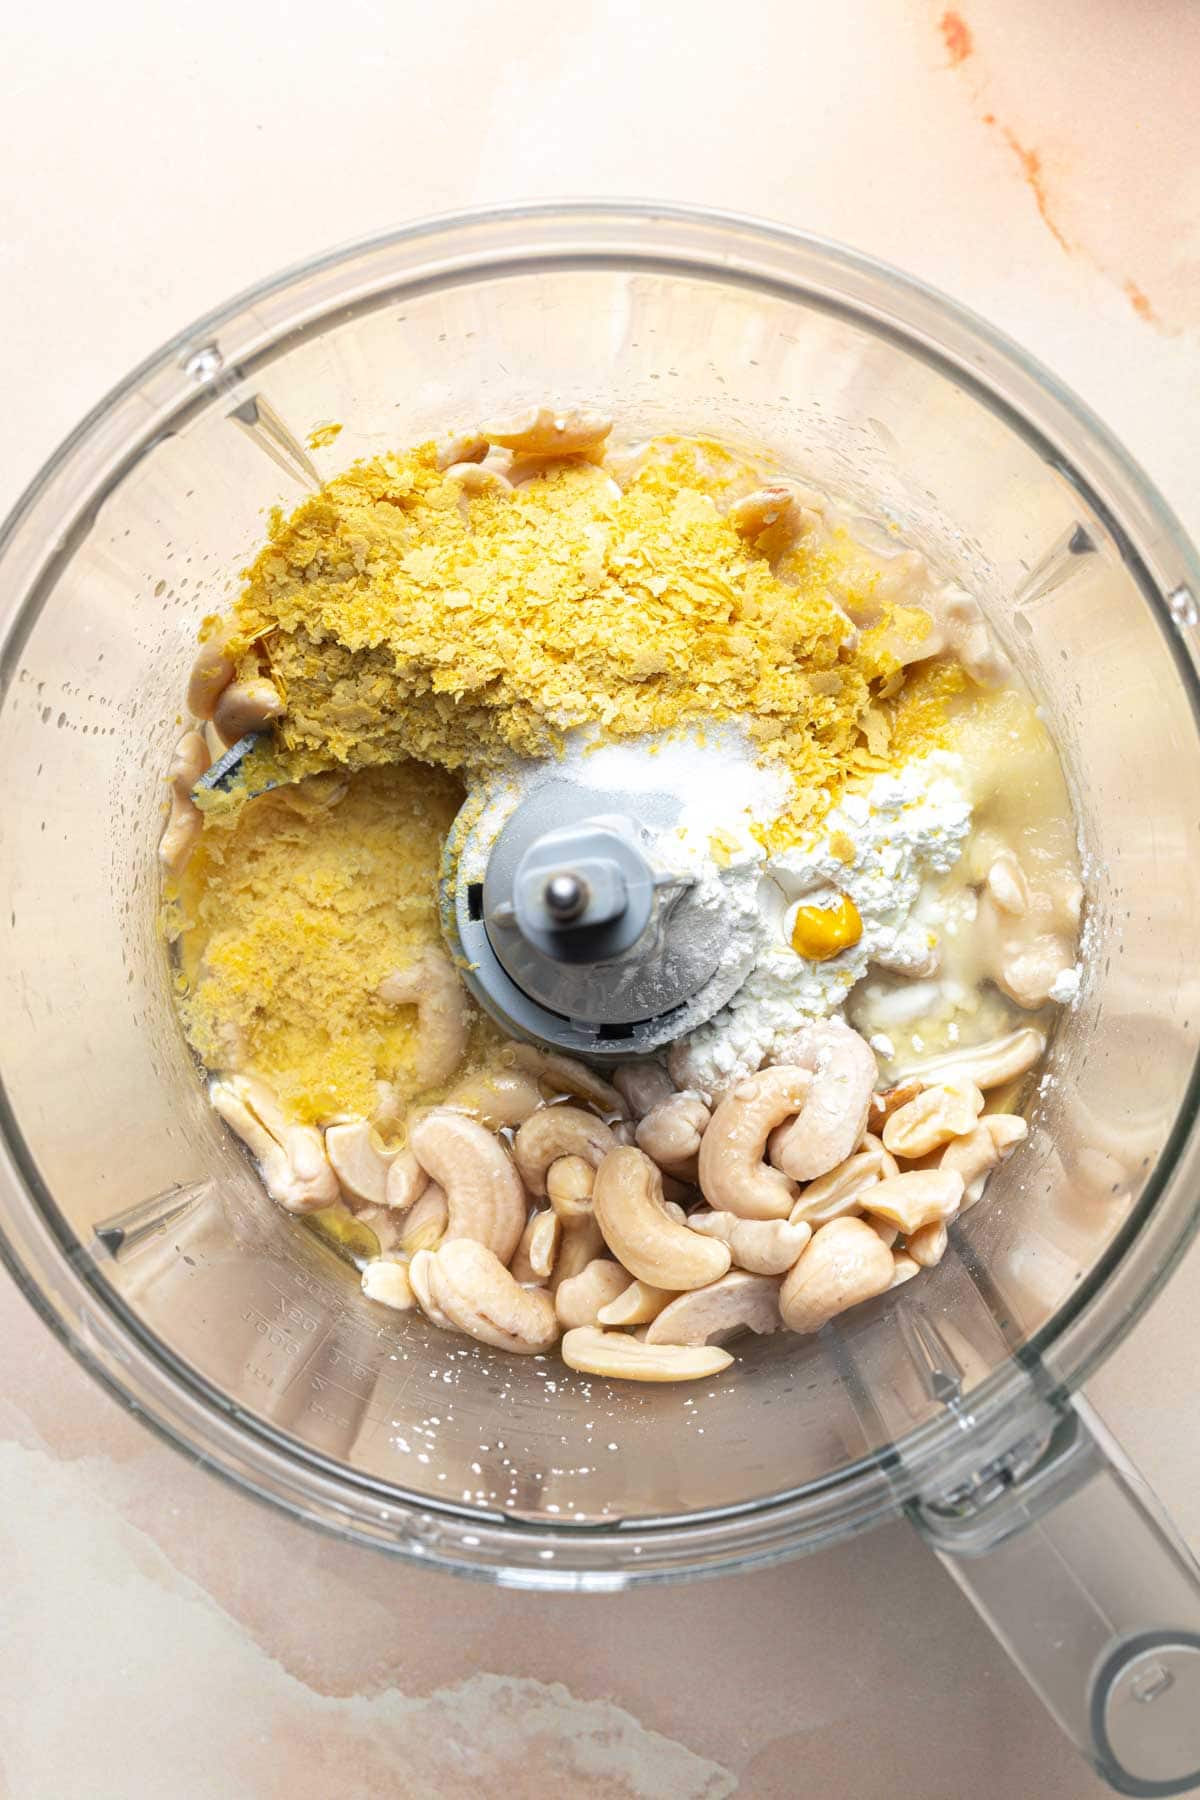
Add. Add boiled cashews and the remaining ingredients to a blender or food processor.
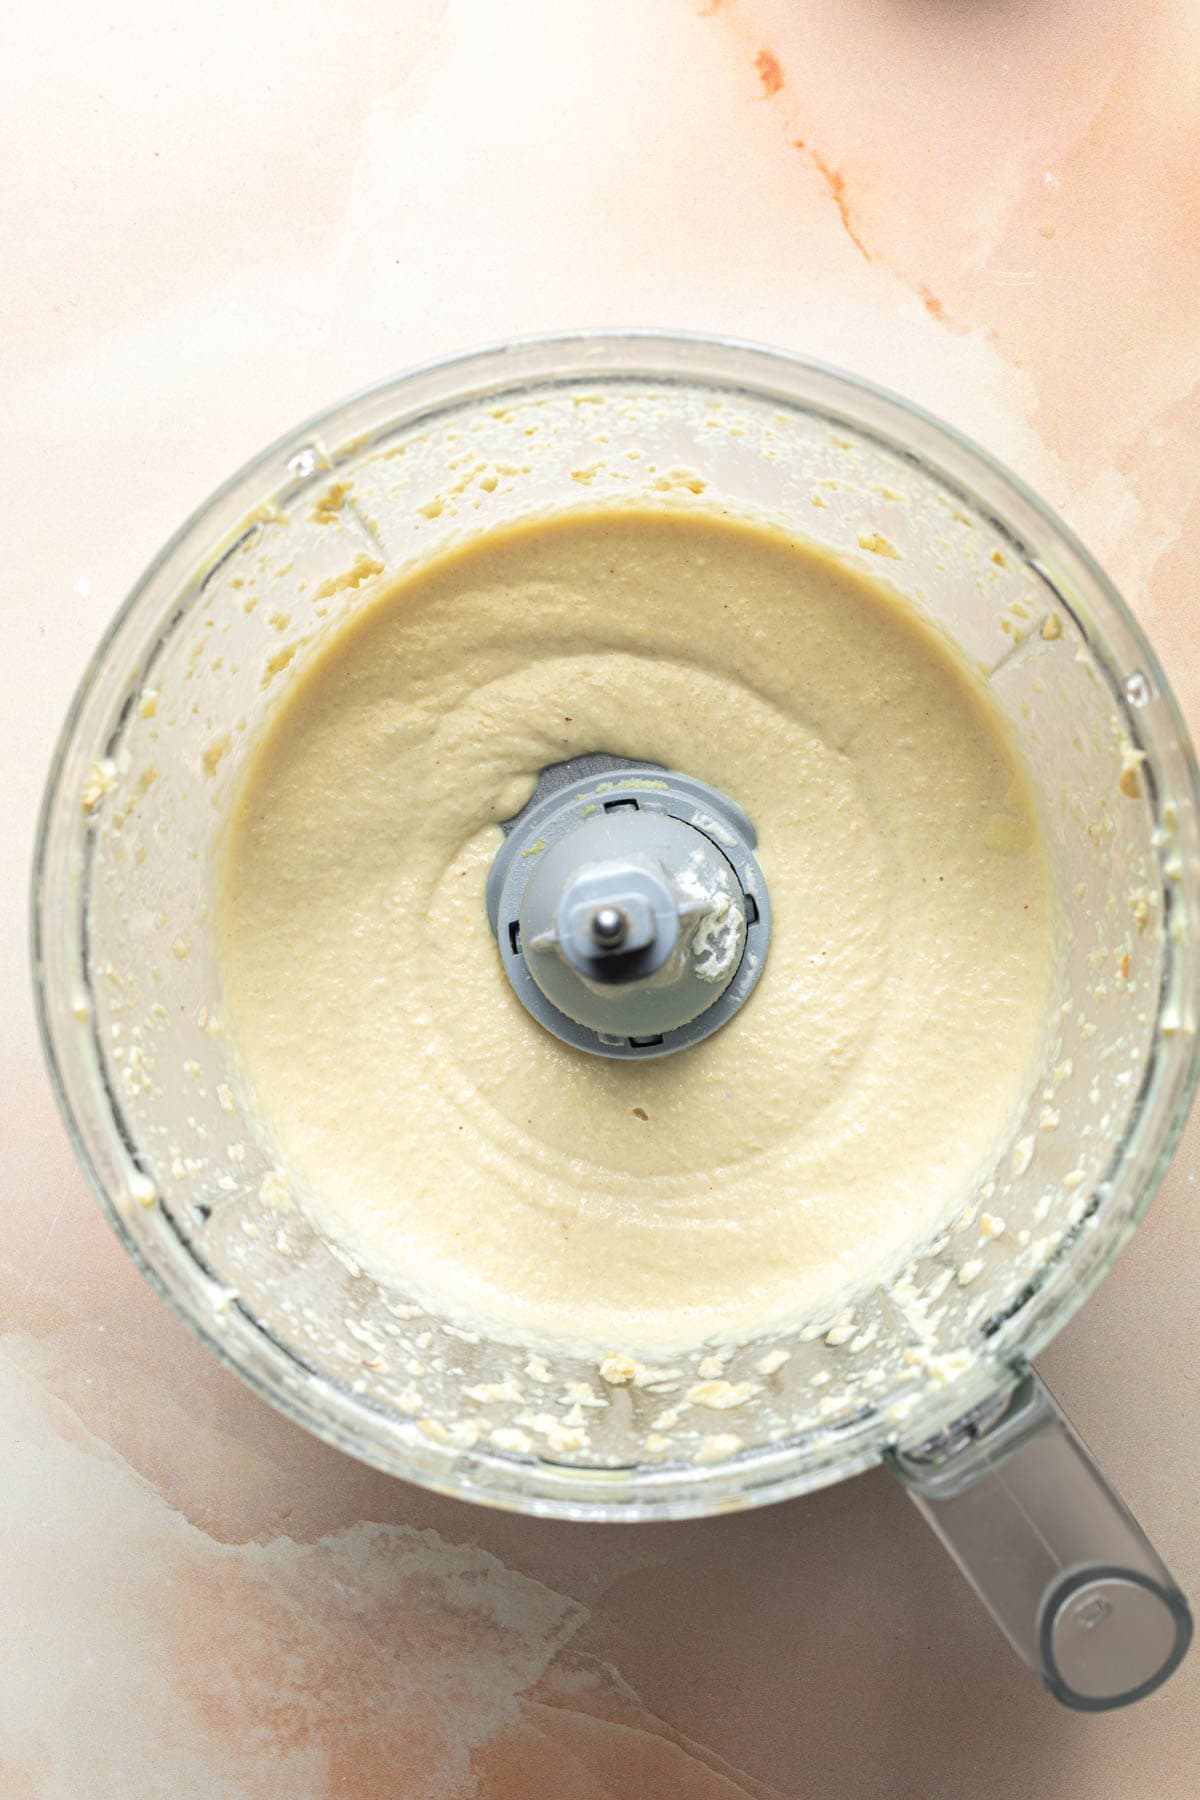
Blend. Blend on high speed until completely smooth.
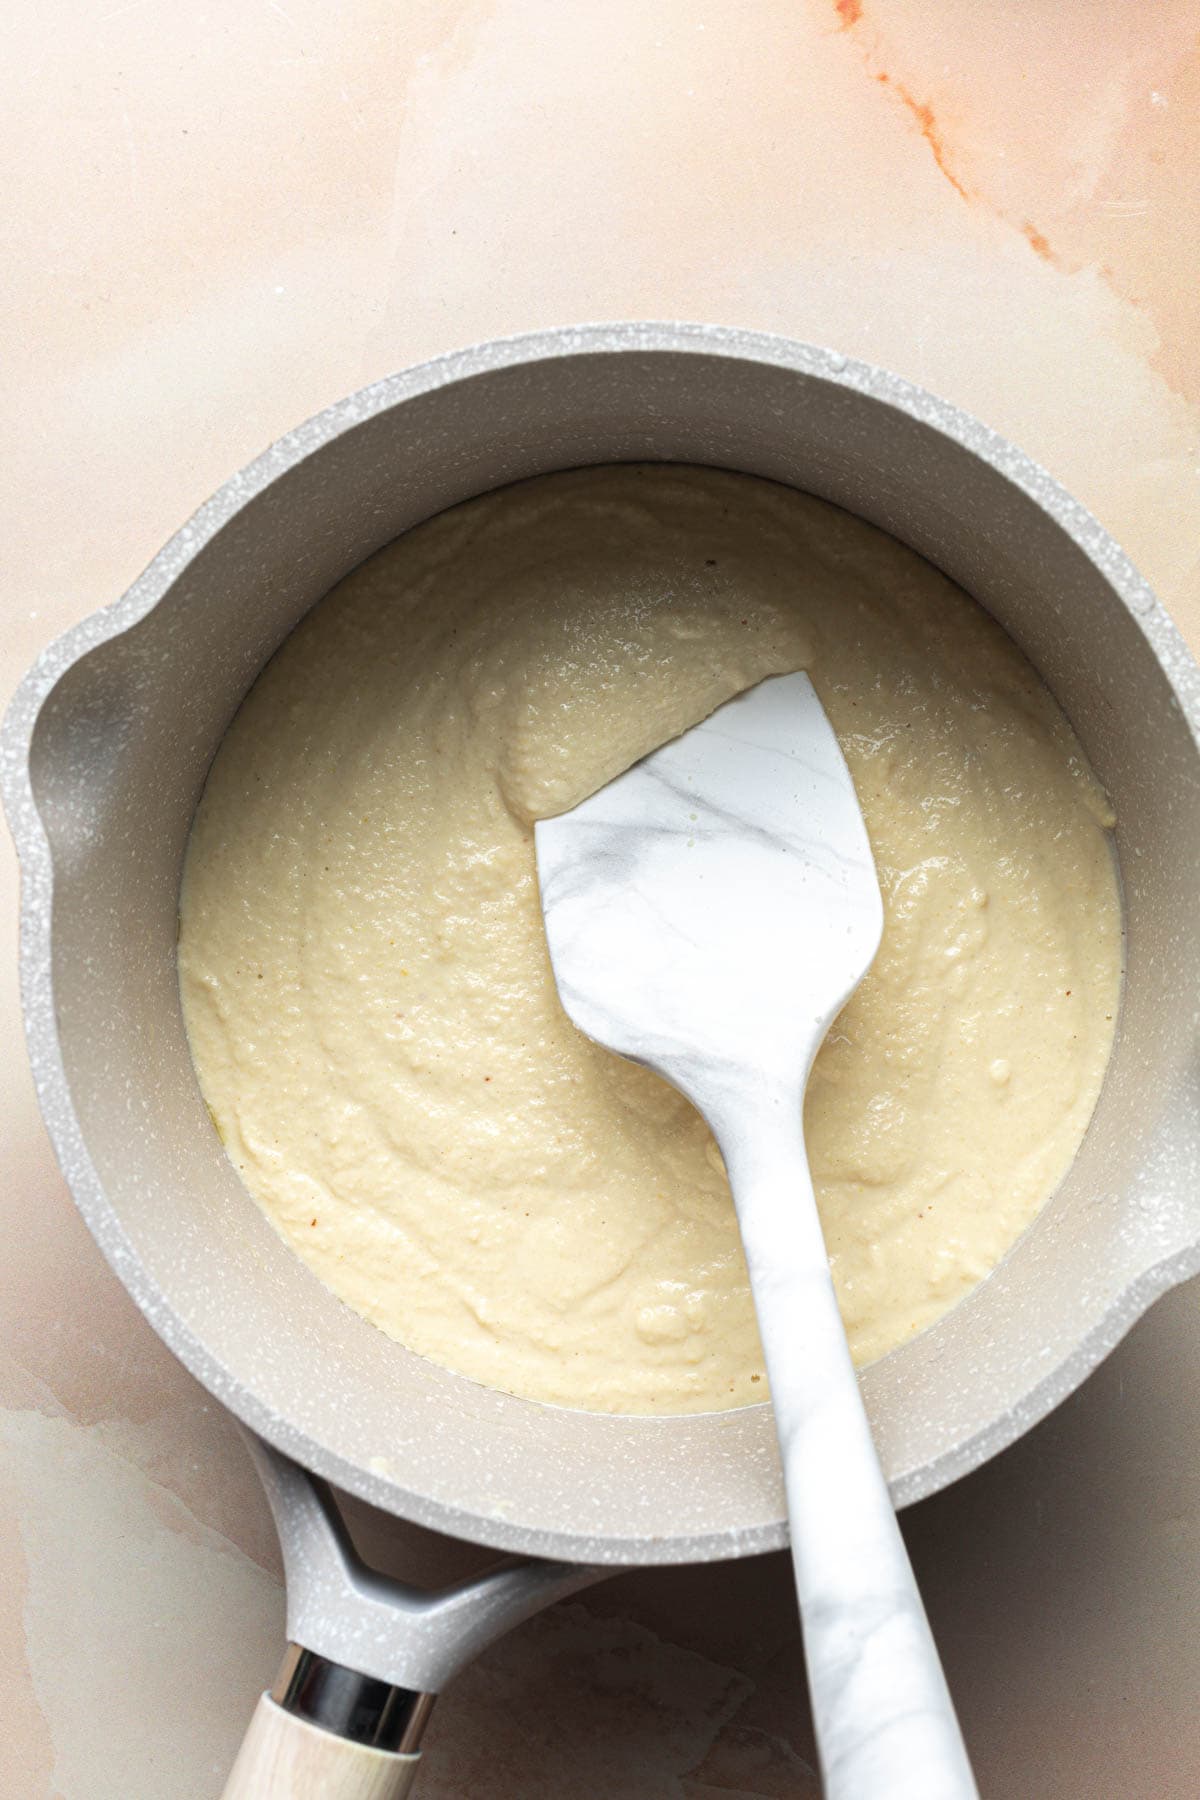
Heat. Transfer the mixture to a nonstick pan. Heat on medium heat while stirring continuously.
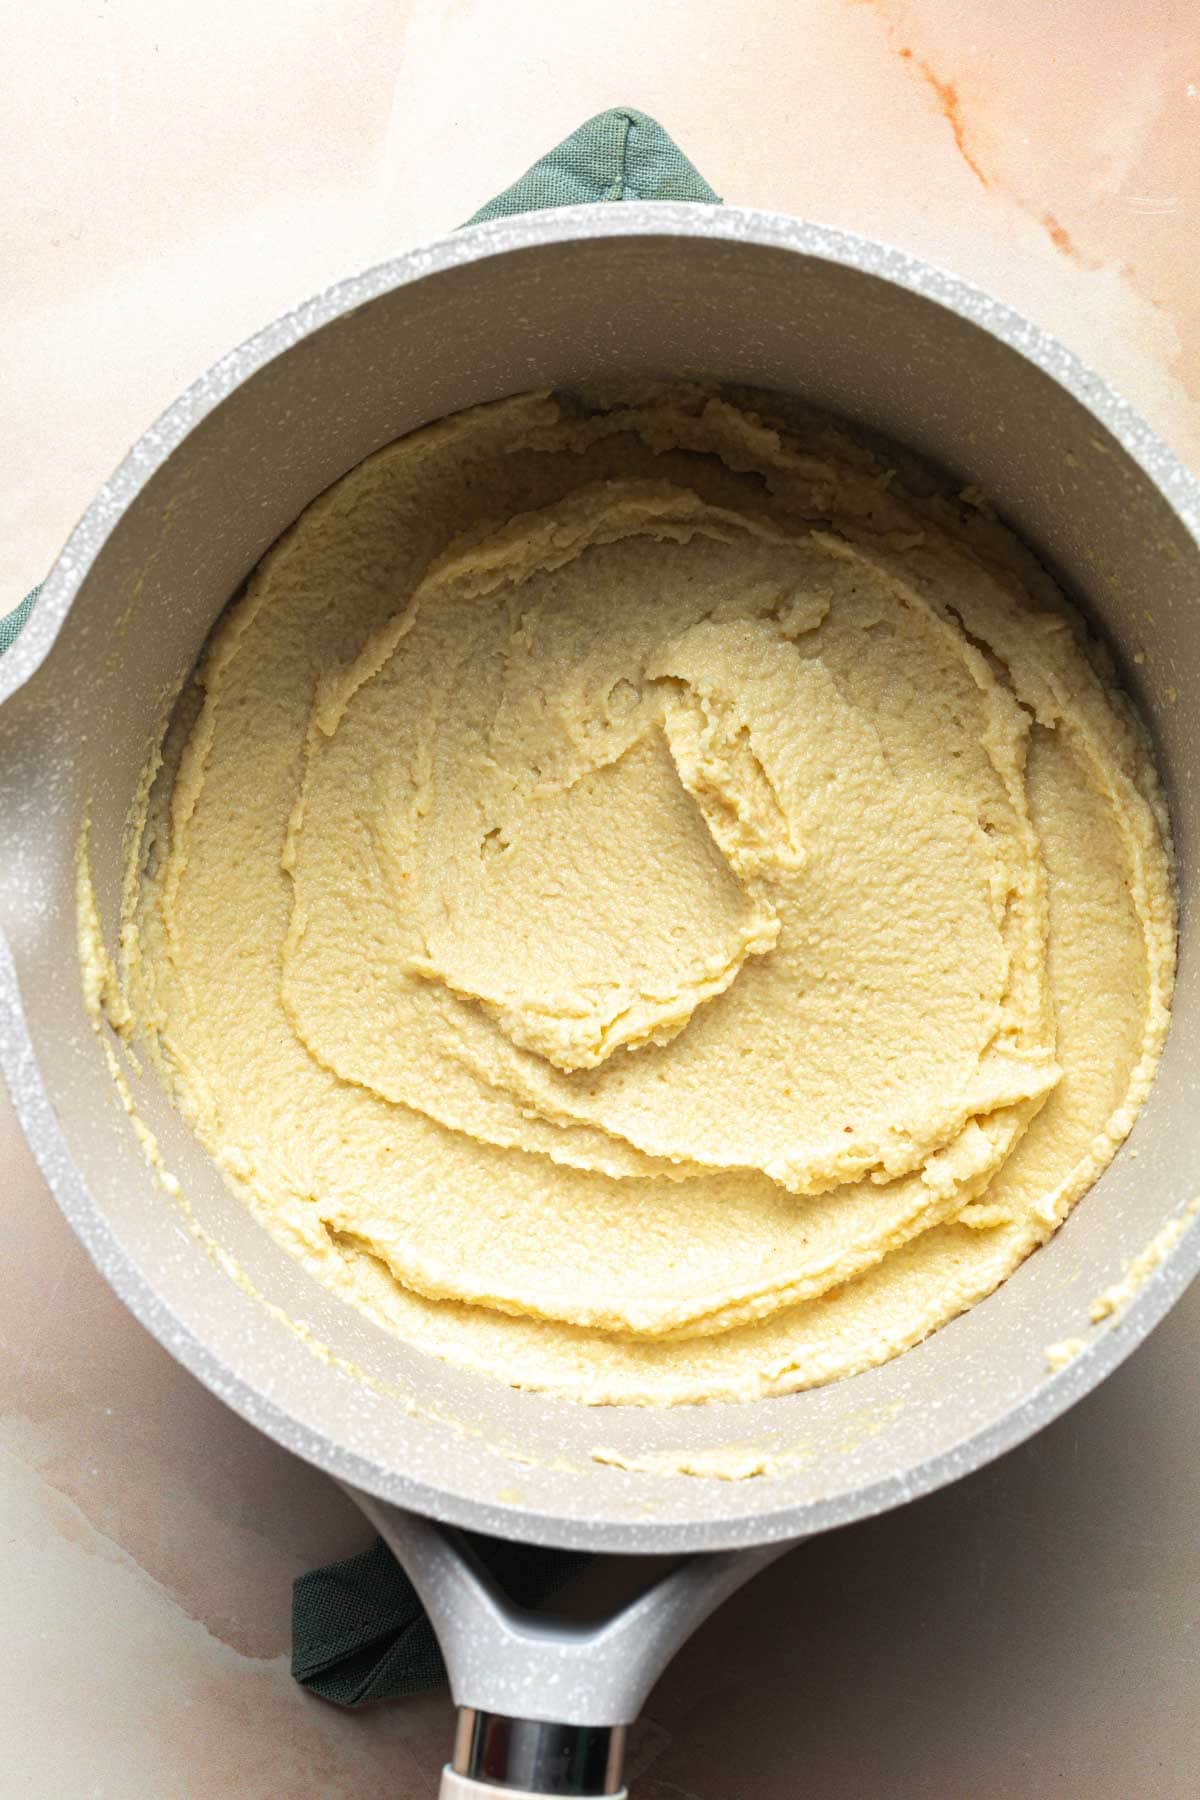
Thicken. The mixture will start thickening; it should not be liquidy by the end.
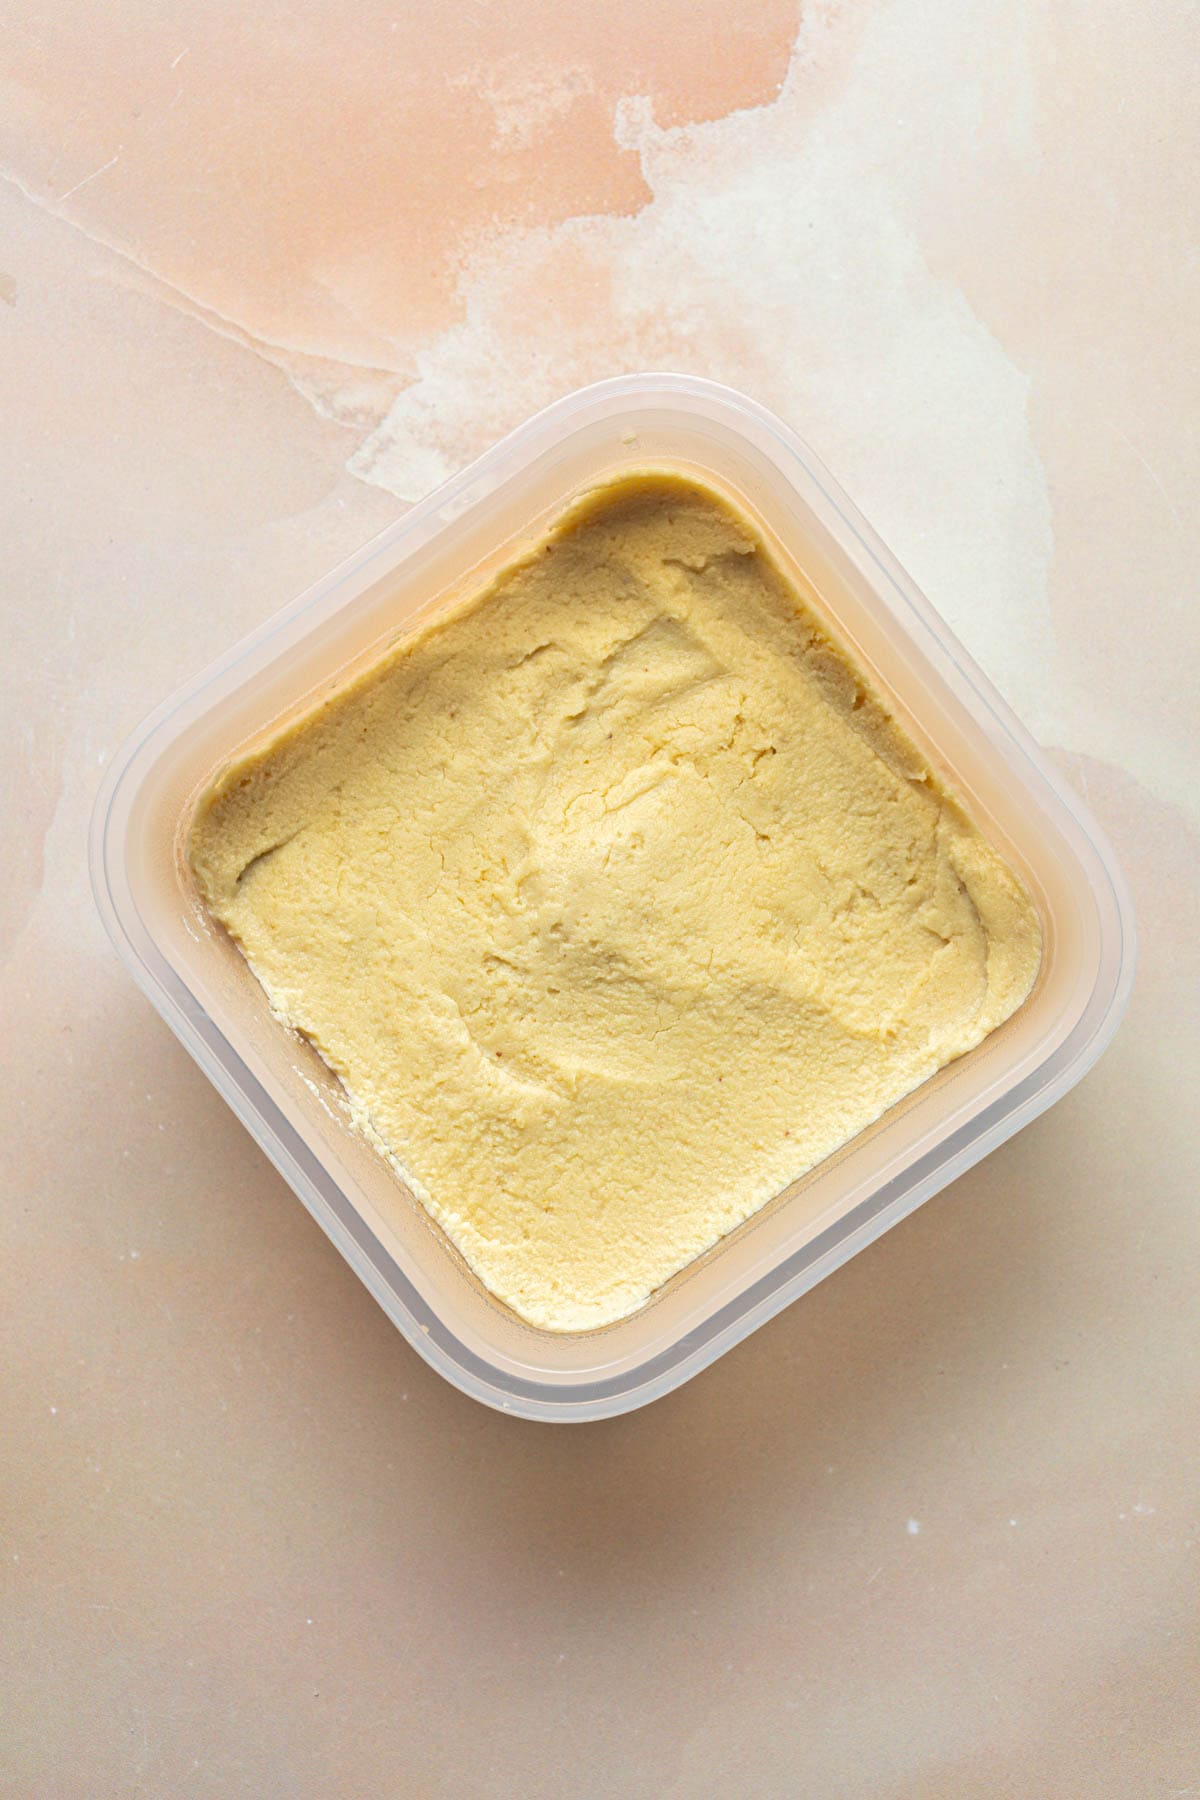
Set. Transfer the thickened mixture to a shallow dish. Let it cool slightly, then set it in the fridge to thicken for about 3 hours.
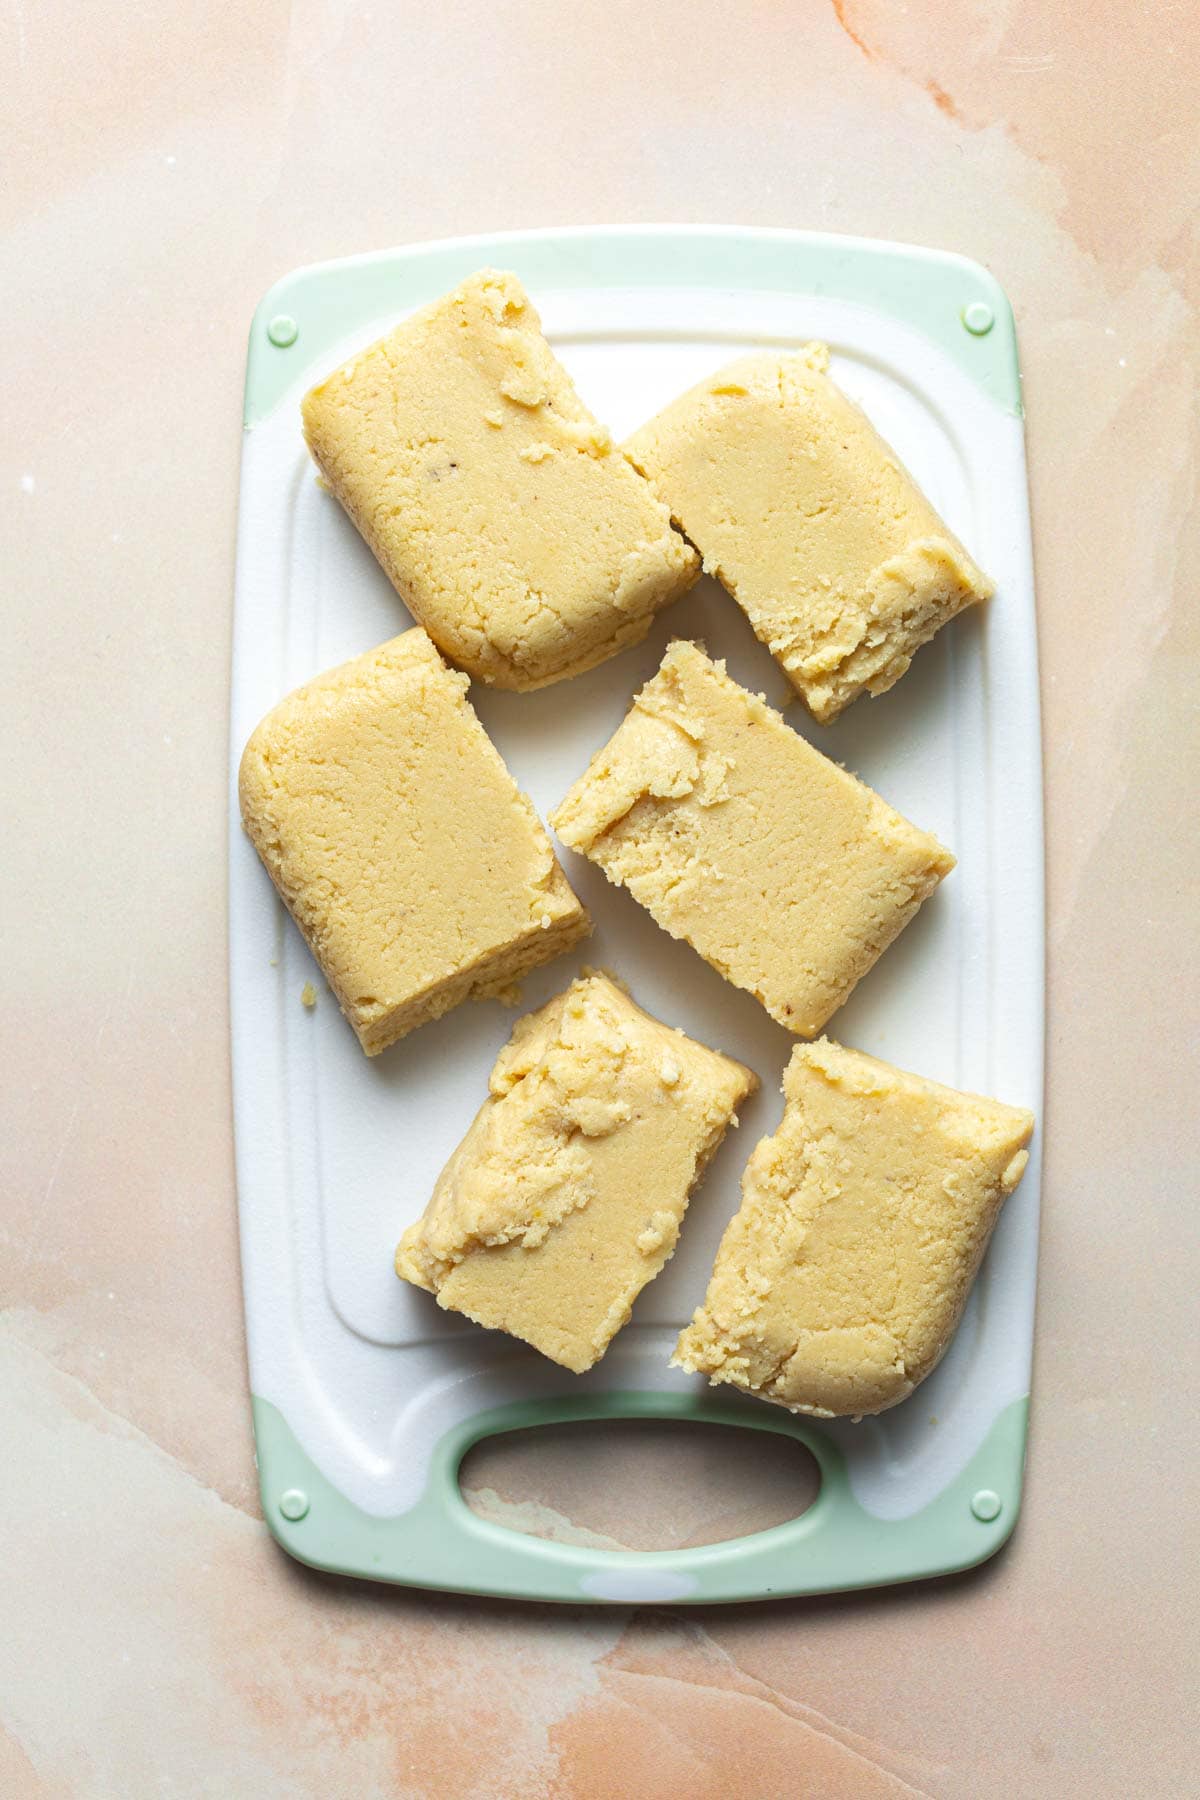
Slice. Slice it into 6 equal slices.
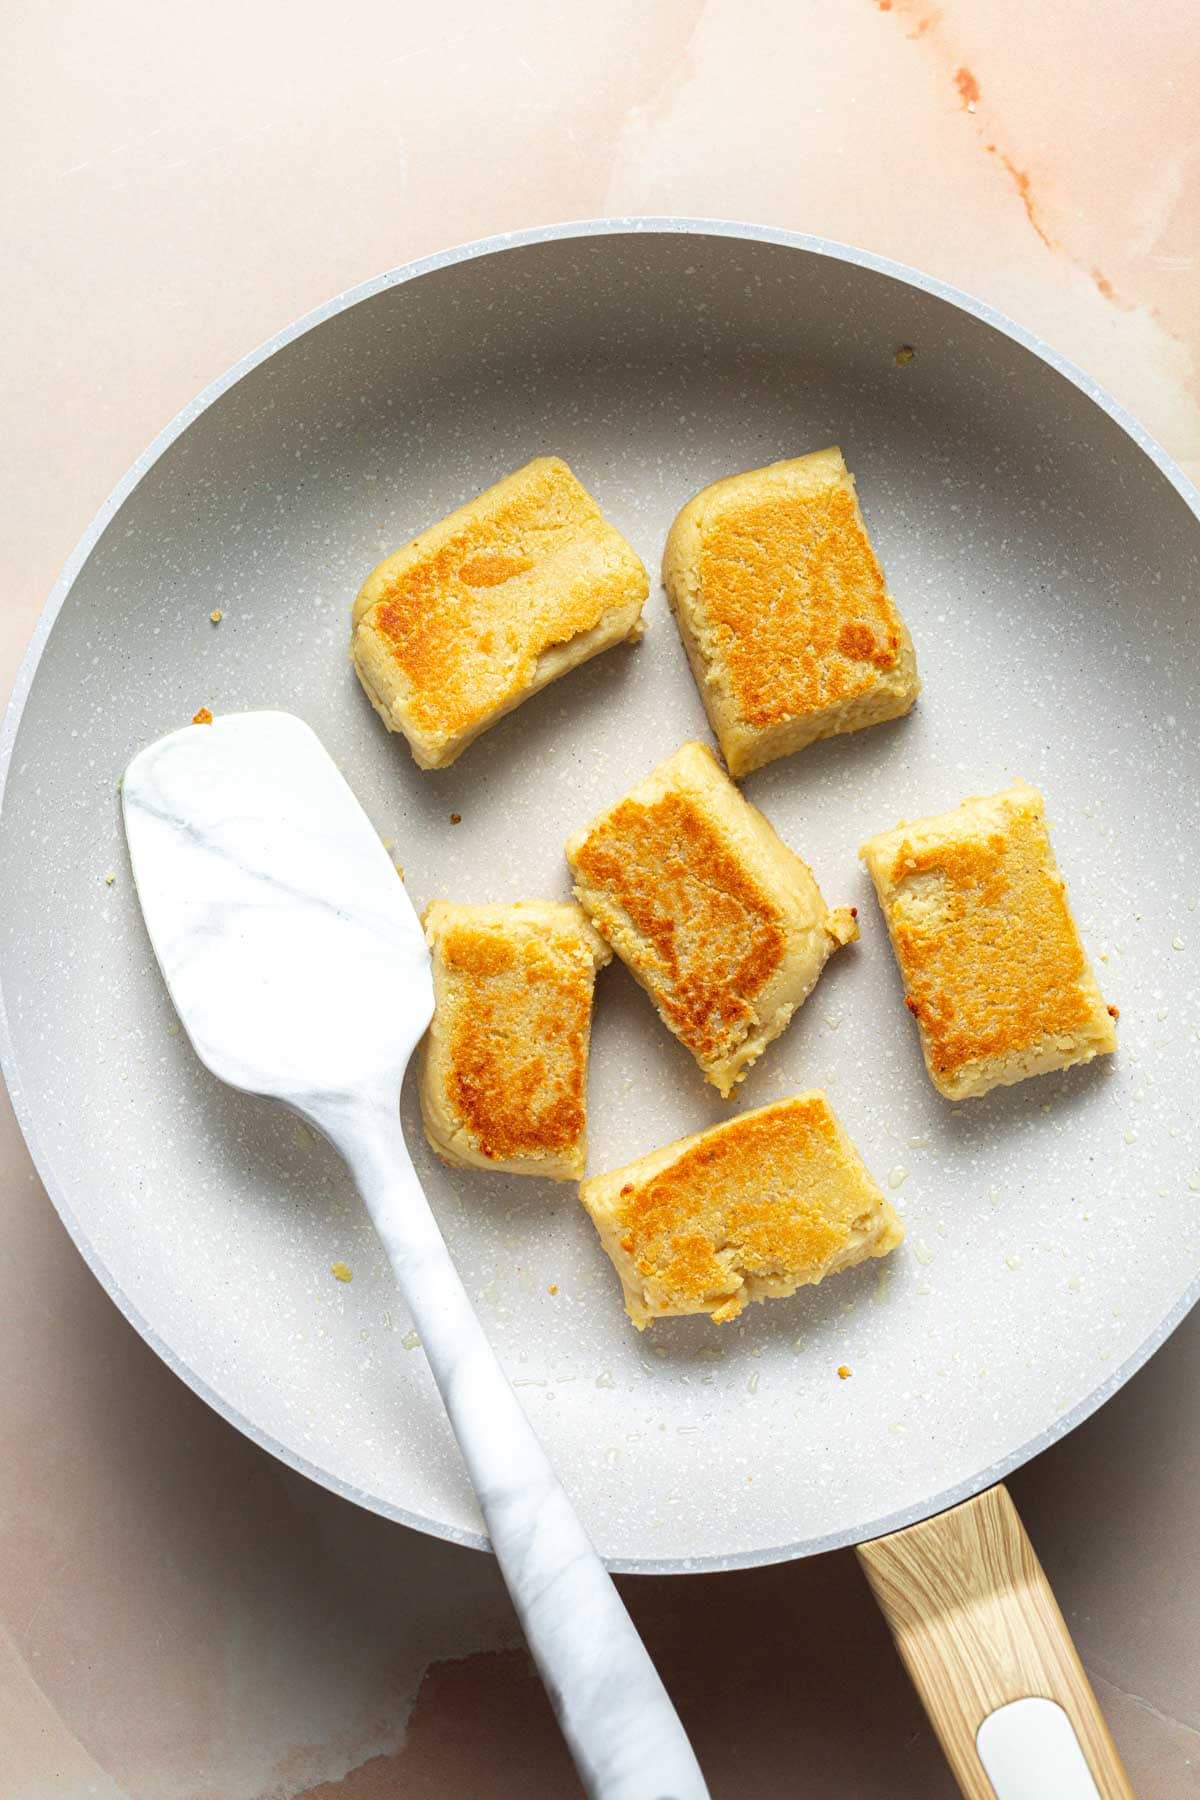
Fry. Gently fry on a lightly oiled pan for 5 minutes on each side until hot and slightly crispy.
Voila! You've made your vegan halloumi from scratch. Now it's the time to serve it however you please. I've included a lot of serving suggestions below.
Not White - Due to the ingredients used, this vegan halloumi won't come out white. If you want to hide the original color, I recommend adding a dark glaze, like a soy sauce maple glaze. You could also try soaking the cashews in water with some citric acid and skipping mustard to help lighten the mixture.
👨🍳 Chef's Tip
- Don't Skip-I know it isn't a cupboard stable, but I strongly urge you NOT to skip agar agar. It's the key ingredient for mimicking the halloumi texture.
- Drain Thoroughly- Once you've boiled the cashews, drain them well. Too much liquid can cause the cheese not to set.
- Blend It Well-You want to make this mixture as smooth as possible. Be patient and blend at the highest possible speed for 2-3 minutes.
- Go Slow -Be patient when heating the halloumi mixture. Stir continuously to prevent lumps and ensure a smooth texture.
- Taste & Adjust - Taste the mixture before heating it. Adjust the seasoning to your taste.
- Activate - The mixture must heat up properly to activate the agar agar. This is the KEY step. At the end of the heating process, the mixture should be quite thick, squishy, and NOT liquidy. This means the agar agar is working.
- Allow To Set -This cheese will need a minimum of 3 hours to set in the fridge fully. Don't rush the process.
Extra tip - The amount of agar agar in this recipe can be adjusted. The original recipe provides a rather firm halloumi that's very easy to cut. If you prefer softer halloumi, you can use less agar. The absolute minimum would be about 2 tsp.
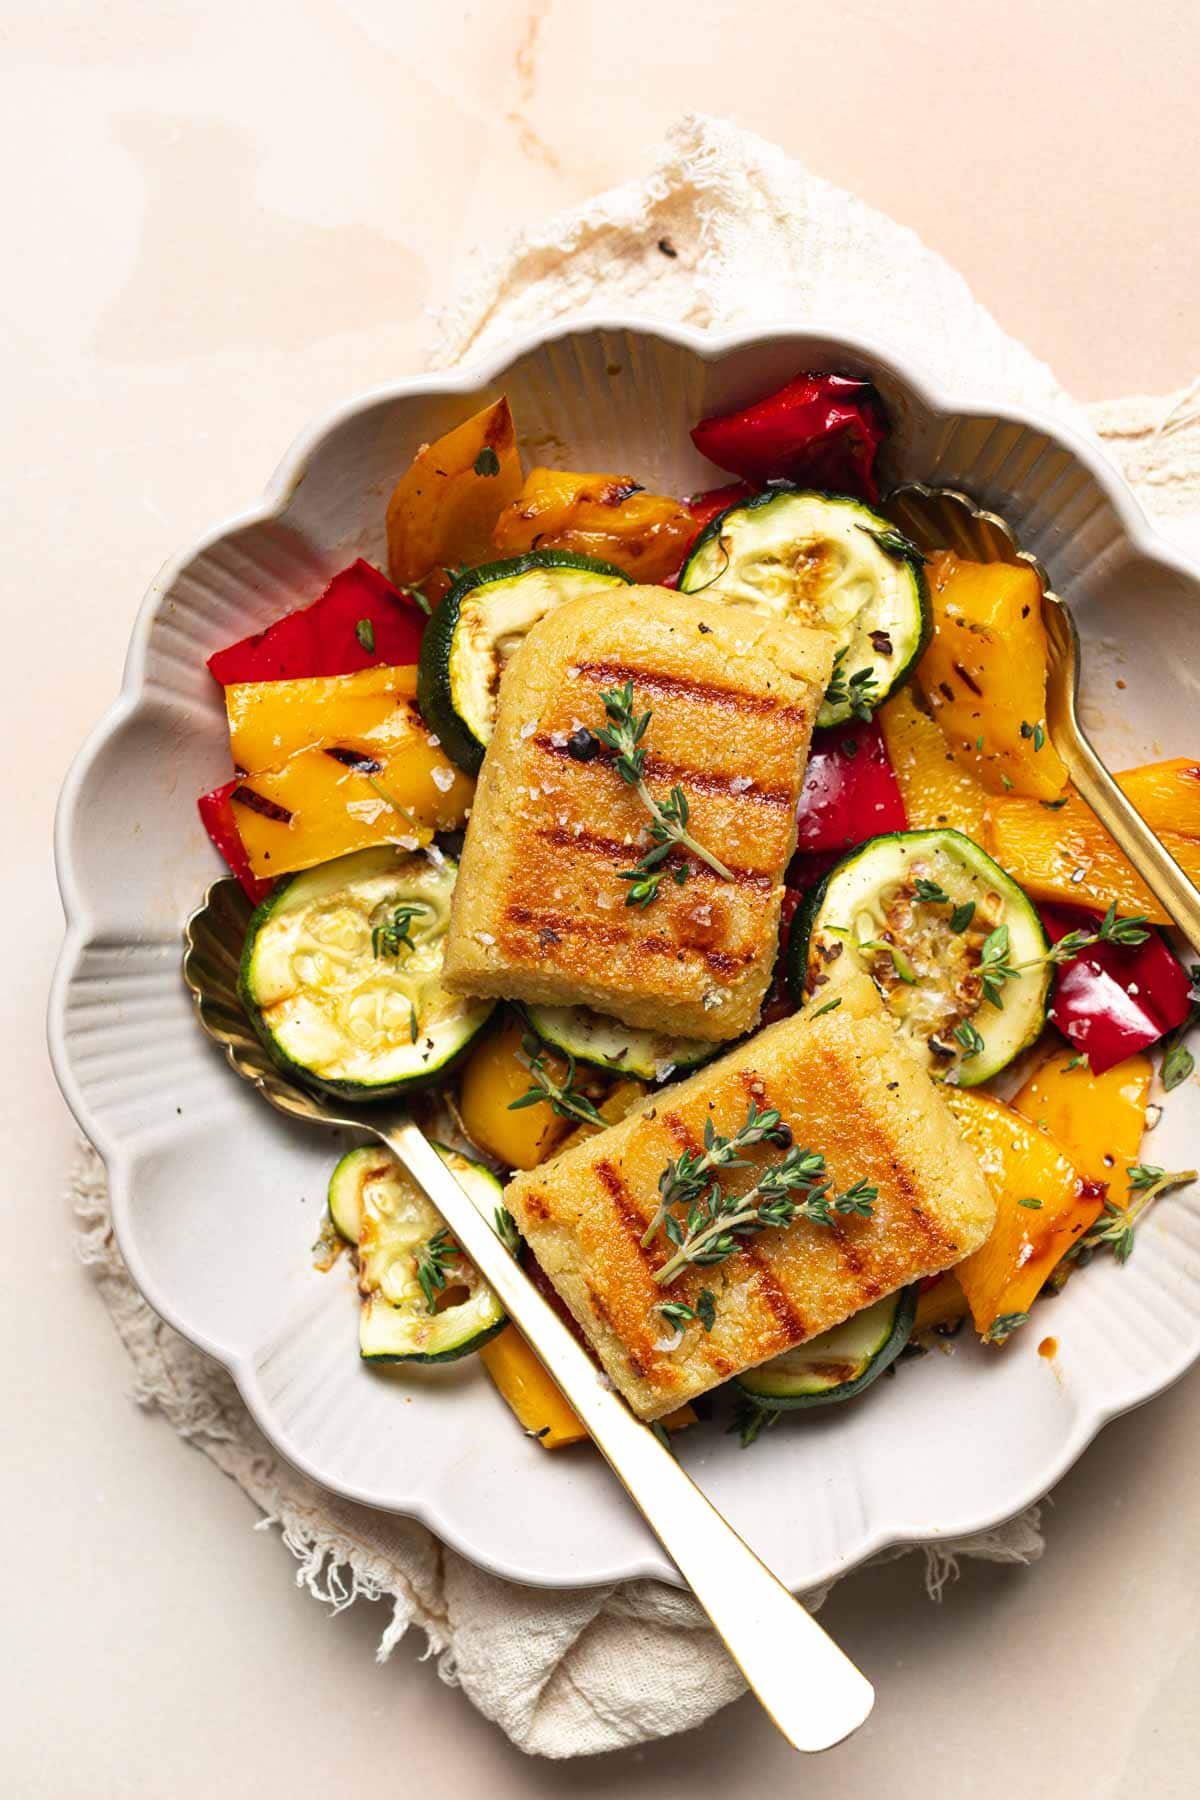
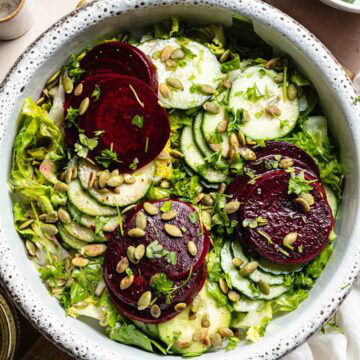
Here, I served my halloumi salad with grilled vegetables (red and orange peppers, courgette), herbs, and a simple balsamic dressing.
🤔 Frequently Asked Questions
Agar agar is difficult to substitute. Your best option is vegan gelling agents like Vegel. I don't recommend substituting it with cornstarch - the results won't be the same.
As you might notice in the step-by-step photos, I didn't use a griddle pan; unfortunately, I don't have one.
I achieved the same golden brown lines by grilling the halloumi in a waffle iron with a panini attachment (see photo below).
Cornstarch (sometimes written corn starch or corn-starch) is the US equivalent to cornflour (UK name). It's a fine white powder, not to be mistaken with its coarser, yellow cousin, maize flour.
A non-stick pan is essential to getting the best results.
If you're using a regular pan, vigorously whisk the mixture when heating it up and use a lower heat to prevent burning. For frying the halloumi, add about ½ tablespoon of oil.

🍽️ Serving Ideas
- Salads: This is arguably one of the best ways to enjoy halloumi. Serve hot or cold slices of halloumi on a crunchy salad like my green rocca salad.
- Veggie Skewers: These are a winner for the whole family. Chop any favorite veggies, arrange them on skewers with halloumi, and grill until sizzling hot.
- Pasta: This is a FAB way to add some extra protein to your favorite vegan pasta. Slice it into any shape you want and add before serving.
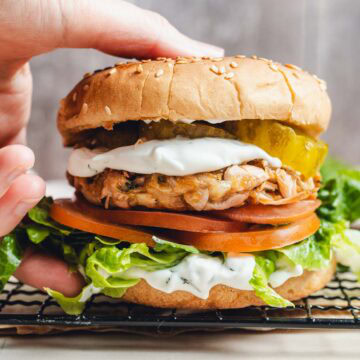
- Burgers & Tacos: The chewy, salty halloumi flavor makes a great addition to your favorite burger or taco.
- Sandwiches: It works on any sandwich, hot or cold. My go-to is a classic combination of cherry tomatoes, basil, pesto, red onion, and halloumi.
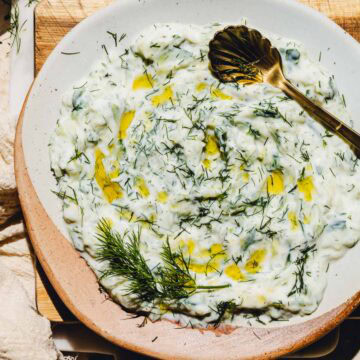
Lastly, don't forget to serve it with dips and drizzles that help enhance the flavor.
🌱 Variations
- Herb-Infused: Fresh or dry herbs can be incorporated into this cheese mixture for added flavor.
- Smoked: Add a generous pinch of smoked paprika to your glaze for a smokier flavor.
- Spicy: Glaze the halloumi with chili oil or hot sauce for a spicy kick.
- Miso paste: This can replace some of the salt to provide the umami flavor.
- Zesty: Build up on the citrus base by adding fresh lemon zest.
- Minty: Serve it with extra virgin olive oil and fresh mint leaves (finely chopped). Irresistible!
Remember-if you use maple syrup or another sugary glaze, add it at the end. If you add it at the start of the frying process, the sugar in maple syrup will start burning fast.

📦 Storage
To store - Place any leftover vegan halloumi in an airtight container. Store in the refrigerator and consume within 4 days.
To freeze - This recipe works best when enjoyed fresh. You can freeze it and reheat it later, however, the texture will change so I don't recommend it.
👏 Conclusion
With this vegan halloumi, I've completed my trilogy vegan dairy replacement series, which included quark and burrata. If you have any more dairy-alternative recipes you'd like to see, let me know in the comments below.
Did you make this vegan replacement for halloumi? If so, I would appreciate it if you could leave a comment and star rating below.
🍴Recipe

Homemade Vegan Halloumi - Dairy-Free Cheese Recipe
EQUIPMENT
- Food processor or high-speed blender
- Non-stick pan
- Shallow dish (like a Tupperware or Ikea box)
- Frying pan
INGREDIENTS
- 1 cup (130 g) raw cashews
- ¼ teaspoon dijon mustard
- 1 tablespoon lemon juice
- 1 teaspoon sea salt
- 1.5 tablespoon light olive oil
- ½ teaspoon white wine vinegar
- 3 tablespoon nutritional yeast
- ½ cup + 1 tbsp (130 ml) cold water
- 2.5 teaspoon agar agar
- 2 tablespoon cornstarch cornflour in UK
INSTRUCTIONS
- Boil cashews. Add cashews to a medium pan. Add boiling hot water. Boil for 15 minutes to soften. Drain well to remove any excess liquid.1 cup raw cashews
- Add ingredients. Add boiled cashews and the remaining ingredients to a blender or food processor.¼ teaspoon dijon mustard, 1 tablespoon lemon juice, 1 teaspoon sea salt, 1.5 tablespoon light olive oil, ½ teaspoon white wine vinegar, 3 tablespoon nutritional yeast, ½ cup + 1 tablespoon cold water, 2.5 teaspoon agar agar, 2 tablespoon cornstarch
- Blend. Blend on high speed until completely smooth (2-3 minutes).
- Heat up. Transfer the mixture to a nonstick pan. Heat on medium heat while stirring continuously.
- Thicken. The mixture will start thickening; by the end, it should not be liquidy (this will take 5-10 minutes).
- Set. Transfer the thickened mixture to a shallow dish. Let it cool slightly, then set it in the fridge to thicken for about 3 hours.
- Slice. Slice it into 6 equal slices.
- Fry and serve. Gently fry on a lightly oiled pan for 5 minutes on each side until hot and slightly crispy.
Notes
Nutrition
Disclaimer: The nutritional information above is calculated automatically. The author of this post cannot guarantee 100% accuracy of this data.


Ally says
Great haloumi recipe! Easy enough and has a deeply savory (but not too salty) flavor. I served mine as a sandwich filler and really enjoyed it.
Heather says
Is the agar agar in flake or powder form?
Tajda Ferko says
Powder 🙂
Parminder Aheer says
is the a nut free version? what if you have a nut allergy? as I do
Tajda Ferko says
Hi, I've not tried or seen a nut-free version of these yet. I'd imagine there is something out there using tofu so that might be worth googling 🙂
Zoe says
Excited to try this!!! Can I substitute the cornstarch with arrow root powder?
Tajda Ferko says
Hiya Zoe! I haven't tried that yet but I think you should be able to replace conrstarch with arowrroot powder here as they are both thickening agents. You'd need to change the quantities though - use roughly double the amount of arrowroot (4 tbsp instead of 2 tbsp). Let me know how it goes! 🙂