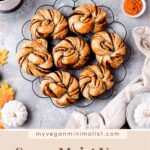
Soft, surprisingly easy and so good nobody will ever guess they’re vegan. The one vegan pumpkin rolls you need to try.
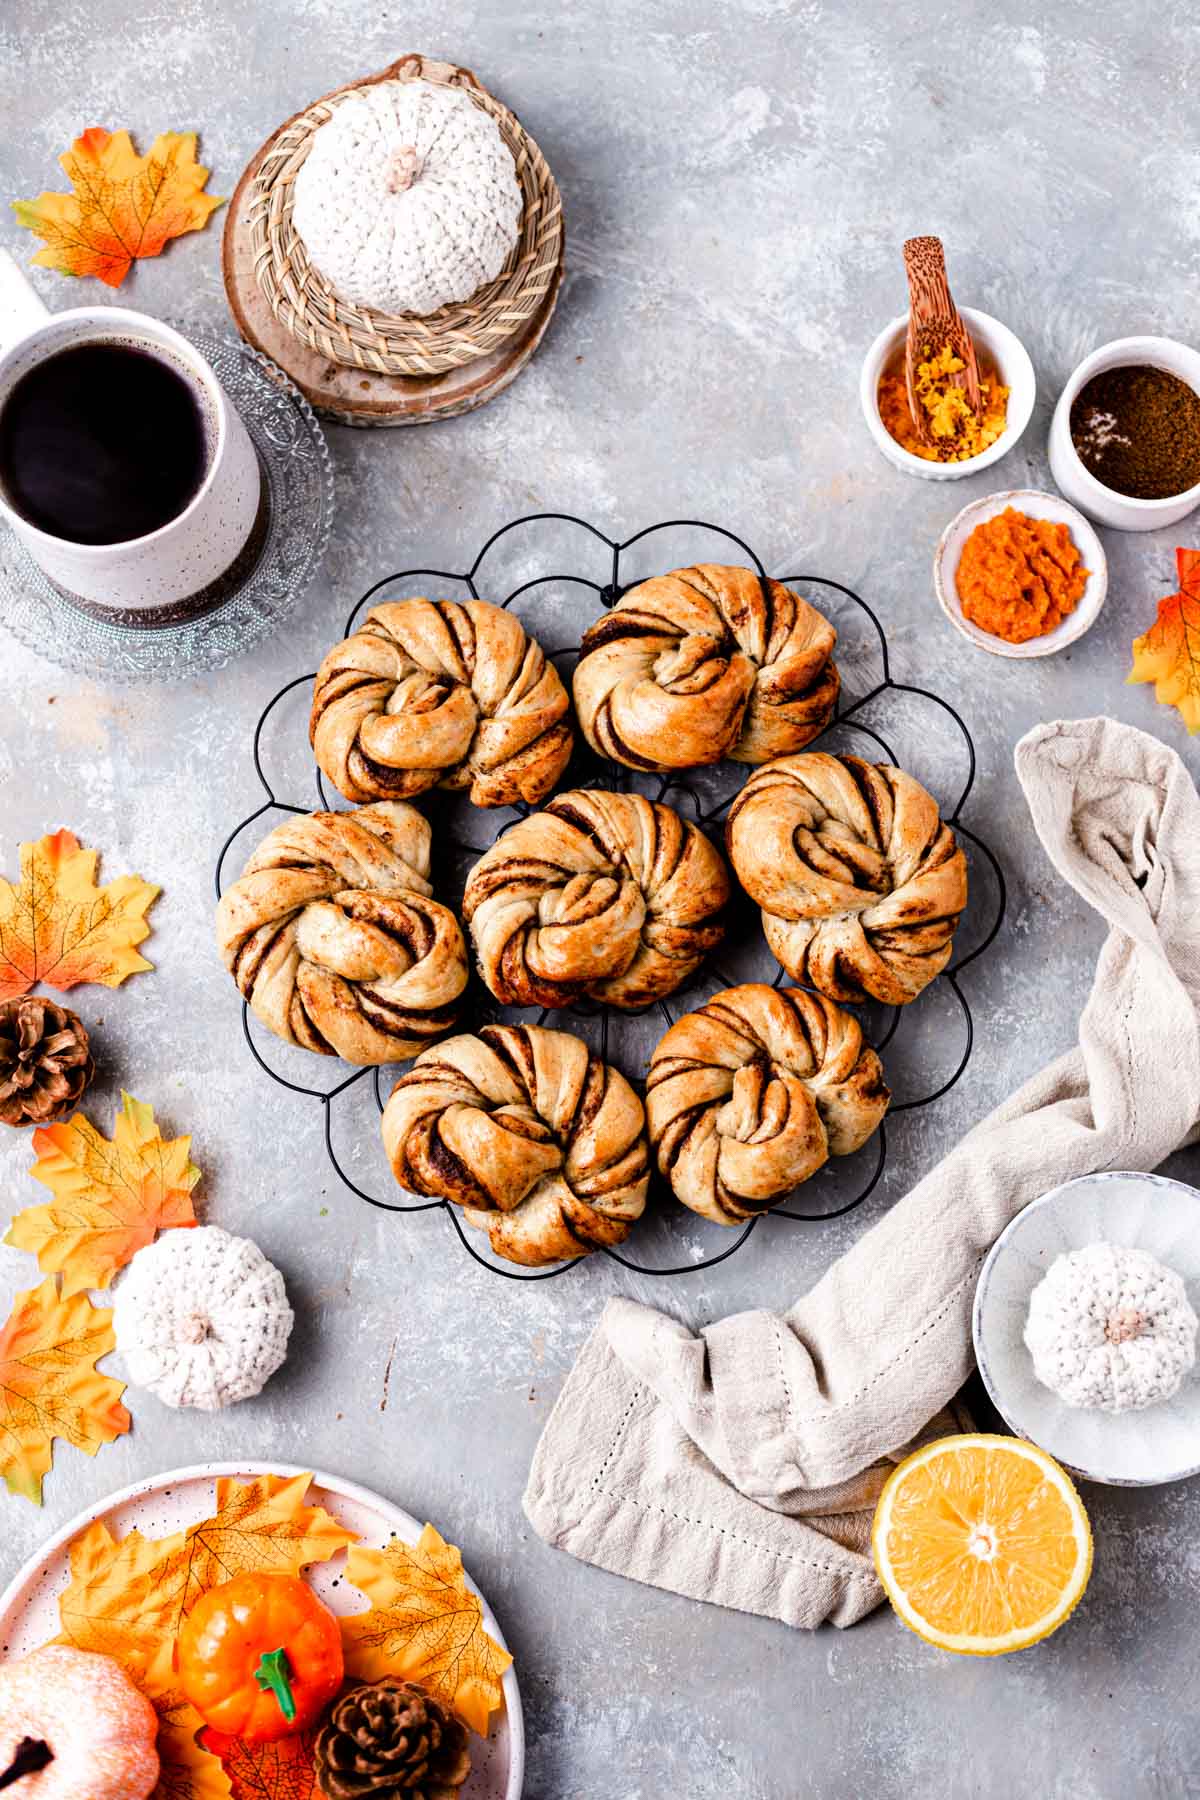
What Makes This Recipe So Good
- Guarantees 100% fall vibes
- Much easier to make than it looks
- Easy to customise
- Beautiful knot
- Includes a hint of zesty orange
- Flavour-packed
The Ingredients
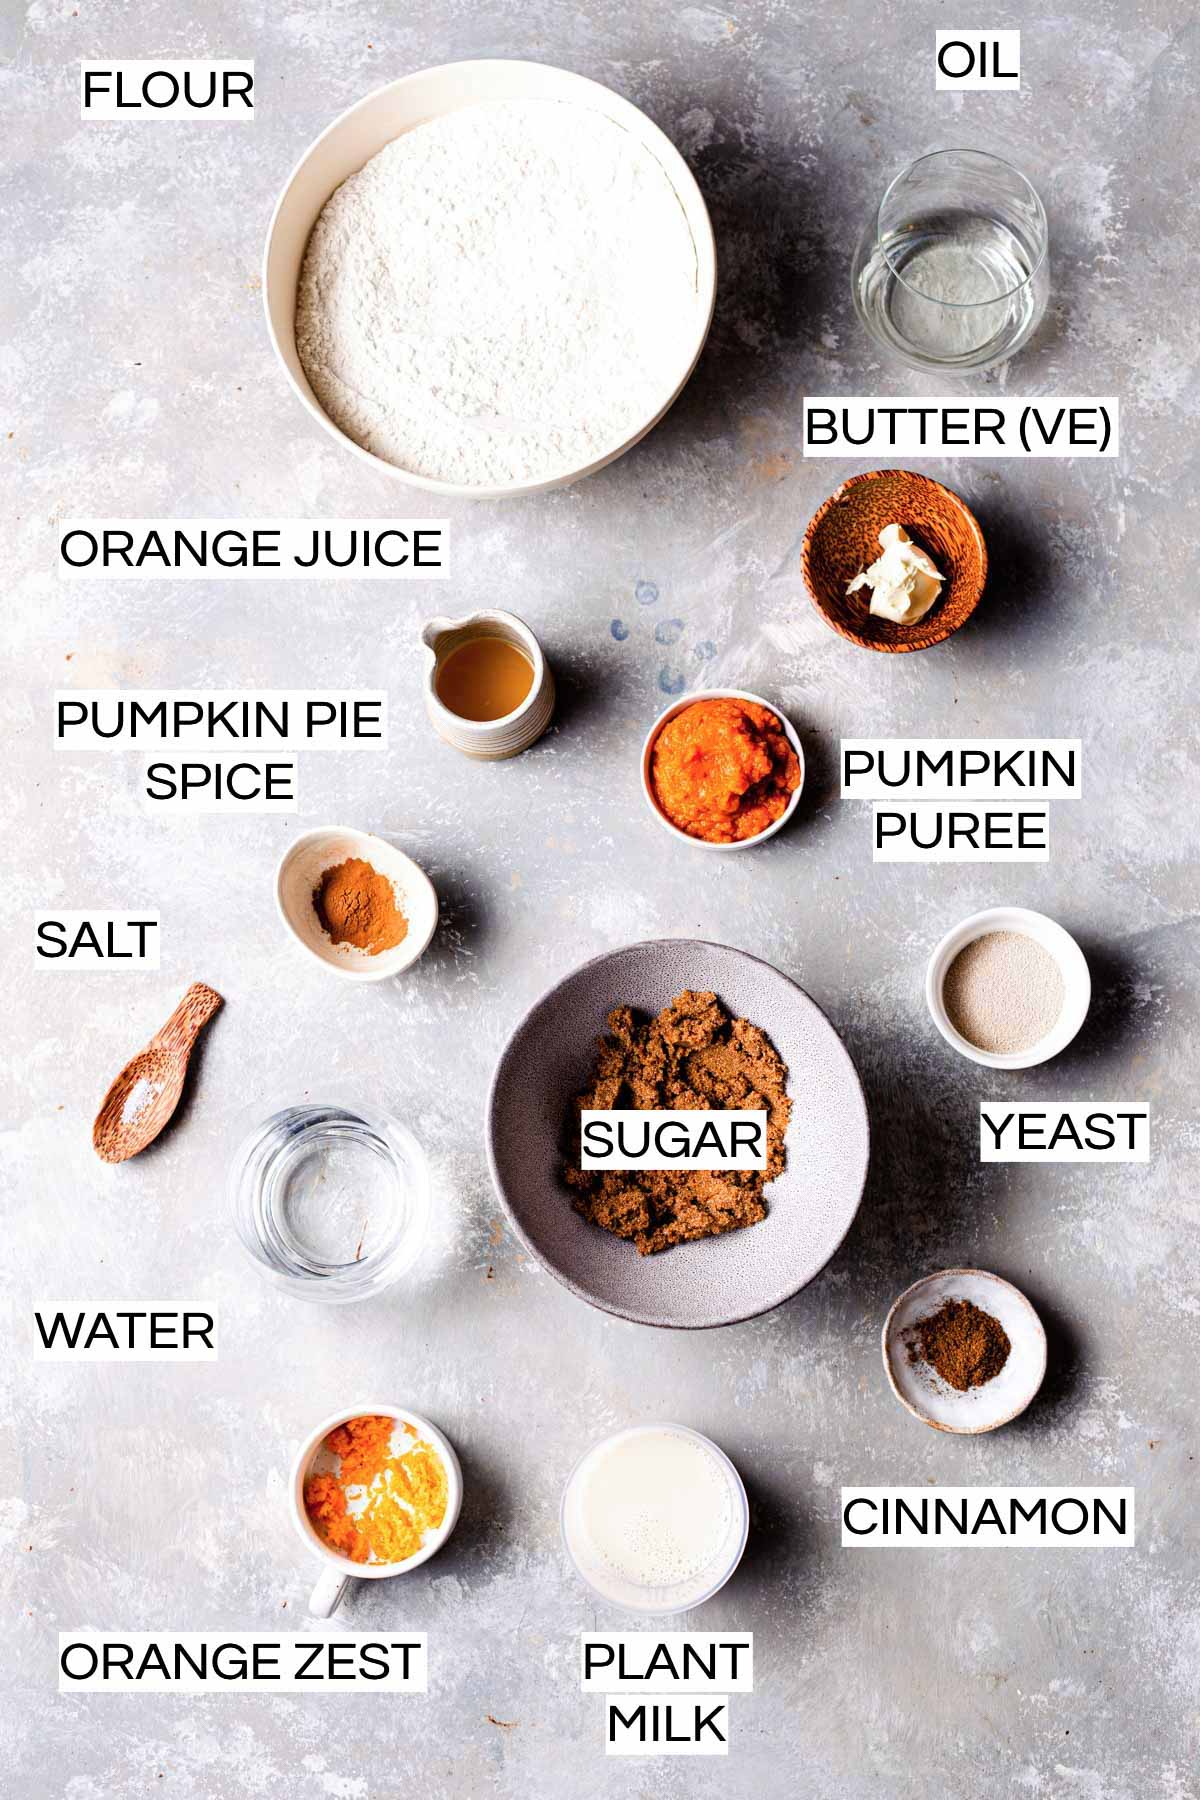
These are the ingredients you will need to make vegan pumpkin rolls.
Before we start, just a couple of notes regarding the ingredients.
Flour: For best results make sure to use strong white flour (also called bread flour).
Plant milk: Feel free to use any plant milk of your choice (such as soy, almond, oat, etc). For best results I recommend unsweetened plant milk.
Pumpkin pie spice: Can be substituted for mixed spice (in the UK) or speculaaskruiden mix (in the Netherlands). If no mixes are available in stores, substitute with a simple homemade mix of cinnamon, nutmeg, ginger and cloves.
Maple syrup (not pictured): can be substituted for another liquid sweetener like agave syrup.
Sugar: for best results, use brown sugar (I used light brown muscovado sugar).
Step-by-step Photos
Before starting to make this recipe, remember that the buns are beginner-friendly. They are much easier to make than you would assume they are by looking at the finished images.
Having said that, I encourage you to carefully examine all the steps outlined below before you start. This will give you a good idea of what exactly is needed to make the buns.
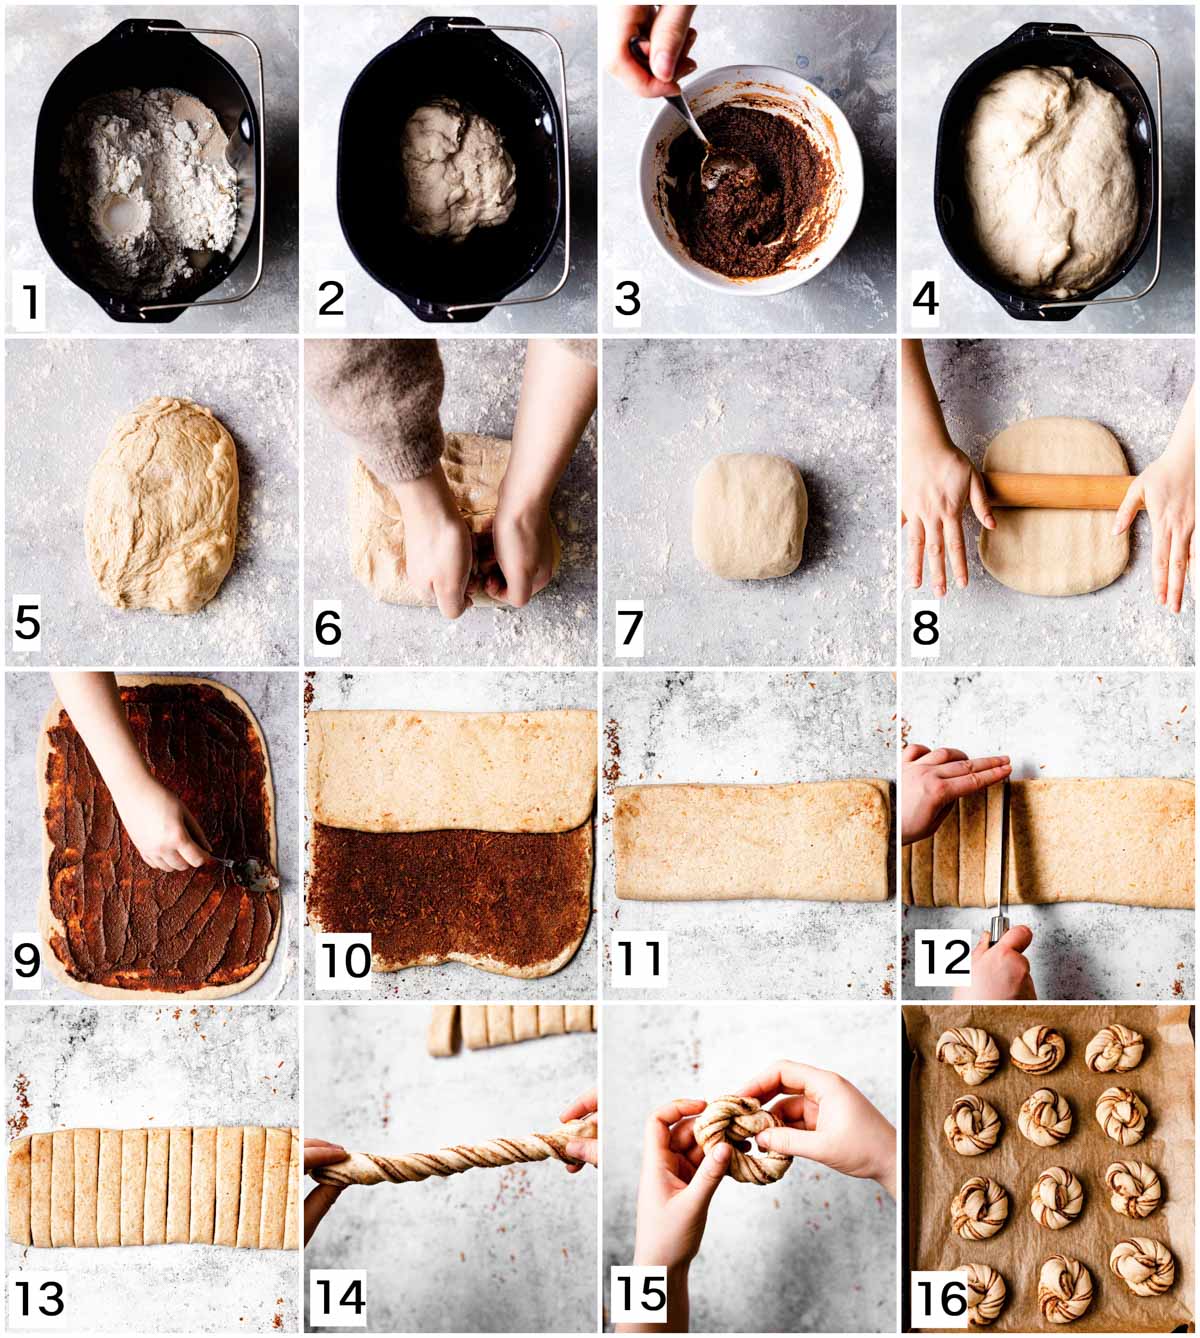
- Add all your ingredients to a bowl.
- Knead your dough for approx. 10 minutes. Cover and let rest for 1 hour.
- In the meantime, prepare your filling. Chill in the fridge.
- Your dough has doubled in size.
- Place the dough on a floured surface.
- Knock back your dough.
- The dough is ready to be rolled.
- Roll it out
- Spread your filling over the dough.
- Start folding your dough into a dough pocket.
- Complete your fold.
- Cut your dough into 12 strips.
- Make sure they are equal in size.
- Hold a strip of dough and twist it.
- Create a knot.
- Brush with a glaze, cover and let rest for another 45 minutes. Then brush with a glaze again and bake.
Important: Ten minutes in to your bake glaze again to create a beautifully shiny and crispy top.
Expert Tips
1. Knock Back Your Dough
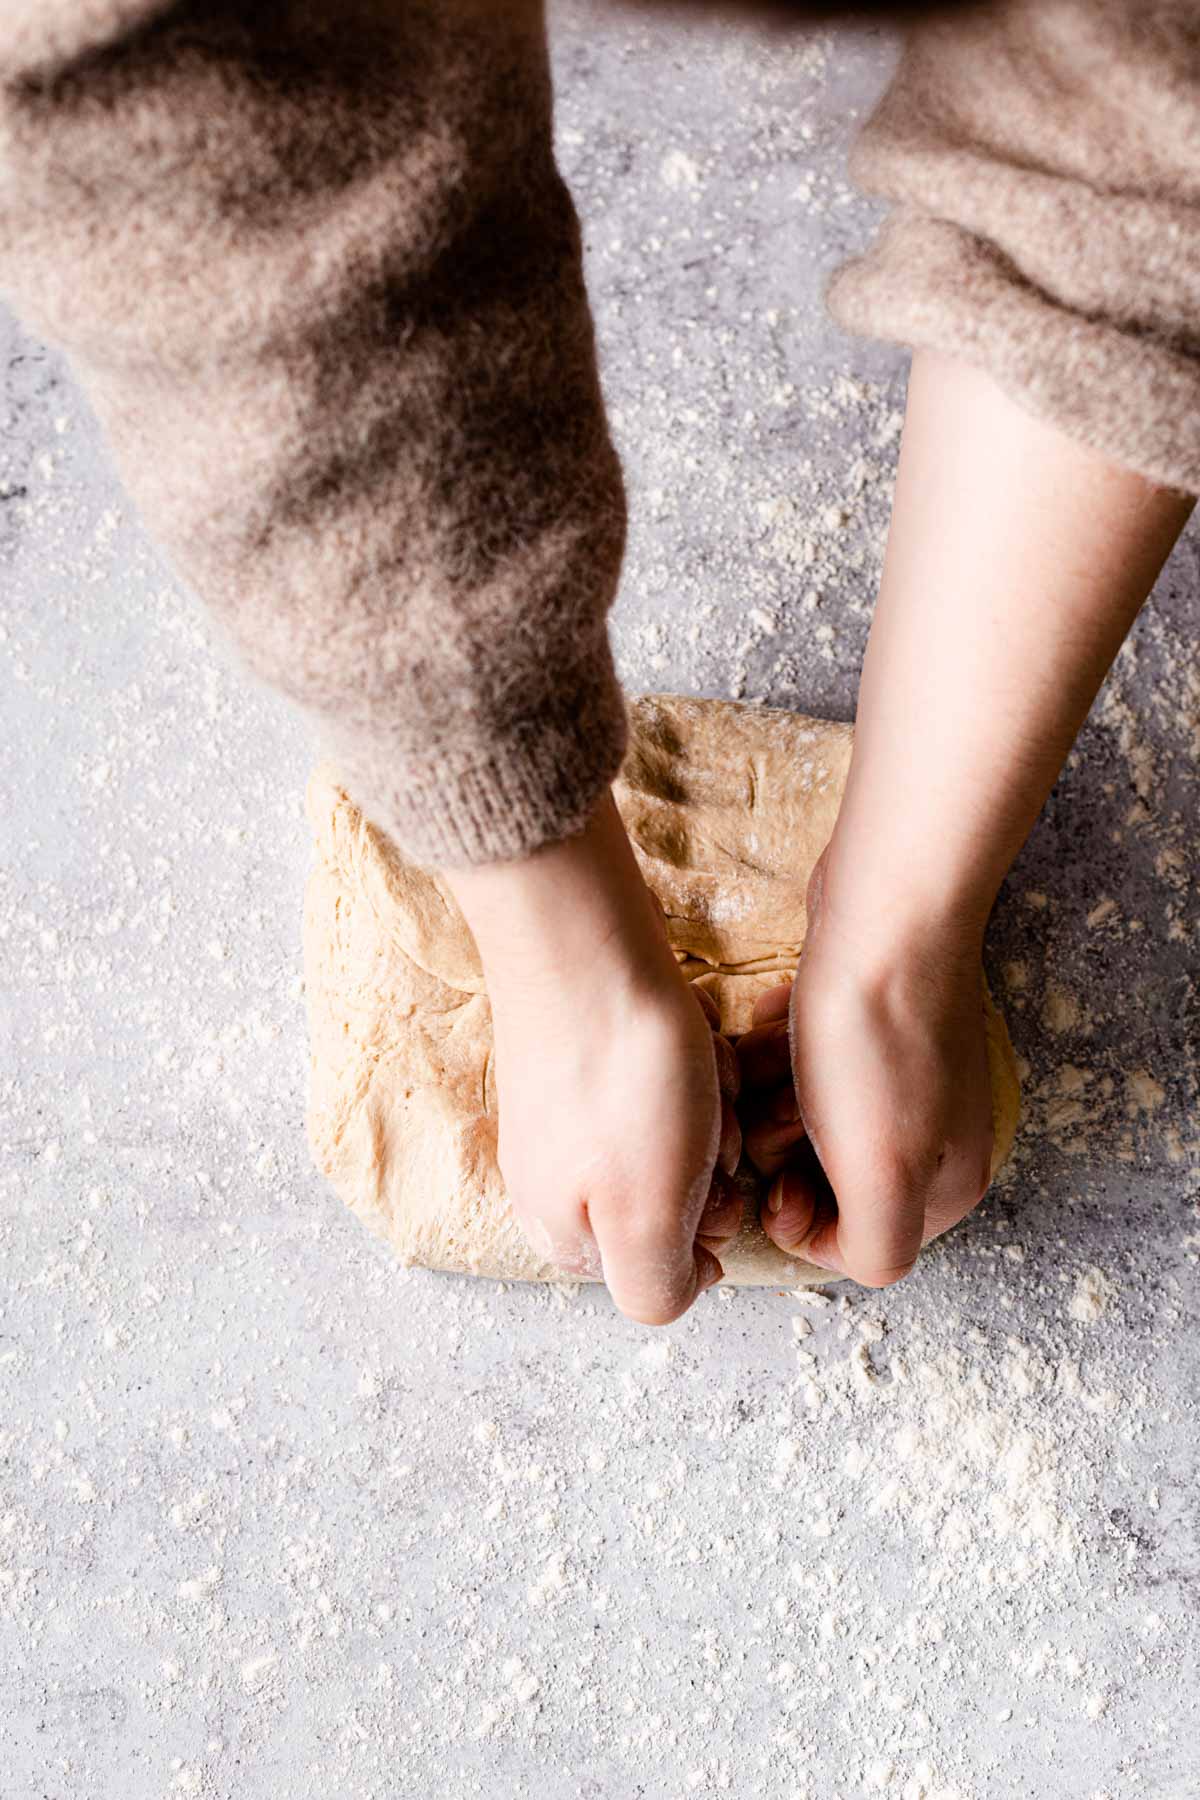
Your dough will at least double in size during the first rise. This is why it's important to 'knock it back' after the first rise.
Simply place the dough on a floured surface and use your fists to 'knock it back'. This will help release any extra air bubbles.
Read more about the importance of knocking back your dough and watch a handy video here here.
2. Chill Your Filling
Making the filling for this recipe is incredibly easy. In fact, you just need to mix all your ingredients in a small bowl using a fork or a whisk.
However, it’s crucial that you cool your filling in the fridge while you wait for the dough to rise.
This way your filling will be more compact and less likely to seep into your dough.
3. Don’t rush
It’s important that you give your buns plenty of time to rise. This means you’ll need to follow the recipe exactly as outlined and allow enough time for both the first and the second rise.
Don’t be tempted to rush the baking process or shorten the rising time. Your buns will be worth the wait!
4. The secret glaze
The glaze is another crucial aspect of this recipe. Use a plastic or wooden brush to apply the glaze.
You will need to glaze them three times.
First, after shaping the buns, you will glaze them with plant milk.
Secondly, you will glaze them with a mix of plant milk and maple syrup before placing them in the oven.
Lastly, after 10 minutes of baking you will glaze them again with the maple and milk mixture.
The last glaze is absolutely crucial. It will create a crystallized shine over the top, giving your buns the signature golden look.
F.A.Q.
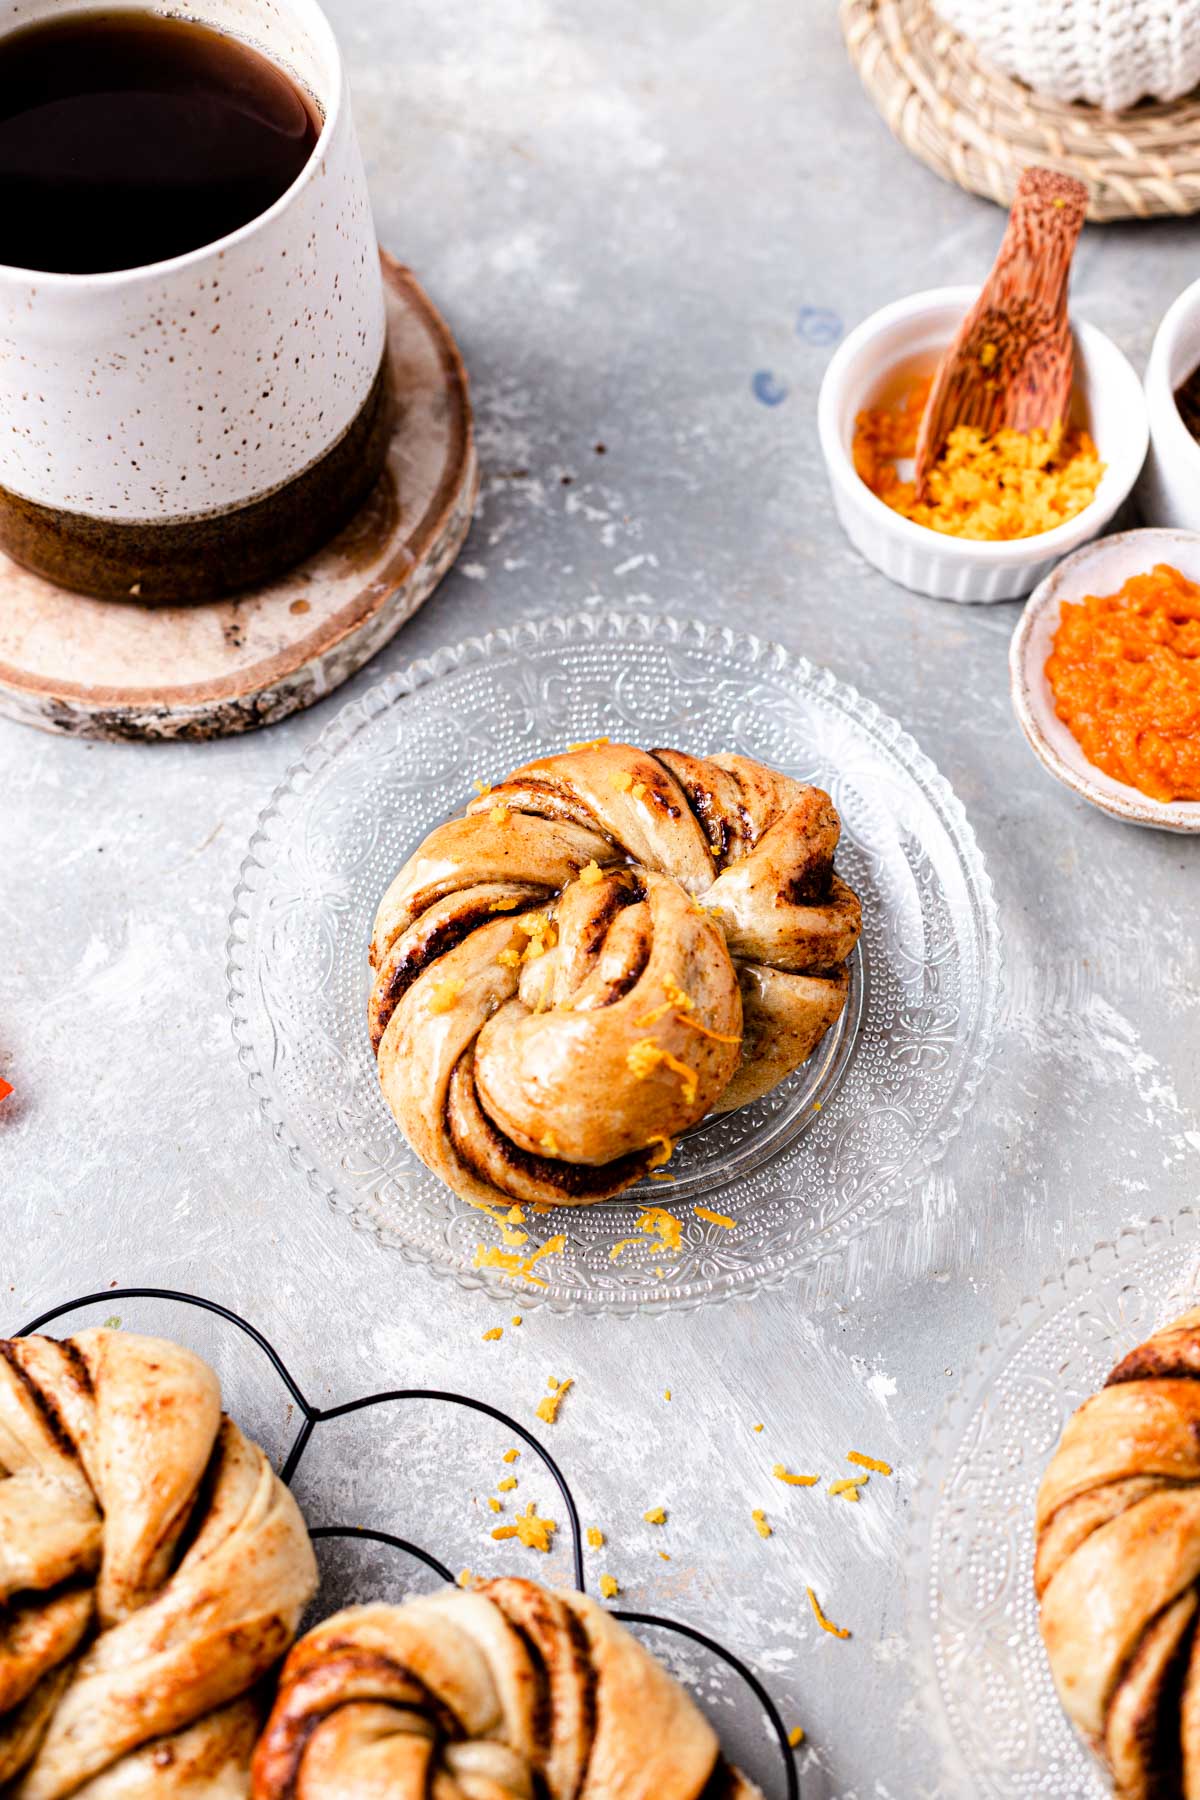
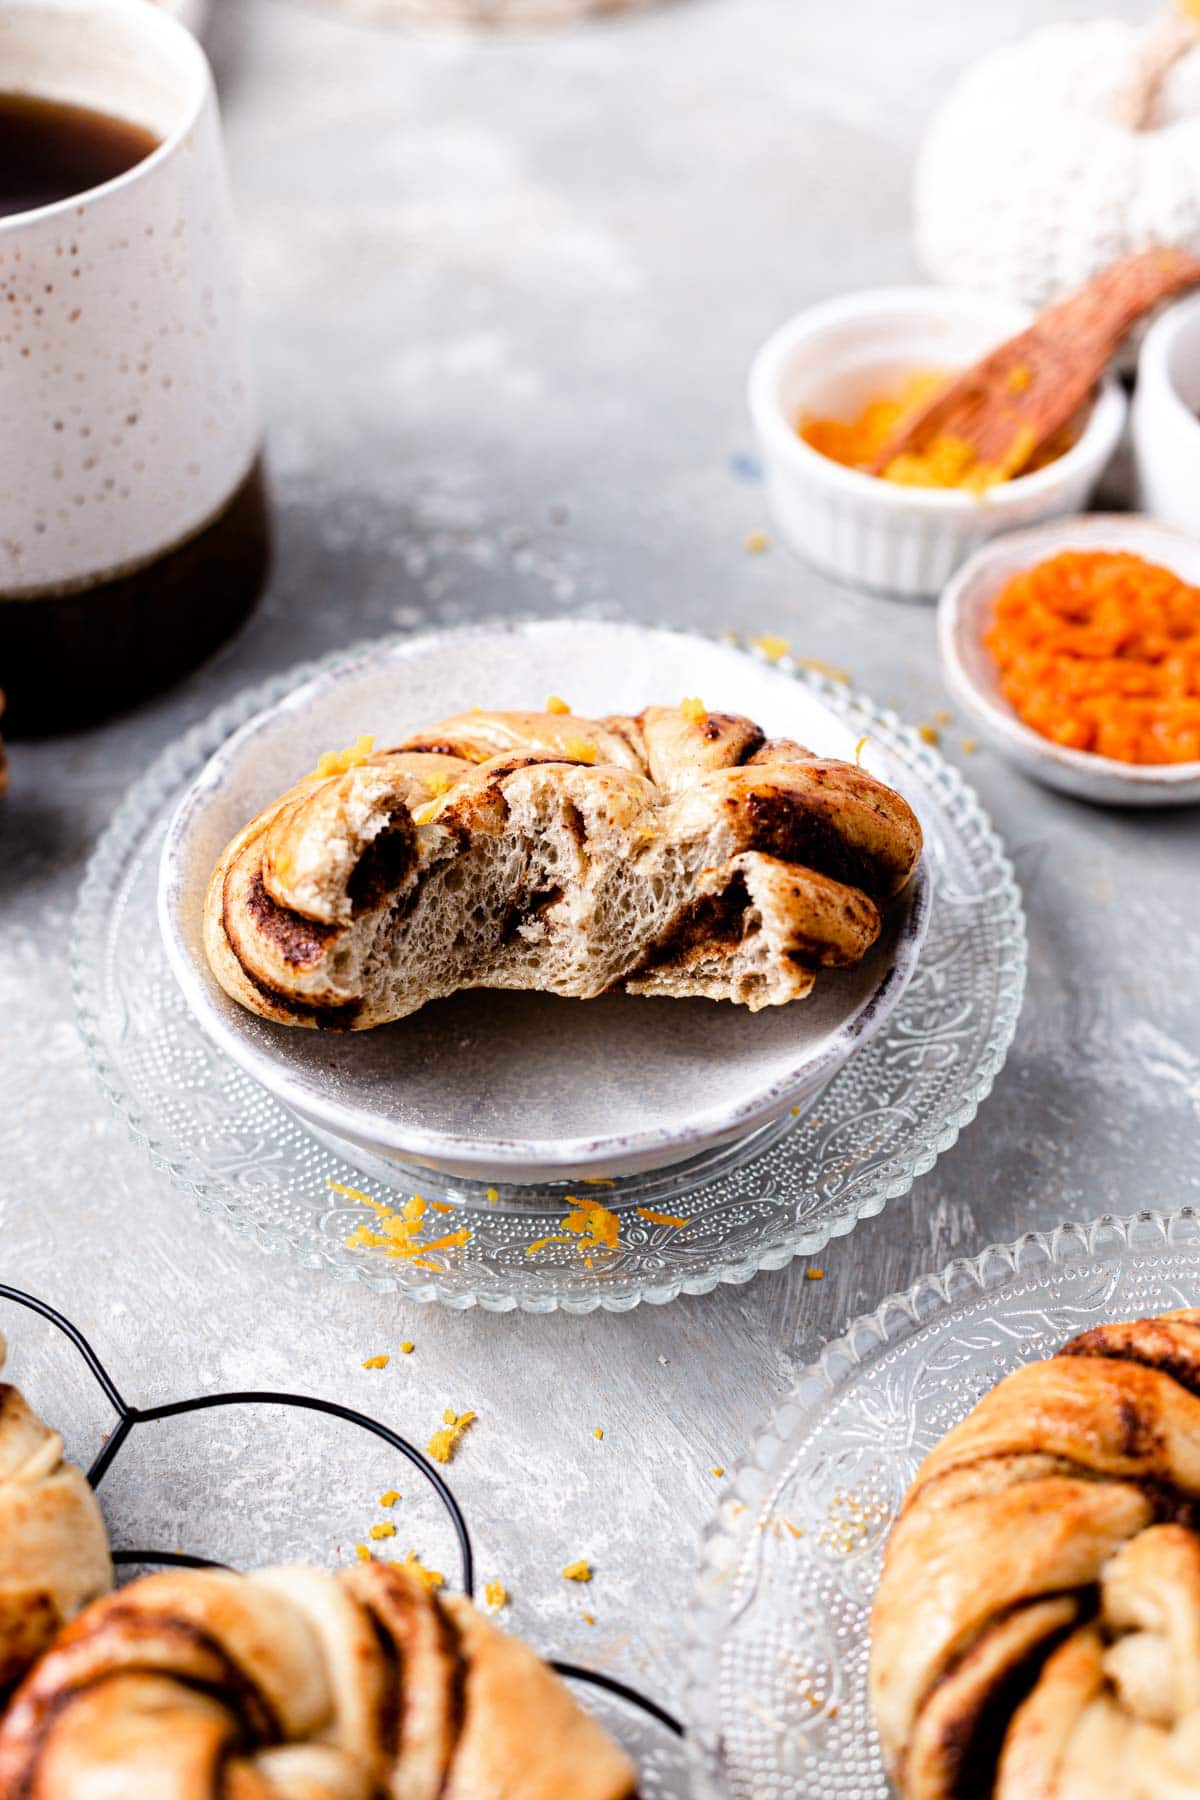
Firstly, don’t worry too much about creating the perfect knot. There are literally hundreds of ways to create a knot and every single one has its own charm.
If you’d like to create the exact bun shown in the images above, you will find detailed instructions in my orange cinnamon bun recipe.
Additionally, if you’d like to experiment with knot shapes, check out this YouTube video.
No matter what you end up doing, just remember to not stress over the shape - any knot shape will do.
Last but not least, if you’re struggling with the knot shape, you can find another super simple way to shape your bread buns here. This will not involve any shaping, but simply just rolling and cutting the dough.
The most common reason behind dry buns is overbaking. Leaving them in the oven for too long will dry them out a lot. It is important that you follow the recipe to the dot and avoid overbaking at all costs.
That being said, there are still a few things you can do to fix dry buns. Firstly, glaze them with a layer of your favourite jam (I recommend orange or apricot).
Secondly, pop them in the microwave for 10-20 seconds before serving.
You can store these buns in an airtight container at room temperature for around 3-4 days.
However, keep in mind that like any homemade bread, these will lose their moisture as time goes by.
I highly recommend eating them within the first two days. If you’re living on your own or in a small household you can also make a smaller portion.
Alternatively, you can also freeze them and re-heat in a microwave when ready to serve.
If your dough keeps sticking to the sides of your bowl or to your fingers, simply add 1 teaspoon of flour at a time.
If your dough seems too dry, simply add 1 teaspoon of water to the dough. Keep adding slowly until your dough sticks together and forms into a ball.
Keep kneading - ripped dough is usually the first sign of under-kneading.
Absolutely! You can make a smaller batch or a double, perhaps even triple the ingredients. It's completely up to you and won't affect the baking process in any way.
I personally haven't tried making these gluten-free yet. Once I do, I will update this recipe with any additional tips and tricks.
If you've tried making these gluten-free, I would be super interested in hearing how they turned out - let me know in the comments below or share your creation on Instagram.
Possible Ingredient Substitutions
Missing any ingredients for this recipe?
Then you might be interested in trying out my 3 other recipes that use the same bread dough (with minor adjustments), but different fillings.
Those are my orange cardamom knot buns, blueberry knot buns or lemon curd rolls.
Alternatively, here are some suggestions on how to replace common missing ingredients:
- Maple syrup: can be substituted for another liquid sweetener. I recommend agave syrup.
- Pumpkin puree: I used canned pumpkin puree (available in supermarkets in the US and widely available online in the UK). If pumpkin puree is not available in your area, you can follow this recipe for making your own pumpkin puree by my friend Ana.
That wraps it all up! Finally, if you've enjoyed making my vegan pumpkin rolls or have any questions about this recipe I would love to hear from you in the comments section below.

🍴Recipe
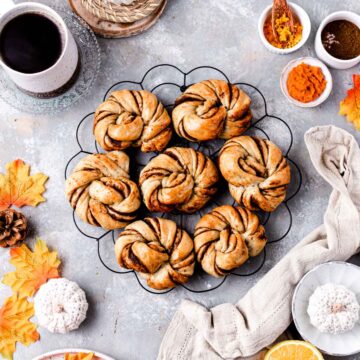
Vegan Pumpkin Rolls
Equipment
- Breadmaker (completely optional)
- Rolling Pin
- Measuring cups or scales
Ingredients
FOR THE BREAD DOUGH
- 100 ml (3.38 floz) plant milk lukewarm
- 100 ml (3.38 floz) water lukewarm
- 1 teaspoon brown sugar
- 2¼ teaspoon instant yeast equals one 7g bag of instant yeast
- 60 ml (2.03 floz) olive oil or any other vegetable oil
- 400 g (14.11 oz) strong white bread flour
- ¾ teaspoon ground cinnamon
- 1 teaspoon salt
- 2 tablespoon orange juice
FOR THE FILLING
- 1,5 tablespoon pumpkin pie spice or mixed spice
- 1 tablespoon dairy-free butter
- 4 tablespoon pumpkin puree
- 45 g (1.59 oz) brown sugar
- 1 tablespoon ground cinnamon
FOR THE GLAZE
- 1 teaspoon plant milk separately from the plant milk below
- 2 teaspoon plant milk
- 2 teaspoon maple syrup
Instructions
FOR THE BREAD DOUGH
- First, add lukewarm plant milk and water to a large mixing bowl.
- Then add the rest of the dough ingredients in the following order making sure that salt and yeast don't touch: sugar, yeast, olive oil, flour, cinnamon, and finally, salt. Leave out the orange juice for now.
- Next, it’s time to start bringing together all the ingredients. Once you've started mixing, add orange juice and form into a round dough.
- Knead for approx. 10 minutes (either in a breadmaker or by hand). By this point your dough should be elastic and you should be able to form it into a loose ball.
- Finally, cover your dough with a large damp cloth and let rise at room temperature for 1 hour until doubled in size. Make sure the cloth doesn’t touch your dough.
- In the meantime, prepare your filling (instructions below).
- After the 1hr has passed, sprinkle a dash of flour on a flat surface to make the rolling process smoother. Take your dough out, place it on a floured surface and and use your fists to knock it back. This will help release the extra air.
- Start rolling out your dough using a wooden or marble rolling pin. Roll out your dough until it measures approx. 0,5 cm in thickness (this is the equivalent of 0,2 inches).
- It’s time to add your filling (see instructions below). Spread it out equally across the surface.
- You will now need to fold your dough into thirds. Take the top third of your dough and carefully pull it over the second third. Finally, pull the lowest third of your dough over the second third to create a dough ‘pocket’. Press down the top gently.
- Cut dough into 12 equally-sized strips.
- Now is the time to form your knots (do not worry too much about the shape - create any knot of your choice). Hold one strip of dough, one hand at each end. Very gently stretch the strip length-wise to create a longer more compact strip of dough. Be careful not to squeeze it too hard as this might make the filling fall out. Hold the left end still whilst twisting the right end of the dough three times. Keep a hold of the left end of the dough and wrap the right end around the back of your fingers. Keep moving the right end to fold all the way around and over your left end of the dough. Finally, push the right end under the left to make your knot. .
- Place all your pumpkin rolls on parchment/baking paper.
- Once you’ve got your knot rolls ready, it’s time to brush them over with plant milk, cover in cling film and let rise for at least 45 minutes.
- In the meantime, pre-heat your oven to 356°F / 180°C fan oven (this is 392°F / 200°C in a non-fan oven).
- Once your second rise is finished, brush the rolls again with a mixture of plant milk (2 tsp) and maple syrup (2 tsp). Make sure to cover the entire top surface.
- Place the rolls in the pre-heated oven for 10 minutes, then open the oven door to brush them with your maple and milk mixture. Close the oven door and bake for further 6-8 minutes (making the total baking time 16-18 minutes) until golden brown and perfectly soft in the middle.
- Once baked, remove from the oven. Best enjoyed fresh out of the oven.
FOR THE FILLING
- Prepare your filling simply by pumpkin pie spice, butter, pumpkin puree, brown sugar and cinnamon in a small bowl. You can mix by hand using a spoon or a spatula. Cover the bowl and chill in the fridge until the first rise is complete.
Notes
- If your dough seems too dry and unable to form into a compact ball, add more water 1 teaspoon at a time.
- If your dough seems too sticky, add more flour 1 teaspoon at a time.
- If your dough keeps ripping, make sure to knead it a little longer .
- Do not forget to glaze the buns three times as outlined in the recipe.
- Make sure to chill your filling in the fridge for at least approx. 20 minutes.
- Give the buns enough time to rise. This means you’ll need to follow the recipe exactly as outlined and allow enough time for both the first and the second rise.
- Avoid overbaking at all costs - this will make your buns super dry.
- Store these buns at room temperature in an airtight container for approx. 3-4 days. Best eaten when fresh (within the first day).
Nutrition
Disclaimer: The nutritional information above is calculated automatically. The author of this post cannot guarantee 100% accuracy of this data.







Paula
I’m intolerant to all citrus so Can I leave the orange juice out? Or maybe replace with pumpkin purée?
Tajda Ferko
Hi Paula, sorry to hear you're allergic to all citrus, that must be annoying for you! I've made these without orange juice before and it worked fine. I would replace it with some more plant-based milk (like oat, almond, soy, etc). You could also replace it with half milk and half vinegar - this would give it a very slight acidic undertone that orange juice usually provides. Hope this makes sense! If you have any other questions don't hesitate to reach out and if you do make this I'd love to hear all about it! xx