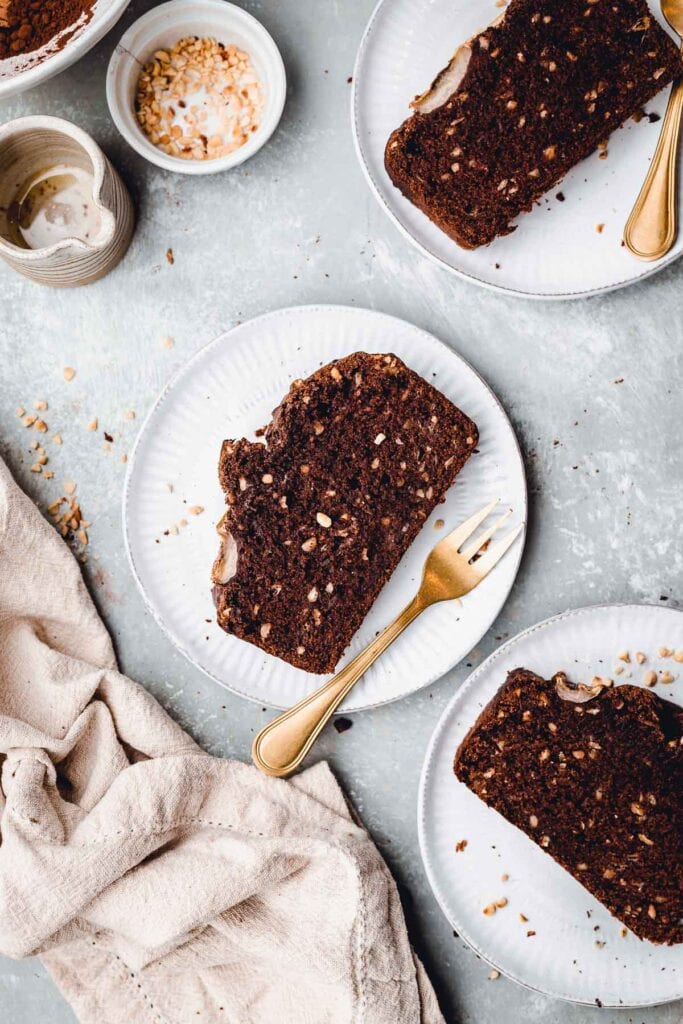
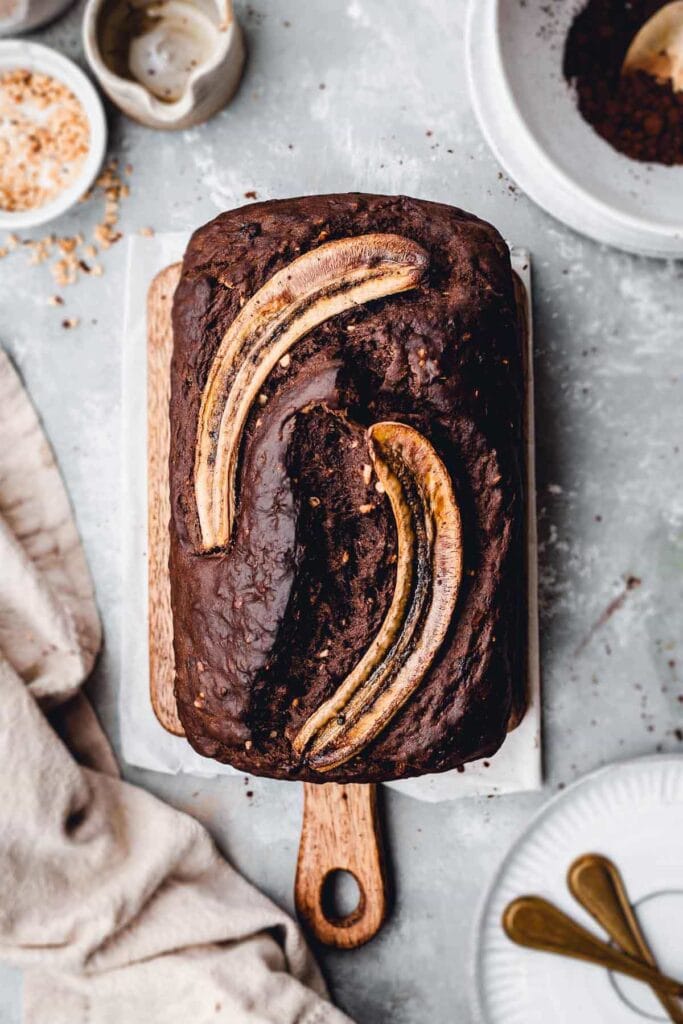
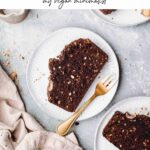
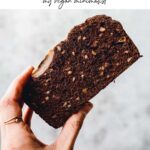
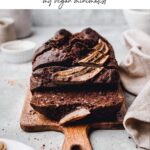
This vegan chocolate banana bread is packed with flavour and so easy you can even make it with your kids. It's a healthier, lighter version of traditional banana bread and can be served as breakfast, snack or dessert.
Why this recipe works
Wondering why you should pick this exact recipe? Let me tell you!
- Super fluffy and moist, what banana bread dreams are made of!
- The perfect way to use up those brown bananas.
- Customise this base recipe to your heart's content - add any spices or flavourings to create your perfect chocolate flavour combination.
- Easy and forgivable recipe
- The texture is absolutely spot on!
- This recipe is PACKED with helpful tricks and tips that will help you become a better baker.
And to make things ever better, you can find US and EU measurements below.
What goes into this recipe
Let’s pop the following ingredients onto our shopping list:
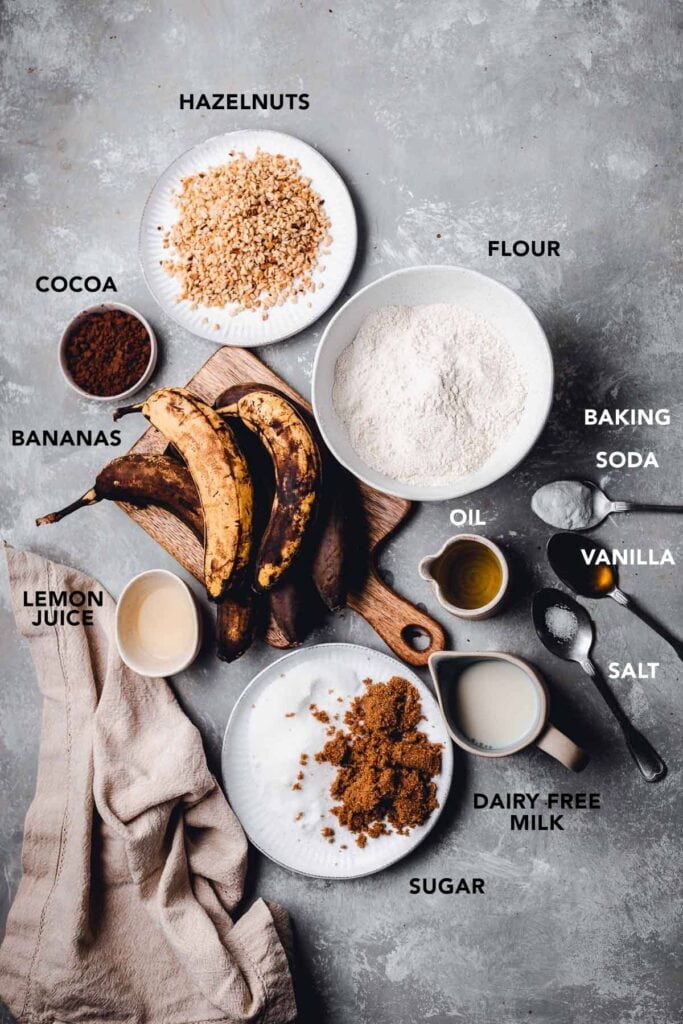
Hazelnuts: I used simple unroasted hazelnuts and chopped them very thin. These are optional, but highly recommended.
Dairy free milk: use any unsweetend and unflavour plant milk
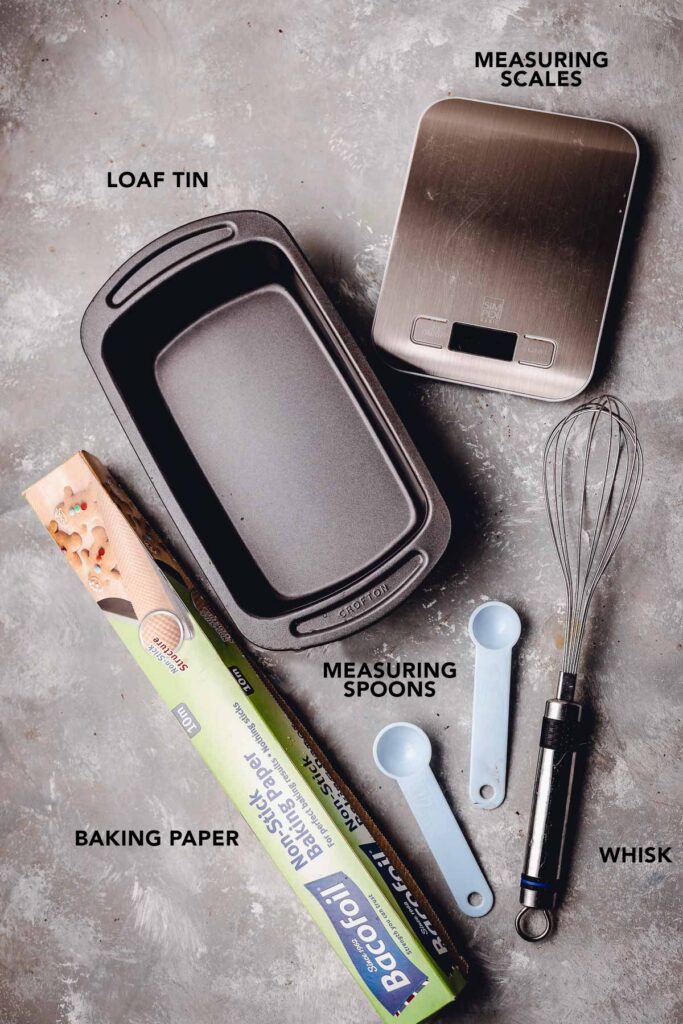
To make this recipe you will also need the following equipment:
How to make vegan chocolate banana bread
It's super easy and done in just 6 easy steps.
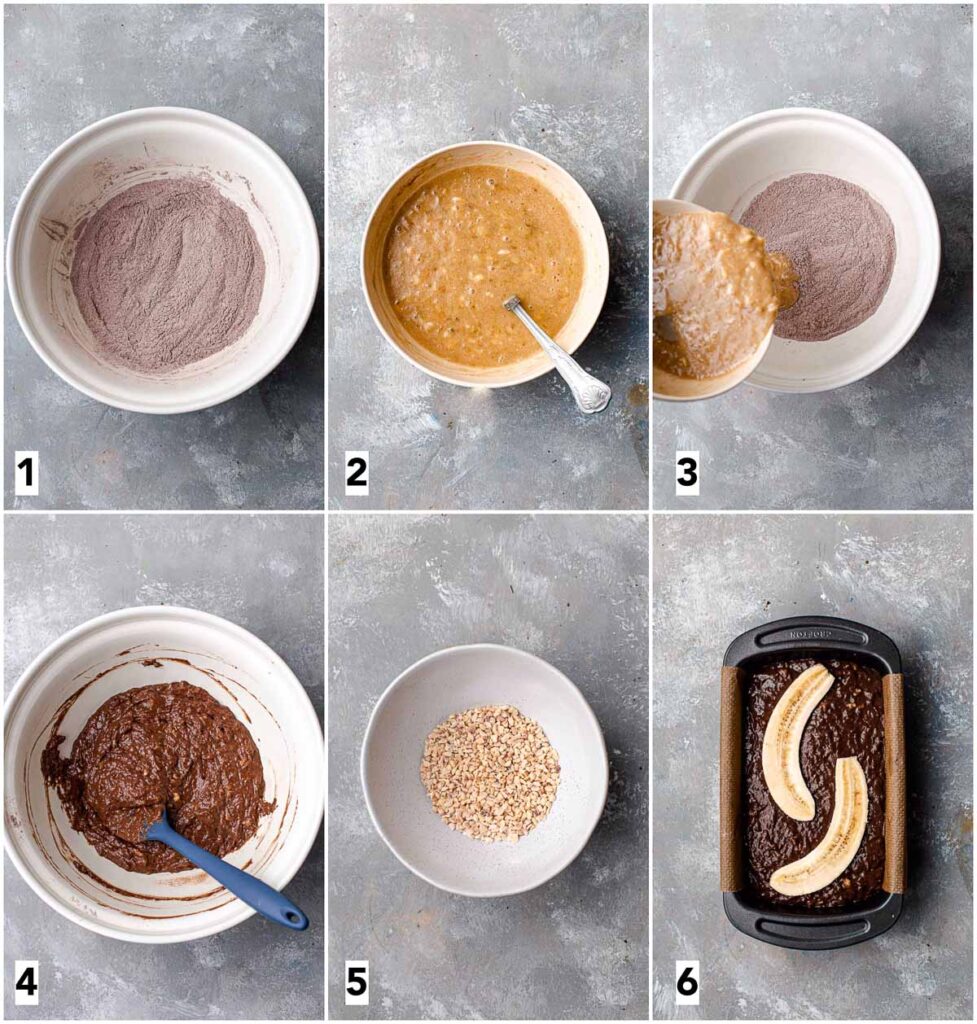
- In a medium-sized bowl, whisk together flour, soda bicarbonate, cocoa and salt.
- In a separate bowl, mash the bananas. Then add plant milk, vanilla, oil, sugar and lemon juice and mix.
- Add your wet ingredient mixture to your dry ingredients.
- Mix until combined - you'll get a rich, dark brown, shiny mixture.
- Optional step: chop your roasted hazelnuts. Cover them with a teaspoon of flour and add to your mixture. Mix again.
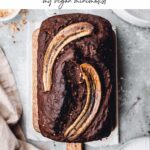
- Pour the mixture into a lined loaf tin. Decorate with sliced banana and bake for 55-60 minutes at 180°C (375°C) fan oven.
My Top Expert Tips
I really want you to nail this recipe in your first go. Best way to do that? Read these tips below - they will really help you out!
1. Use Ripe Bananas
Ripe bananas give the perfect hit of banana flavour and sweetness whilst not adding starch to your batter as unripe bananas are higher in starch. If you don’t have ripe bananas you can try and ripen them faster.
Alternatively, use your unripe bananas and add a little more sugar to your bread. The banana flavour won’t be quite as strong but the chocolate will still come through beautifully.
2. Keep Your Bread Fluffy and Light
Try not to overmix your batter. The more you mix, the more gluten will develop, making your bread dense, hard and not airy.
The banana bread should be light and crumbly, almost cake-like, so you want low gluten development. If you mix it a lot you will be able to feel it working against you and getting tougher.
If you start to feel that, immediately stop mixing. Try to mix everything until just combined and the baking soda and self-raising flour will do the rest.
3. Coat Your Nuts with Flour
If you're adding nuts to your recipe (which I do recommend), always make sure to coat them in a teaspoon of flour before adding to your mixture. This will make sure they are evenly distributed throughout your bread.
4. Fix Your Dry Banana Bread
Your banana bread can be dry if you've left it in the oven for too long. It can also be dry if you've measured the cocoa wrong and added too much into the bater.
The good thing? You can still fix it even after baking. Simply warm it up in the microwave just before serving. This will take away some of the dryness. Then, top the bread with more fresh banana slices (or other fruit) and spread with jam or peanut butter for added moisture and freshness.
FAQs
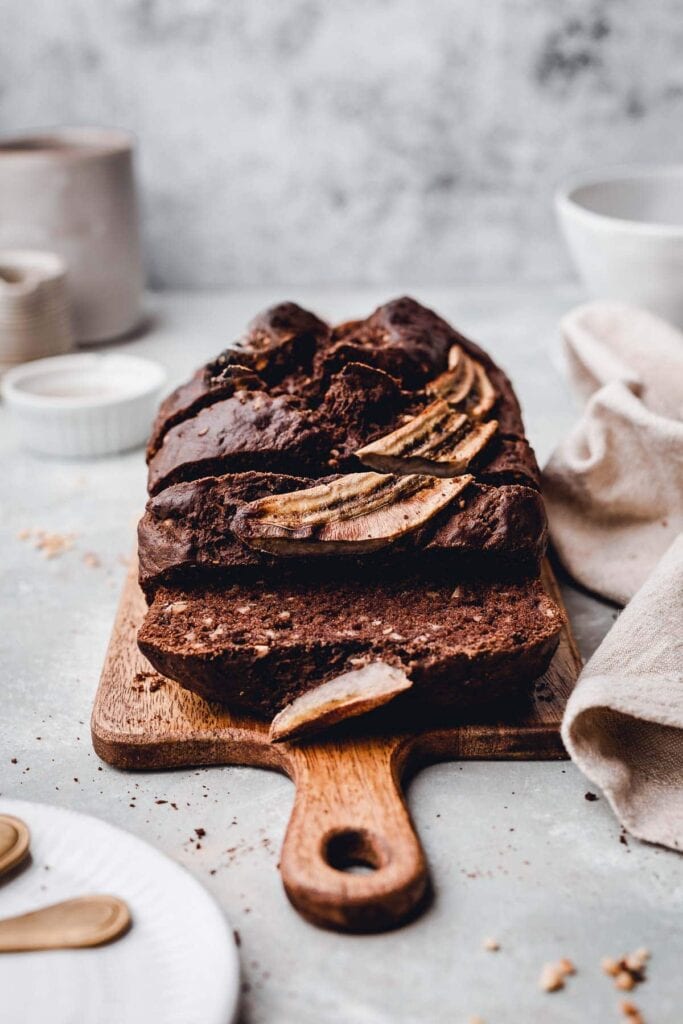
Too much raising agent or not enough baking time can cause your bread to rise in the oven but sink once it’s come out. Always check if the bread is cooked by inserting a skewer in the middle. If it comes out clean it’s cooked.
Bananas have a nasty habit of making your bread seem cooked when in reality, it isn't. If you're not entirely sure that the metal skewer comes out clean, bake for an extra 5 minutes to make sure it's cooked all the way through.
Too much liquid or not enough baking time might cause a wet dough.
If your bread has sunk in the middle then the problem is usually short baking time. However, if it has a dome on the top of the loaf after about 10 mins of cooling then the problem is usually too much liquid in the dough.
There might be a little too much banana or almond milk in, but you can still fix that. Depending on how wet your cooked banana bread is, you can slice it up whilst still warm and cool in slices which will evaporate some excess moisture. Then store and pop in the toaster for 30 seconds or so before serving.
Over-mixed dough can inhibit the rise and fluffiness of the banana bread. For your next bake, try not to over-mix your batter and instead stir until all ingredients are just combined.
You want to store the banana bread in an airtight container for up to 3 days at room temperature (the high fruit content will mean it won’t keep longer than that). It will keep up to 5 days in the fridge but will become less moist as time goes by.
Yes! This recipe is ideal for portion size freezing. Once baked, leave your bread to cool and cut into portion-sized slices. Wrap the individual slices in clingfilm and store in an airtight container for up to a month.
When you are ready to eat your banana bread, defrost in microwave for 20-30 seconds, perfect for breakfast.
Find more details on how to cook the centre and ensure your banana bread is done here and here.
Possible Variations
Don’t have all the ingredients in the cupboard or just want to experiment a little? Here are my tips on how to substitute some main ingredients of this fail proof chocolate banana bread.
- SUGAR – either caster sugar or muscovado sugar will work in this recipe as it's very forgiving. Just make sure to keep the total weight of the sugar the same (for those using US cup measurements caster sugar weighs more per cup than muscovado so keep that in mind and weigh the sugar out instead). Caster sugar only will create a slightly crispier top whilst muscovado only will give you a more rich, caramelly flavour.
- OIL – if you don’t have olive oil you can add in any vegetable oil like rapeseed or sunflower oil. I recommend an oil that does not have too strong a flavour as you want the main banana and chocolate flavour to really come through.
- SODA BICARBONATE – Don’t have any baking soda? Don’t worry you can substitute soda for baking powder. It will give a slightly lower rise but will not affect the taste, still creating a deliciously chocolatey banana bread.
- ALMOND MILK – Any plant based milk will work in this so feel free to use your favourite milk or whichever you have available.
- ALTERNATIVE FLAVOURS – Toasted almonds would work equally well but you can add in any nuts to this recipe. For the ultimate autumn banana bread, add some all spice (or pumpkin spice) and the bread will taste just like a pumpkin spice hot chocolate. For the Pimm’s or Terry’s chocolate Orange lovers out there, add in some orange essence and you’re ready to go.
Any other ingredients you’re missing at the moment? Get in touch via the comments below and I’ll see if I can find a good substitution for you.
If you like me banana bread, I'm sure you'll also want to try out my oat milk pancakes, blueberry muffin and super easy vegan chocolate shortbread.
If you made and liked my chocolate banana bread I would really appreciate it if you left a comment or a rating below. And if you're looking for more delicious vegan recipes, why not check out my Pinterest, Instagram or Facebook pages for more.
🍴Recipe
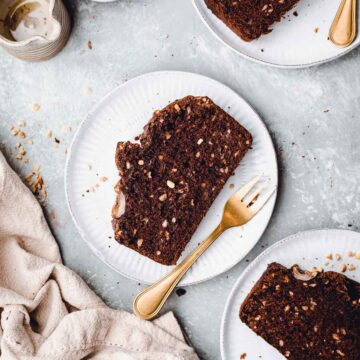
Vegan Chocolate Banana Bread
Equipment
- Whisk
- Baking paper
- Measuring scales
- Measuring cups
Ingredients
- 225 g (7.94 oz) self-raising flour
- 1 teaspoon soda bicarbonate aka baking soda
- 4 tablespoon cocoa powder
- ¼ teaspoon salt
- 320 g (11.29 oz) banana mashed - this should equal 4 medium-sized bananas
- 90 ml (3.04 floz) unsweetened almond milk or other unsweetened dairy free milk
- 1 teaspoon vanilla extract
- 80 ml (2.71 floz) olive oil or other vegetable oil such as sunflower, rapeseed, hemp oil
- 30 g (1.06 oz) caster sugar
- 30 g (1.06 oz) light muscovado sugar
- 1 tablespoon lemon juice
- 50 g (1.76 oz) roasted hazelnuts or other nuts of choice
- 1 teaspoon plain flour to coat your nuts
- 1 banana optional topping
Instructions
- Pre-heat fan oven to 180°C (375°C) and grease a loaf tin with a light layer of oil and baking paper.
- In a large bowl whisk together flour, soda bicarbonate (baking soda), cocoa and salt.
- In a separate bowl, mash bananas using a fork. Add almond milk, vanilla, oil, sugar and lemon juice and mix.
- Add banana mixture to your flour mixture little by little and mix until just combined.
- Optional: Roughly chop your roast hazelnuts and coat them in a teaspoon of flour. Add them to your batter and stir (try and stir as little as possible).
- Pour the mixture into your greased loaf tin. Decorate with a sliced banana on top and bake for 55-60 minutes until a wooden/metal skewer inserted in the middle comes out clean.
- Remove from oven and cool in the af tin for 15 minutes then transfer to cooling rack to cool fully.
Notes
Nutrition
Disclaimer: The nutritional information above is calculated automatically. The author of this post cannot guarantee 100% accuracy of this data.




Trish
Definitely going to make this. Can you please tell me the size of the loaf tin that you used?
Thanks.
Tajda Ferko
Hi lovely, my loaf tin measures 20x13cm (7,8x5,1 inch). Added that to the recipe now 🙂 Good luck baking and let me know how it turns out x
Trish
Fantastic! Made this today. Fluffy and moist. Easy for a non-baker like myself. Subbed oat milk, walnuts and 23x13cm pan. Needed the full 60 minutes. Will definately make this again.
Tajda Ferko
Ohh thank you Trish, that's absolutely amazing! Really happy it worked so well for you - oat milk is a great idea! Have a lovely weekend x
Szilvia
My second time making it and it is amazing!! I made it with walnuts first time but i think the roasted hazelnuts are even better! xx
Tajda Ferko
Thank you so much for your lovely review Szilvia, I'm so glad to hear you enjoyed the recipe! xx
Toni
Absolutely loved this recipe and found the whole step by step process easy to follow.
Thank you xx
Tajda Ferko
Thank you so much for the beautiful review Toni! Glad you found the step-by-step photos helpful! x
Gary
Baked this too.
Think I need help your site as become an addiction.
Again it turned out lovely and as per your images.
Thanks
Tajda Ferko
Haha, sorry about that Gary! Didn't mean to cause an addiction haha. Happy to hear the bread turned out so well!