These homemade dried lemons (or dehydrated lemons) are SUCH a great addition to bakes, drinks & even gift wrap! They store easily in an airtight container and make a great handmade present.

Jump to:
Not only does dried citrus look SUPER cute, it's also such a fun DIY project that will turn your kitchen into a mini lemon orchard.
Whether you add these dried lemons to my gorgeous vegan lemon cake or homemade lemon tea, they will bring a burst of zesty sunshine into your home!
💌 Why I Love This Recipe
- A great garnish - it makes every dish look spectacular.
- Zero waste - a great way to reduce food waste.
- Super easy - way simpler to make than you think!
- Versatile hero - perfect for homemade teas, cocktails & mocktails.
- Powder up - dried lemon slices can be blended into powder to make a zesty vitamin C powerhouse.
🛒 Ingredients
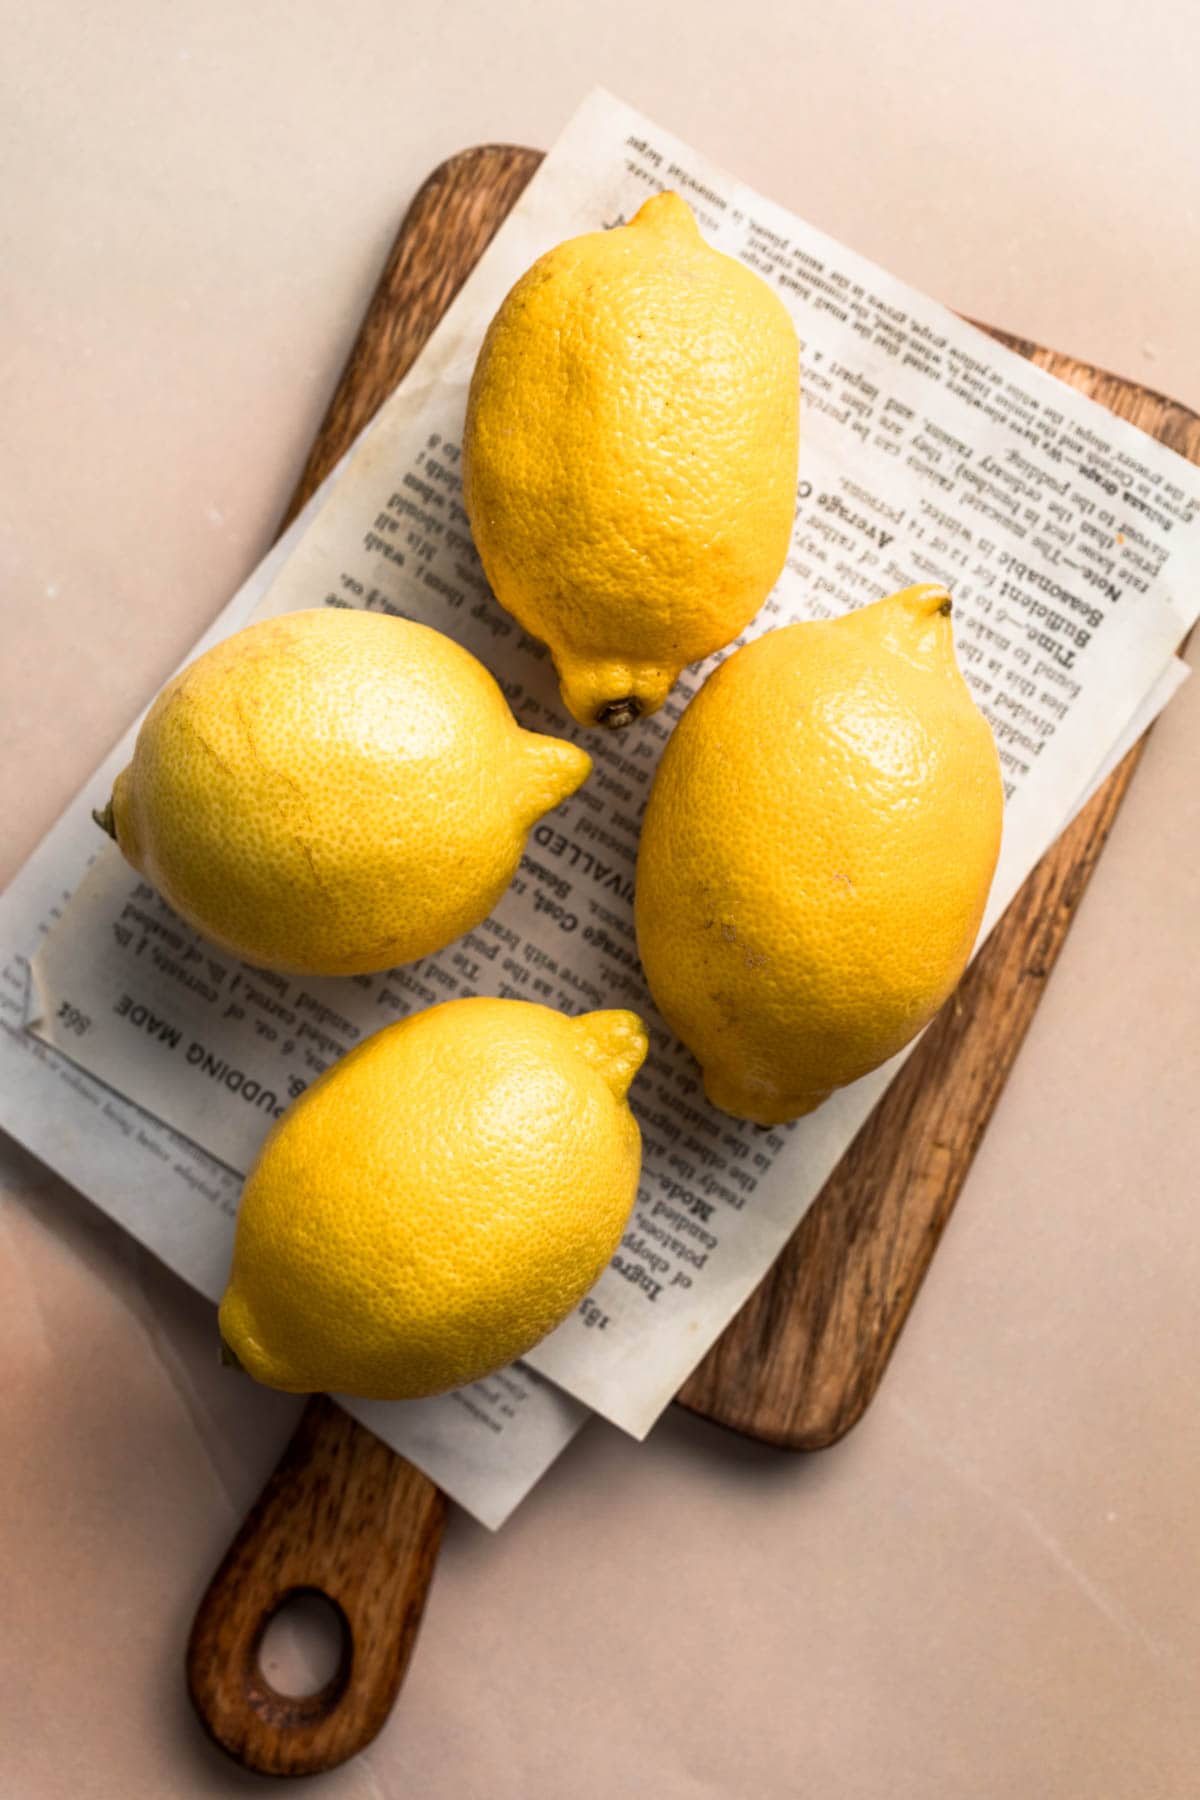
- Fresh, unwaxed lemons. Opt for fresh, unwaxed lemons. You can use organic lemons if preferred. Wash and scrub well. Then, dry them thoroughly.
🔪 Equipment
- Sharp knife
- Cutting board
- Parchment paper (baking paper)
- Large baking sheet
- Cooling rack (optional)
- Airtight containers or jars
👣 Step-by-step
Before you start, preheat the oven to the lowest possible temperature, preferably 170°F (75°C) and make sure to use a convection oven (fan oven) setting.
Line a large baking sheet with parchment paper. This will prevent the lemon slices from sticking together and make cleanup a breeze.
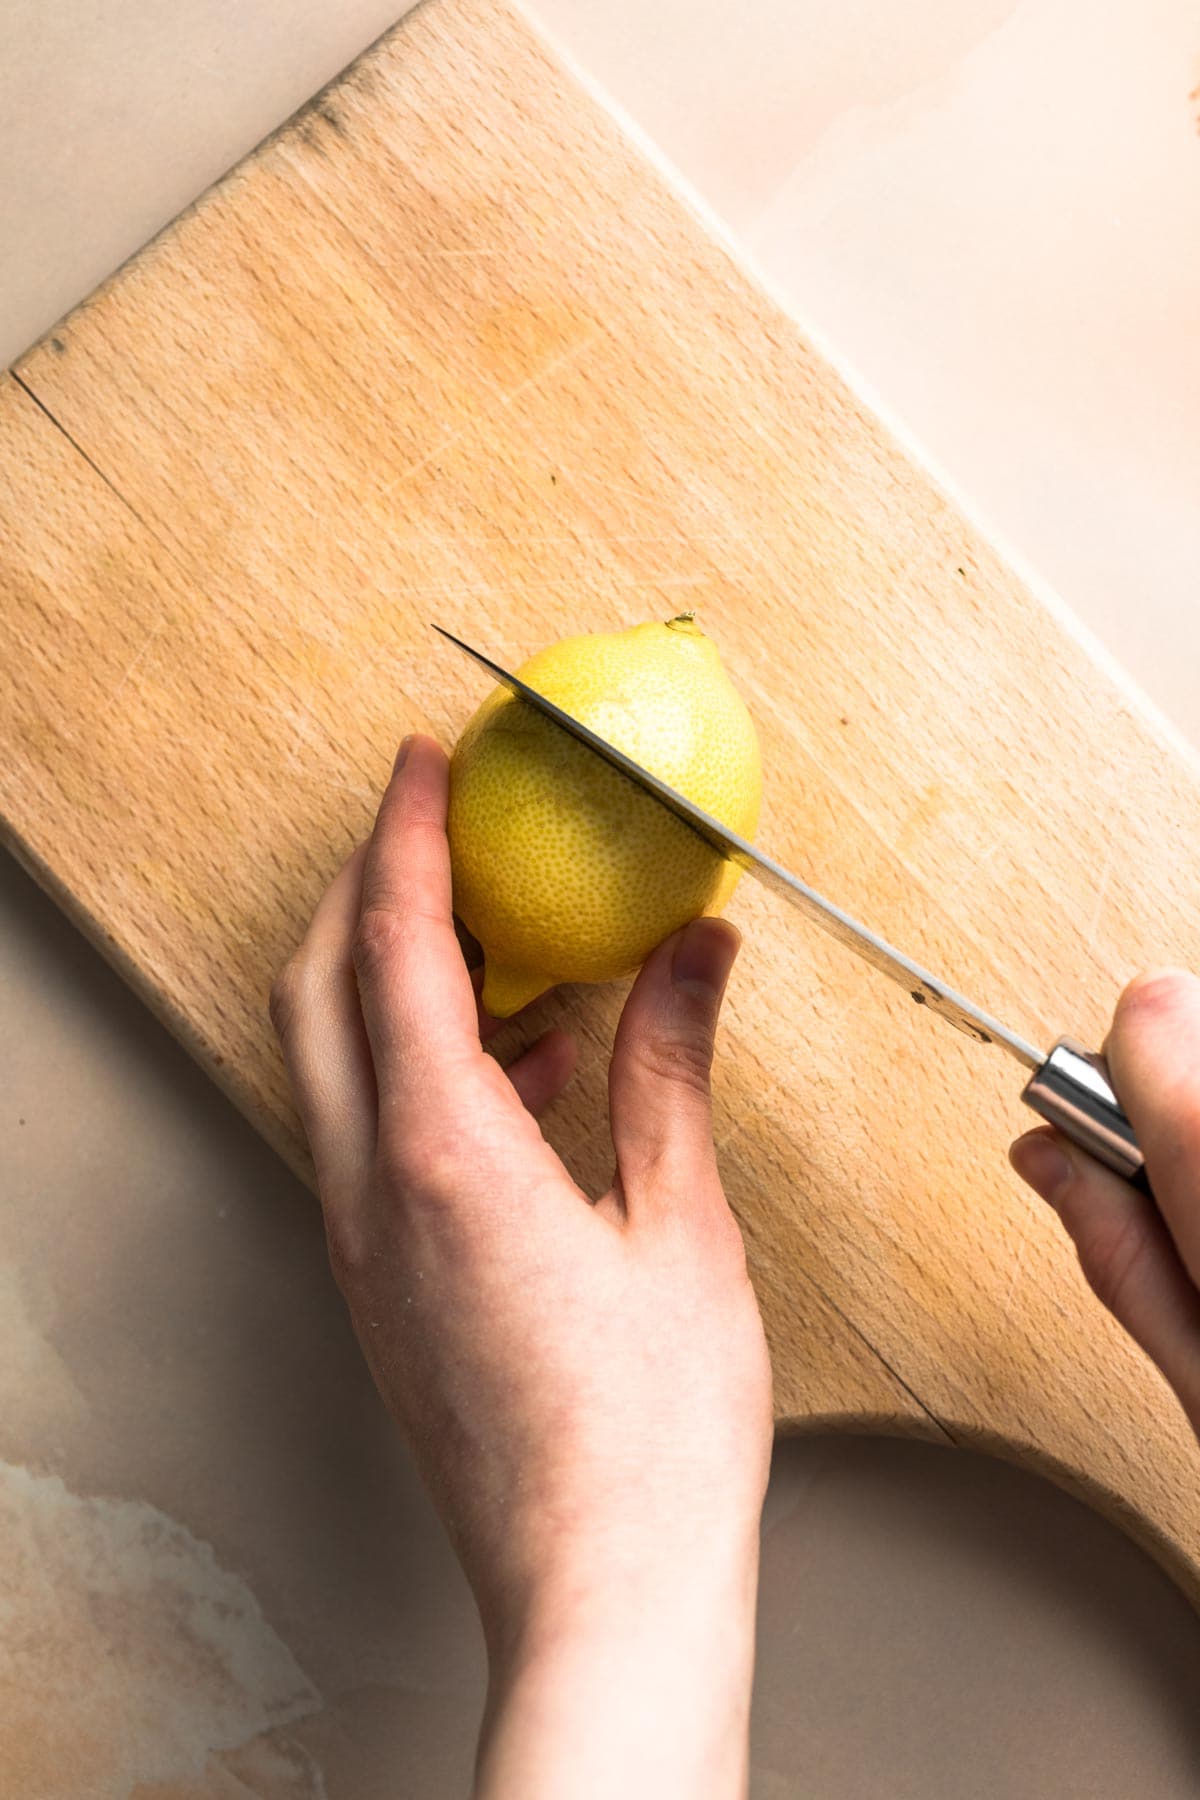
Step 1: Thin Slices. With your sharp knife, slice the lemons into thin and even rounds. You can also use a mandolin slicer. Discard the ends. Aim for slices around ⅛ to ¼ inch (0.3 to 0.6 cm) thick.
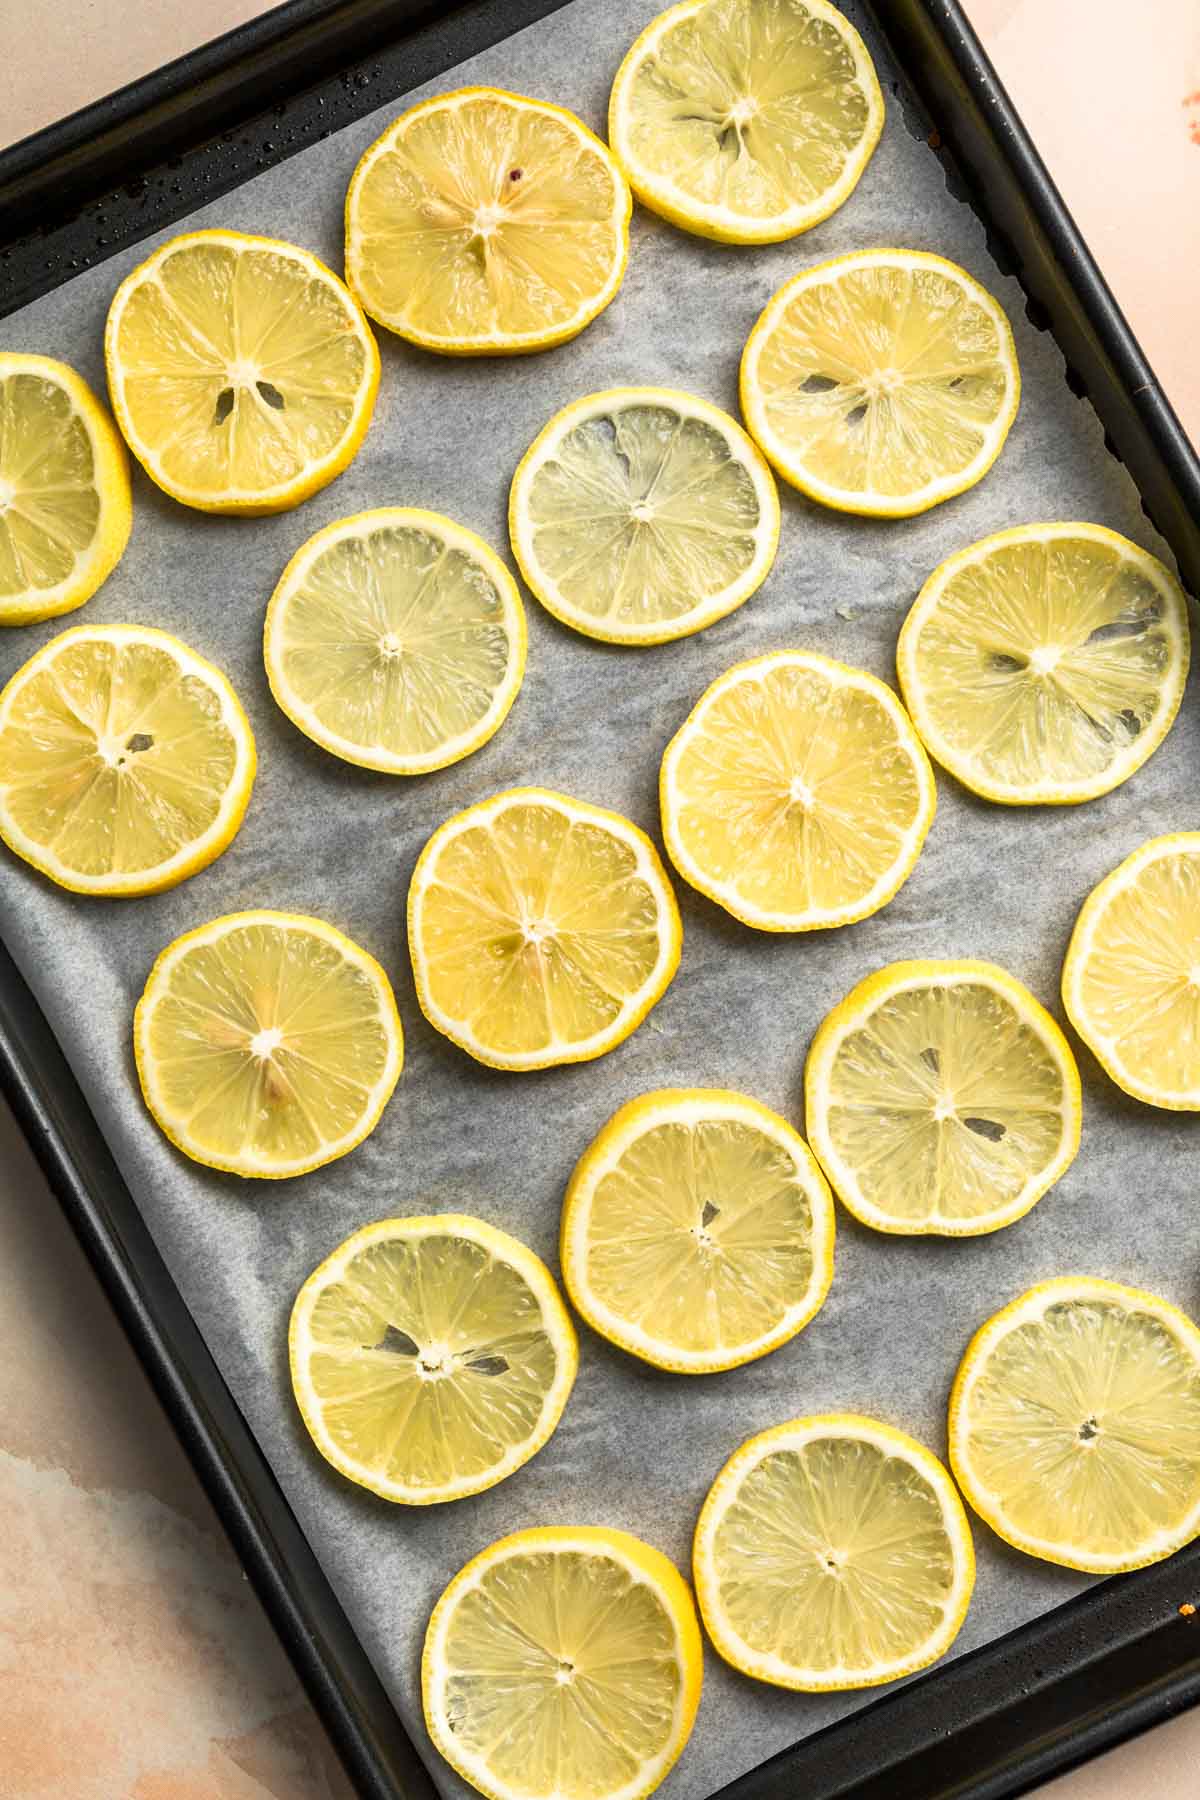
Step 2: Arrange the Slices. Lay the lemon slices on the parchment paper in a single layer, ensuring they don't overlap. This allows for proper air circulation and even drying. Place in the oven and let the magic happen for 4 to 6 hours, depending on the size of the slices.

Step 3: Check & Flip. You'll need to keep an eye out and gently flip the lemons halfway through baking. They should have lost a lot of the moisture by now. Return to the oven.
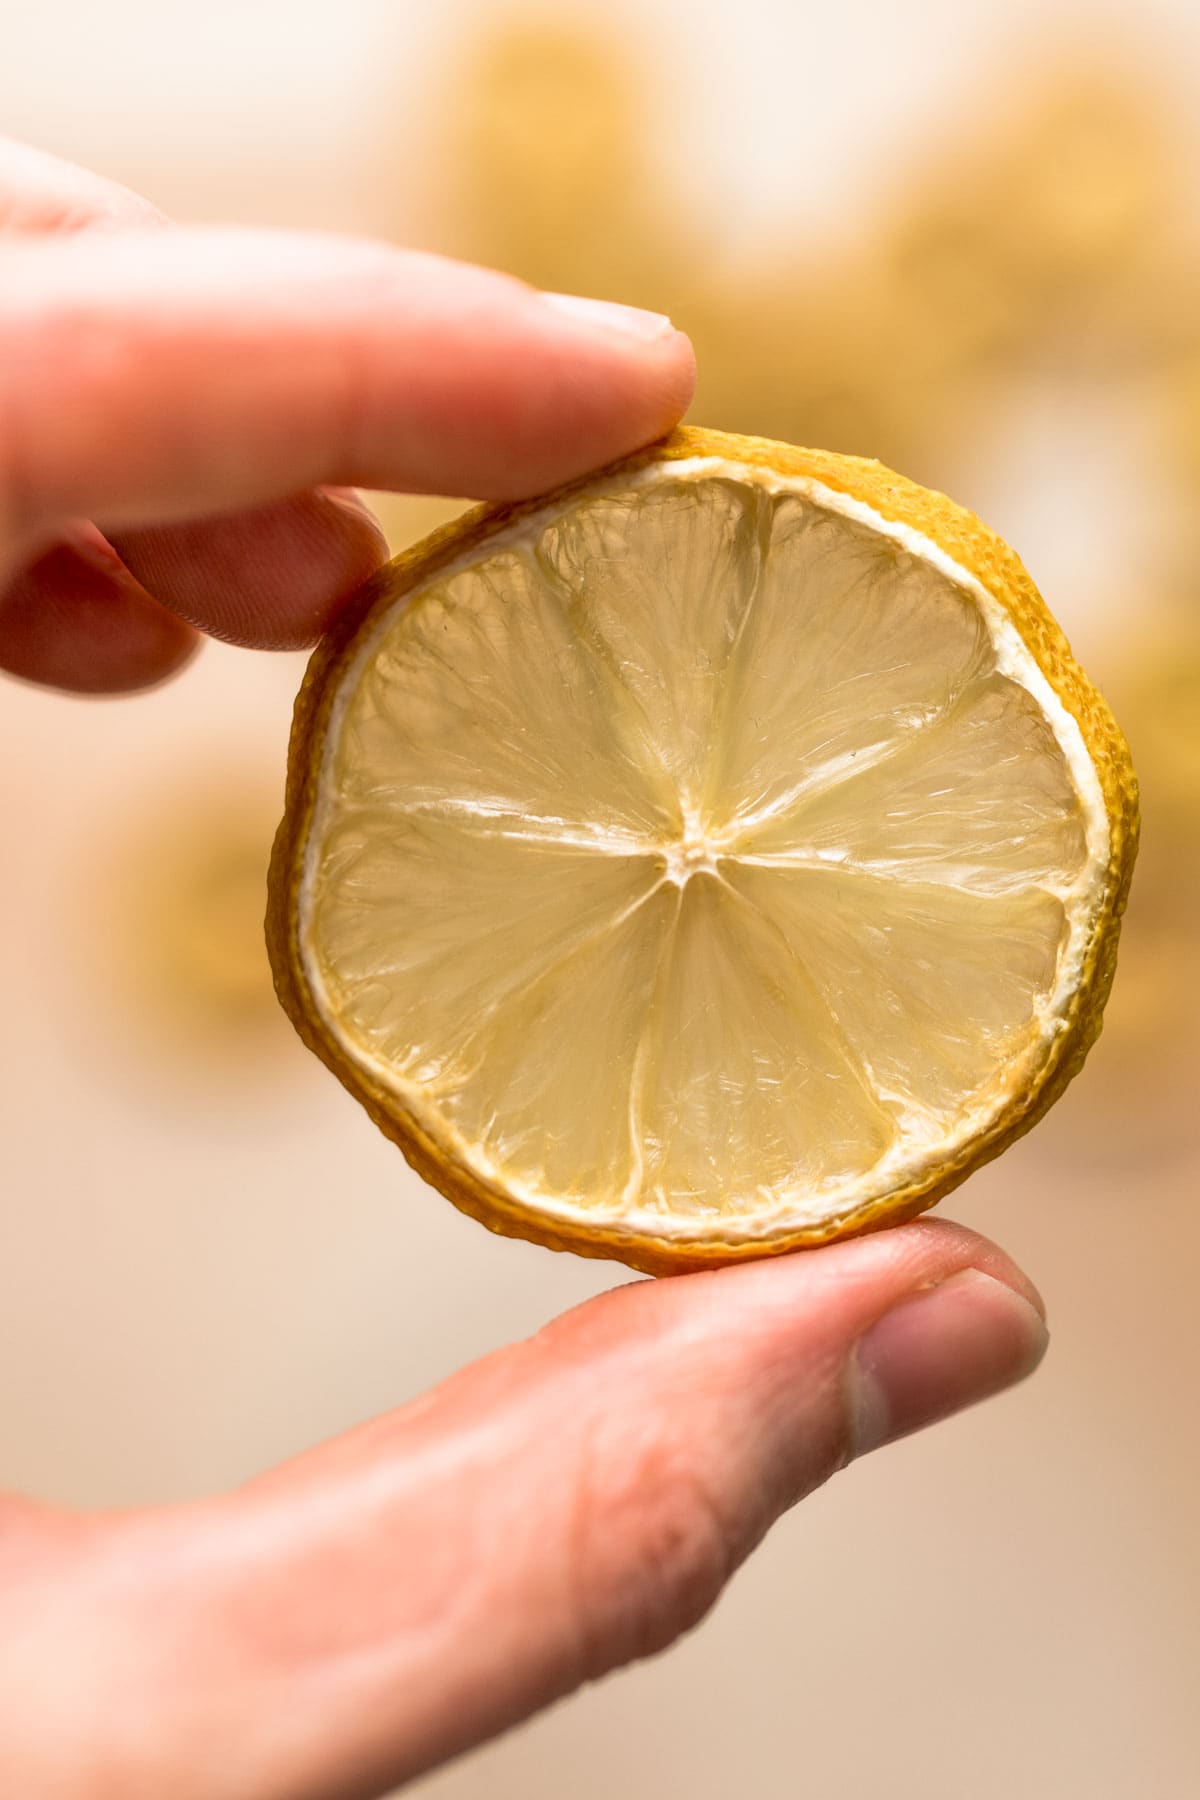
Step 4: Cool Down. Once dry, remove the slices from the oven and transfer them to a wire cooling rack. This will help them cool faster & dry them out a little bit more.
Reminder - Remember that drying these out completely to remove any moisture is crucial if you want to store them for longer. If moisture is still left, they will develop mold. An easy way to test for moisture content is to press a kitchen towel on them gently. If the kitchen towel is still moist, pop the slices back in the oven.
👨🍳 Chef’s Tips
- Even Slices: Aim for consistency in slice thickness. The thinner the slices, the quicker they will dry.
- Size is Key: Slice your lemons into rounds that are similar in size. This will ensure they dry at the same rate.
- Parchment Magic: Using parchment (baking) paper will prevent the slices from sticking and make cleanup a breeze.
- Mind the Gap: Avoid overlapping the lemon slices on the baking sheets.
- Low and Slow: You might be tempted to increase the oven temperature to speed things up. This will burn the slices quickly.
- Keep an Eye: You'll need to keep an eye out on these and check them at least once every hour.
- Flip for Consistency: Flip the lemon slices halfway through the drying process. This guarantees even baking, preventing any sticky spots.
- Cool It Down: Your lemon slices should be completely cool before you add them to storage containers. This prevents condensation and maintains their crispness.
- Zesty Delight: When they're done, you can sprinkle them with some lemon zest!
- Blend it Up: Dried lemons can be pulverized into a zesty lemon powder using a blender – perfect for seasoning!
❓ Frequently Asked Questions
No, I don't recommend removing the seeds, as this will make the slices more likely to burn due to the uneven surface.
However, don't sweat it if a few seeds fall out anyway - that's completely fine.
The slices should be firm, slightly translucent, and dry to the touch. They shouldn't feel sticky or soft at all.
Absolutely. However, every dehydrator works differently, so make sure to follow the instructions for temperate and timings.
Sure! This method also works for
- oranges
- limes
- Meyer lemons
- blood oranges
- black limes
- grapefruit
- tangerines
If you're making different dehydrated citrus slices, remember that baking time varies. Larger fruit slices will require a longer time in the oven.

🍽️ Serving Ideas
Dry lemons have a stronger citrus taste than fresh lemons, often making them too strong to eat raw.
But you can still use them in a myriad of different ways!
- Steep them in hot water for a refreshing, lemony tea.
- Add them to this zesty homemade lemon ginger tea (or your other favorite fruity tea)
- Cut them up into smaller pieces and add them to soups or stews.
- Use them to decorate your favorite iced drink like my ACV and lemon drink.
- Add them to desserts (cakes, cupcakes, pies, ice cream, etc.) for a gorgeous finish.
- Blend them up into powder and use it to rim your cocktail/mocktail glasses with
One of my favorite ways to use them is to add an extra decorative touch when wrapping gifts. Use a twine or a ribbon to secure them to the package tightly. You can even add them to your Christmas tree or wreath.
📦 Storage Tips
- Transfer cooled-down slices to an airtight container like a mason jar or any other glass jar.
- Store in a cool and dry place at room temperature.
- Keep away from direct sunlight.
- For longer shelf life, consider vacuum-sealing the slices.
When completely dried & stored properly, these should last for up to 6 months.
👋 Conclusion
Voila! You've just transformed humble lemons into a versatile flavor powerhouse.
Got any questions? Get in touch via the comments section below. I'm always happy to help out and answer any questions you might have about these dried lemons.
Tried this dried lemons recipe? I would SO appreciate it if you could leave a star rating below.
🍴Recipe

Homemade Dried Lemons - How To Make Lemon Slices
Equipment
- Sharp knife
- Cutting board
- Parchment paper
- Large baking sheet
- Cooling rack optional
- Airtight containers or jars
Ingredients
- 3-4 whole lemons
Instructions
- Before you start, preheat the oven to the lowest possible temperature, preferably 170°F (75°C), and use the convection oven setting (also called fan oven).
- Line a large baking sheet with parchment paper. This will prevent the lemon slices from sticking together and make cleanup a breeze.
- With your sharp knife, slice the lemons into thin and even rounds. You can also use a mandolin slicer. Discard the ends. Aim for slices around ⅛ to ¼ inch (0.3 to 0.6 cm) thick.
- Lay the lemon slices on the parchment paper in a single layer, ensuring they don't overlap. This allows for proper air circulation and even drying. Place in the oven for anywhere between 4 to 6 hours depending on the size of the slices.
- You'll need to keep an eye out and gently flip the lemons halfway through baking. They should have lost a lot of the moisture by now. Return to the oven.
- When done, the slices should be firm, slightly translucent, and dry to the touch. They shouldn't feel sticky or soft at all.
- Remove the slices from the oven and transfer them to a wire cooling rack. This will help them cool faster & dry them out a little bit more.
Notes
- Tip 1: Aim for consistency in slice thickness.
- Tip 2: Slice your lemons into rounds that are similar in size.
- Tip 3: Don't increase the oven temperature in an attempt to speed things up.
Nutrition
Disclaimer: The nutritional information above is calculated automatically. The author of this post cannot guarantee 100% accuracy of this data.


Leave a Reply