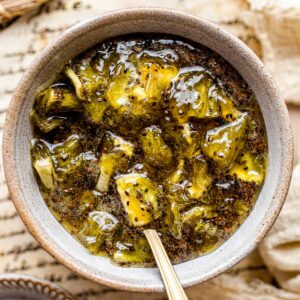
This homemade kiwi jam recipe is sweet and tangy, made from just 4 simple ingredients. It's a beginner-friendly kiwi preserve perfect for summer or winter months.
Jump to:
💌 Why I Love This Recipe
Kiwi lovers, rejoice. It doesn't just look cool; it's a real party for the tastebuds.
- Kiwi's Flavor: Kiwi's unique flavors are a star of the show, making it a delightfully distinctive jam option.
- Versatility: Kiwi jam pairs wonderfully with everything from pancakes to fresh bread and crackers.
- Lower Sugar: This recipe uses less sugar than most traditional jam recipes, letting the true kiwi flavor take center stage.
- Personal Touch. Makes lovely thoughtful gifts for fellow foodies.
🛒 Ingredients
To prepare homemade kiwi jam, you'll need the following ingredients:
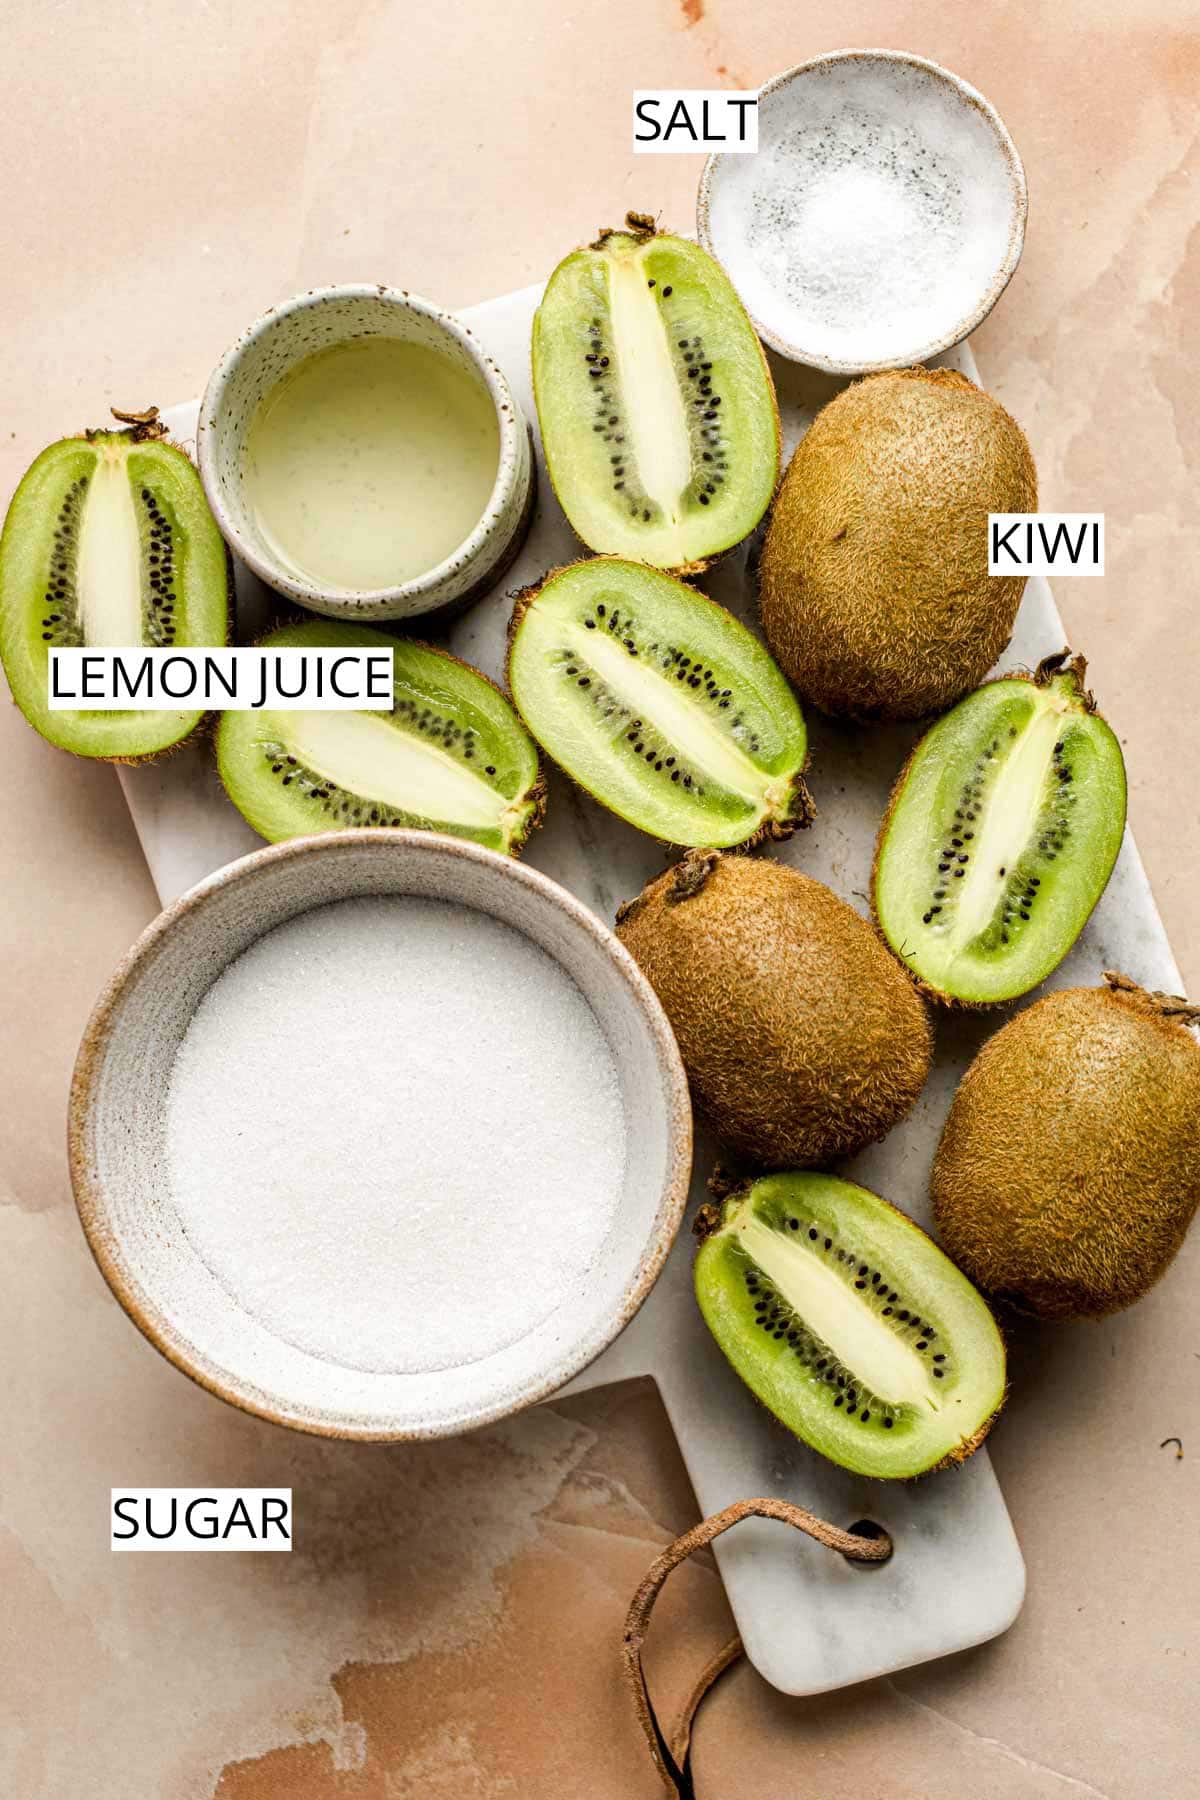
- Kiwi. Choose ripe green or gold kiwis. To check for ripeness, give the kiwi a little squeeze. It should be slightly squishy (not rock-hard).
- Lemon. Balances the flavors by adding acidity and contains natural pectin, helping the jam set.
- Salt. Just a pinch enhances the natural fruit flavors and balances out the sweetness.
- White sugar. Acts as a preservative and helps achieve the right jam consistency. I used white granulated sugar (also called refined or table sugar).
Green tip - If you don't have lemons but do have other citrus fruit, you can use that as the replacement. I encourage you to use up whatever you have at home - freshly squeezed orange or lime juice works just as well.
🔪 Equipment
Start your jam-making adventure with these tools.
- Knife & chopping board - for preparing the kiwi.
- Pot or saucepan - opt for a heavy-bottomed pan to prevent burning.
- Potato masher - optional.
- Immersion blender - optional for a smoother jam.
- Clean jars with lids - for storing the jam.
👣 Step-by-Step
Let's dive into the step-by-step process of making homemade kiwi jam:
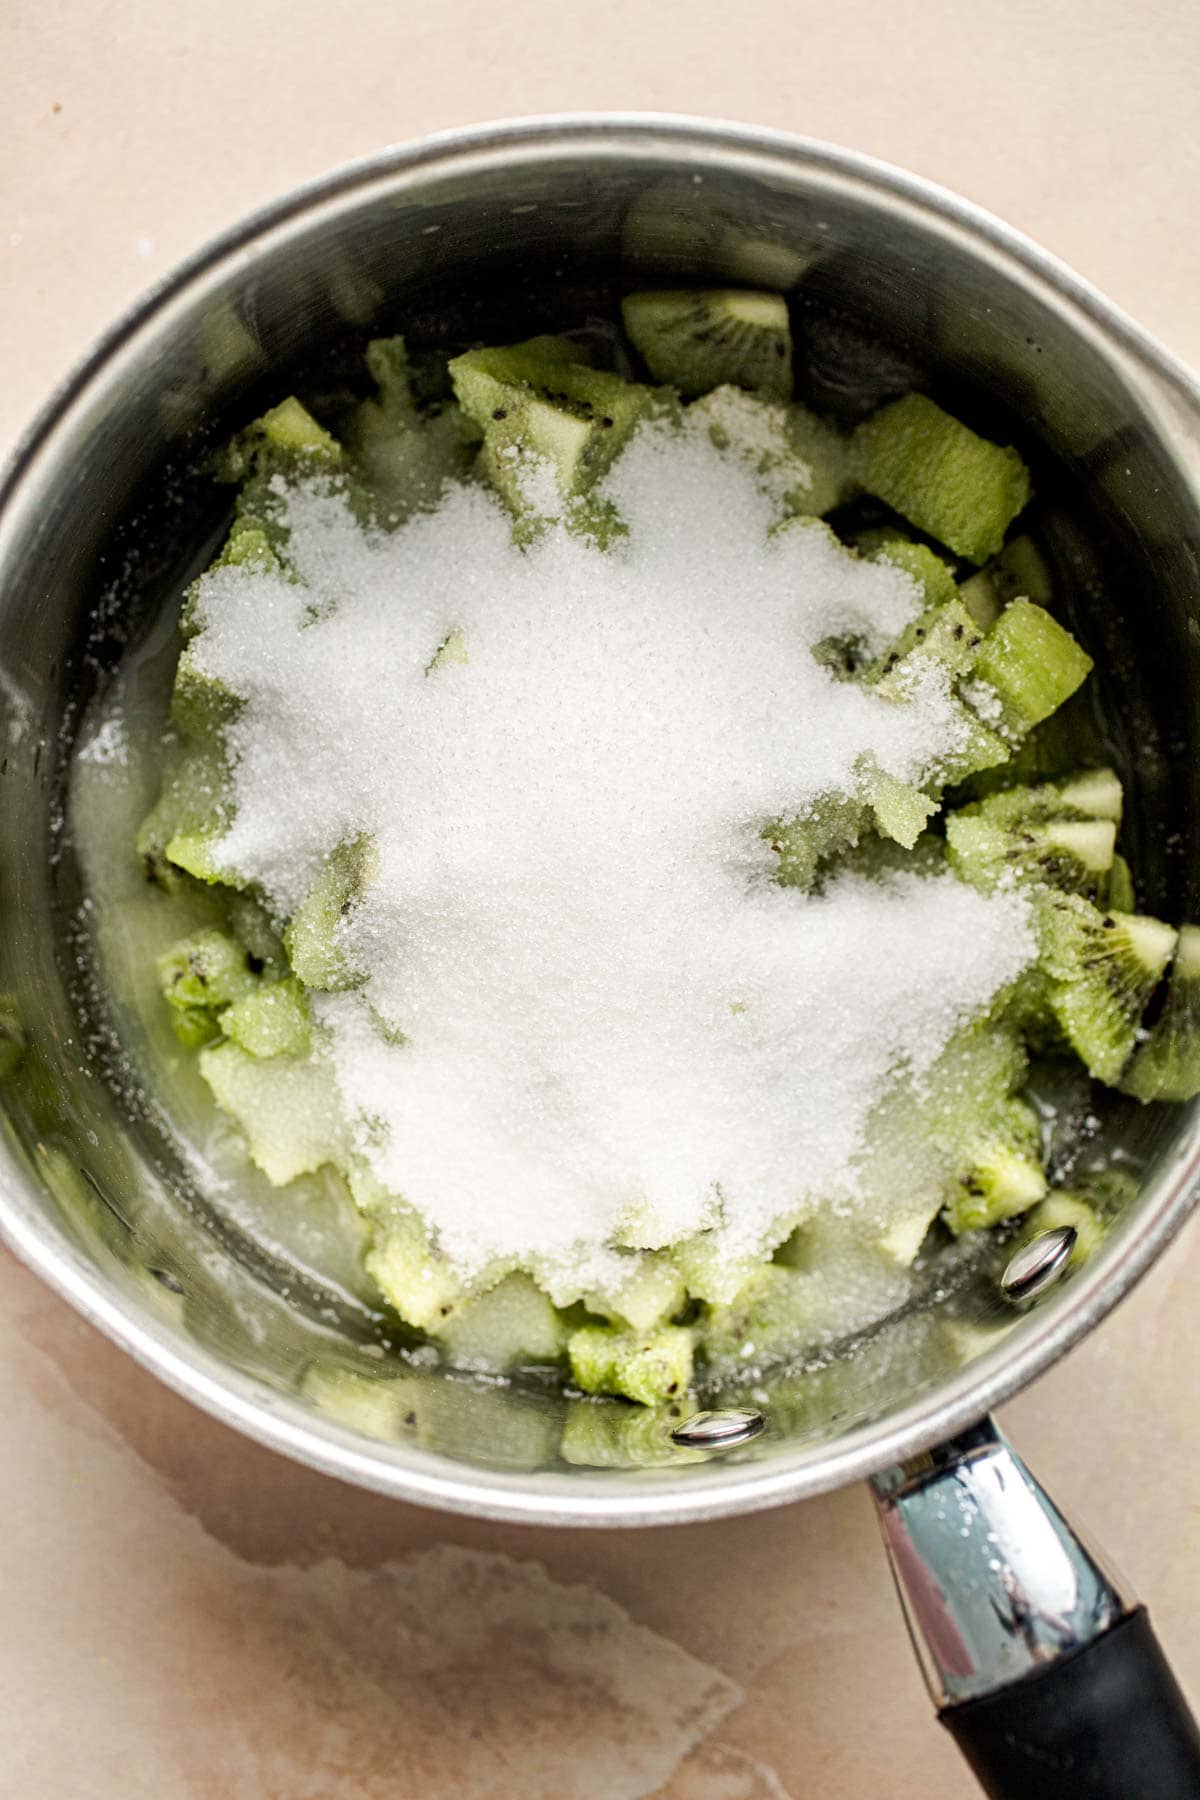
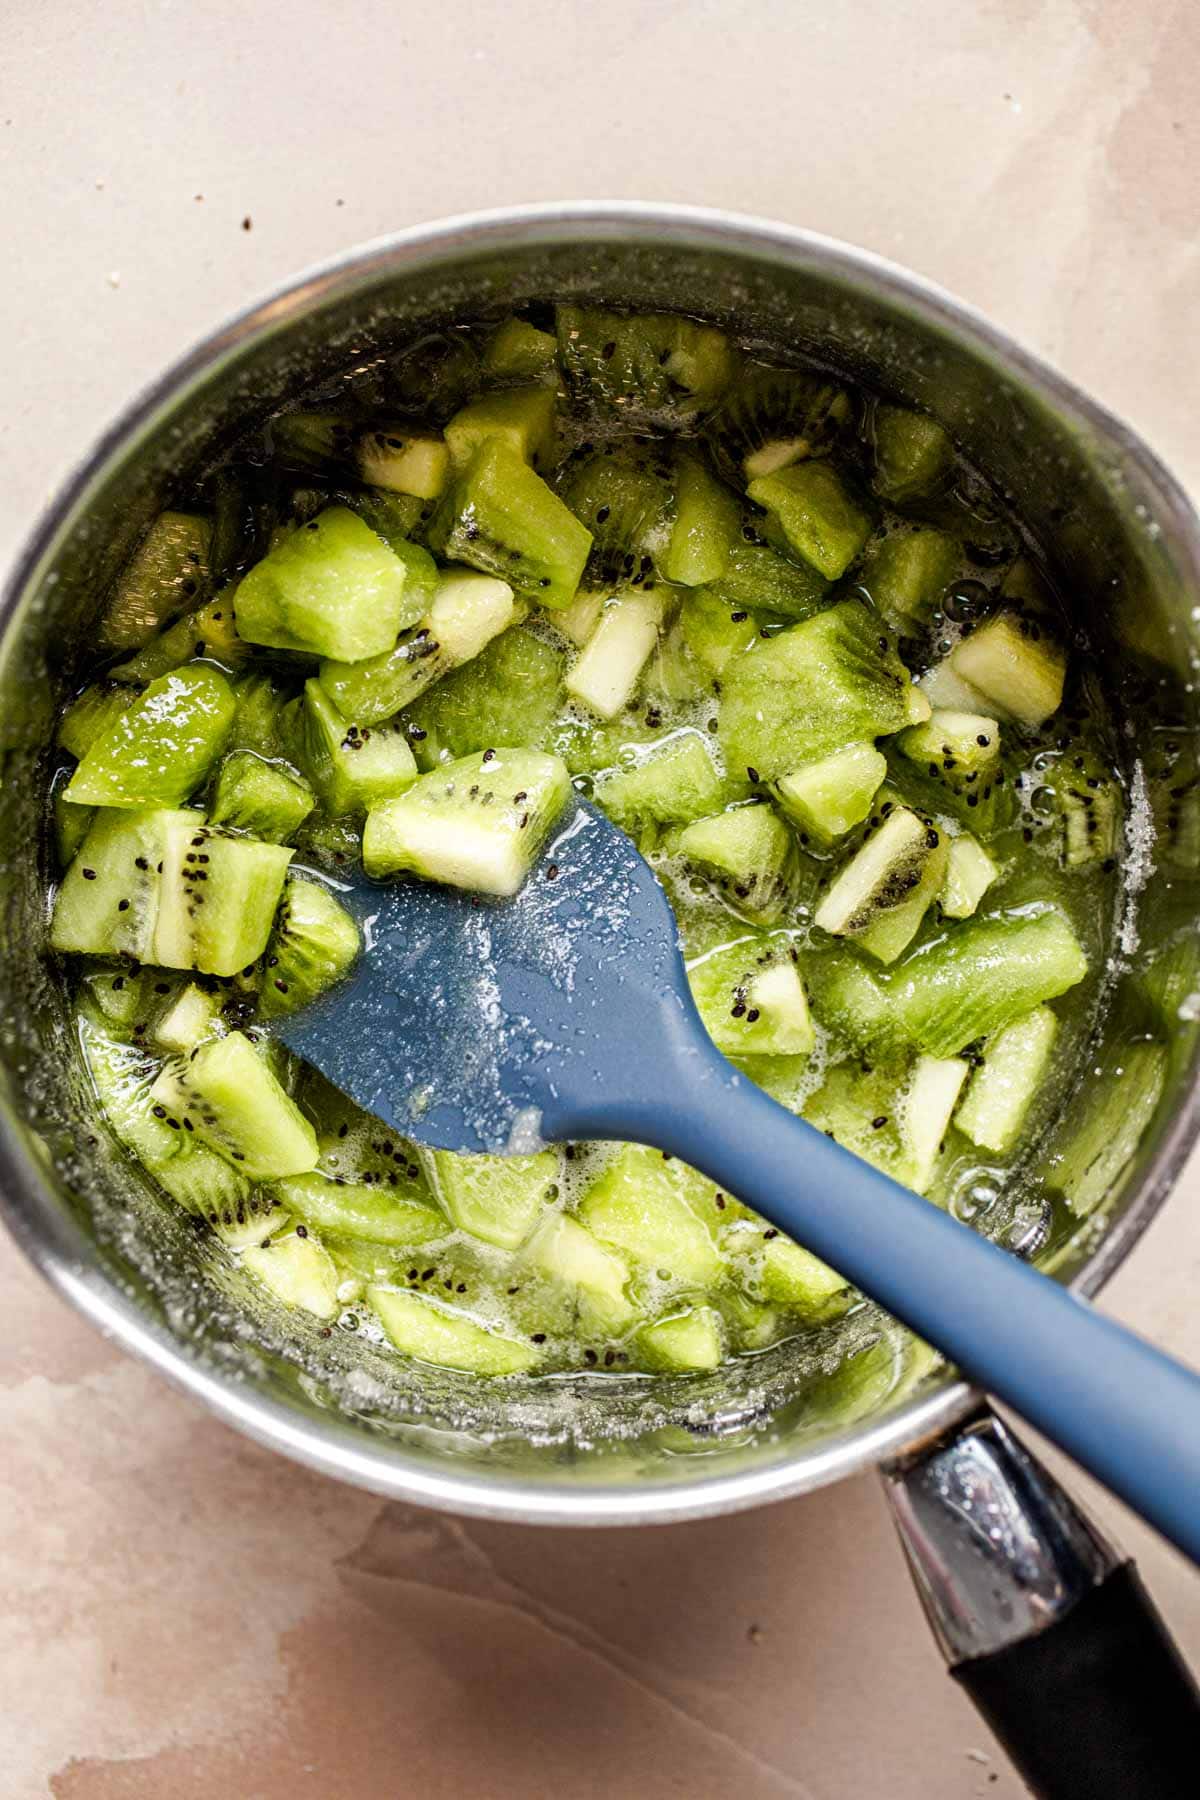
- Combine Ingredients: In a small pot or saucepan, combine the diced kiwi fruit, lemon juice, sugar, salt, and water. Stir the mixture well.
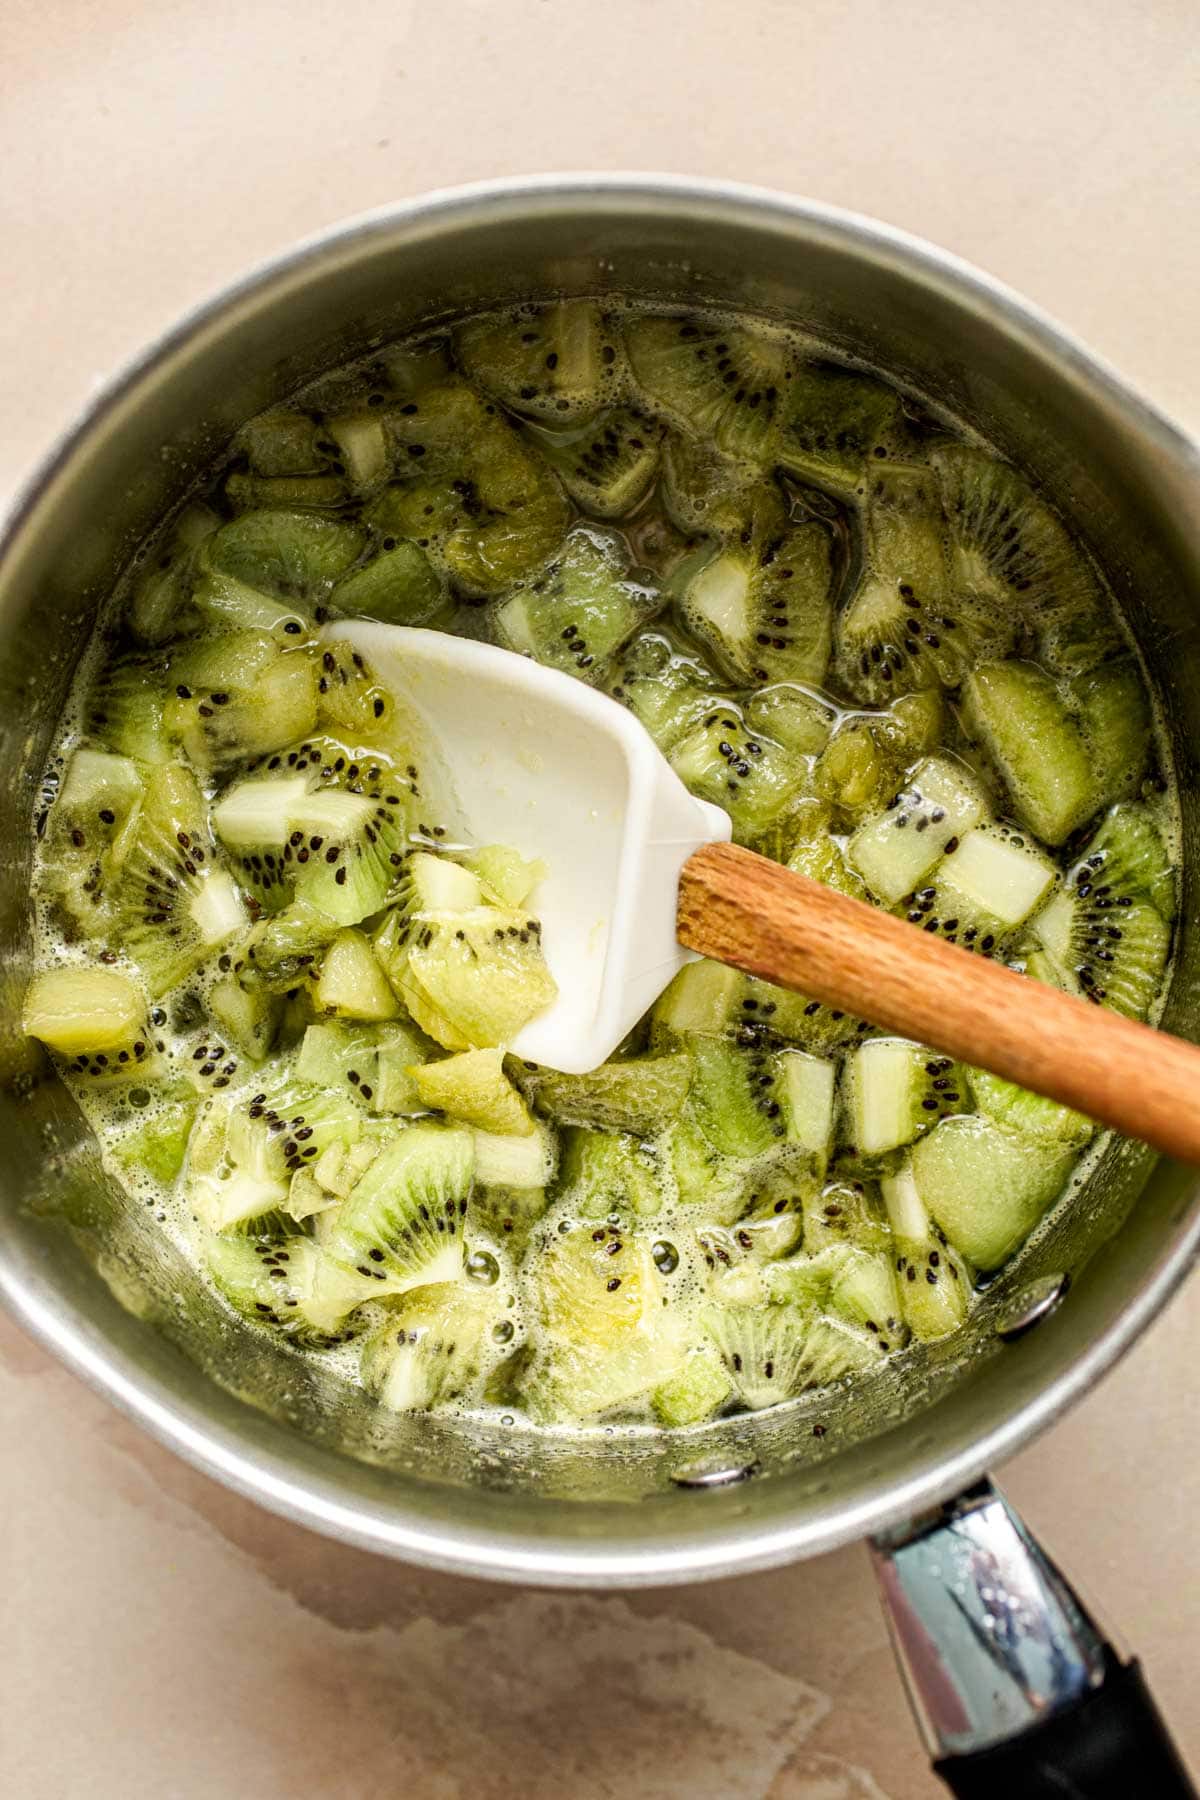
2. Heat & stir. Heat the mixture on medium-high heat and mix constantly to prevent burning.
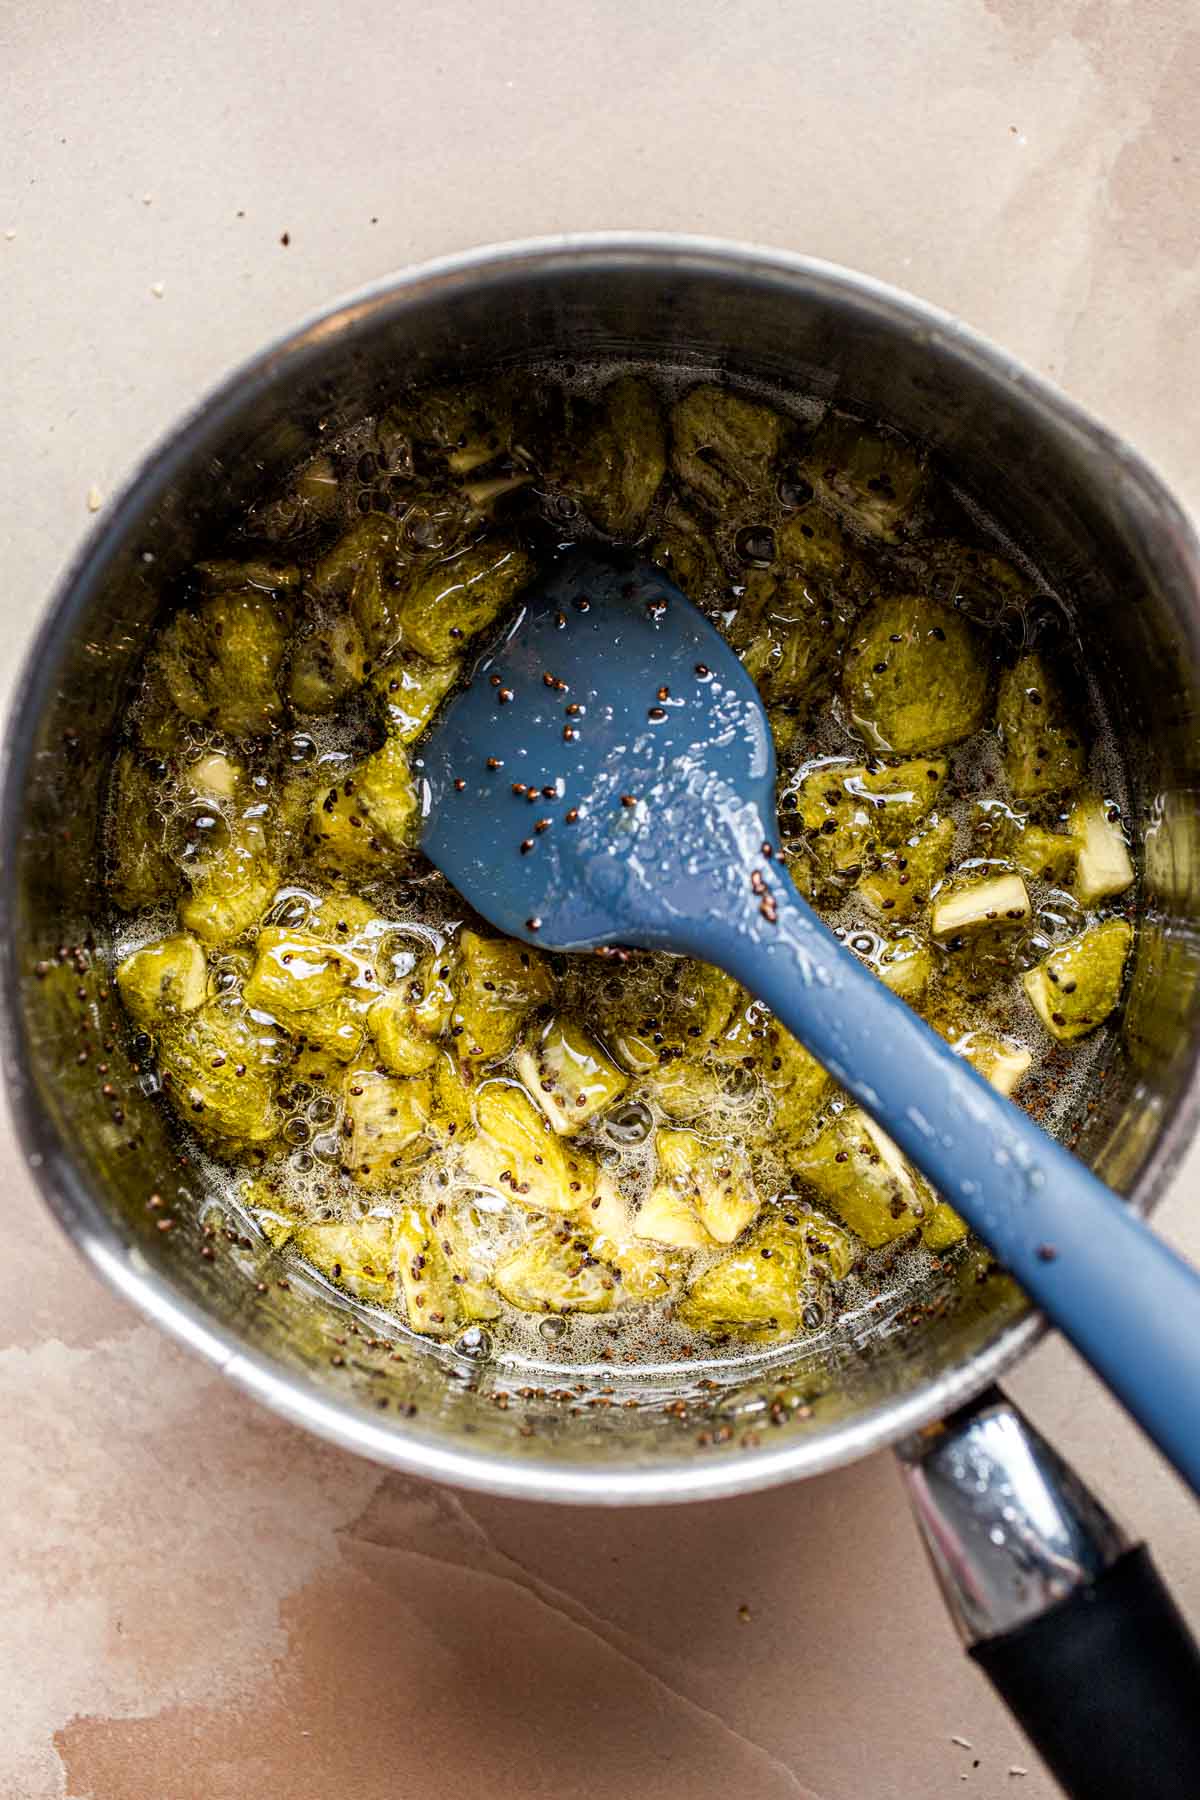
3. Cook Until Thickened. Reduce the heat to a gentle simmer and cook for 10-15 minutes. Stir occasionally. The jam should be getting thicker and gelatinous.
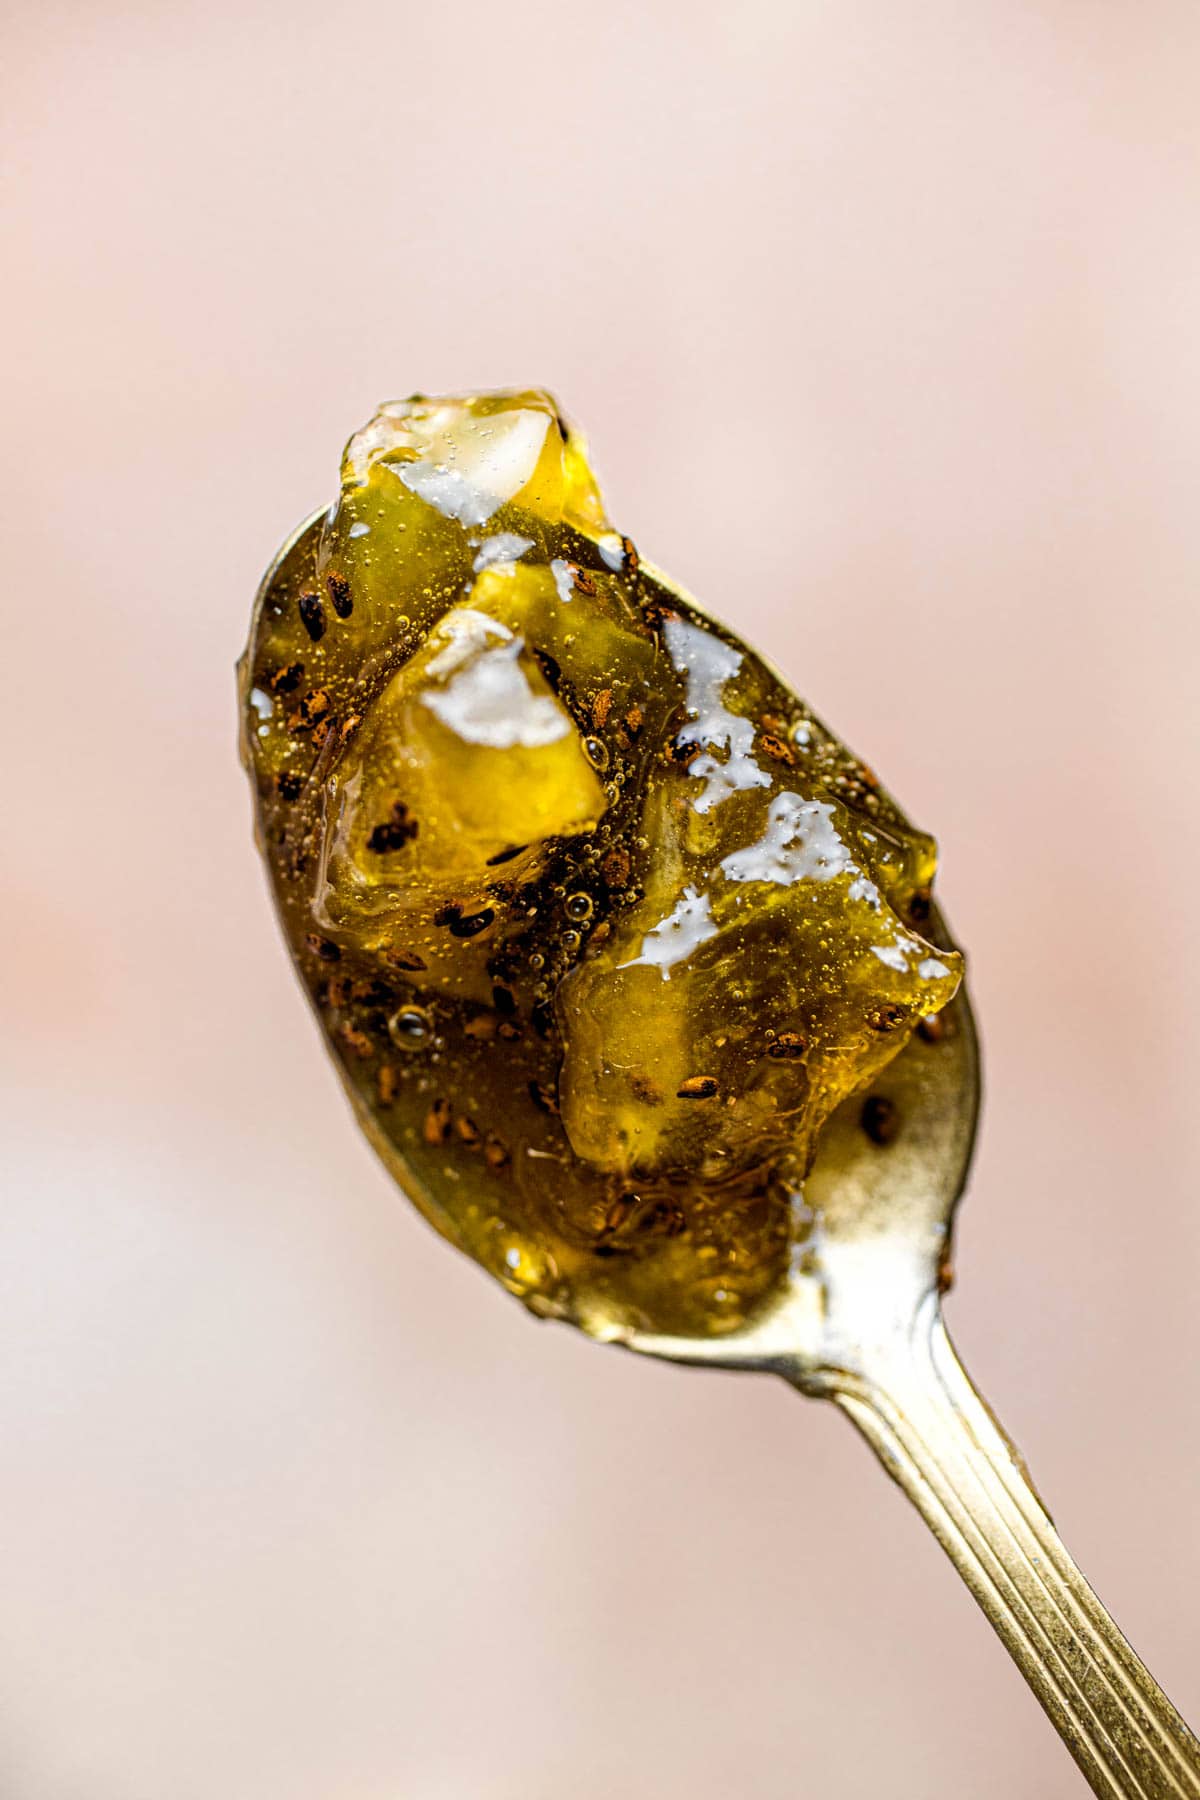
4. Test. To check your jam has set, place a small amount on a wooden spoon or spatula. Lift the spoon and tilt it horizontally. The jam should not be runny but rather fall in a sheet-like drop.
Alternatively, you can perform the freezer plate test.
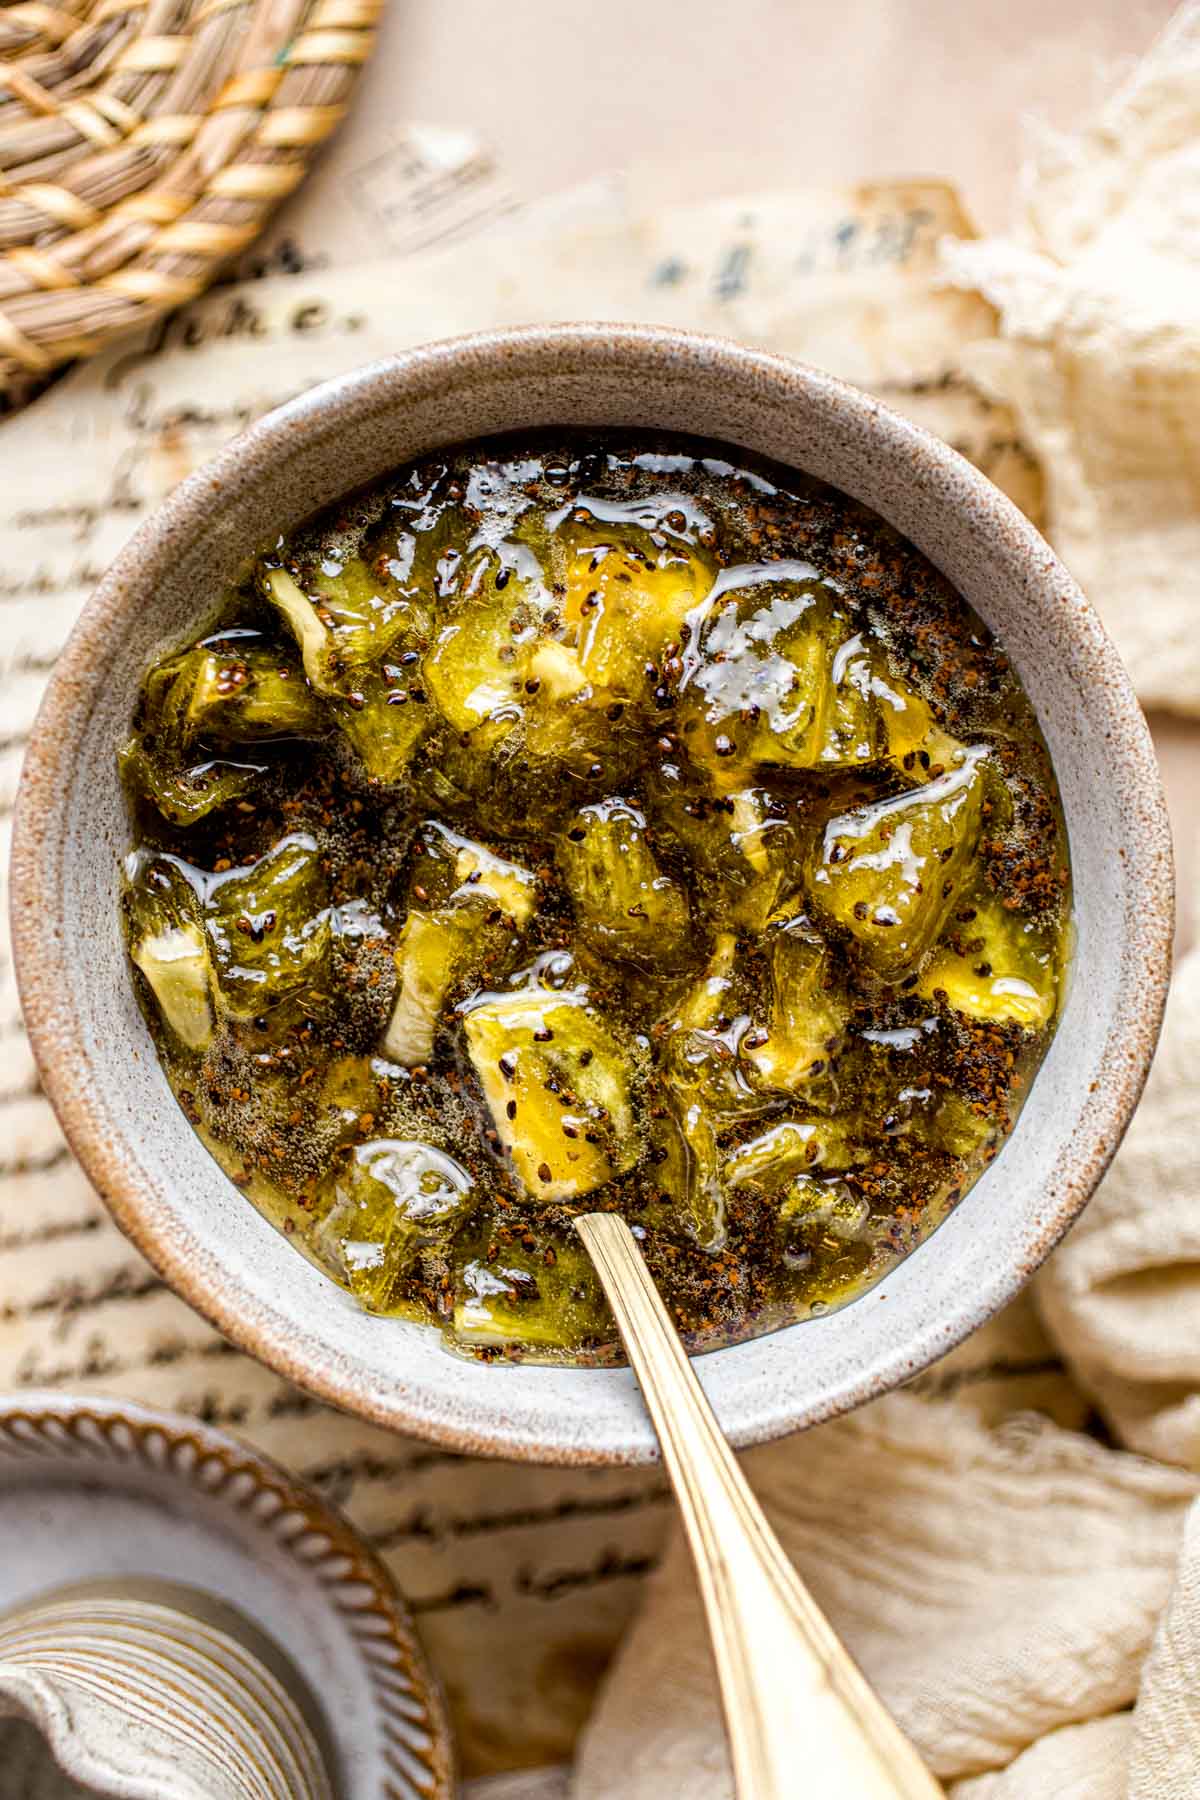
Once you've tested it, it's time to serve the jam with your favorite sides (for suggestions, check Serving Ideas below).
To store, ladle the hot jam into sterilized glass jars. Leave about ½ inch headspace. Seal them tightly and let the hot jars cool to room temperature before storing them in the fridge.
Don't like the color? The natural color of this jam is brownish green. Add a few drops of green food coloring if you want to offset some of the brown tones.
👨🍳 Chef's Tips
- Choose ripe kiwi. They will taste better and contain more natural pectin (helping the jam set).
- Chop evenly. Peel the skin and chop the kiwi into even-sized pieces. This will create a consistent texture.
- Don't overcook. If the kiwi sets too thick, it will be difficult to spread or even get out of the jar.
- Adjust the sweetness. This jam isn't overly sweet. However, you can adjust the sweetness by adding more or less sugar.
- Blend it. If you prefer a smooth jam texture, simply blend all the ingredients before cooking. You can also mash the jam with a potato masher.
Bonus tip: Sterilize your jars and lids by placing them in a large pot of boiling water for a few minutes. This removes bacteria and helps your jam stay good for longer.
🥄 How Not To Overcook
If you're new to jam-making, here's how to avoid one of the most common mistakes - overcooking the jam.
Kiwi jam is particularly prone to overcooking, so you must follow the following steps to prevent it.
- Make jam in smaller batches.
- Remember that jam keeps thickening even once you remove it from heat.
- If you're unsure, it's better to undercook than to overcook the jam.
- Always perform the set test (either with a spoon or a cold plate).
- Cool rapidly. Transfer the jam to jars right away.
👨🍳 Frequently Asked Questions
I've only tested this recipe with fresh kiwi. Frozen might work, too. However, the texture might be slightly different (softer).
Kiwi is very low in pectin compared to other fruits. This means it won't form a 'solid gelatinous lump' like other fruit jams.
If your Kiwi jam isn't set, you can easily fix that. Simply re-cook it and add some fresh lemon juice and sugar. Mix well and heat until the sugar dissolves and the jam starts to set.
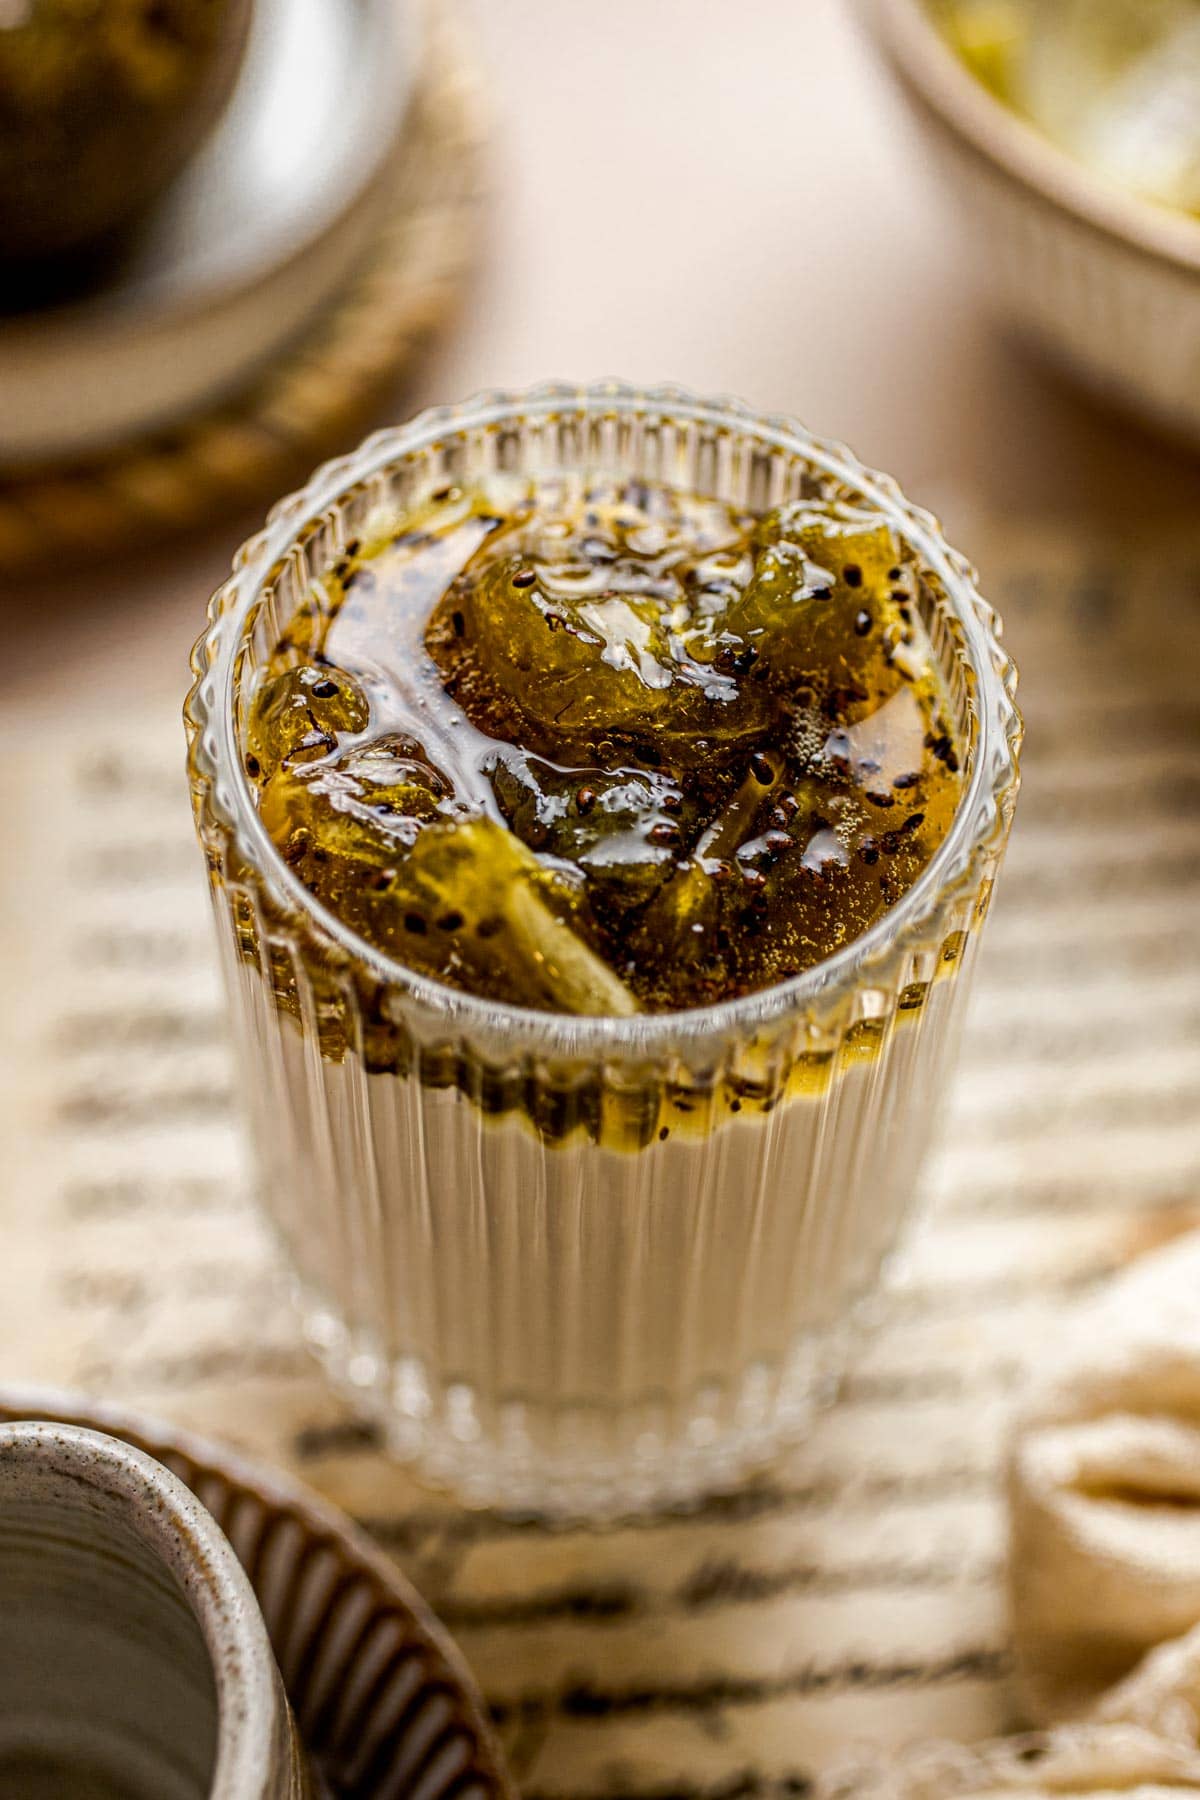
🍽 Serving Ideas
Once you've crafted your homemade kiwi jam, here are some delightful ways to savor it:
- Spread it on warm toast, muffins, pancakes, or waffles for a delightful breakfast.
- Use it as a filling for pastries or cookies.
- Pair it with scones and whipped coconut cream for a tropical take on a classic dessert.
- Use it to fill or top homemade bread buns.
- Drizzle it over ice cream or desserts.
- Package it up in airtight containers, add a label & share it as a unique homemade gift.
📦 Storage Tips
To keep your homemade kiwi jam fresh and delicious:
- Always use hot sterilized jars
- Store sealed jars in a cool, dark place at room temperature
- Once opened, refrigerate the jam for up to a month.
- Unopened jars can also be stored in the freezer for extended periods.
👋 Conclusion
Got any questions about making kiwi jam? Just leave a comment below!
Made this recipe? If so, it would mean a LOT to me if you could leave a comment & star rating below - seeing your comments always makes my day!
🍴Recipe
Easy Homemade Kiwi Jam - 4 Ingredients
EQUIPMENT
- Knife & chopping board
- Pot or saucepan
- Clean jar with lid
- Potato masher optional
- Immersion blender optional
INGREDIENTS
- 6 kiwis peeled & chopped
- ½ lemon juice only
- 1 cup (200 g) white sugar
- 1 pinch salt
- ¼ cup (60 ml) water
INSTRUCTIONS
- Combine Ingredients. In a small pot or saucepan, combine the diced kiwi fruit, lemon juice, sugar, salt, and water. Stir the mixture well.6 kiwis, ½ lemon, 1 cup white sugar, 1 pinch salt, ¼ cup water
- Heat & stir. Heat the mixture on medium-high heat and bring to boil. Mix constantly to prevent burning.
- Cook Until Thickened. Reduce the heat to a gentle simmer and cook for 10-15 minutes. Stir occasionally. The jam should be getting thicker and gelatinous.
- Test. To check your jam has set, place a small amount on a wooden spoon or spatula. Lift the spoon and tilt it horizontally. The jam should not be runny but rather fall in a sheet-like drop.
- Store. Ladle the hot jam into sterilized glass jars. Leave about ½ inch headspace. Seal them tightly and let the jars cool to room temperature before storing them in the fridge.
Notes
- Choose ripe kiwi. They will taste better and contain more natural pectin (helping the jam set).
- Chop evenly. Peel the skin and chop the kiwi into even-sized pieces. This will create a consistent texture.
- Don't overcook. If the kiwi sets too thick, it will be difficult to spread or even get out of the jar.
- Adjust the sweetness. This jam isn't overly sweet. However, you can adjust the sweetness by adding more or less sugar.
Nutrition
Disclaimer: The nutritional information above is calculated automatically. The author of this post cannot guarantee 100% accuracy of this data.


Leave a Reply