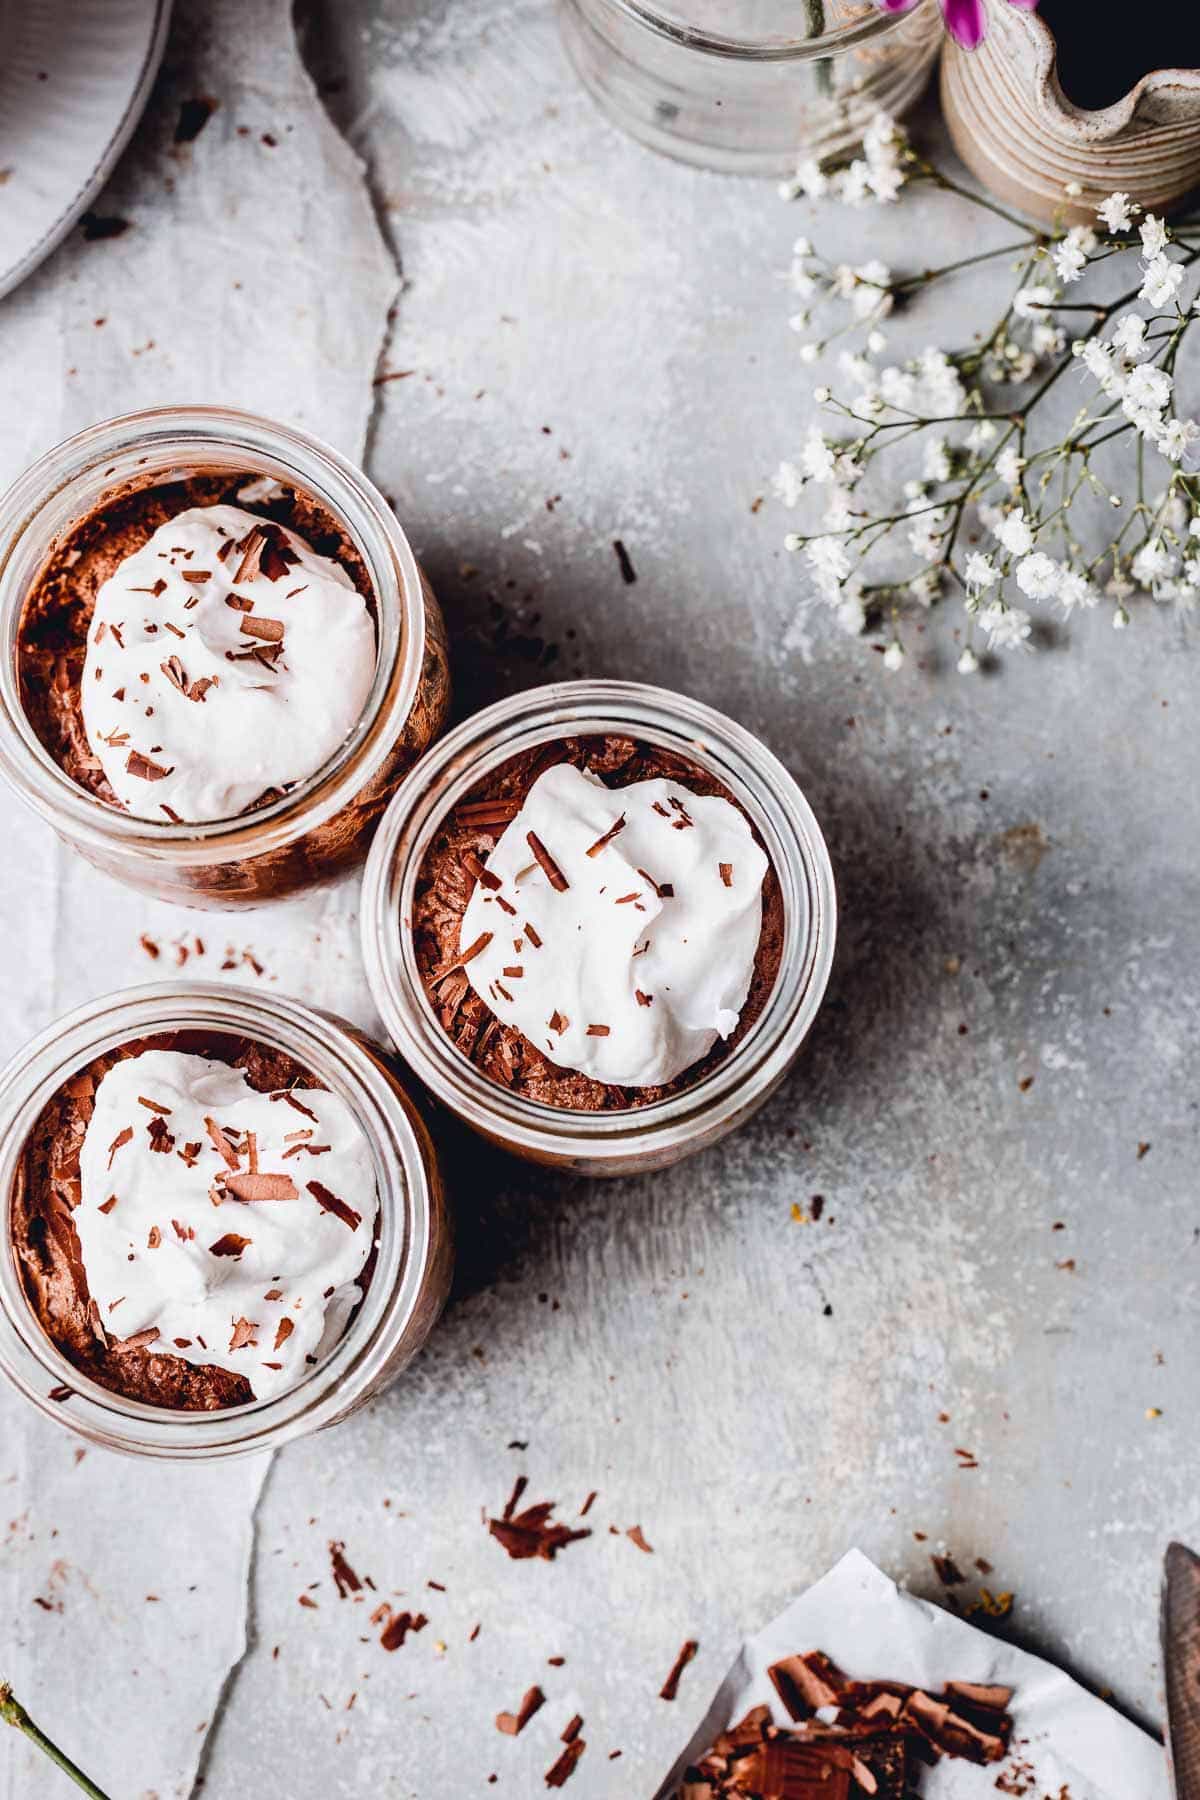
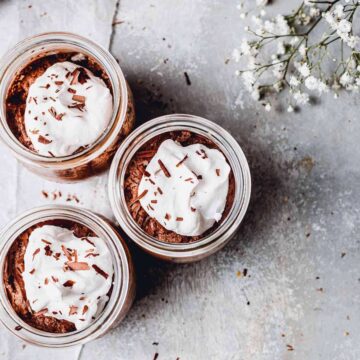
Foamy, airy and delicious aquafaba chocolate mousse with a hint of coconut. The one 15-minute vegan dessert that is bound to impress.
What makes this recipes so good
- You only need a few ingredients and no baking required.
- Your work will only take around 15 minutes and the rest is done by the fridge.
- The flavour is richer than regular vegan mousse.
- You can customise this base recipe to your hearts content. Add any spices or flavourings such as orange esssence, almond essence or nuts.
- It's topped with a cloud of delicous coconut cream.
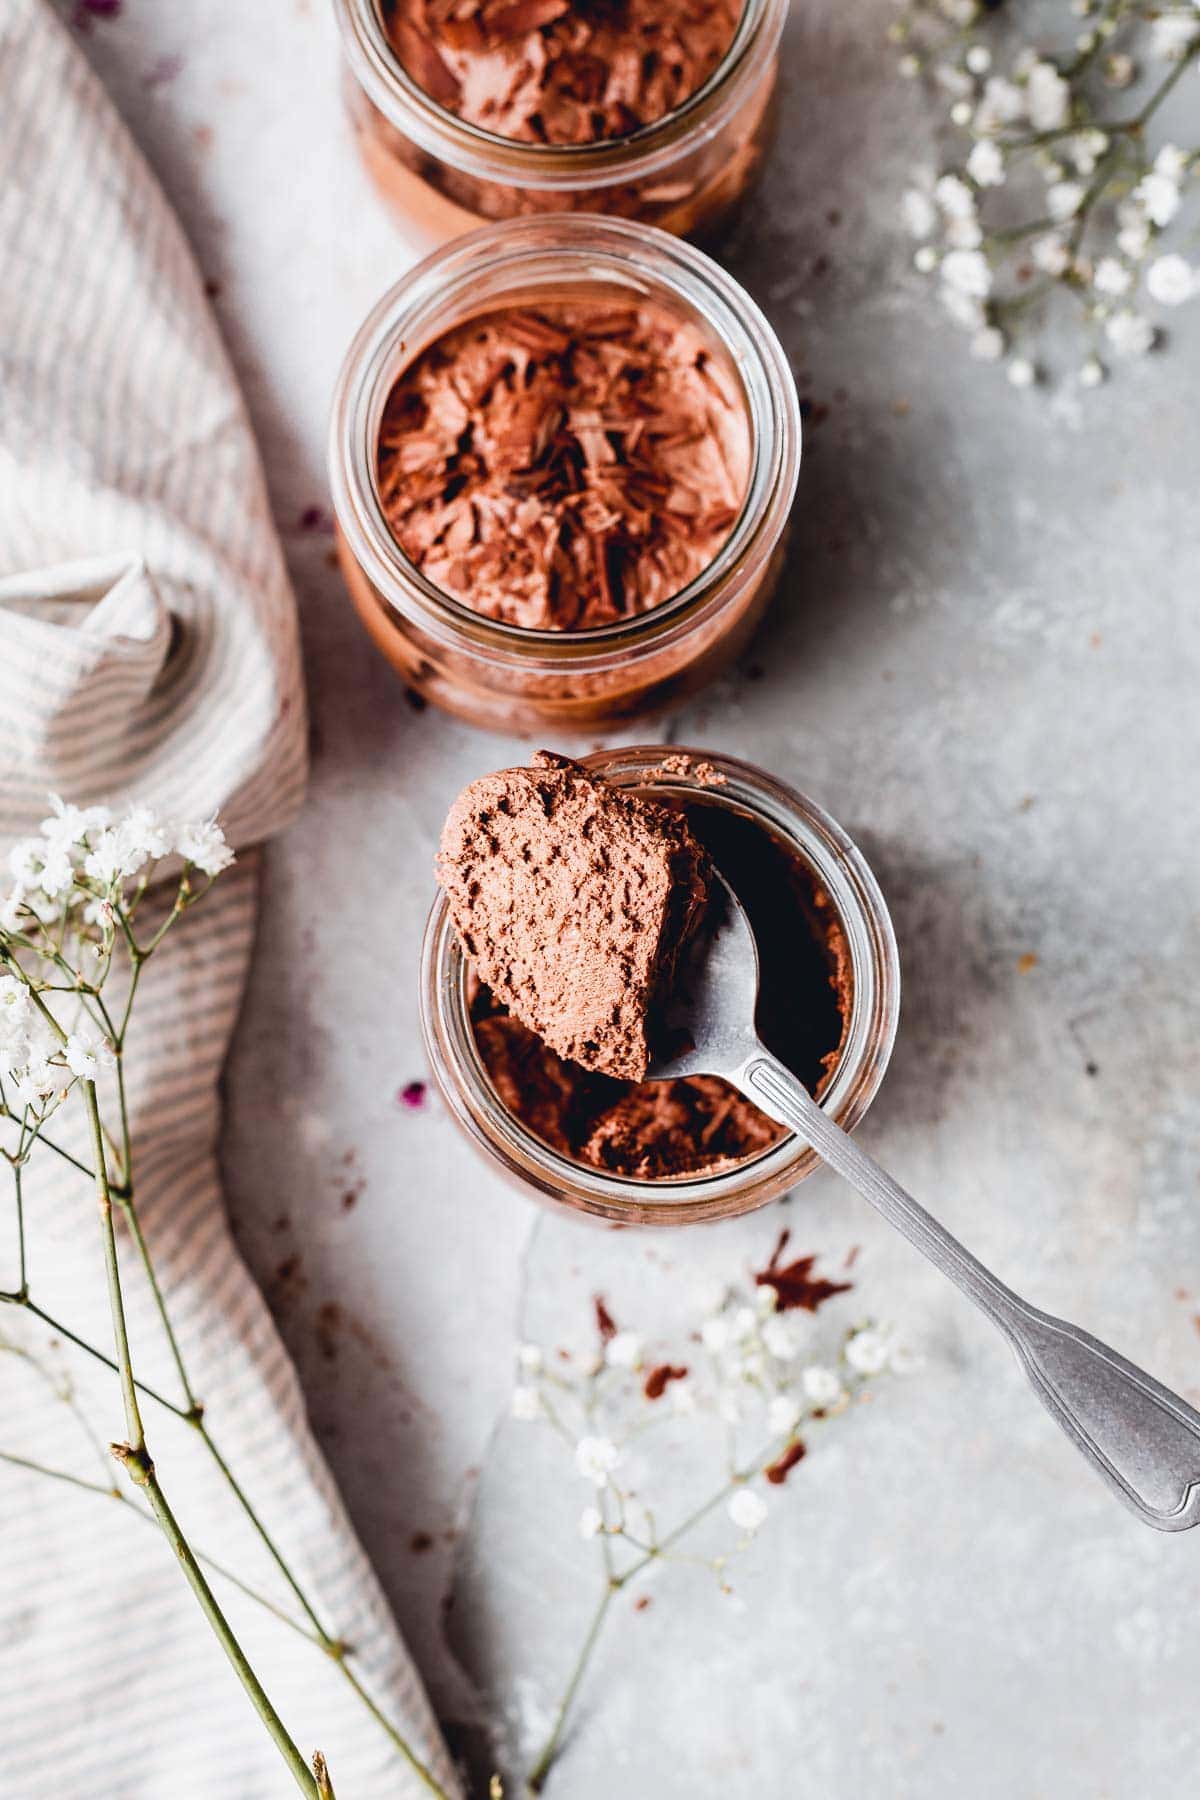
- The texture is airy, fluffy, light and cloud-like.
- You can easily prepare it in advance.
- Last but not least, this recipe is gluten-free. A real crowd pleaser.
And to make things ever better, you can find US and EU measurements below.
Are you ready to make a perfectly creamy chocolate mousse that will be loved by vegans and non-vegans alike? Here we go.
What goes into this recipe
Below are all the ingredients you need to pop on your shopping list.
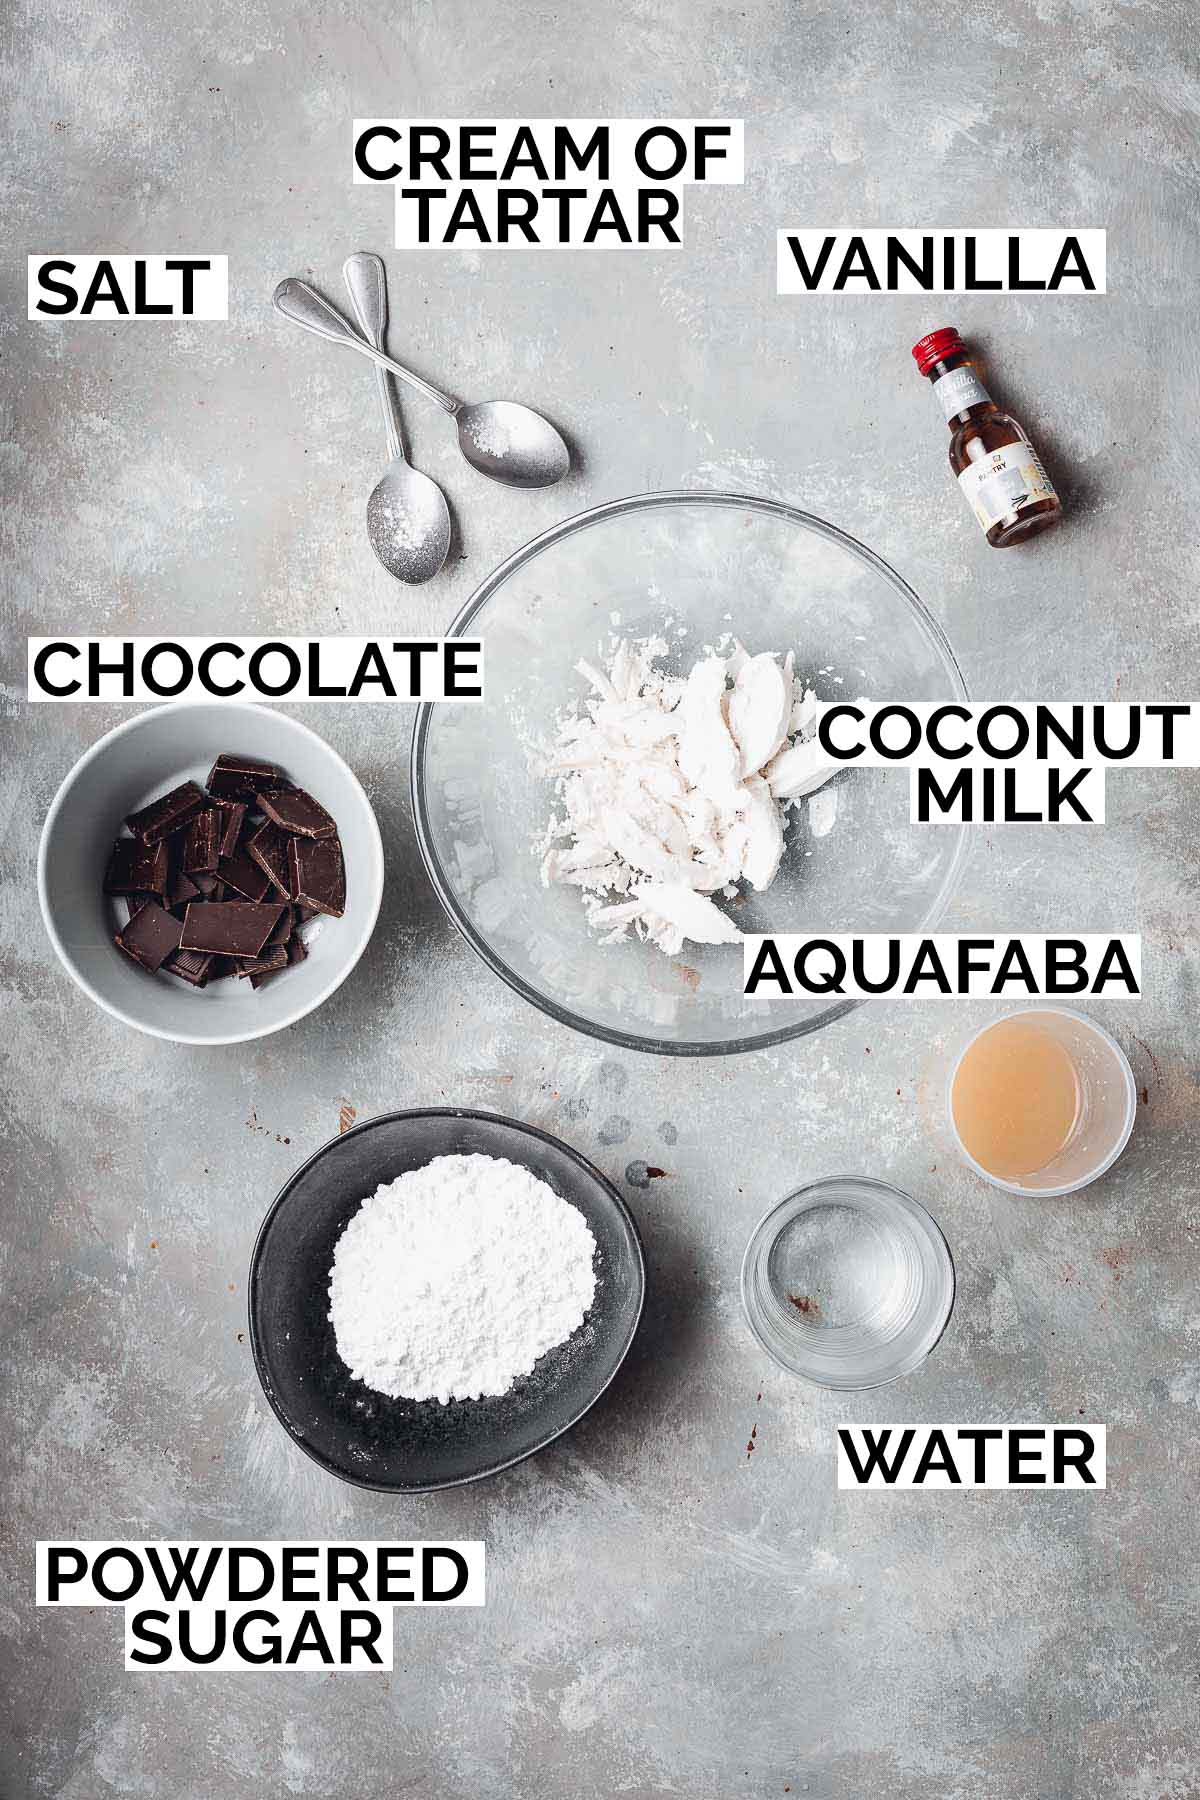
Ingredient notes:
- Dark chocolate: I like to use 70% to give a strong, powerful chocolate flavour.
- Coconut Milk: make sure you chill it in the fridge for at least a night and always use full fat coconut milk. We'll only be using the coconut cream that's
- Aquafaba: the water from a can of chickpeas
- Vanilla: both vanilla essence or vanilla bean paste will work.
You can see that all of these ingredients are cupboard staples and can be bought far in advance as they stay food for months.
To make this mousse you will also need the following equipment:
- Electric mixer (you'll do a lot of whisking for this mousse)
- Kitchen scales
- Ice cubes
- Cups or jars to store your mousse in
How To Make Aquafaba Chocolate Mousse
Find all the measurements in the recipe card below.

- Start by whipping your aquafaba. Pour it into a large bowl. Whip with an electric mixer until light peaks have formed. (as seen in photo 1). Add cream of tartar. Then start adding in the powdered sugar one tablespoon at a time
- Whip the mixture until you see firm peaks (as seen in photo 2). Set aside.
- Skim the solid part of your coconut milk from the can. Make sure to completely leave out the watery bit that remains in the can. Place the solid milk in a large glass bowl and add water, chocolate and salt. Place glass bowl above boiling pan of water as seen in photo 3. The bowl shouldn't be touching the water, so make sure to pick a small pan and a bigger bowl. Melt the ingredients and stir to form a smooth mixture.
- Whilst the chocolate is melting, prepare an ice bath. Grab a smaller bowl and fil it will water and ice cubes. We will us this for the melted chocolate mixture.
- Remove chocolate mixture from the heat. Add vanilla essence and mix. Optional: now is also the time to add any additional flavourings. Place your hot bowl in ice cold water (as seen in photo 5).
- Whisk mixture with a mixer until you can see soft rings through the mixture (as seen in photo 6).
- Taste to check if the mixture is creamy and smooth. Gently fold in your whipped aquafaba (photo 7).
- Fold until combined and no more white mixture can be seen (photo 8).
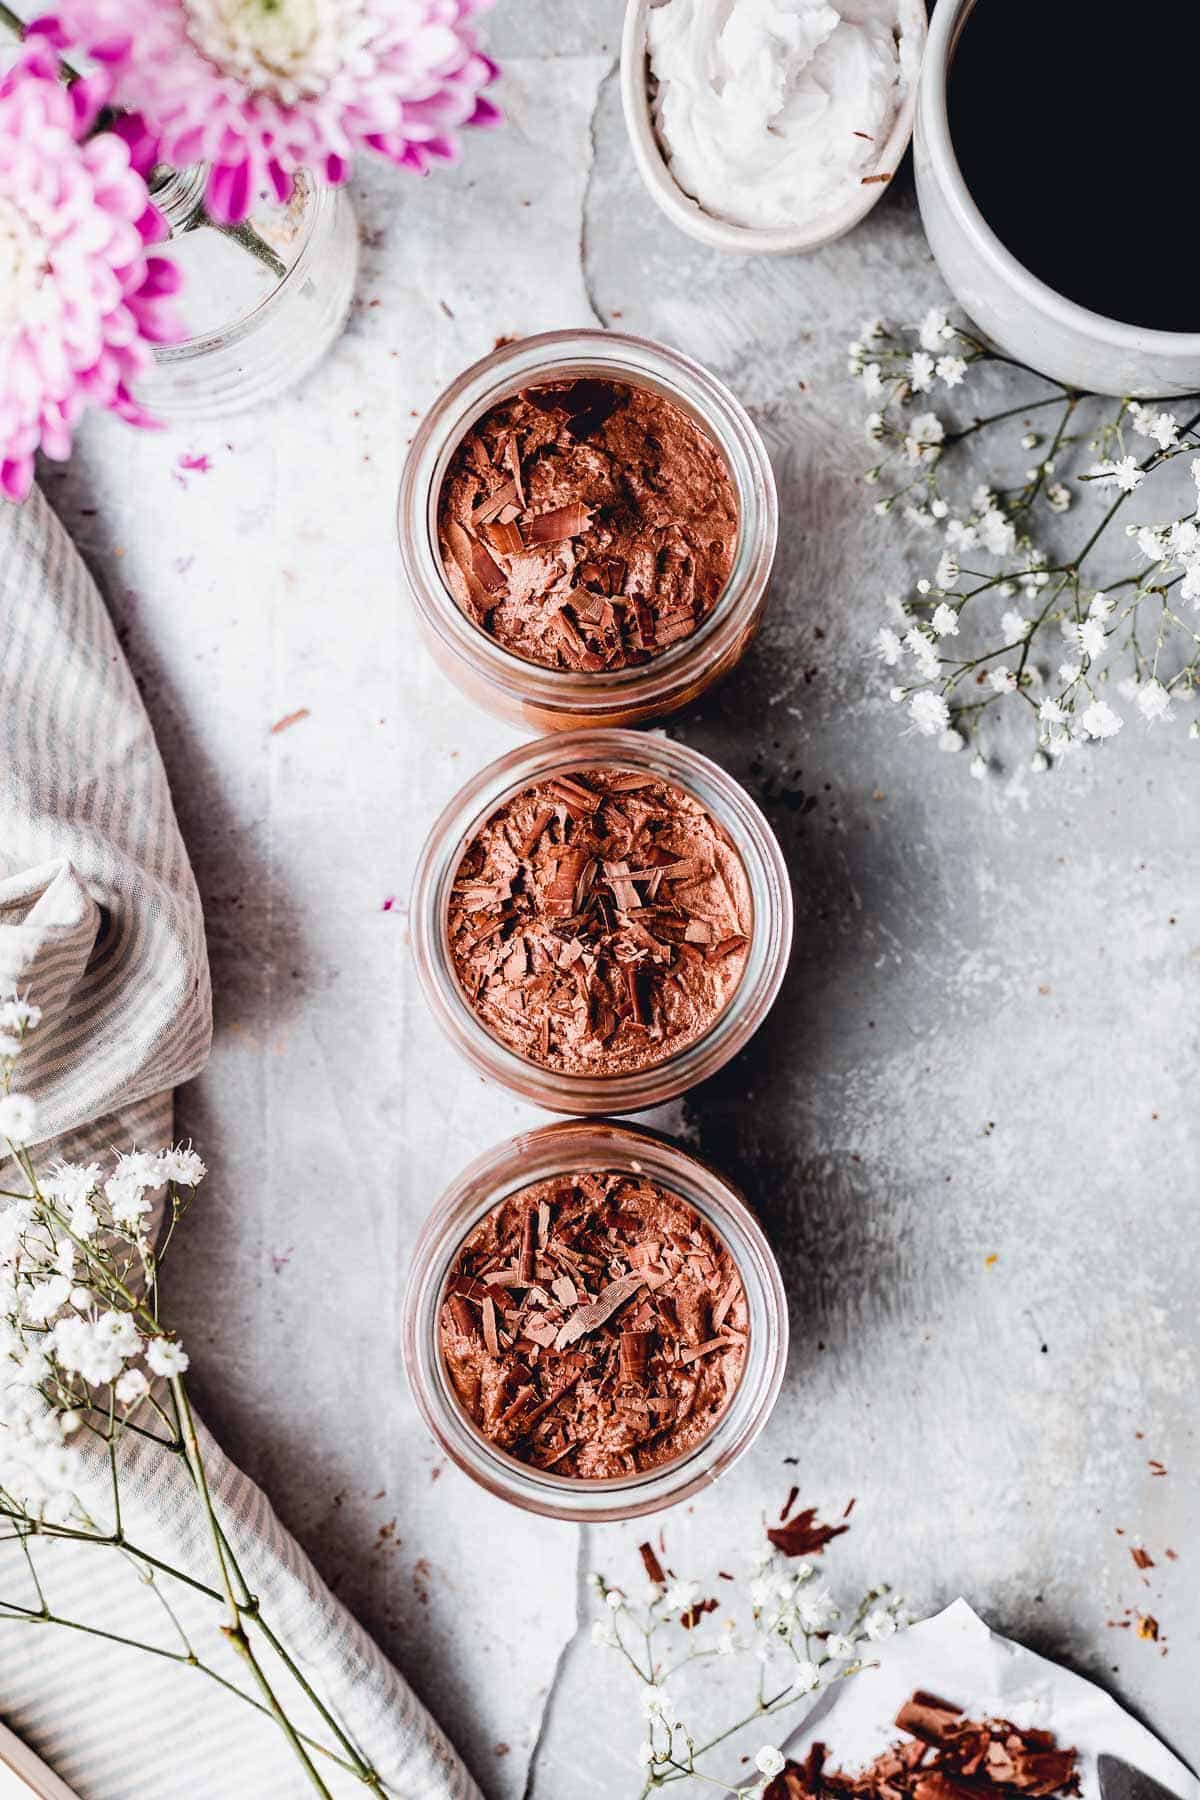
- Pour the mixture in glass jars and set in the fridge to cool. The longer you refrigerate it for, the more your mousse will set.
I usually refrigerate it overnight before serving, but that is not necessary. Serve with whipped coconut cream, dark chocolate shavings and optional toasted hazelnut pieces.
My Top Expert Tips
I really want you to nail this recipe in your first go. Best way to do that? Read these tips below - they will really help you out!
1. Don't over-whisk
An important thing to keep in mind when making this mousse is the texture. You want it to be velvety smooth, whilst still light and airy.
Whilst you whip the chocolate mixture it will thicken slowly as it cools. However, it can thicken too much and become grainy. In that case, the chocolate in the mixture has become too hard and has separated from the coconut milk.
If this happens and you are left with a grainy texture, there is still a way to save your mousse. Simply heat the mixture again above a hot bowl until fully melted. Then whip again, this time making sure you don't overwhip.
2. A little at a time
When adding your powdered sugar to aquafaba, it is important to only add a little bit of sugar at a time (e.g. 1 tablespoon).
4. Chill in your serving dish
This mousse will set firmly in the fridge, meaning that it will keep the shape of the container it sets in. If you want to have that smooth surface on your mousse, make sure to chill in your serving dish. Once set you will not be able to create a smooth top.
Remember to always chill your mousse in a closed container - don't chill in an open glass as your mousse might not set well or might absorb various different smells.
Possible Ingredient Substitutions
Don't have all the ingredients in the cupboard or just want to experiment a little?
Here are my tips on how to substitute some main ingredients of this simple aquafaba chocolate mousse.
- Powdered sugar: Don't have powdered sugar? You can simply substitute with caster sugar. Alternatively, you can make your own powdered sugar from any sugar you have at home by simply blending it in a high-speed blender. Here's a recipe on how to make powdered sugar.
- Dark chocolaate: Prefer a sweeter mousse with a more mellow chocolate flavour? Swap you dark for milk (vegan) chocolate. If you do that, you might want to use a little less sugar in your aquafaba to compensate. Wonder why? The high cocoa content in dark chocolate counteracts the sweetness of the sugar. As milk chocolate is less bitter because of its lower cocoa content you will be able to taste the sweetness in a milk chocolate version a lot more.
- VANILLA: I have chosen to add a classic vanilla flavour to add to my mousse. However, feel free to add any flavour you like if you don't have vanilla or prefer another flavour. You might want to try orange or almond as they will balance very well with the sweet rich chocolate flavour. If prefered, you can leave out the flavourings entirely.
Any other ingredients you're missing at the moment? Get in touch via the comments below and I'll see if I can find a good substitution for you!
F.A.Q
You want to store the mousse in the fridge until serving to keep it airy and set. You can keep the mousse in an airtight container for up to 5 days Secondly, store the mousse in the dish you want to serve it in as it will set quite firmly and keep its shape.
The key to an airy mixture is softly folding in your aquafaba mixture with a spatula, avoid using a mixer or whisk because that will knock all the air out of the aquafaba (after you've spent a good 5 minutes whisking to get that air in there).
If you do overmix, it won't alter the taste and the mousse with still set beautifully so don't worry!
That's all! If you liked my aquafaba chocolate mousse, please consider leaving a review or comment below - this really helps me out!
If you're a fan of vegan desserts (like me!), check out a few of my other favourites:
🍴Recipe
Aquafaba Choclate Mousse
EQUIPMENT
- Ice cubes
- Electric mixer
- Storage jars
- Kitchen scales
INGREDIENTS
- 55 ml aquafaba aquafaba is the liquid from a can of chickpeas
- ⅛ teaspoon cream of tartar
- 50 g powdered sugar
- 75 g coconut milk
- 55 ml water
- 75 g dark chocolate
- ⅛ teaspoon salt
- ½ teaspoon vanilla extract
INSTRUCTIONS
- Pour aquafaba into a medium-sized bowl. Whip with an elextric mixer until light peaks have formed. Add cream of tartar.
- Then start adding in the powdered sugar one tablespoon at a time.
- Whip the mixture until you see firm peaks. Set aside.
- Skim the solid part of your coconut milk from the can. Make sure to completely leave out the watery bit that remains in the can.
- Place the solid milk in a large glass bowl and add water, chocolate and salt. Place glass bowl above boiling pan of water.
- The bowl shouldn't be touching the water, so make sure to pick a small pan and a bigger bowl. Melt the ingredients and stir to form a smooth mixture.
- Whilst the chocolate is melting, prepare an ice bath. Grab a smaller bowl and fil it will water and ice cubes. We will us this for the melted chocolate mixture.
- Remove chocolate mixture from the heat. Add vanilla essence and mix. Optional: now is also the time to add any additional flavourings. Place your hot bowl in ice cold water.
- Whisk mixture with a mixer until you can see soft rings through the mixture
- Taste to check if the mixture is creamy and smooth. Gently fold in your whipped aquafaba
- Fold until combined and no more white mixture can be seen
- Pour the mixture in glass jars and set in the fridge to cool. The longer you refrigerate it for, the more your mousse will set (a minimum of 3 hours).
- Serve with whipped coconut cream, dark chocolate shavings and optional toasted hazelnut pieces.
Notes
- I usually refrigerate it overnight before serving, but that is not necessary. You only need to refrigerate it for a minimum of 3 hours.
- When addding your powdered sugar to aquafaba whilst whipping, it is important to only add a little bit of sugar at a time (e.g. 1 tablespoon).
- Store the mousse in the dish you want to serve it in as it will set quite firmly and keep its shape.
- Remember to always chill your mousse in a closed container (Mason jars are great).
Nutrition
Disclaimer: The nutritional information above is calculated automatically. The author of this post cannot guarantee 100% accuracy of this data.

Sedem says
Yummy!