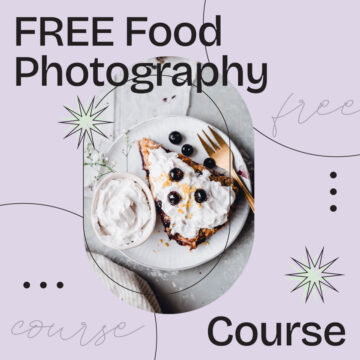
Wondering how to improve your food photography? How to find the best way to learn FOR FREE from other food photographers? Wondering what the most common misconception about good lighting is? Or how to improve your food photography on a super LOW BUDGET?

MY 5 TIPS ON HOW TO IMPROVE YOUR FOOD PHOTOGRAPHY
1. Shoot in DAYLIGHT.
The very first way to improve your food photography. There is not doubt that you can take some of the most gorgeous food photos in artificial light. The problem? It's very difficult to learn how to use it properly. Light is a tricky subject and you will need to spend hours on end researching and finding the right settings. Secondly, good artificial light equipment is very expensive and that's not the kind of investment every beginner photography is willing to make.
Whenever I talk to people about food photography, the subject of good and bad light seems to come up. One of the most common misconceptions is that bright and sunny days are the best. That is absolutely NOT the case. If you ask any food photographer, they will probably confirm this straight away. Similarly, to artificial lighting, sunlight provides harsh shadows. In turn, it's very difficult to
Whether you're a lover of harsh shadows or not, one thing is for sure. Make sure to ALWAYS turn off EVERY yellow right in the room. Yes, you can technically adjust the yellows in Lightroom or whatever other editing software you're using, but not without compromising on the food colour as well.
2. Learn about WHITE BALANCE.
White balance is all about making sure your photo doesn't look too warm/yellow and not too cold/blue. I wrote more about white balance in my post on how to take bright and airy food photos. ⠀⠀
The good news? Unlike many other photography rules, white balance is fairly easy to get to grips with quickly. One of the best ways to nail white balance is to spend time looking at other photos. This will help you establish an idea of what good white balance looks like.
One of my two favourite photographers, Broma Bakery and Cupful of Kale, are absolutely amazing at that. Their white balance is SPOT ON 100% of the time.
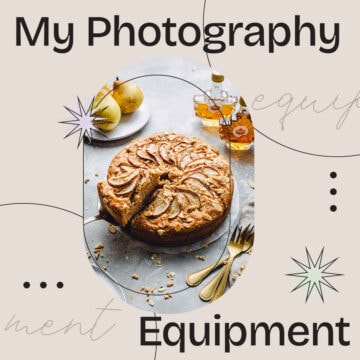
3. Quickly EDIT the photo using apps.
No Lightroom? No problem! As I mentioned above, this article is for all beginner photographers. Whereas I'm a HUGE fan of Lightroom, not everyone can/wants to pay for it.
My absolute favourite Lightrom-alternative is Afterlight 2. This phone app allows you to manually change everything every important aspect of your photos. It includes various aspects from brightness to contrast, vibrancy and clarity, as well as to change the hue/saturation/lightness of EVERY SINGLE colour. ⠀⠀
It's an incredibly cheap software, perfect for beginner photographers. Not only is it cheap, it's SO easy to use. ⠀⠀
4. Learn FOR FREE from fellow photographers!
This might be my favourite tip! Before I took professional food photography courses, I spent an enormous amount of time learning things FOR FREE. I signed up to every free masterclass (make sure to subscribe to Broma Bakery and Two Loves Studio - they host some of the BEST masterclasses!). Moreover, I read a LOT of blog posts (like this one!), absorbing every free tip I could get.
One of the reasons I started my Food Photography Tips series is because I know how handy it is to have free resources available. If you want to take it a step further and learn on-the-go, make sure to check the free Food Blogger Pro podcast. It's a little bit more detailed and also aimed at advanced, not just beginner photographers.
BEST KEPT SECRET? @emmaduckworthbakes hosts a super informative free Instagram series Analyse This (check her Highlights) where she analyses technical elements of her photos. @bromabakery shares a lot of behind-the-scenes and quick tips in her Stories. ⠀⠀⠀⠀
5. Be a better OBSERVER.
Like a photo? Delve deep into what makes the photo you like so beautiful. Focus on composition, colours, props and food styling.
Don't just think about it. Make sure to write it down and get really analytical. Here are some questions that might help you along the way. Whenever you see a photo you like, ask yourself these questions:
- What are the most prevalent props?
- Secondly, what shapes was the photographer using (circles, triangles, rectangles)?
- Thirdly, what are the most prevalent colours?
- Last but not least, what kind of food props (plates, cutlery, napkins, utensils) was the person using?
This wraps up my tips on how to improve your food photography! Hopefully you learnt some amazing
Did you know? I recently started a series of free Food Photography Tips! You can find them all HERE. If you don't want to miss out, make sure you're subscribed to my email list (scroll to the bottom of this page) and receive all the tips straight to your inbox!


Crystal Grose says
Thank You So Much!