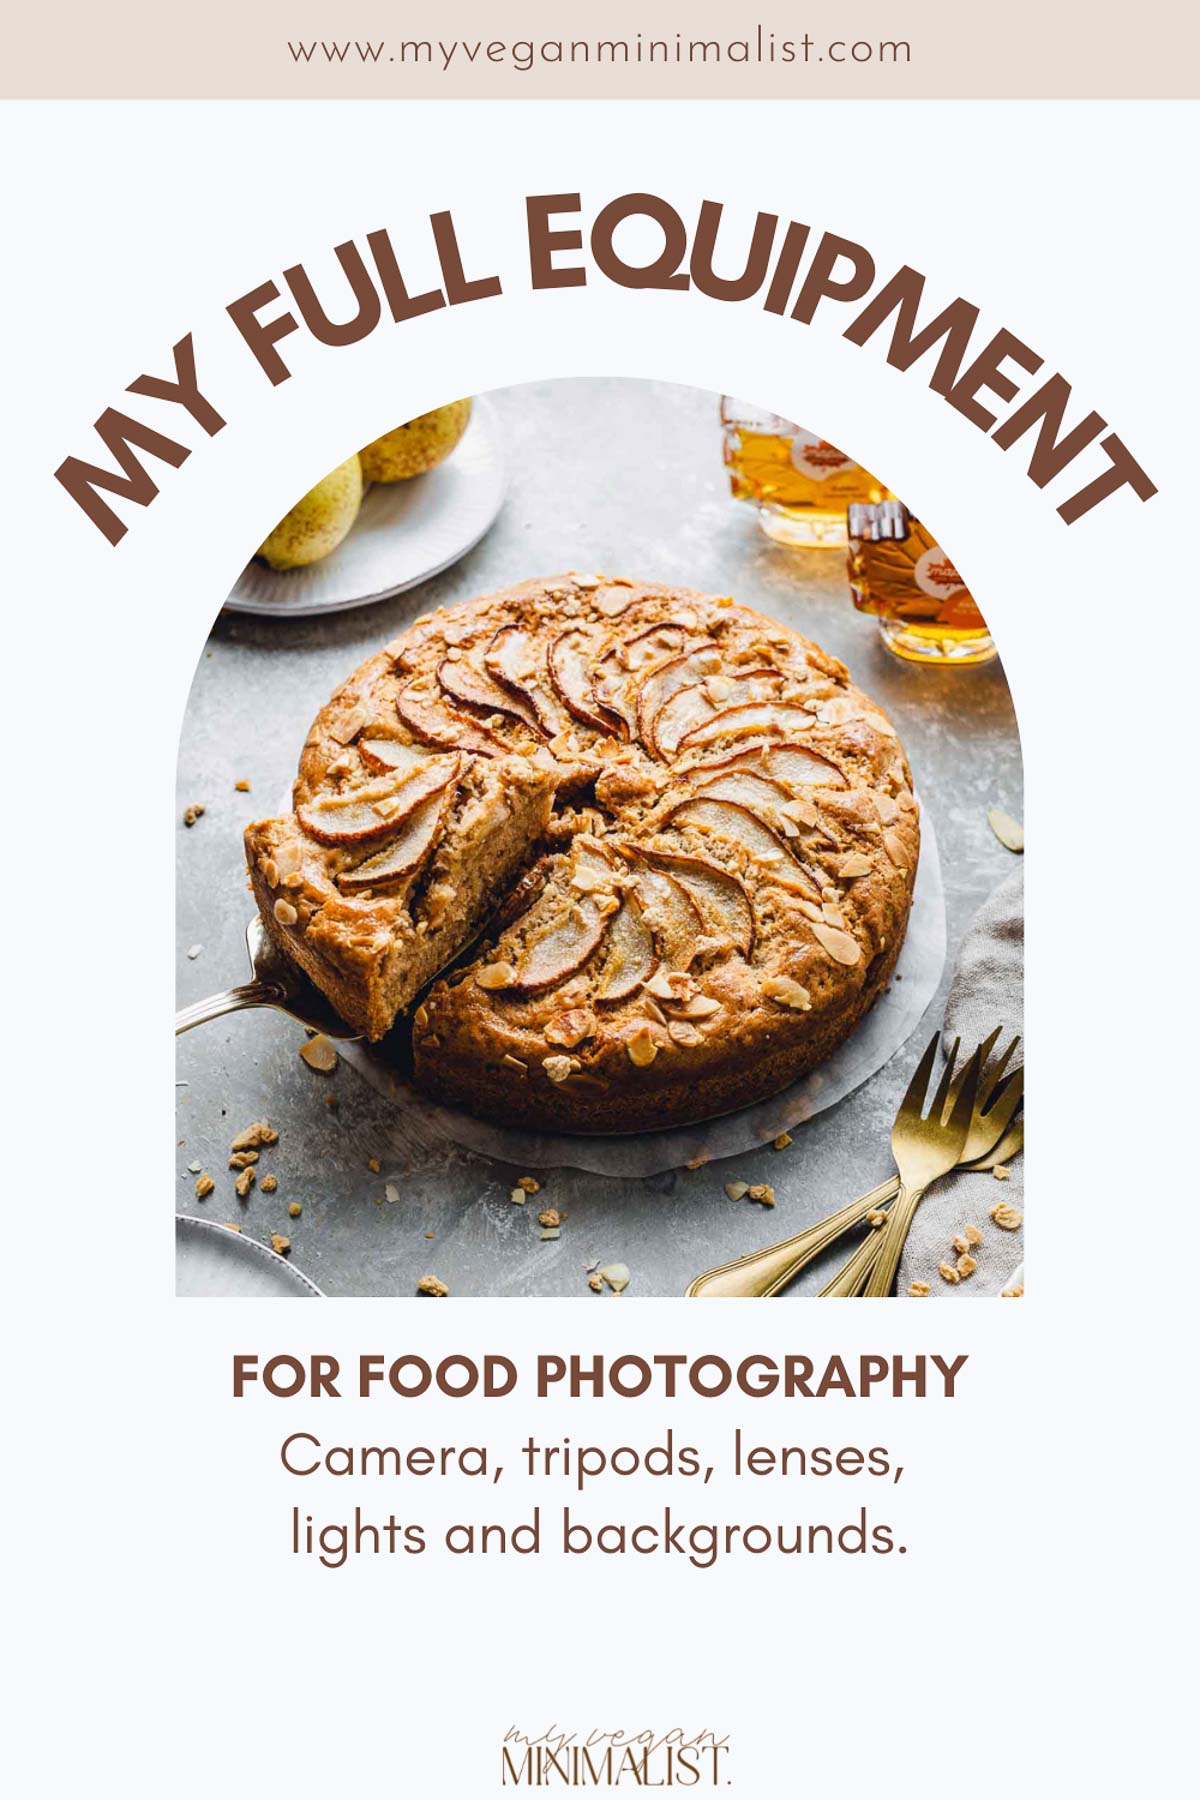
A breakdown of all my food photography equipment including camera, lenses, tripod, backgrounds and artificial lights. Packed with extra tips to stop you from making common mistakes when buying photography gear.
Camera
Let's start my food photography gear overview with the most obvious element, the camera.
I take all my photos with my trusted and beloved Canon 6D.
It's not a new model, but it's still one of the most iconic Canon cameras out there, famed for its quality and durability.
Canon 6D is a full-frame, 20-megapixel camera with a compact body, making it easy to carry around on shoots and simple to store.
You can get the newer version of Canon 6D here.
I love my Canon 6D because it performs very well in low light conditions. It's also excellent for other types of photography like portrait, wedding and nature photography, making it a fantastic all-rounder.
One of its drawbacks is that it doesn't provide autofocus with video, making it less suitable for video work. However, I fully believe it still allows you to make fantastic recipe videos such as the one below shot with my Canon 6D and the 50mm lens.
Lenses
Every food photography kit needs a lens.
My two go-to photography lenses are:
Let's dig into why.
If I were to choose just one lens for my food photography equipment bag I would undoubtedly go for the Canon 50 mm. It's often referred to as the nifty-fifty, and for a good reason.
This lens is unbelievably versatile and can work its magic in a huge variety of settings. I've used it in cafe and restaurant shoots, a vast majority of my blog images and constantly use it for my client shoots.
Not only is it hugely versatile, it's also famed for being able to achieve that signature bokeh - that gorgeous blurry effect you see in many food photos. It's a small, light lens, making it easy to carry around.
Any drawbacks of the 50 mm lens?
- It's not entirely suitable for close-ups since you won't be able to get very close to your food.
The 50mm lens with its signature blurry background. Taken with my Canon 50mm lens.
The second lens in my collection is the Sigma 105mm f2.8 Macro.
Sigma 105 is the more cost-effective alternative to the Canon 100mm f2.9 Macro lens. Despite being cheaper, it's an incredibly well-rated lens and has been recommended to me by so many fellow food photographers. Upon buying this lens, I wasn't disappointed at all, although it did take some time getting used to.
It offers something that the 50mm doesn't - the ability to get that crisp and sharp focus on even the tiniest objects.
This is exactly what makes it so suitable for food photos. Macro food photography is becoming more and more popular as viewers want to get extra close to the food for those delicious, gooey, mouth-watering shots.
Want that gorgeous, detailed shot of the inside of your brownie? Or that amazing close-up of your creamy pasta dish? Then a macro lens will be your next best friend!
Whereas I believe that the 50mm is a much better choice if you're looking to buy just one lens, a macro lens will be a great additional lens for when you need those close-ups.

A macro lens is perfect for capturing every little detail of your food. Taken with my 105 Sigma macro lens.
Extra tip: there's absolutely nothing wrong with using your kit lens. A kit lens is the term for a starter lens that usually comes in a box with your new camera. It's inexpensive, but usually proves a great choice for beginners. In fact, that's exactly how I started out and even did many client shoots using a kit lens.
Tripod
After buying my camera and my 50mm lens, the next thing on my list was a tripod.
If you're wondering whether or not to get a tripod for food photography, ask yourself the following questions:
- Do you like including hands in your photos?
- Do you like action shots like drizzles?
- Are you suffering from lower back problems?
- Are you working in low light conditions?
The more questions you've answered with a yes, the more you could benefit from getting a tripod.
Having a tripod will make action shots a whole lot easier.
It's quite obvious that a good tripod makes it easier to incorporate hands and action shots into your work. It frees your hands from holding a camera, allowing you to trigger it with a remote or an app like CameraConnect.
In addition to this, I find that one of its biggest tripod benefits is the ability to take good photos in low light conditions. Having a camera firmly attached and steady in one place will mean you can open your shutter for longer, letting the camera sensor catch more light. Even in darker rooms, this will allow you to get a crisp image without bumping up the ISO and getting that grainy effect.
Similarly, you'll be able to use smaller aperture which means getting more of your scene in focus. This is particularly important in food photography as you often have a hero dish that takes up a larger part of your scene.
I use my Manfrotto 055XB Tripod with a 494 ball head (find a comparable model here). It's a little bit on the heavier side, but this is what makes it super sturdy and durable. I'm practically expecting this tripod to outlive me and everyone I know, that's how heavy duty it is.
In addition to the ball head, some photographers use an extension arm or a C-stand for their overhead shots. This is not currently in my equipment bag, but I'm potentially looking into getting one and will update the post with my review in the future.
Lighting Equipment
Chances are if you ask me about photography gear I will start rambling on about artificial lights.
A good light setup for food photography is what can make all the difference between a mediocre image and a brilliant image.
Here's when artificial light comes in handy:
- Do you struggle to make all your images look consistent?
- Are you rushing to shoot everything during the day before the night falls?
- Do you work with clients and want to deliver them consistent, on brand images every time?
- Are you experimenting with action shots like pouring, drizzling, dusting, etc?
Remember, the more often you answered yes, the more useful artificial lights will be.
Artificial light can look incredibly natural. If you're using a good light and diffuser it will be practically impossible to tell that you've used artificial lights.
Artificial light has been the single biggest game-changer in my photography game. It made me understand photography exponentially better and improved my images beyond belief.
Sometimes I feel like a broken record, always going on about how drastically artificial light has changed my work. But it's absolutely true and I can't imagine ever going back to fully natural light.
I use my Godox Ving V860II-C flash paired with my Godox® 120cm / 47.2in Portable Octagon Softbox Umbrella to get those incredibly soft and airy shadows.
Because I use it as an off-camera flash (meaning the flash is not attached to the camera), I also need a flash trigger - included in this kit.
The role of this handy device is to make communication between the camera and the flash light possible. Whenever I pull the trigger on my camera, the flash will automatically light up.
My Godox flash light is attached to my Newer tripod using the Godox S-Type Speedlite Bracket Bowens S Mount Holder.
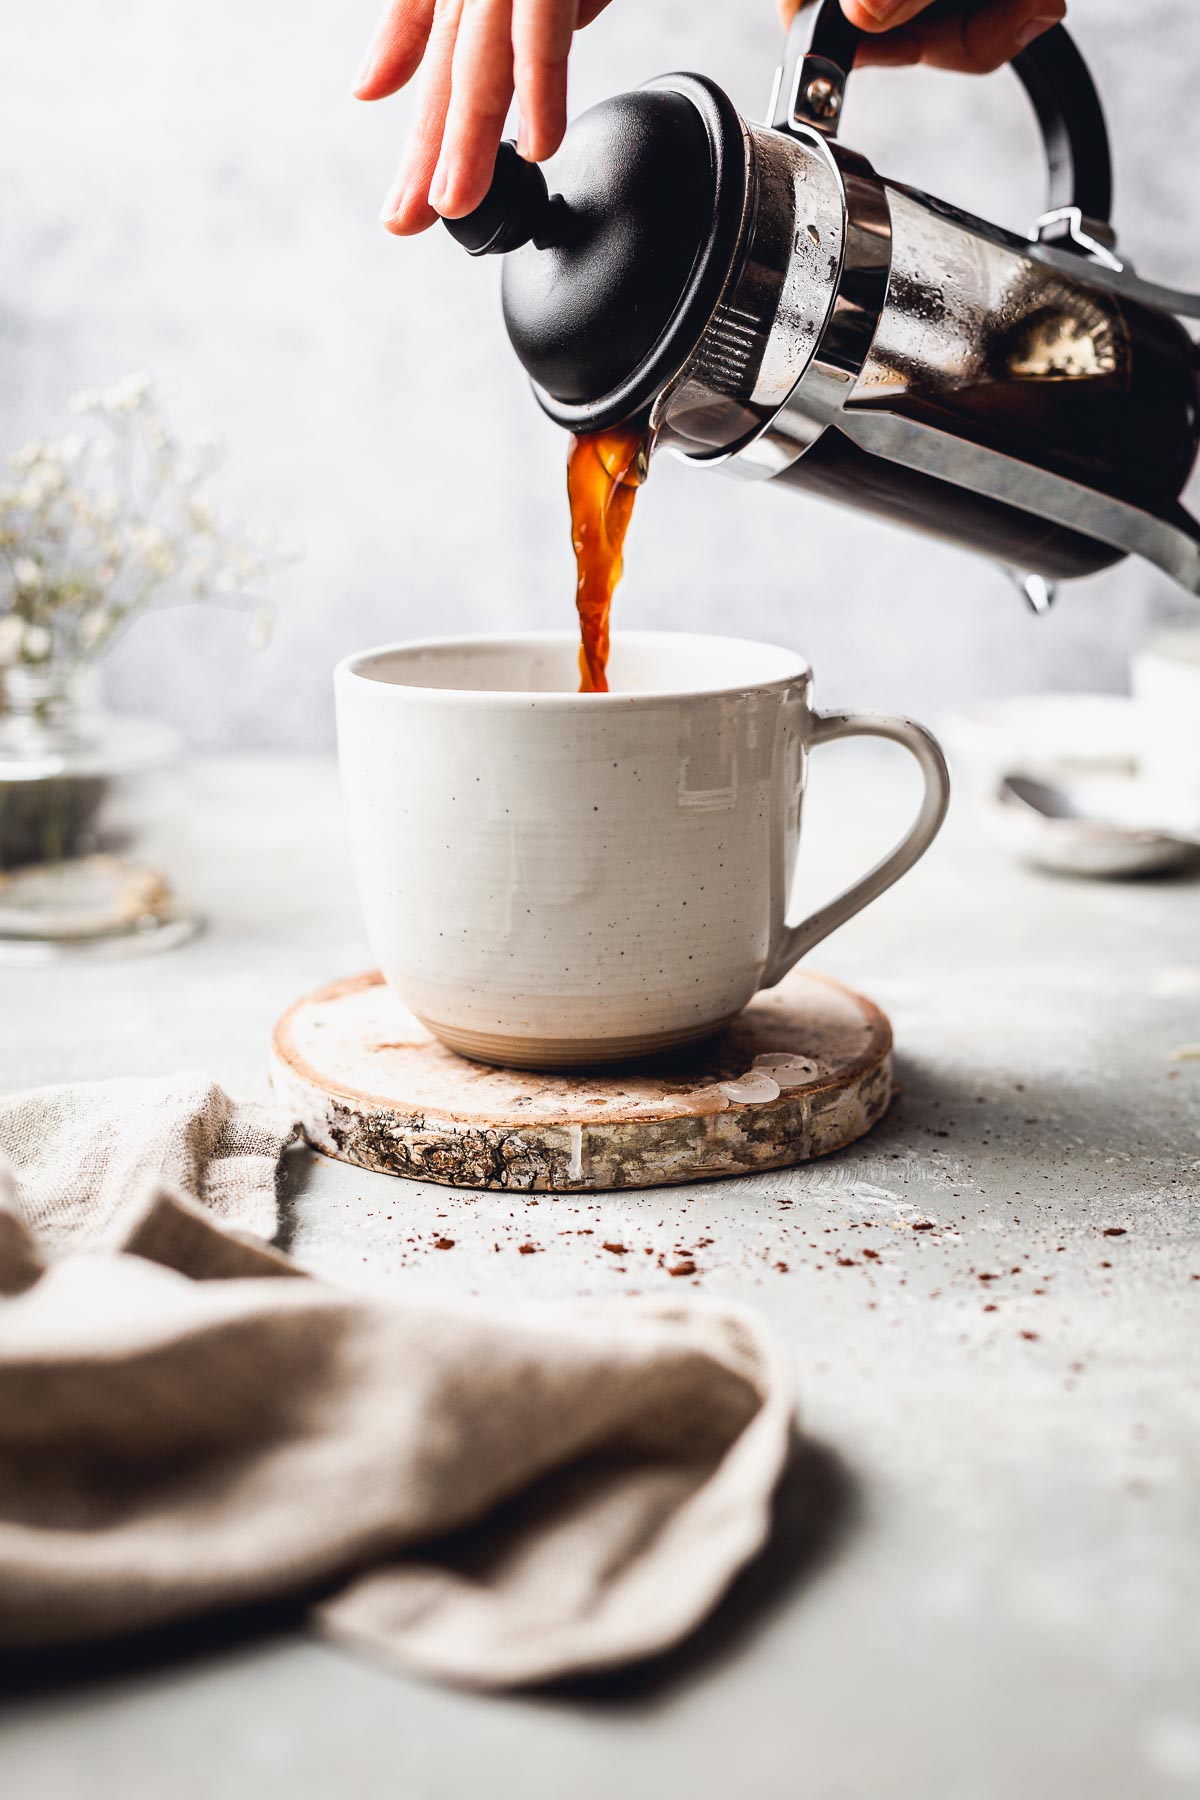
A flash light will enable you to get a crisp focus and the ability to 'freeze action' when capturing movement.
I'm incredibly happy with my current flash setup and would wholeheartedly recommend it to anyone.
Important tip: While I had an amazing experience using artificial lights, it doesn't mean this is a universal solution for everyone. If you have good conditions for natural light shoots, meaning you have a decent-sized window with a relatively good amount of light coming through, you absolutely don't need artificial lights. In fact, some of the biggest photographers out there don't even use artificial lights. It's all down to personal preference.
I personally have terrible natural light coming in through the window so artificial light was the perfect solution.
In addition to the flash light, I recently bought a continuous light perfect for my video work.
I currently have a love-hate relationship with this light so wouldn't necessarily recommend it. It gets the job done and offers plenty of light, however, I feel like it just doesn't allow me nearly the same flexibility that the flash does.
Backdrops
This isn't strictly related to equipment itself, but it's one of the most crucial food photography accessories which is why I wanted to mention it here.
I use a variety of backdrops ranging from my own handmade to vinyl and even paper backdrops.

One of the things I enjoy the most about making my own backdrops is that they're 100% unique and can never be fully replicated. It allows me to really get those creative juices flowing and can add an extra touch when creating client content that's truly one-of-a-kind.
Seeing as making my own backdrops takes up tons of valuable time, my go-to choice are now vinyl backdrops.
They're considerably easier to store, as they can simply be rolled up and kept in a poster tube.
Not only that, they're also much easier to clean, making them the best choice for splashes and action shots. If you've ever tried photographing food, you'll know just how messy things can get. For me, a backdrop that's easy to clean is a must.
Club Backdrops offer a huge variety of vinyl backdrops whether you're doing food, product, or even portrait photography.
I personally think they're the best value for money out there (and I've tried many, many different brands). Plus, they offer worldwide delivery.
And even better, from my experience their backdrops are resistant to most stains and spills.
You might want to be careful with very heavily coloured food such as turmeric as it can cause stains, but that's the case with every vinyl backdrop I've tried so far.
P.S. Grab a FREE BACKDROP by Club Backdrops when you use this link. That's a standard size backdrop, valid on orders of 2 or more items.
Most Important Piece of Equipment?
The most important equipment of them all? Your skills!
It's not your camera or your lenses that take the pictures - it's you! It sounds like a cliche, but I can't stress the importance of this enough.
In fact, there's no doubt you can make absolutely gorgeous, stunning photos with just your smartphone camera.
If you're just starting out in photography, my advice would be to always focus on upgrading your skills first, before upgrading your gear.
Food photography equipment can quickly get expensive so try to avoid the temptation to always upgrade and invest into improving your knowledge instead.
For me, starting out with an entry-level DSLR camera was one of the best decisions I've made. It pushed me to learn composition and editing through photography courses like Foodtography School. More than anything, it made me work hard to get good images and get a better grasp of how my camera works.
Find out how I improved my food photography here.
Looking to instantly improve your food photography in just 5 days? I have a completely free 5-day course covering elements like shapes, textures, colour balance & atmosphere. Click here to sign up!
If you've enjoyed reading about my full food photography equipment, you might enjoy exploring my photography tips section.


Tina says
Where do you get the pretty bowls and plates that you use in your photos?
Tajda Ferko says
There are so many placed I get them from! Mainly Nom Living, Habitat, M&S, Crate & Barrel, La Redoute, Form Lifestyle Shop, and various Etsy shops (search for handmade ceramics, pottery, etc). Hope this helps! 🙂 x