
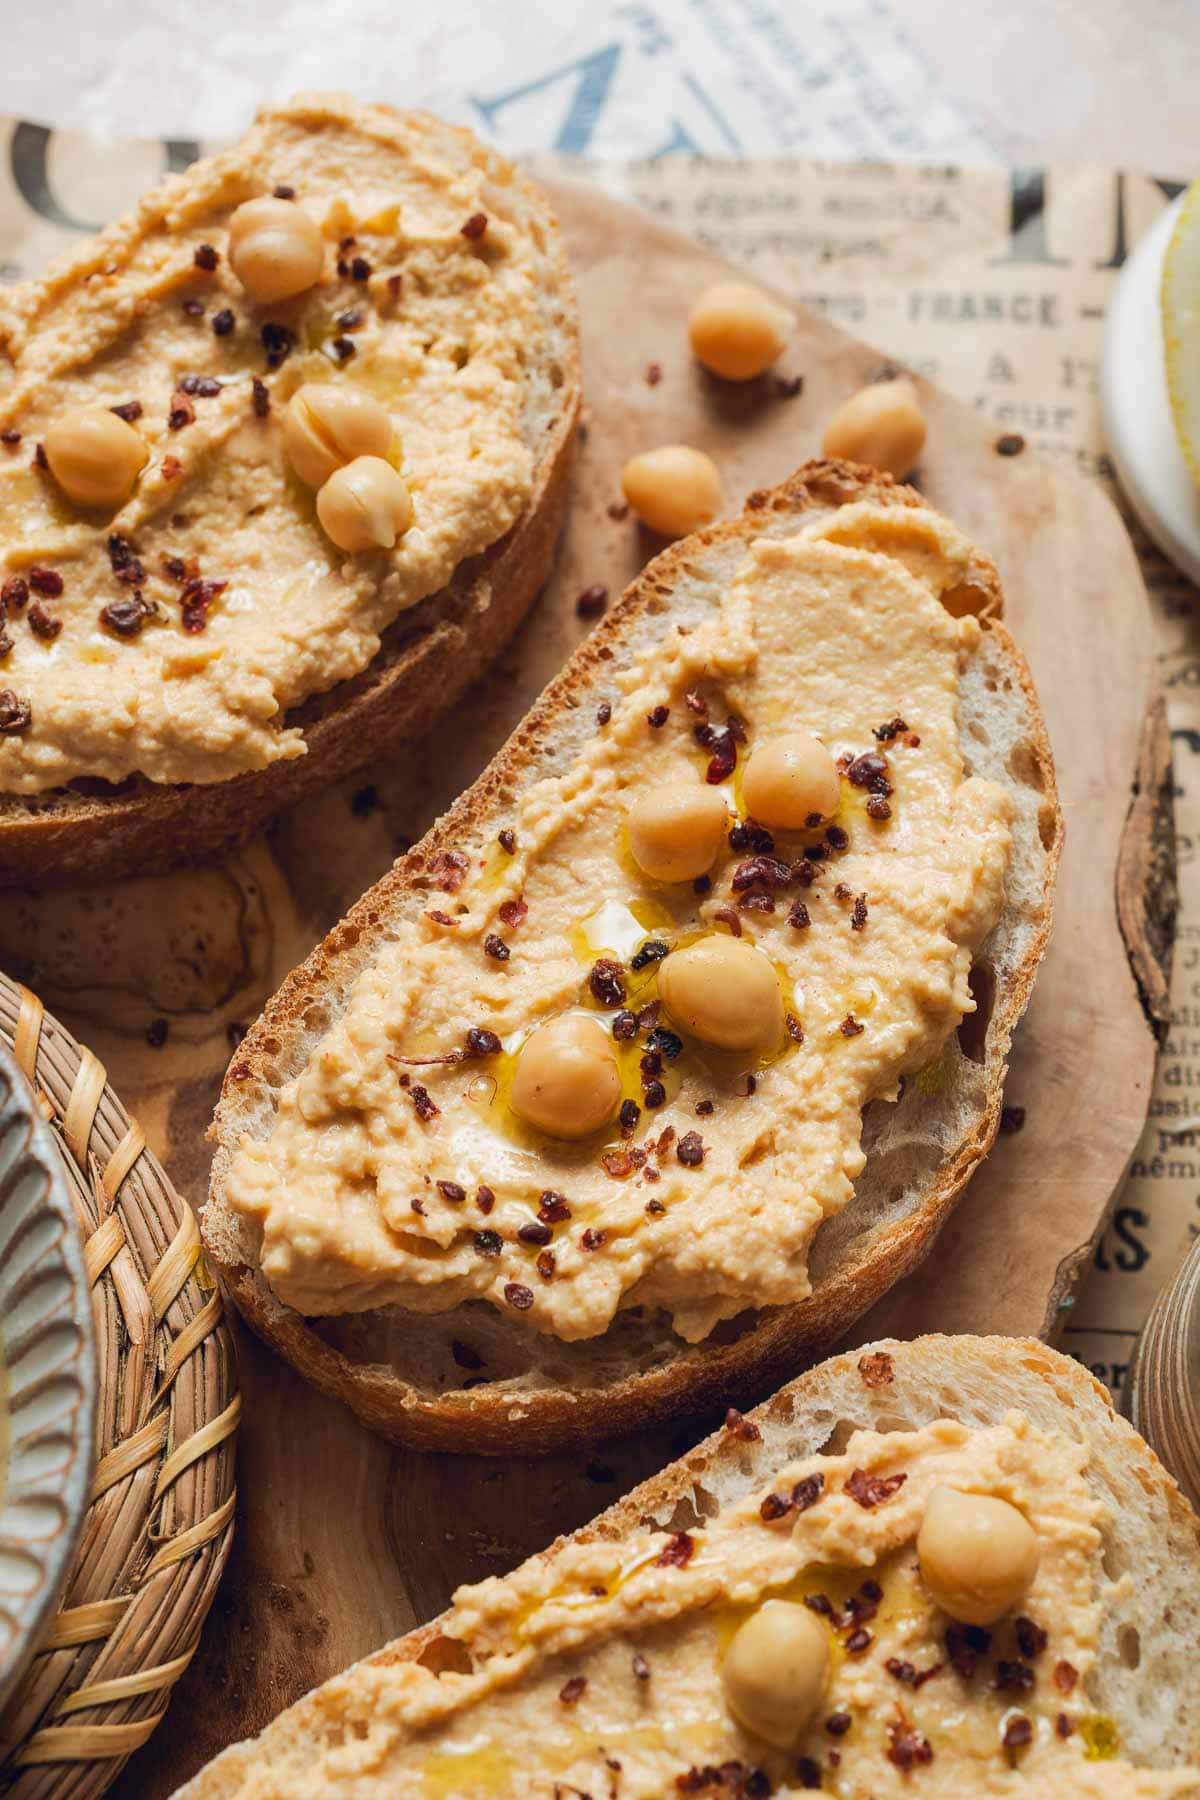
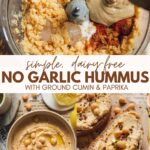
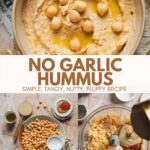
This no-garlic hummus gives you all the flavor of traditional hummus, minus the garlic. Made with simple ingredients, it comes together in just 15 minutes. Expect fluffy texture and no garlic breath.
Jump to:
💌 Why This Recipe Works
- No garlic, no problem. Our seasoning duo (cumin and smoked paprika) delivers more flavor and depth, while keeping it completely garlic-free.
- The ice cube trick. Blending with ice helps cool and aerate the hummus, creating a lighter, fluffier texture.
- Simple steps. Using canned chickpeas and minimal effort, this recipe comes together in under 15 minutes.
- Just a handful of ingredients. Better than store-bought hummus - no fillers, just whole foods and cupboard staples.
- Super customizable. Endless ways to serve it and countless options to customize with other ingredients.
Did you know? If you don't have a blender or food processor, you can still make a creamy hummus with this immersion blender hummus recipe. Follow the method but omit garlic.
🛒 Ingredients
You'll need the following ingredients to make garlic-free hummus.
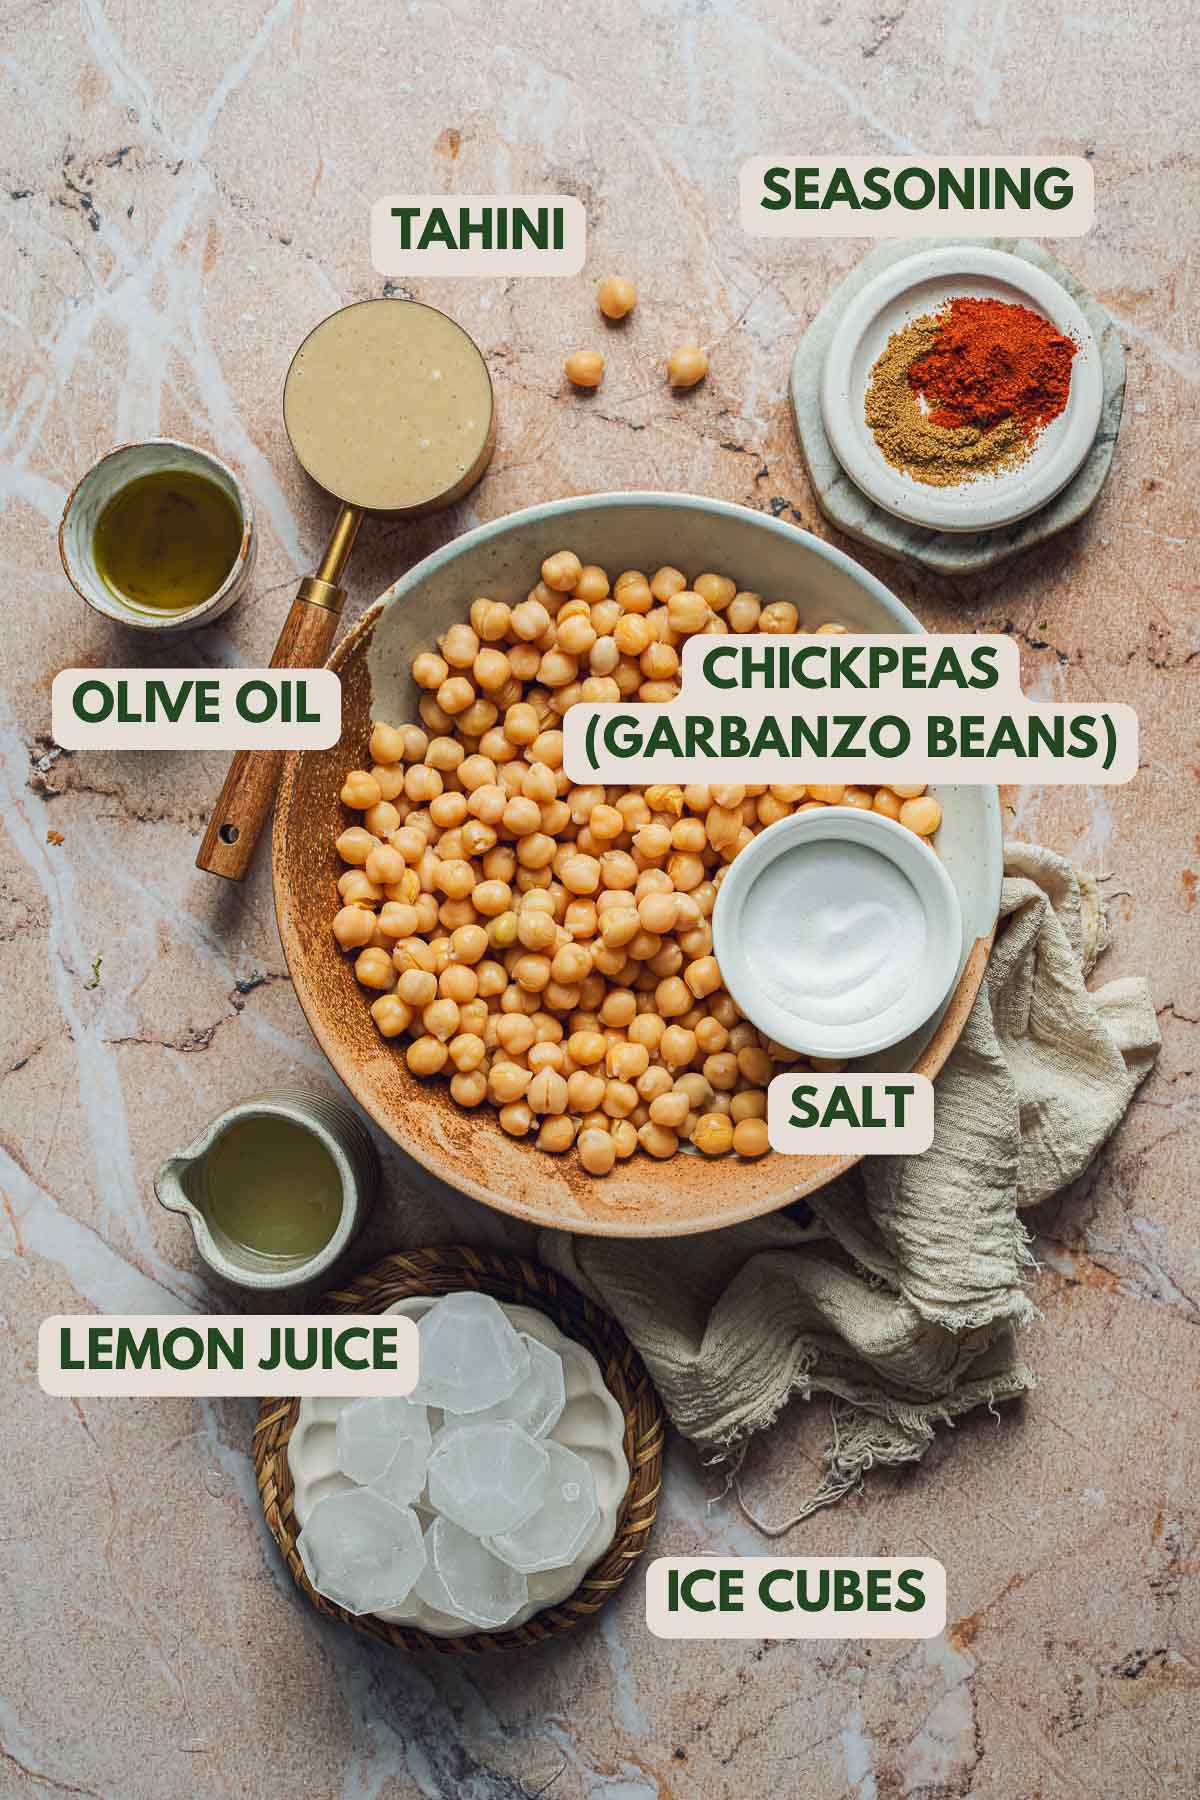
- Unsalted canned chickpeas (garbanzo beans): The essential ingredient and base of any chickpea dip. Using unsalted lets you control the salt amount yourself.
- Tahini (sesame paste): Tahini is just sesame seeds blended up into a smooth paste. It lends the hummus its signature nutty flavor and helps create a creamy texture.
- Extra-virgin olive oil: Adds richness and a glossy finish. Using extra-virgin olive oil instead of regular light olive oil makes a noticeable difference in flavor here.
- Fresh lemon juice: Just a squeeze of lemon juice brightens and balances tahini's richness. I recommend using fresh instead of bottled.
- Ground cumin: A warm, earthy spice used widely in Middle Eastern cooking. Helps give hummus an earthy and nutty taste.
- Salt: Helps make other flavors more pronounced. Can be customized to taste.
- Smoked paprika: Adds a subtle smokiness and a hint of color.
- Ice cubes: Used instead of water to get a well-blended, fluffy hummus.
Green Tip: Don't throw away the chickpea water; it has so many uses! Leftover aquafaba (chickpea liquid) can be used in this chocolate mousse recipe and many others.
📝 Steps
Don't forget you can find the full recipe (including exact ingredients and in-depth instructions) in the recipe card at the bottom of this page.
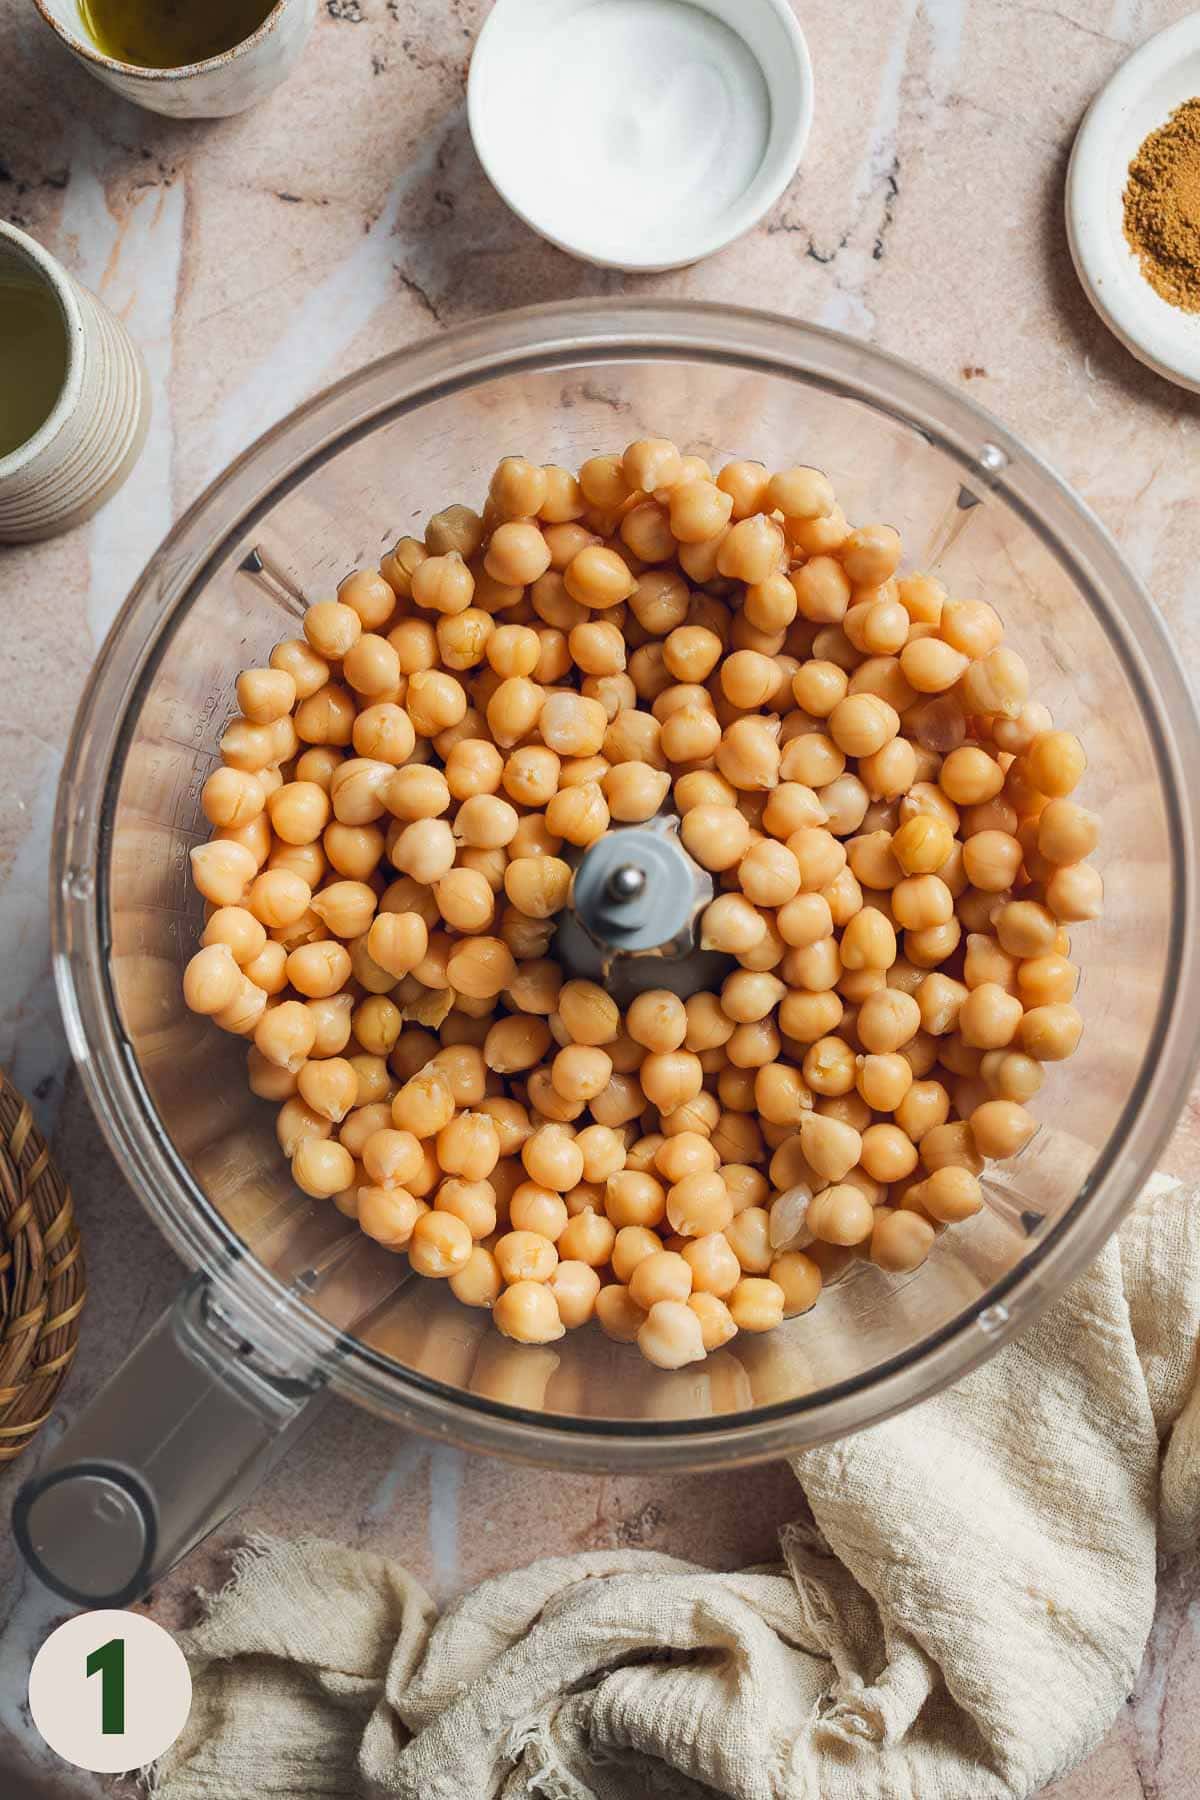
Drain two cans of chickpeas over a bowl to save the liquid (aquafaba); it's great for other recipes! Rinse the chickpeas, then add them to the bowl of a food processor.
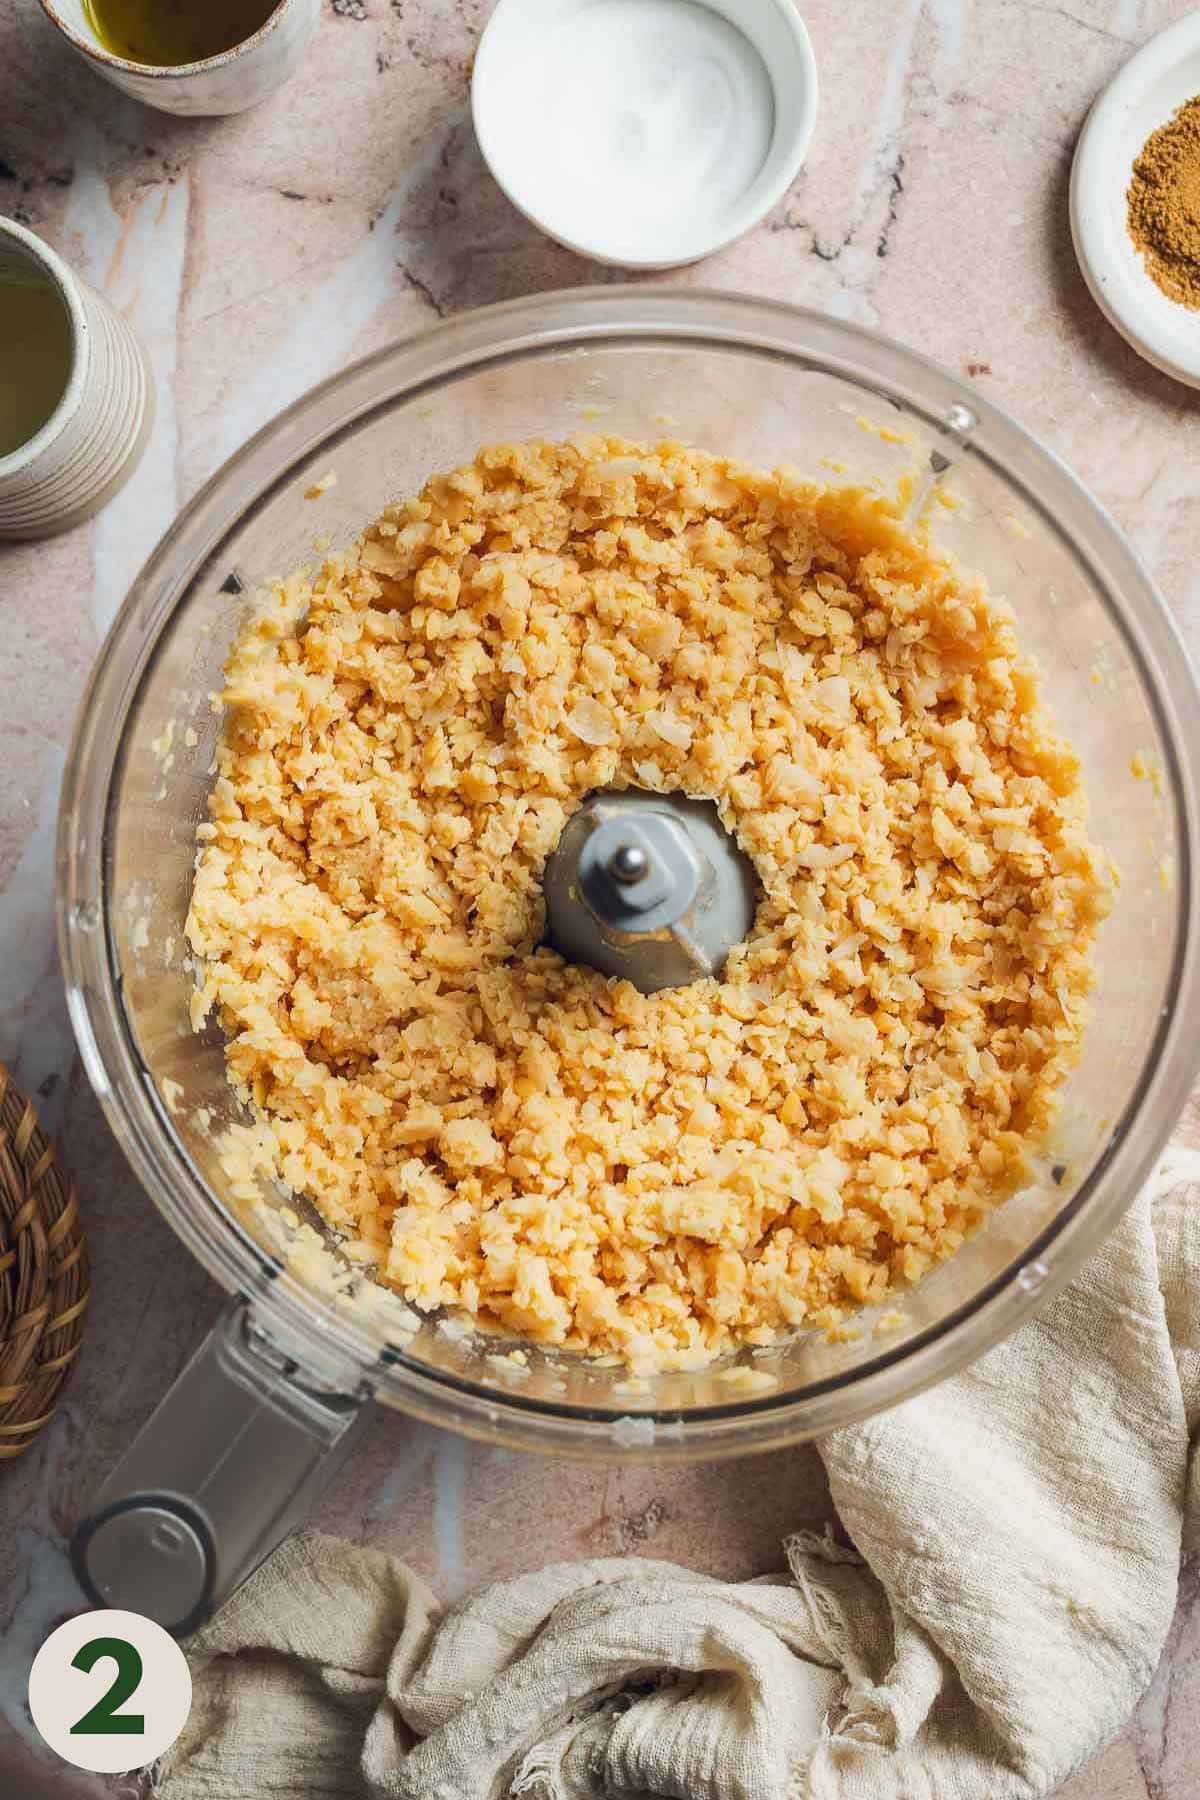
Blend until completely smooth and no lumps remain.
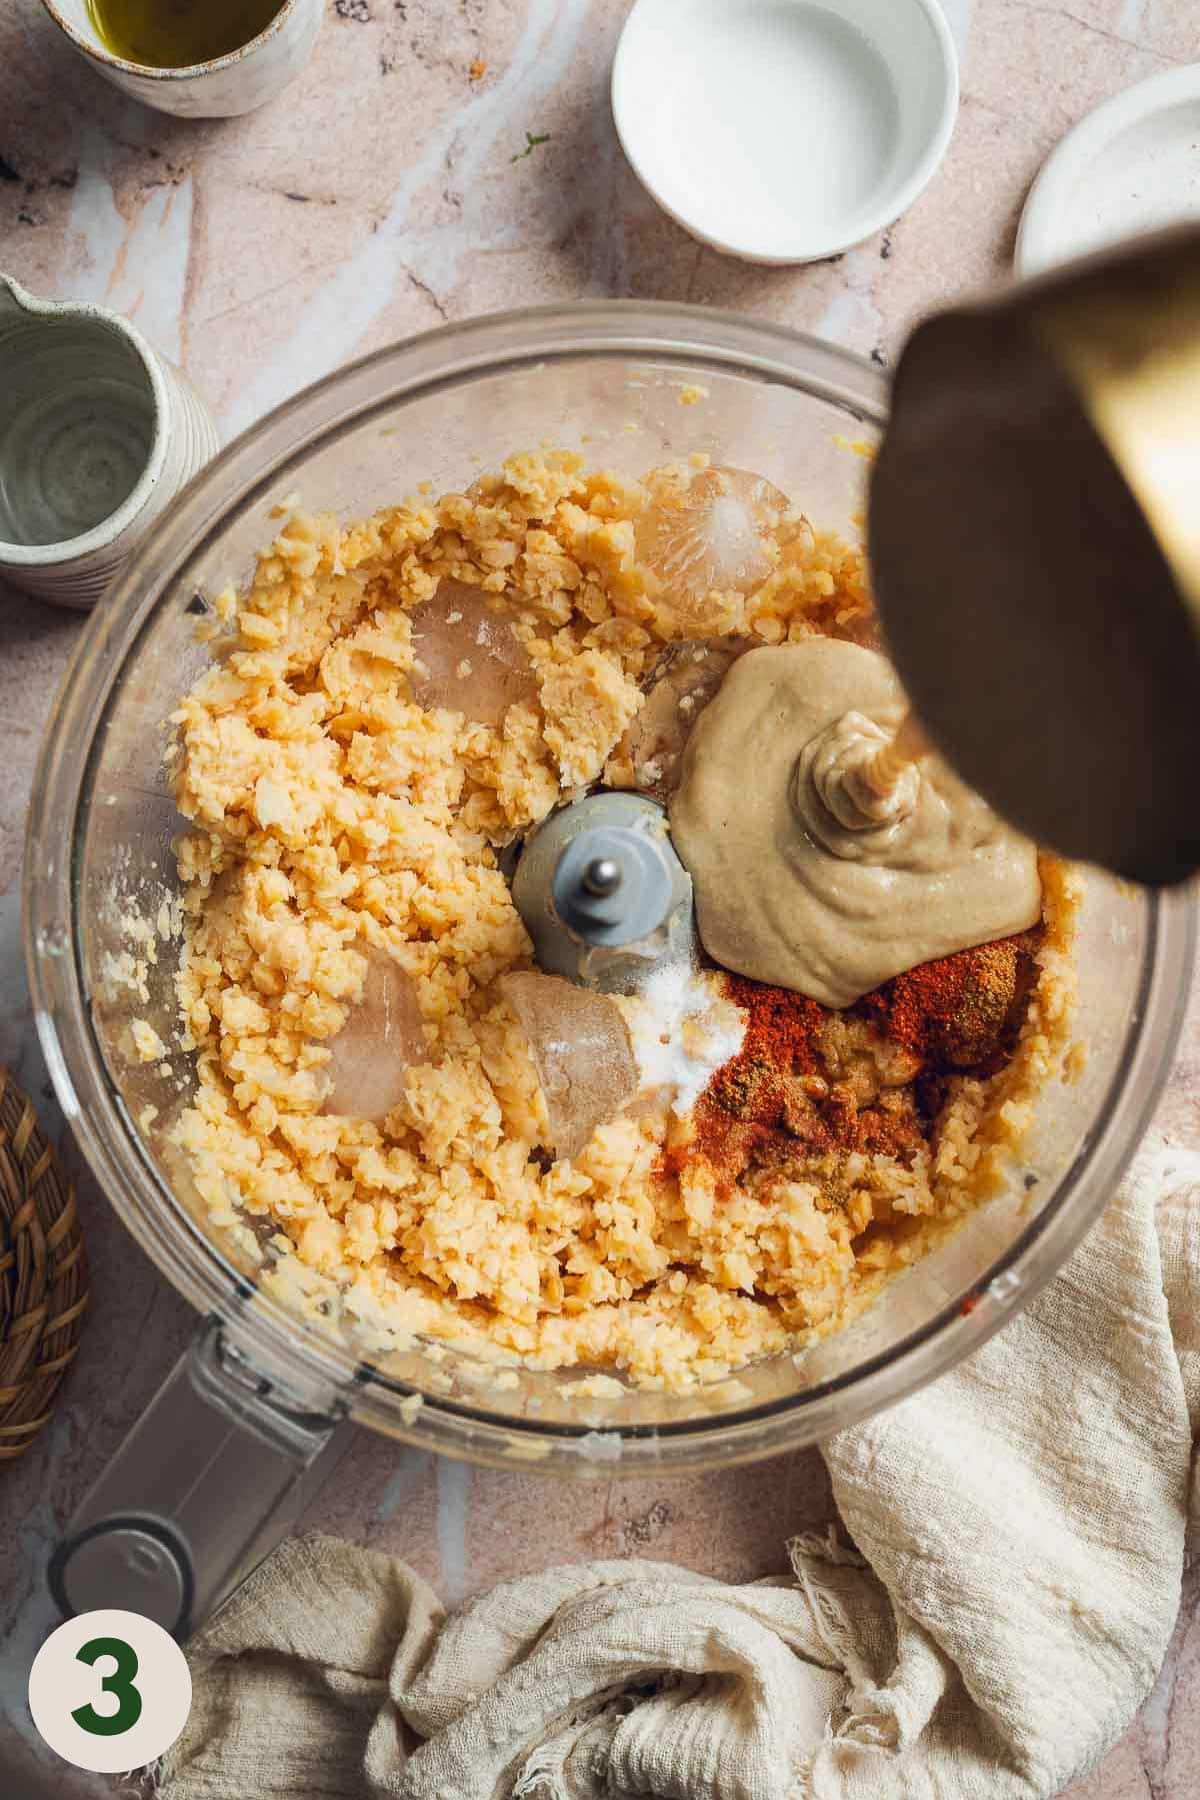
Add tahini, fresh lemon juice, ground cumin, smoked paprika, salt, and ice cubes.
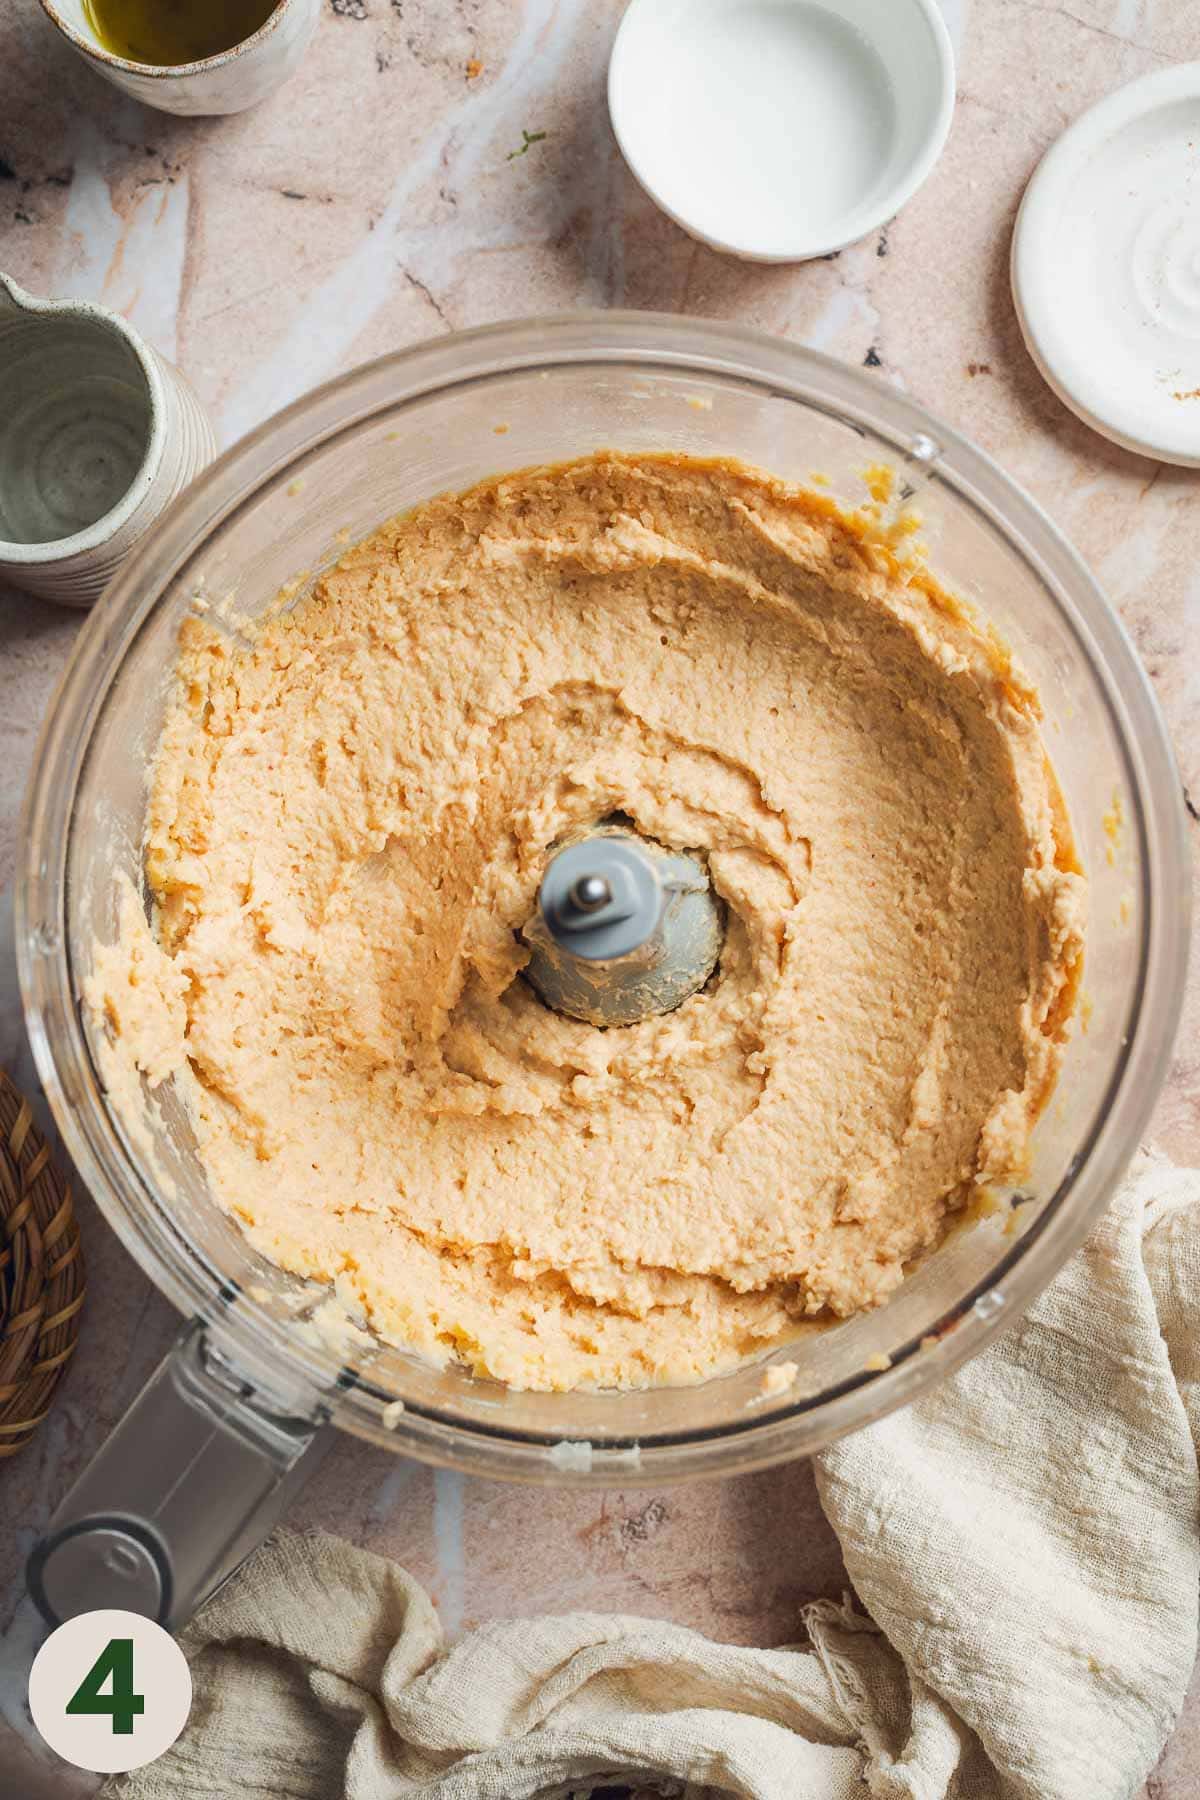
Blend again for 3-5 minutes until combined and completely smooth.
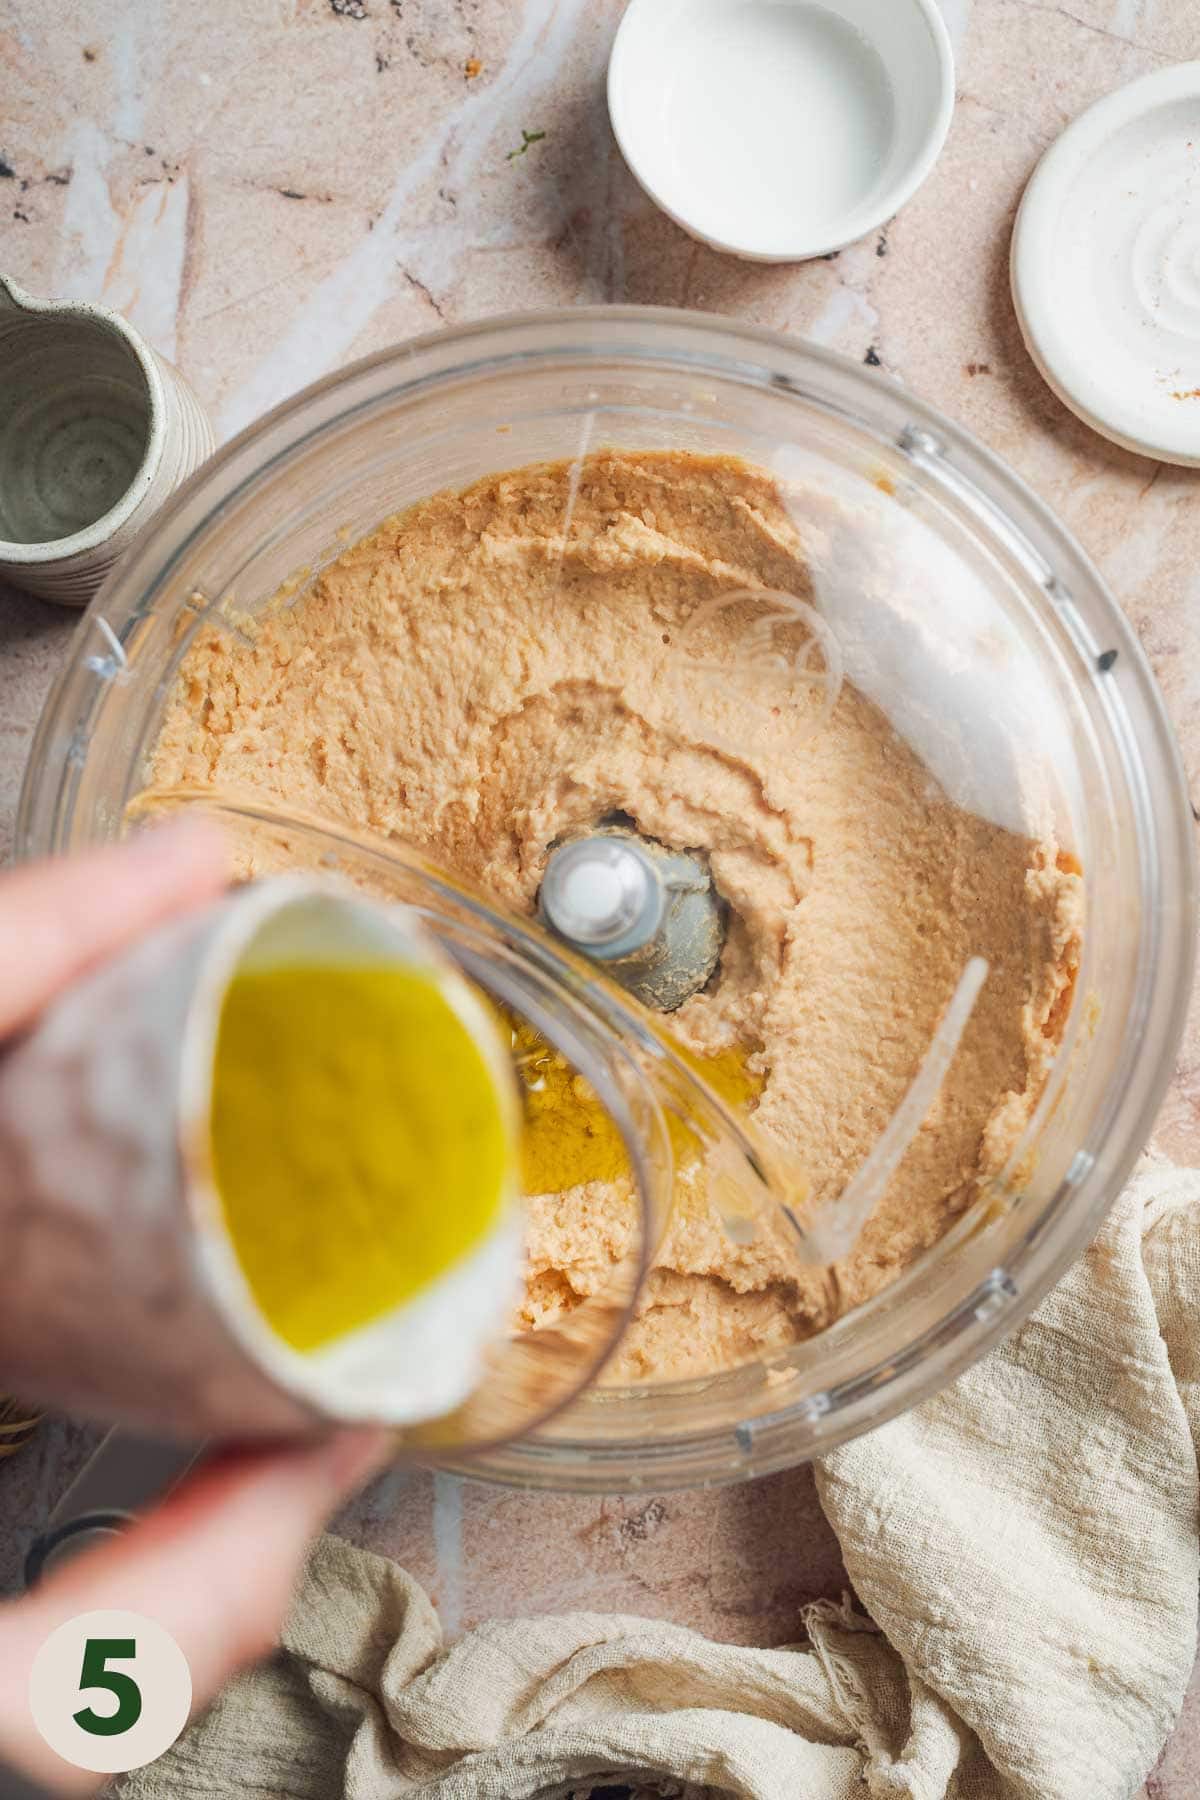
Gently pour in the olive oil in a thin, steady stream while the processor is running on low speed, letting it emulsify as it goes.
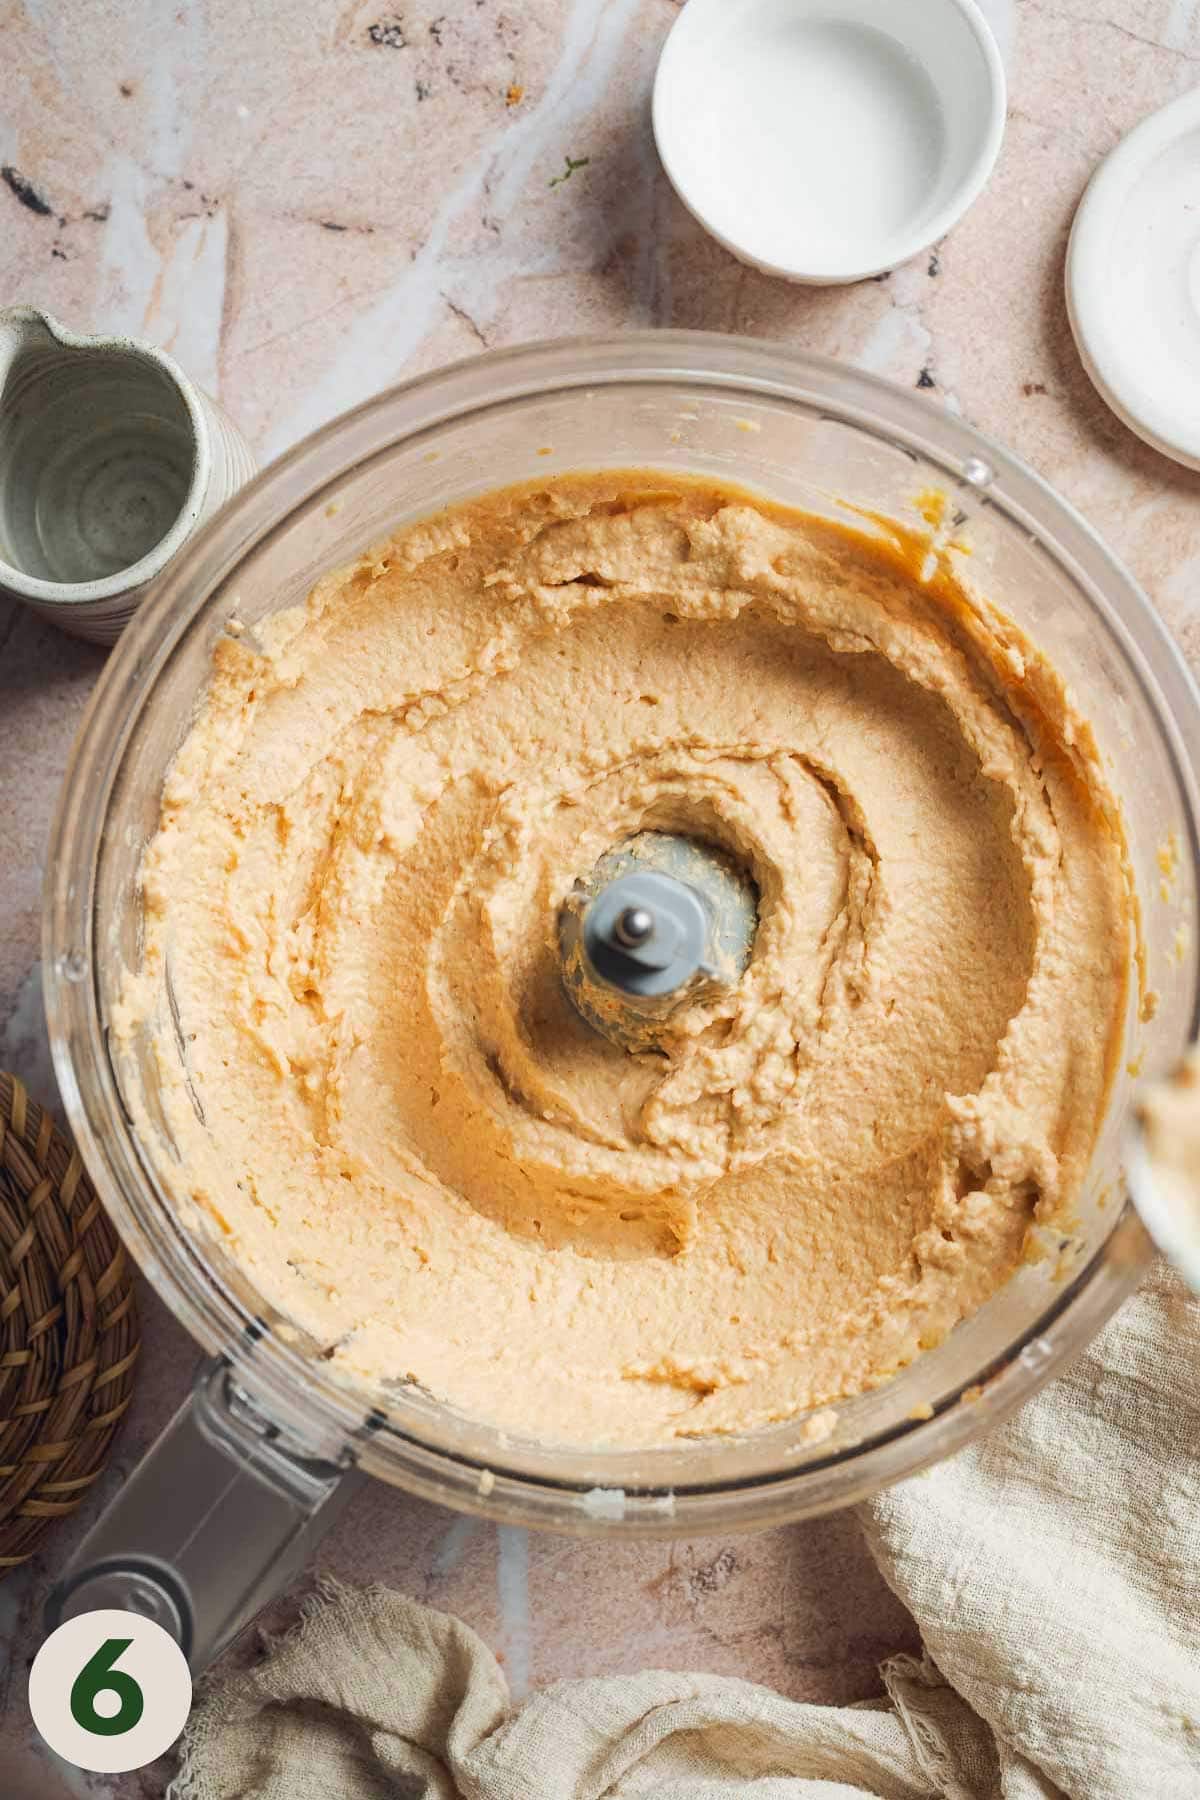
Taste and adjust. Add more water or ice if it's too thick, or a few more chickpeas if it's too thin.
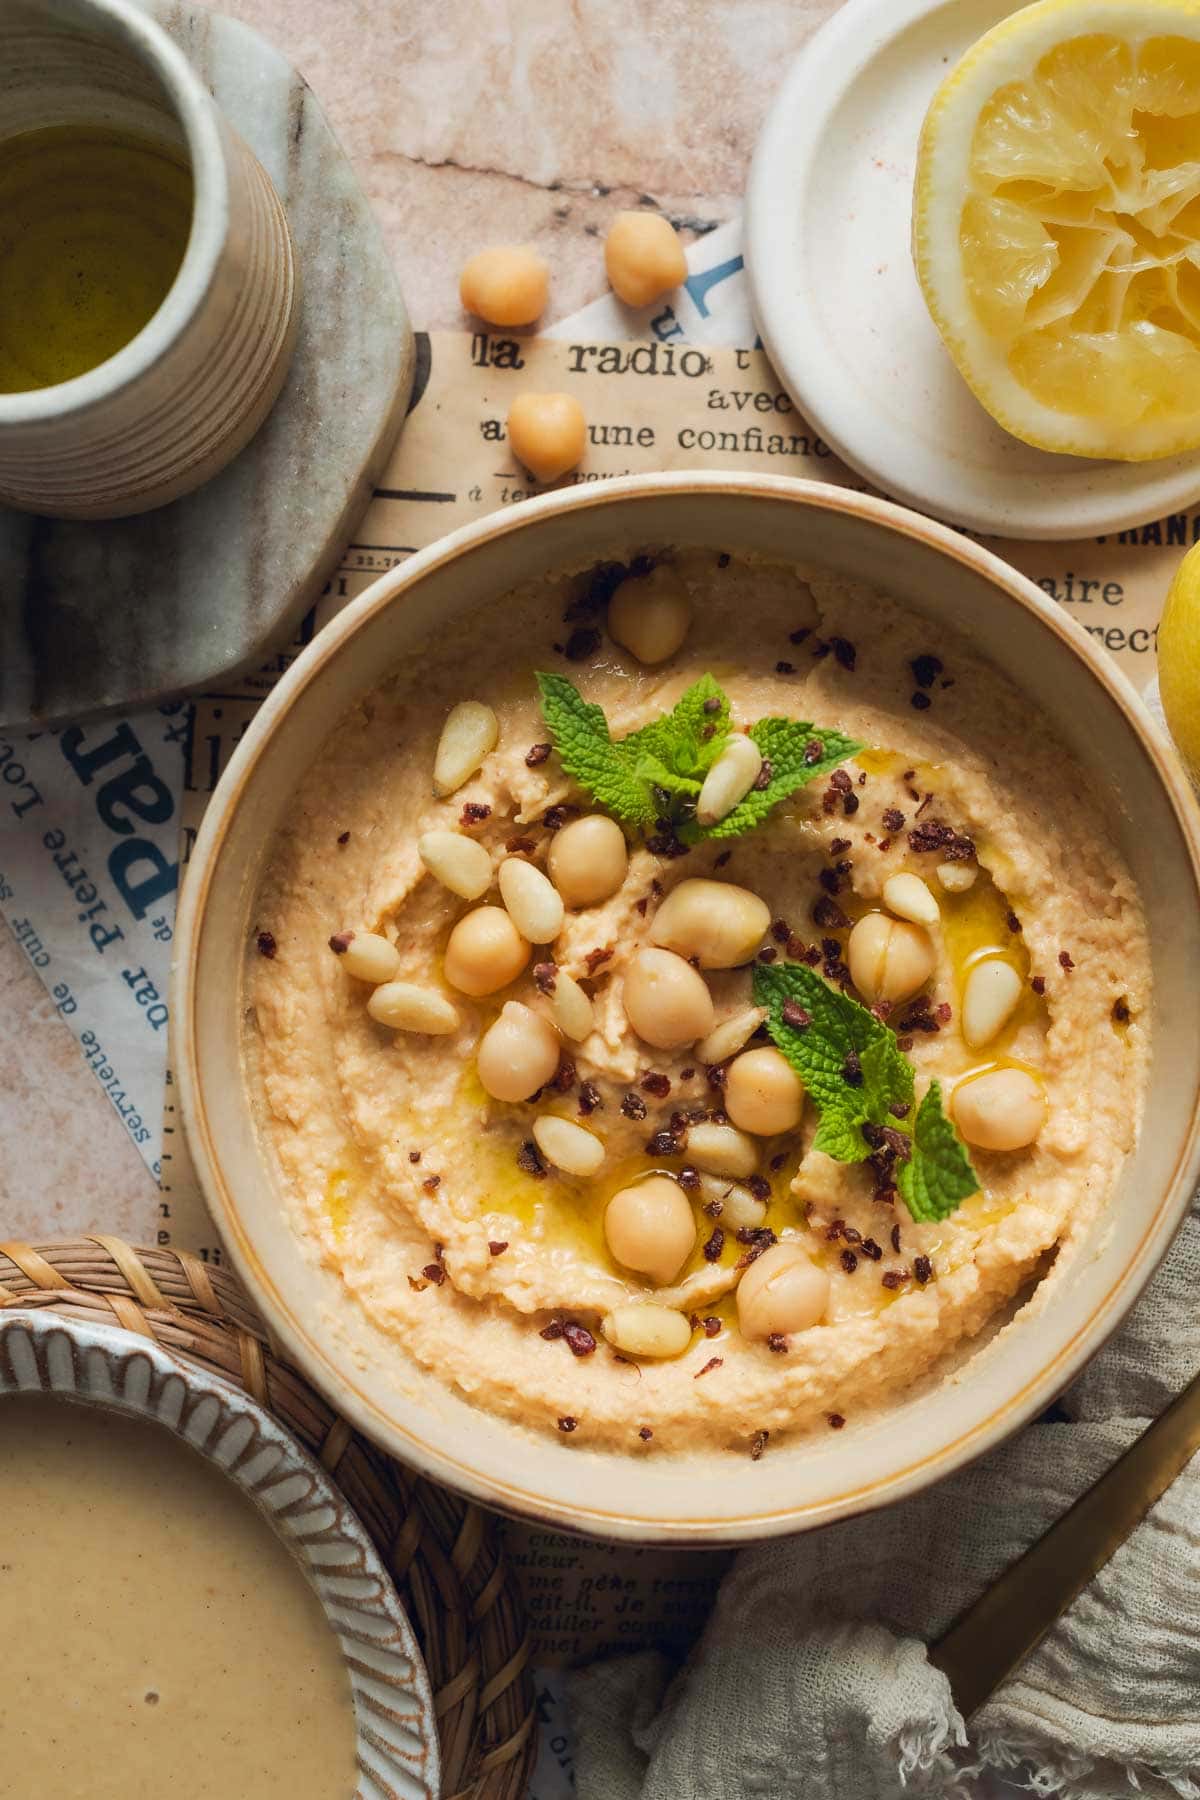
Serve with an extra drizzle of extra-virgin olive oil, pomegranate, mint, sumac, or your other favourite toppings.
Don't have a powerful blender? Skip the ice cubes, which can be tough on a weaker motor, and use ice-cold water instead. Just drop some ice into a large bowl of water and let it sit a minute until it's very cold, then blend that in as needed (start with less - you can always add more).
👨🍳 Expert Tips
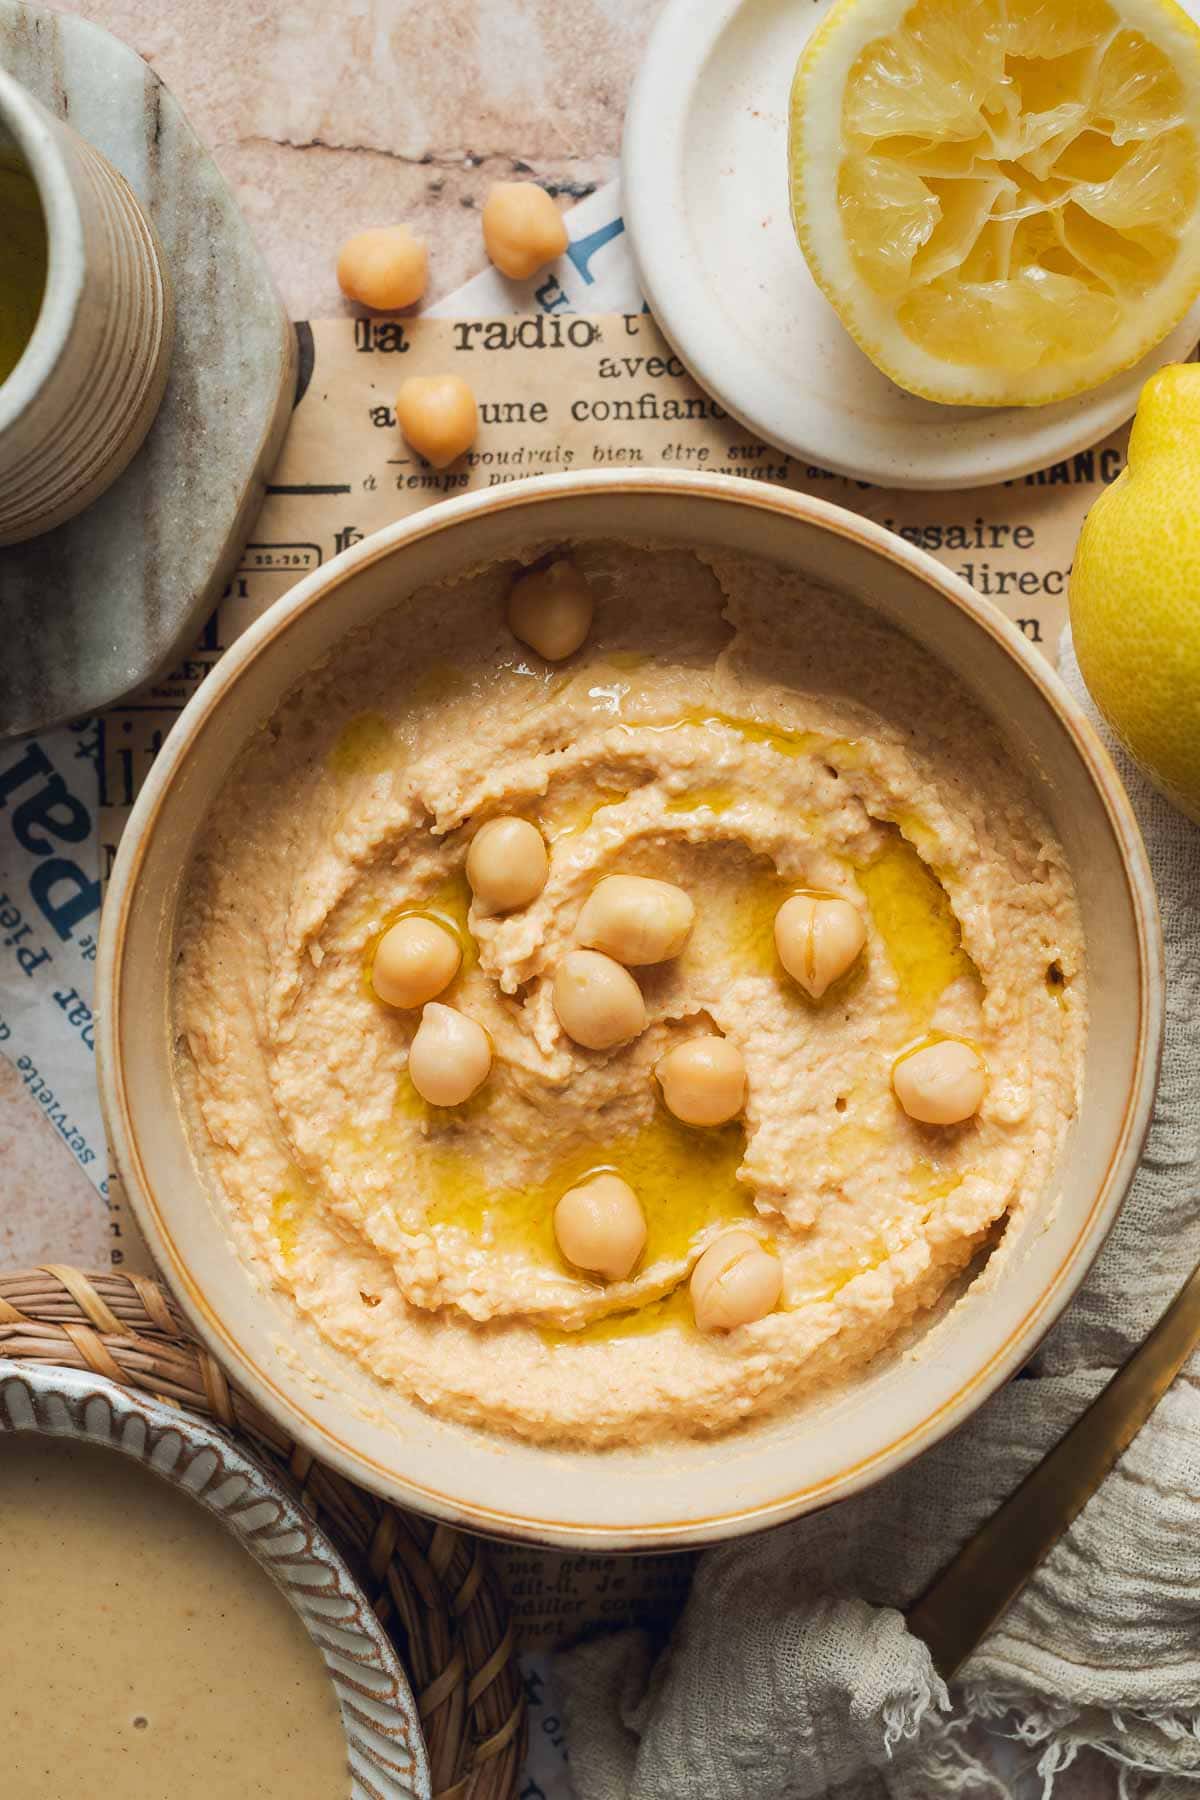
Be flexible - it's totally normal for your hummus to turn out a bit thinner or thicker than the photos. You can always adjust it: add more chickpeas or tahini for a thicker, firmer texture, or more ice-cold water, ice cubes, or olive oil to thin it out.
- Optional - Boil the chickpeas. Simmer the drained chickpeas with a pinch of baking soda in about an inch of water for 25-30 minutes, until they're super soft and easy to mash. This extra step makes the texture smoother and fluffier.
- Ice cubes, not just water. Adding ice cubes (instead of room-temperature water) while blending keeps the hummus cool and creates a fluffier, more aerated texture.
- Don't rush it. Let the food processor run longer than you think you need to. Expect several minutes of total blending time, depending on your food processor
- Jazz it up! I love to add another drizzle of olive oil and generously sprinkle hummus with sumac before serving. This tangy spice, which originates from the Middle East/Mediterranean, is the perfect way to add another flavor kick.
📌 FAQ
Of course. I recommend overcooking them to get a creamier, smoother hummus.
You're welcome to do so but it's a lot of work for not a huge difference. Instead, you can add a pinch of baking soda and simmer the chickpeas until overcooked - this softens them and creates the creamiest hummus. I wouldn't bother peeling by hand unless you have extra time as it's quite a tedious job.
You can replace it with a mixture of water and oil, or use sunflower seed butter instead. Remember that the flavor will change quite significantly if you omit tahini.
Add a tablespoon of cold water at a time while blending until you reach your desired creamy texture.
🌶️ Variations
- Extra Salty & Tangy: Blend in a few sundried tomatoes for a more distinct flavor.
- Green & Herby: Add a custom amount of herbs like fresh dill, parsley or chives.
- Spicy Kick: Blend in chilli flakes, jalapeños, or cayenne pepper, or drizzle with crispy chilli oil at the end.
- Roasted Carrot Hummus: Swap half the chickpeas for roasted carrots for a naturally sweet, vibrant flavor and gorgeous color.
- Red Pepper Hummus: Blend in one roasted red bell pepper (from a jar) for a smoky, slightly sweet twist.
🍽️ Serving Ideas
This no garlic hummus is endlessly flexible.
- Dip it into freshly baked dinner rolls or pretzels.
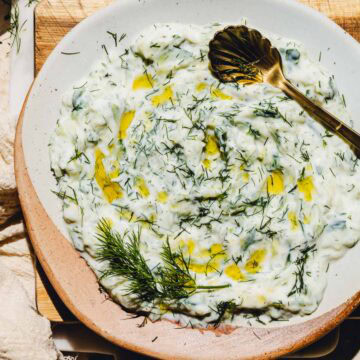
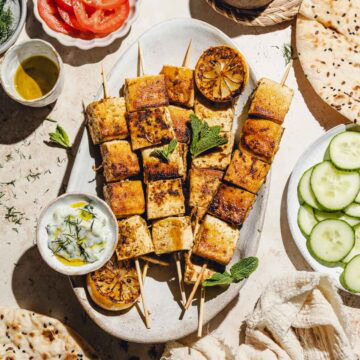
- Turn it into a Greek feast by serving alongside tzatziki and vegan souvlaki.
- Use it to dip tortilla chips, pita chips, or crackers.
- Serve it as a standalone dip topped with crispy white beans or crispy roasted lentils.
- Pair it with fresh vegetables like raw carrots, cucumber, celery, or bell pepper for a healthy snack.
- Add a dollop to my jackfruit burger as an alternative to mayo or use it as a sandwich spread.
📦 Storage
Store your hummus in an airtight container in the fridge and use within 4 days. Stir well before serving and top with a fresh drizzle of olive oil to achieve that glossy finish again.
For longer storage, this hummus can also be frozen for up to 2 months. I recommend freezing it in an ice cube tray to make serving individual portions easier. Just thaw overnight in the fridge and stir well before serving.
Green Tip: Reuse a thoroughly cleaned jam or peanut butter jar instead of reaching for brand new containers.
🎉 More Dips
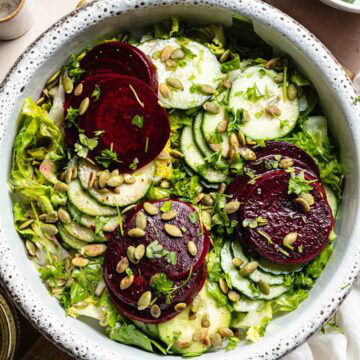
If this easy hummus recipe hit the spot, you'll probably love these too:
If you tried this no garlic hummus it would mean a LOT to me if you could leave a comment and review below - your support helps me maintain this blog!
🍴Recipe
No Garlic Hummus - Super Easy, Creamy Homemade Dip
EQUIPMENT
- Food processor or blender
INGREDIENTS
- 2 cans unsalted chickpeas standard 14 oz / 400g can
- ⅓ cup (80 g) tahini
- 3 tablespoon fresh lemon juice
- 1 teaspoon ground cumin
- 1 teaspoon smoked paprika
- 1 teaspoon (2 teaspoon) salt or more to taste
- 8 ice cubes about ½ cup of ice cubes
- 2 tablespoon extra-virgin olive oil
INSTRUCTIONS
- Drain two cans of chickpeas over a bowl to save the liquid (aquafaba); it's great for other recipes! Rinse the chickpeas, then add them to the bowl of a food processor.2 cans unsalted chickpeas
- Blend until completely smooth and no lumps remain.
- Add tahini, fresh lemon juice, ground cumin, smoked paprika, salt, and ice cubes.⅓ cup tahini, 1 tsp ground cumin, 1 tsp salt, 3 tbsp fresh lemon juice, 8 ice cubes, 1 tsp smoked paprika
- Blend again for 3-5 minutes until combined and completely smooth.
- Gently pour in the olive oil in a thin, steady stream while the processor is running on low speed, letting it emulsify as it goes.2 tbsp extra-virgin olive oil
- Taste and adjust. Add more water or ice if it's too thick, or a few more chickpeas if it's too thin.
- Serve with an extra drizzle of extra-virgin olive oil, pomegranate, mint, sumac, or your other favourite toppings.
Notes
Nutrition
Disclaimer: The nutritional information above is calculated automatically. The author of this post cannot guarantee 100% accuracy of this data.
Leave a Reply