This Thermomix hummus dip recipe is IRRESISTIBLE! Packed with vitamins, it's made from 9 staple ingredients like chickpeas, tahini, lemon & oil. You can whip it up in minutes!
Jump to:
Tip: While this is a Thermomix hummus recipe, don't worry if you don't have one! Check out my immersion blender hummus that you can make using a simple stick blender.
💌 Why I Love This Recipe
- Prepared within minutes
- Made using only 9 ingredients
- Impossible to mess up
- Can be made without oil
- Easy to customize
You'll also find the BEST expert tips & troubleshooting ideas below. Let's dive right in!
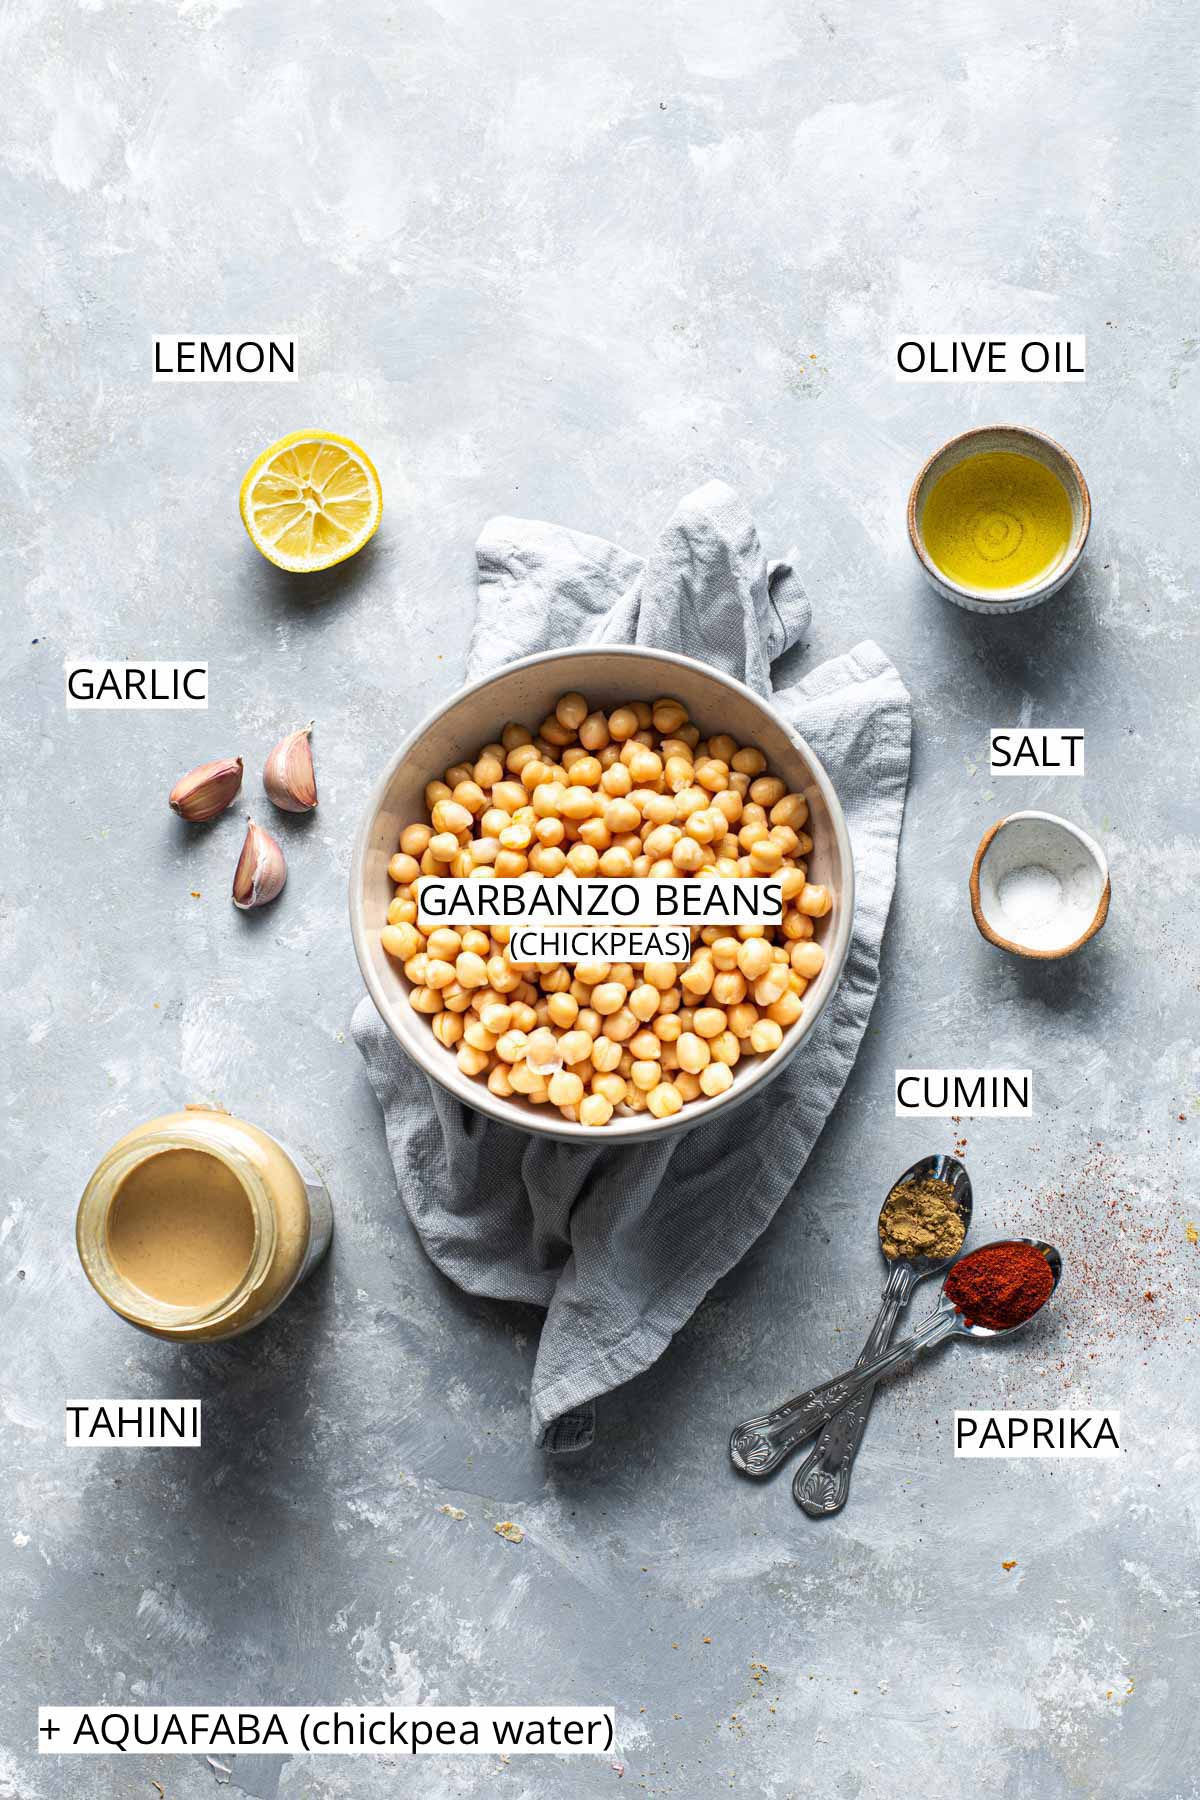
🍋 Ingredients
Here's what you'll need to make this Thermomix hummus. Best of all? All of these are easily accessible!
Ingredient Notes
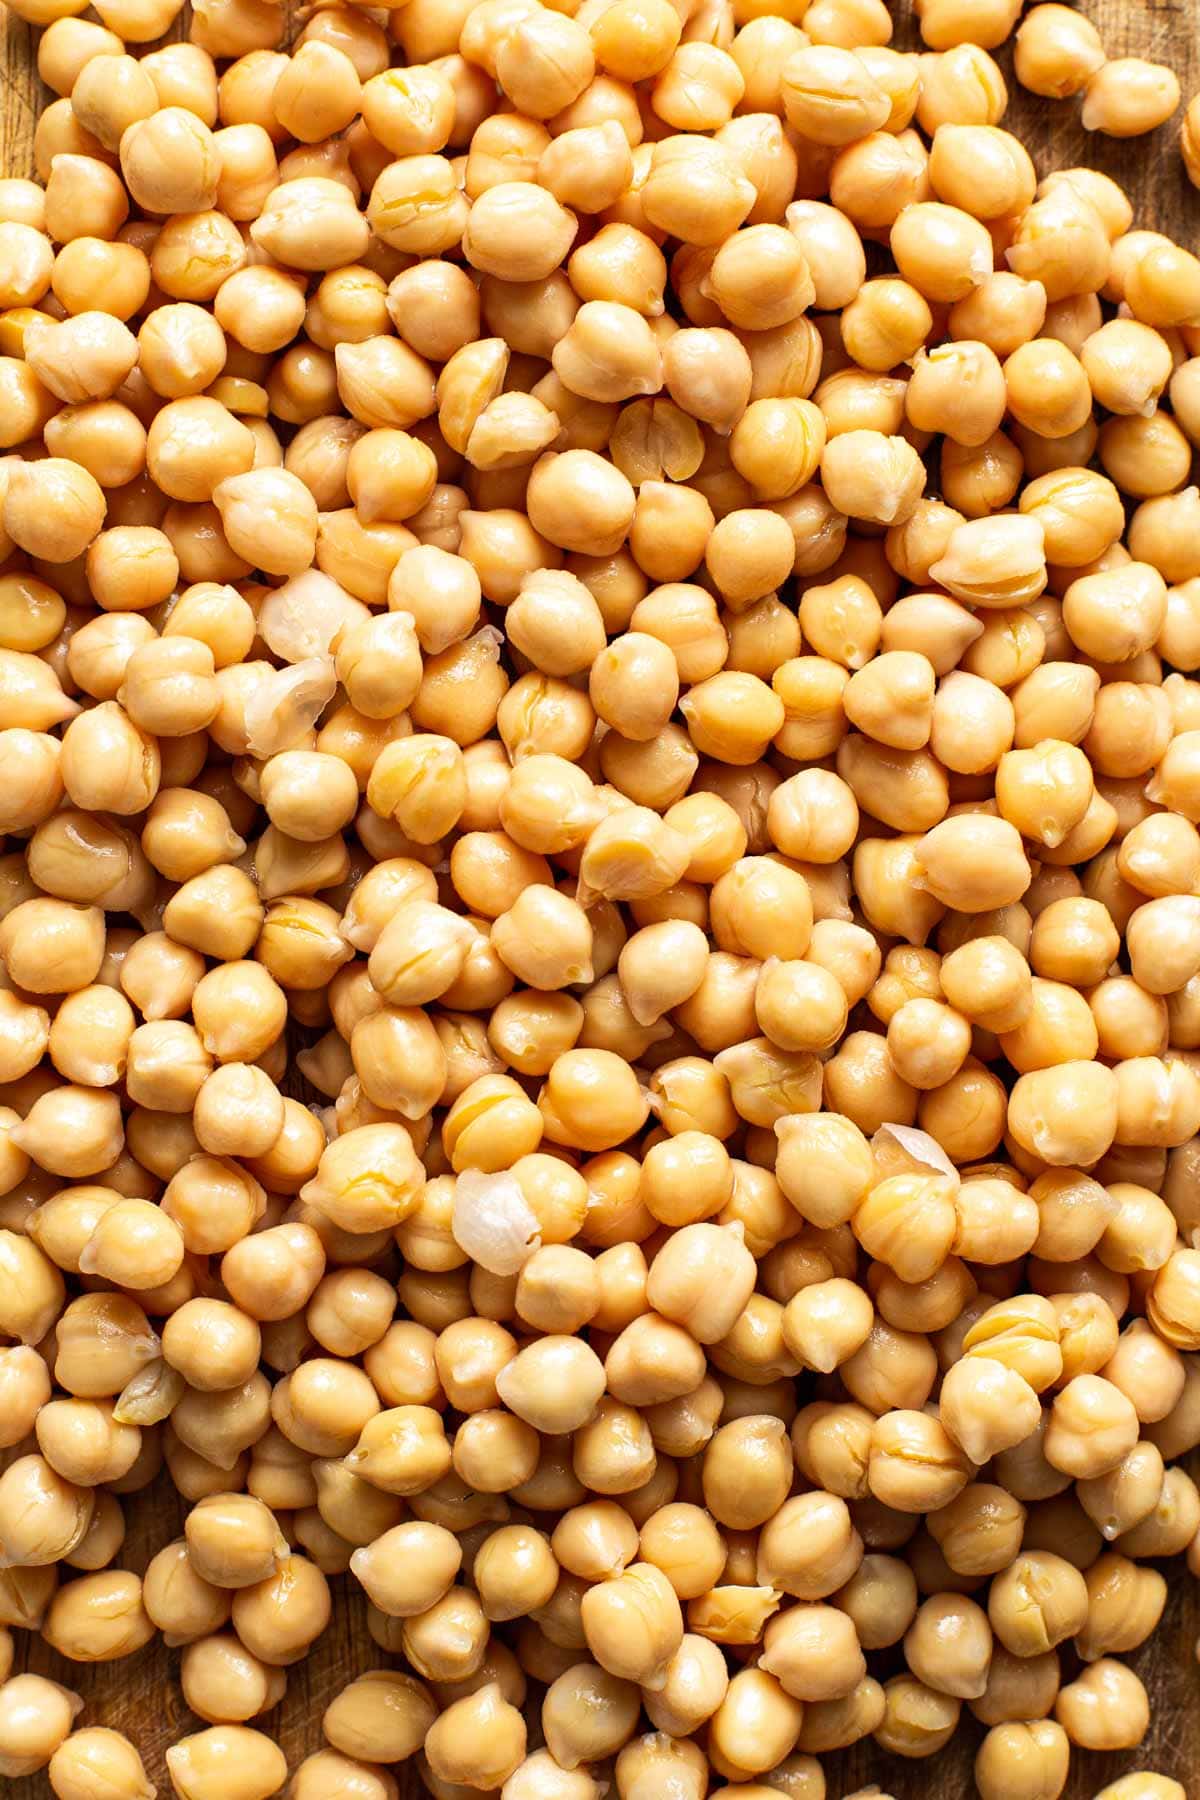
Chickpeas (aka garbanzo beans) - I used tinned chickpeas (from a can). You can also use dry chickpeas and cook them yourself. Simply follow the instructions on the packaging.
Tahini - sesame paste, usually found in large supermarkets or online on Amazon, etc.
Aquafaba (aka chickpea water) - don't be afraid - this isn't some sort of a fancy ingredient! Aquafaba is simply the leftover water from a can of chickpeas. If you accidentally drained it, just use water instead.
Paprika and cumin - These spices provide the perfect flavor addition. Plus, you can adjust them to taste, adding more or less.
Olive oil - I used light olive oil, but you could use whatever you have available. Sunflower, hemp, or extra virgin olive oil all work very well too (tried & tested!).
Lemon juice - fresh lemon juice works best, but don't be afraid to use lemon concentrate if that's all you have in the fridge.
Tip - I'm all about using whatever you have in your pantry. For alternative ingredients, simply scroll down. If you're missing just one ingredient, no need to run to the store. Well, unless it's chickpeas because you definitely need those.
⏲️ Steps
If you're a Thermomix enthusiast, you'll know how INCREDIBLY quickly a Thermomix hummus comes together. Here's a quick breakdown.
To make this hummus all you need to do is:
- Place garlic in the TM bowl to chop.
- Add all other ingredients except chickpeas. Mix for 1-2 minutes on speed 4.
- Add chickpeas. Blend for 1-2 minutes on speed 4. Repeat until smooth.
- Taste and adjust the hummus.
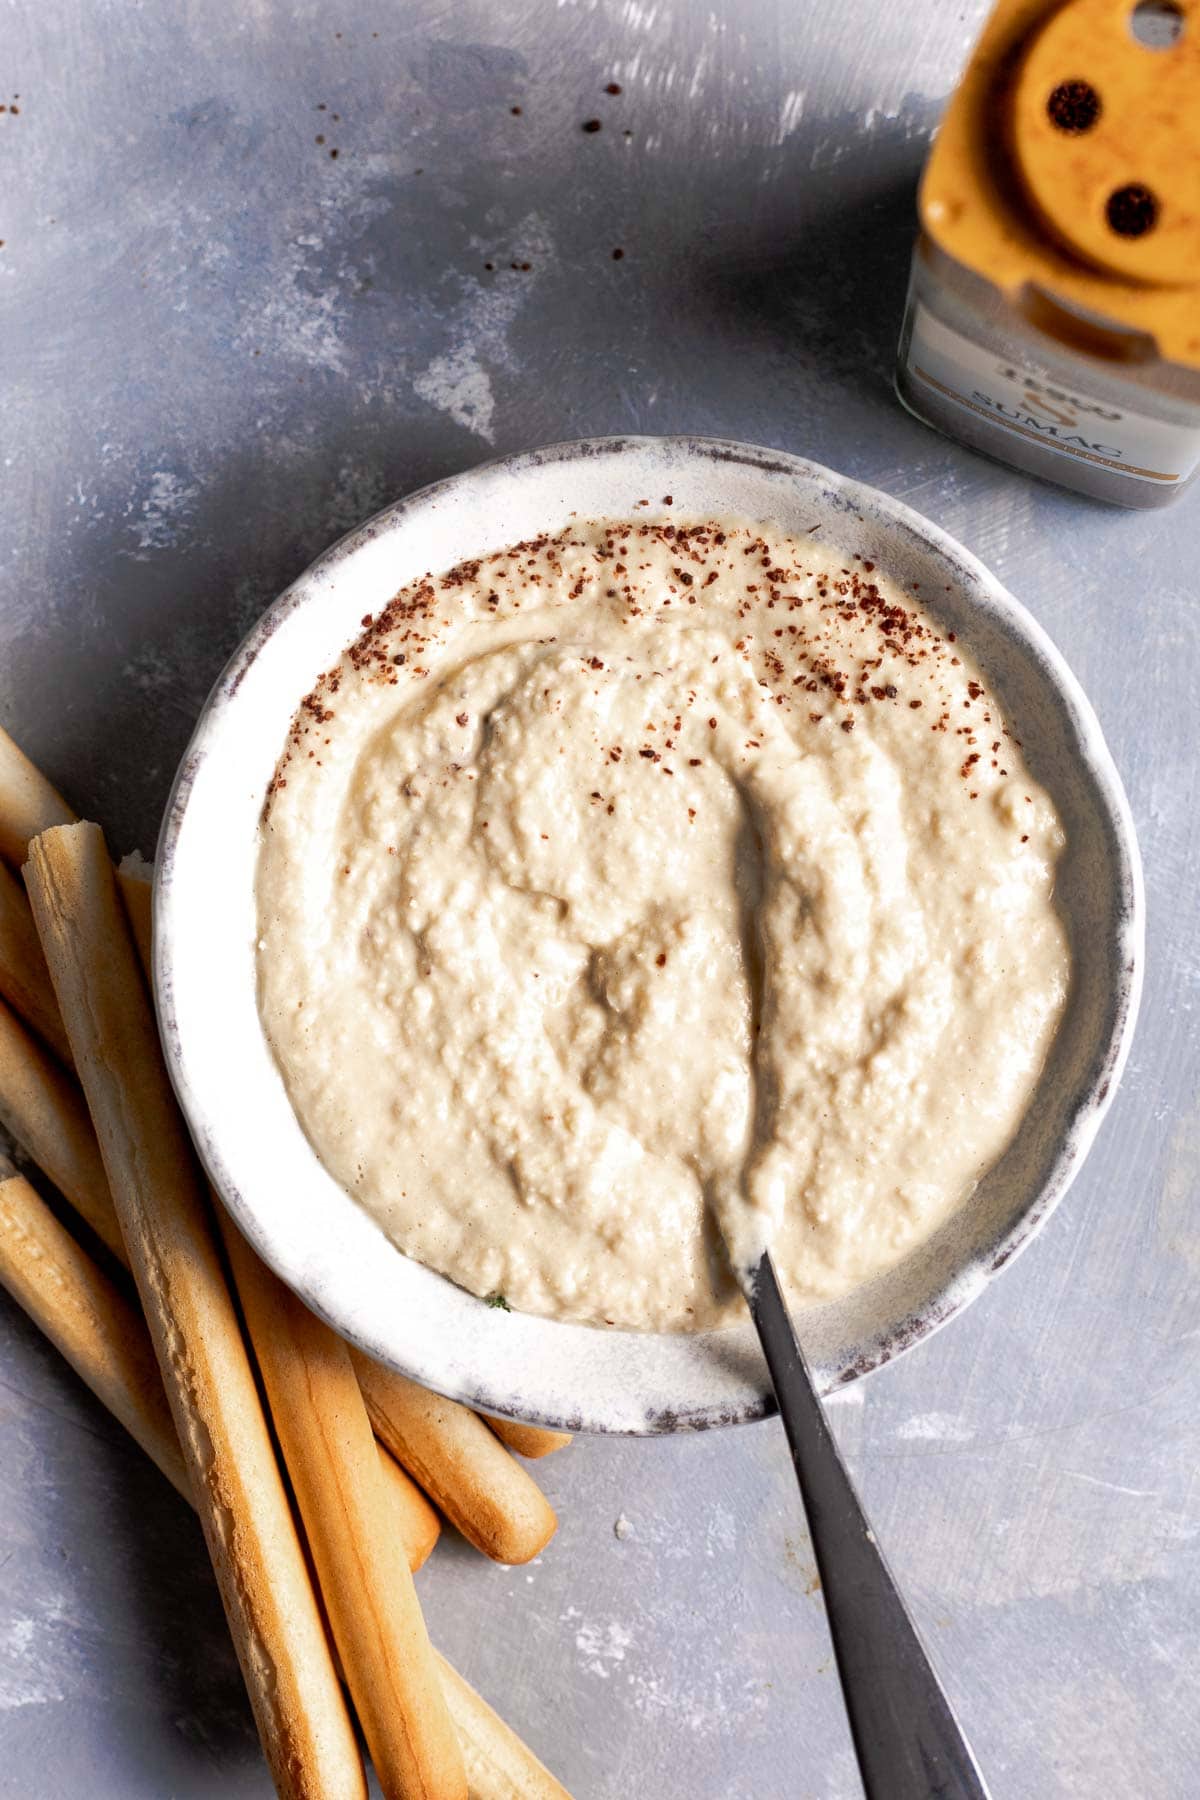
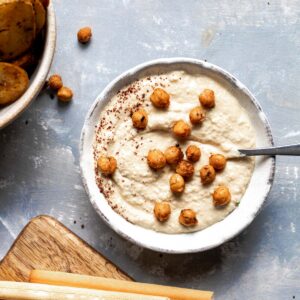
- Serve with more spices on top.
💡 Pro Tips
- Once your Thermomix hummus is smooth, make sure to taste it and adjust to your taste.
- For example you could add more salt, pepper, water, oil, or top it off with some fresh herbs and spices.
- If you want an extra smooth hummus, peel the chickpeas first.
- For a milder garlic flavor, soak the garlic in fresh lemon juice for a couple of minutes.
- Oil-free? Leave out the oil and substitute it for aquafaba or water.
Skin or no skin? You can make this Thermomix hummus BOTH ways. You can either leave the chickpea skins on, or you could remove them. This guide shows how to easily remove the skins.
❓FAQs
Simply add more liquids. Whether that's water, oil, aquafaba, or lemon juice is completely up to you.
Your hummus will naturally thicken if you let it sit for a few hours in the fridge (or overnight). You can also thicken it by adding more chickpeas or tahini.
Yes, absolutely. I suggest substituting it with nut butter, sesame sedes, oil, yogurts, etc.
🧅 Variations
Missing an ingredient? Want to try a unique take on hummus? Don't worry!
- Add avocado for some healthy fats
- Top it off with za'atar
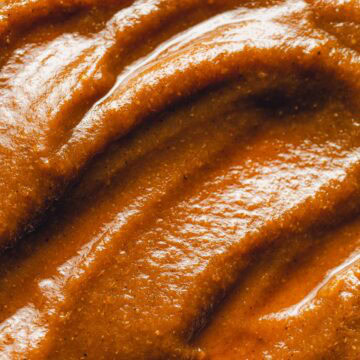
- Curry hummus - add a generous teaspoon of curry powder. So good!
- Use a different variation of oil - for example garlic or chili oil
- Don't have lemon juice? Use lime juice instead.
- Feeling spicy? Go ahead add some cayenne pepper or chilies.
- Top off with green onions
- Add a pop of green with some fresh herbs like chives, parsley, or rosemary
🥄 Serving
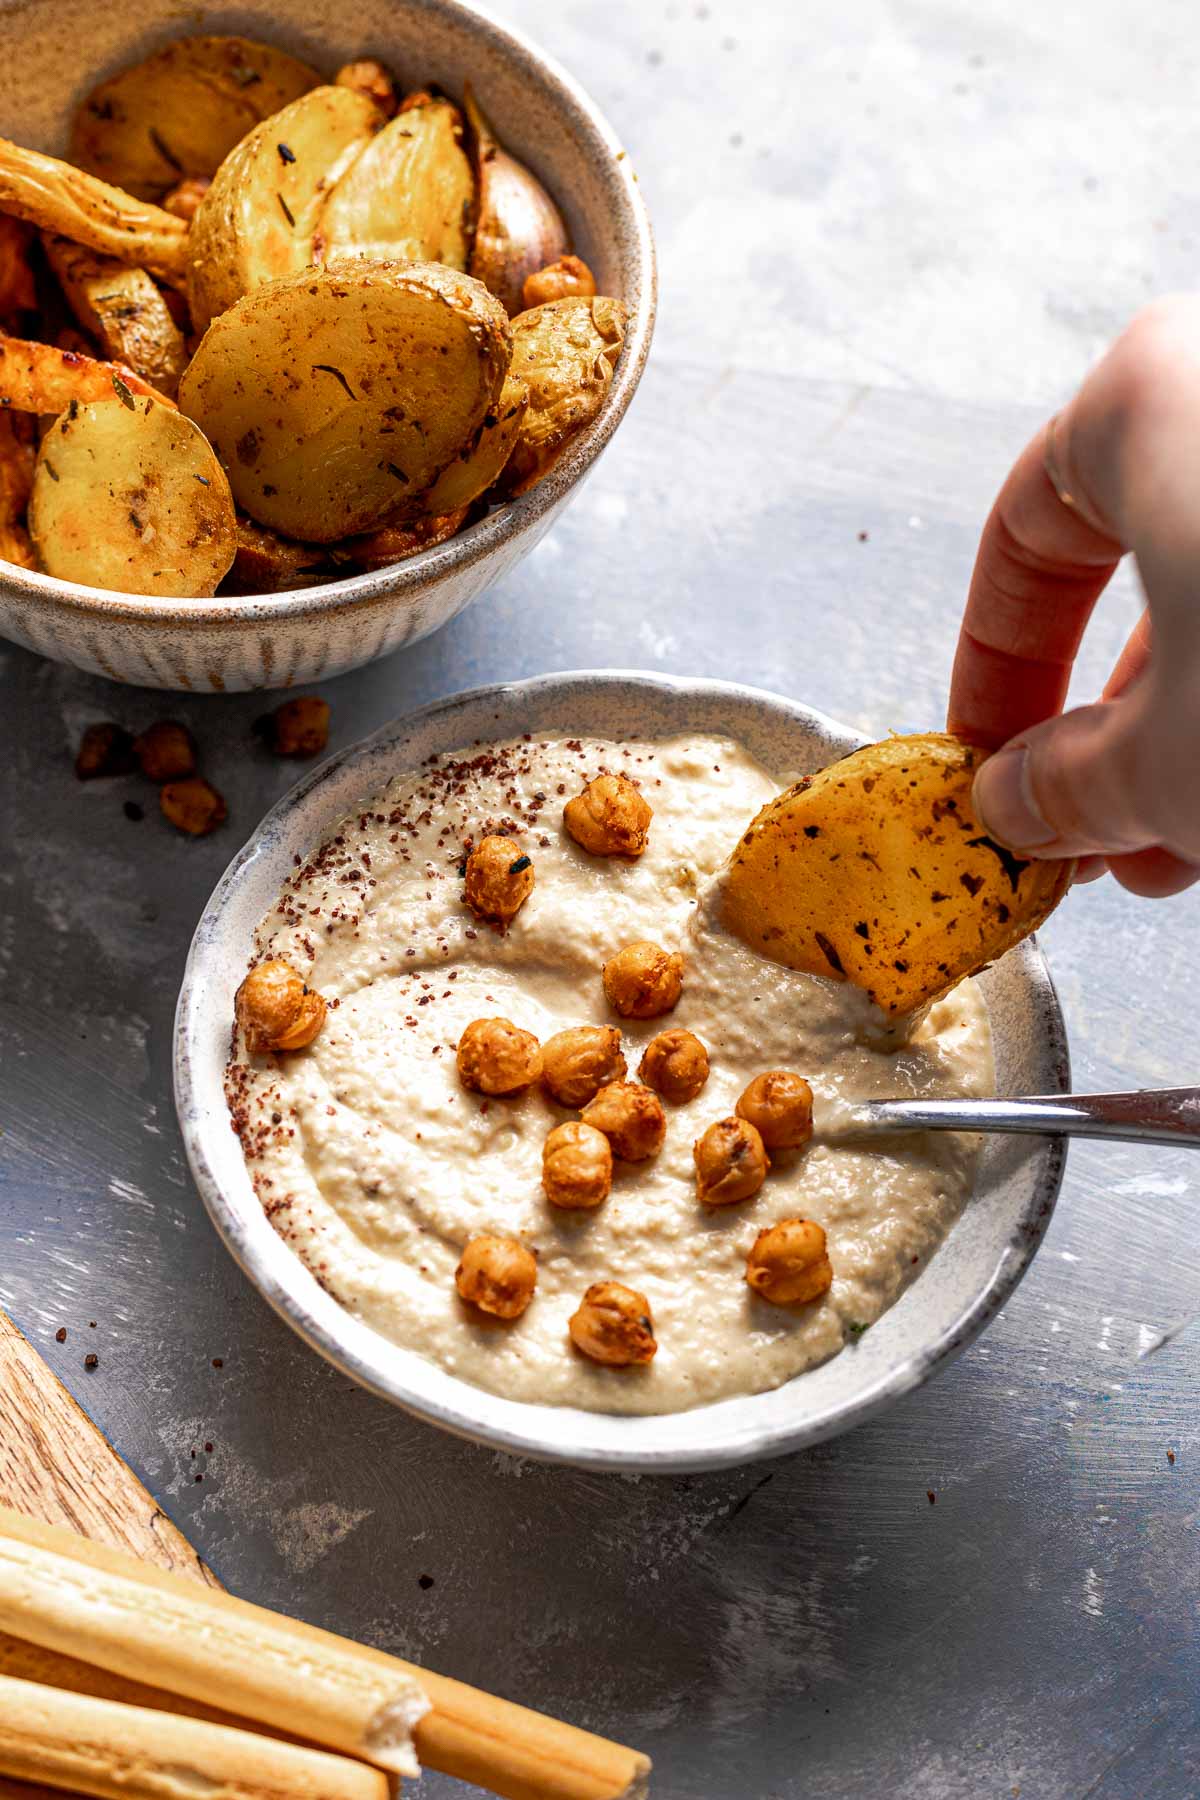
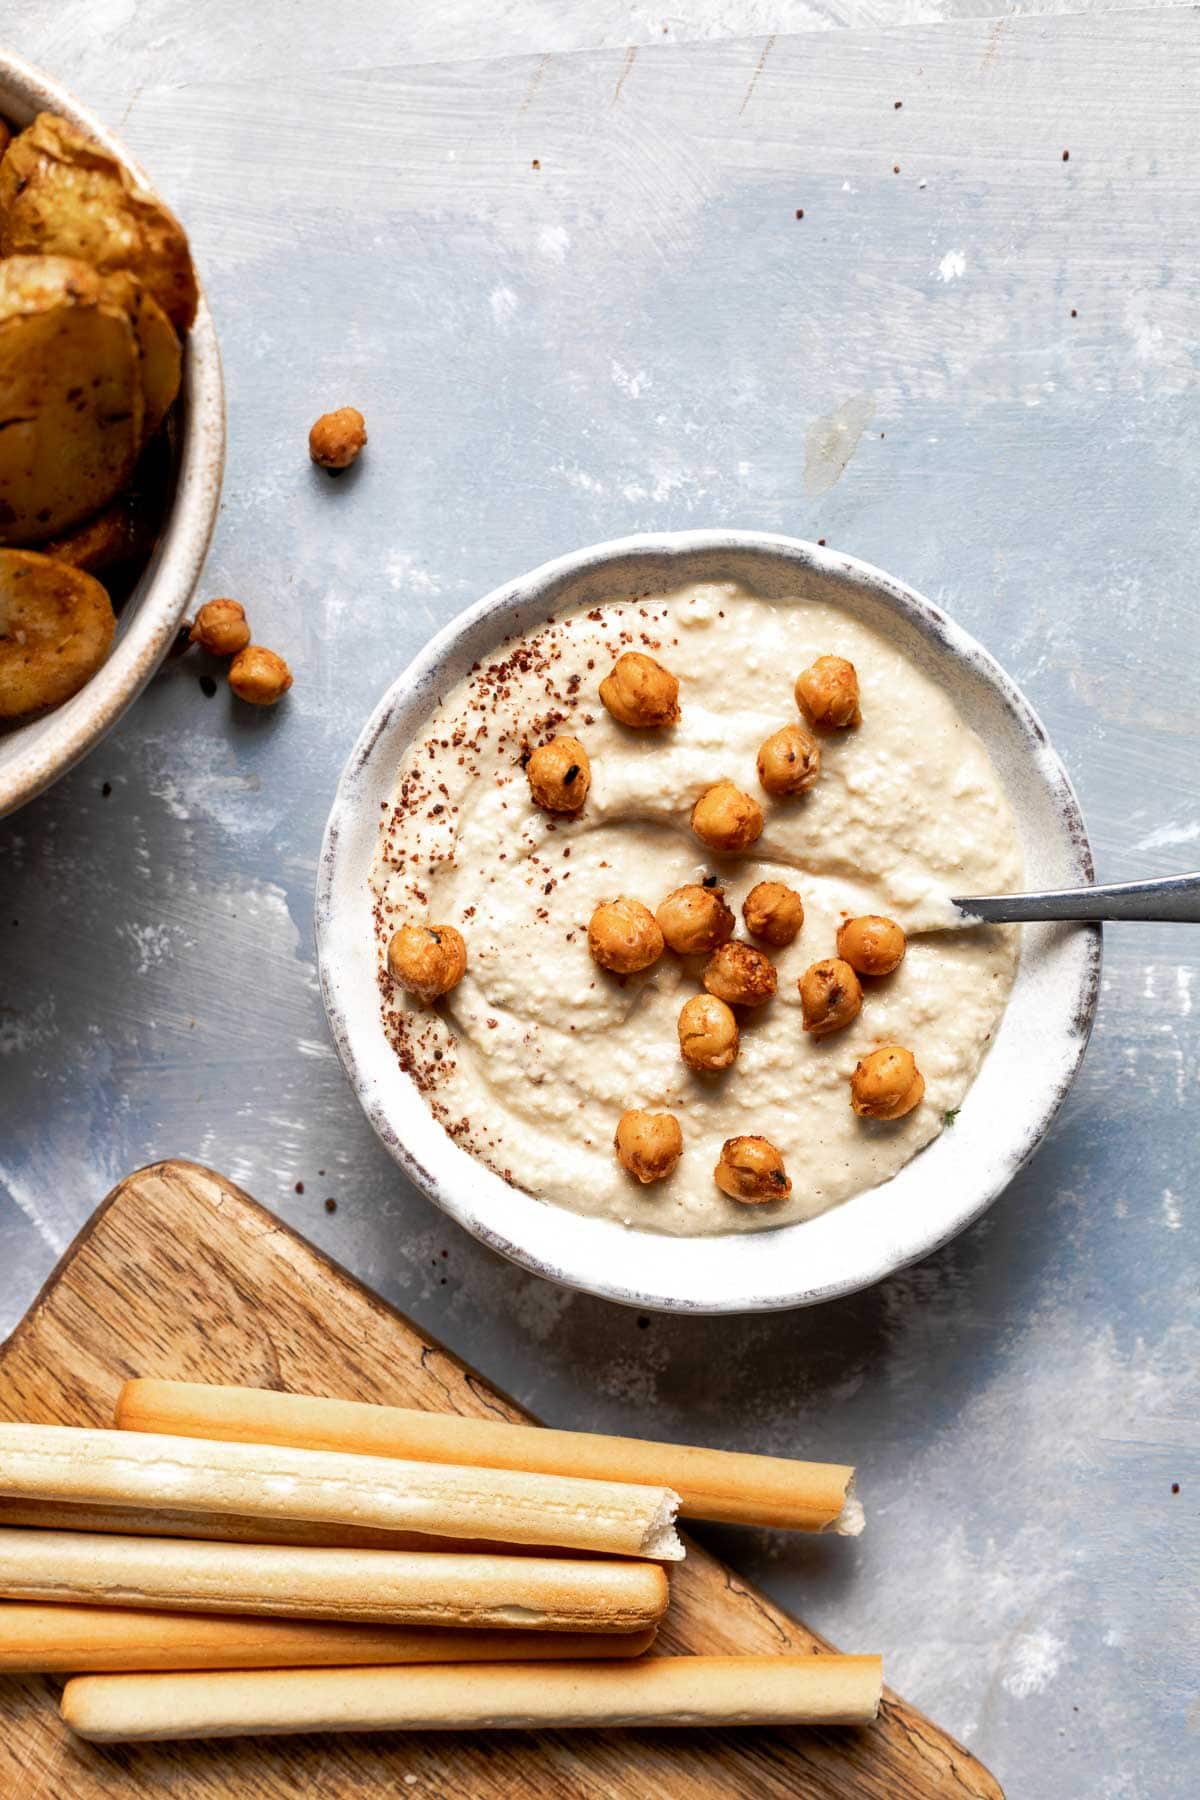
Mostly everyone will know how to serve hummus - on bread, as a dip, spread, or as filling.
But if you're looking for some more unusual ways of serving hummus, here are my ideas:
- Add it to burgers
- Use it to top off soups
- Spread it on pizza
- Throw it into mashed potatoes
- Use it in various amuse bouche (pre-appetizers) recipes
- It works so well as a salad dressing
- Add it to savory muffins
📦 Storing & freezing
To store - Simply spoon the hummus into an airtight container. Place it in the fridge and eat within 3-4 days. The sooner you finish it, the better.
To freeze - Same as above but place it in the freezer. It should keep for about 2-3 months.
To thaw - The night before serving, remove hummus from the freezer. Place the container in the fridge and let it thaw overnight.
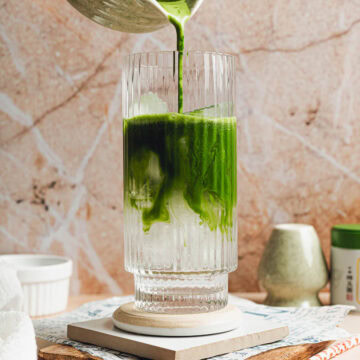
👩🍳 Other TM Recipes
Did you fall in love with Thermomix and you're always on the hunt for brilliant new recipes? Check out these!
Congratulations, you made it to the end of this recipe! All you need to do now is try it out yourself.
If you loved this recipe, why not spread the hummus love - share this recipe on Facebook, Pinterest, Instagram, or email it to your friends.
Got a spare minute? I would REALLY appreciate it if you could leave a comment or rating below. This helps more wonderful viewers find my little blog. Thank YOU!
🍴Recipe
Thermomix Hummus
EQUIPMENT
- Thermomix
INGREDIENTS
- 2 cans chickpeas (standard 14 oz / 400g tins) reserve the liquid!
- 3 cloves garlic peeled
- 3 tablespoon lemon juice freshly squeezed
- 2 tablespoon olive oil light or extra virgin
- ⅓ cup tahini equals 8 tbsp
- 8 tablespoon aquafaba chickpea water
- 1 teaspoon salt or more to taste
- 1 teaspoon ground cumin
- 1 teaspoon paprika powder
Optional spices
- 2 teaspoon sumac
- 2 teaspoon za'atar
INSTRUCTIONS
- Open a can of chickpeas. Drain them, but reserve the chickpea water.
- Add garlic to the Thermomix bowl. Chop for 5 seconds/speed 8.
- Add all other ingredients except chickpeas. Mix for 1-2 minutes on speed 4.
- Lastly, add chickpeas. Blend for further 1-2 minutes/speed 4. Scrape down the sides and repeat until the mixture is smooth and creamy.
- Once smooth, try the hummus and adjust it to your taste.
- Serve with some more paprika or cumin on top. You can add a drizzle of oil too.
Notes
Nutrition
Disclaimer: The nutritional information above is calculated automatically. The author of this post cannot guarantee 100% accuracy of this data.


Eli says
Such a flavorsome hummus! This turned out well and I'm gonna be making it again soon. Thanks!
Tajda Ferko says
Glad you loved it Eli! Thank you for your lovely review x
Erica says
This hummus recipe is AMAZING!! I can't stop making it and wish I had found it earlier. It's just the best!
Tajda Ferko says
Ahh thank you Erica!!
Amelia says
Best hummus ever!
Tajda Ferko says
So happy to hear that, thank you!!