This vegan dairy free pesto recipe is bursting with flavour and super easy. It’s a real supergreen pesto that hits the spot every time - zesty, rich, slightly nutty and perfectly cheesy.
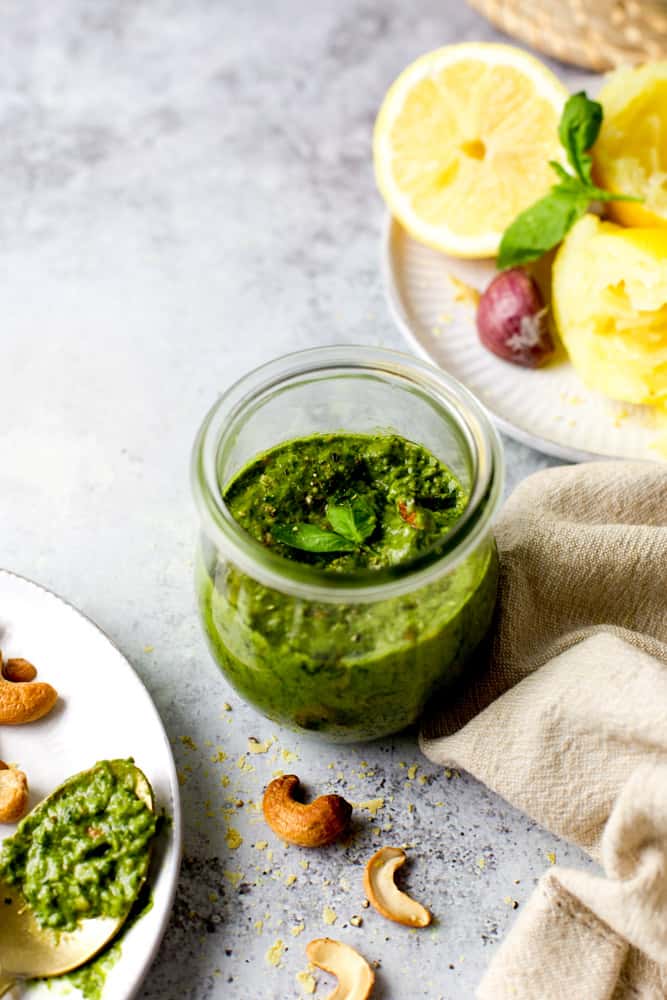
One of the main reasons I wanted to develop this recipe? I was so annoyed that I wasn’t able to find a proper, fresh vegan pesto anywhere in store. You know the one that’s vibrant green, just perfectly zesty and leaves you wanting to put it in EVERY recipe from now on? Yup, that kind.
So, I developed my own. And guess what, after many desperate attempts, I’m finally super happy with my dairy free pesto recipe!
Why this recipe works
Here we go!
- IT’S WAAAAAYY BETTER THAN STORE BOUGHT PESTO: This recipe is honestly so delicious you might become slightly addicted to it - don’t say you haven’t been warned!
- IT’S CHEAPER THAN STORE BOUGHT STUFF. Wherever you’re based, vegan basil cashew pesto is not exactly the cheapest thing you could buy. We’re lucky enough to have some budget-proof options here in the UK, but you’ll still be out just under 2 pounds for a very tiny jar.
- YOU CAN USE ANY NUTS: I recommend using cashews, but you could easily swap them for a different type of nuts. You could use walnuts, pine nuts or even peanuts!
- YOU WON’T NEED ANY FANCY EQUIPMENT. I made this one in my mini food processor that you can get for under 30 bucks! So rest assured you won’t need a super fancy and powerful high-speed blender or food processor. Heck, you could even make it old school using mortar and pestle, but that kinda ruins the easy part, doesn’t it!?
- NATURALLY GLUTEN FREE. Perfect for those with intolerances, this gluten free pesto requires no special adjustments - it’s simply gluten free as it is.
Oh and to make things even better and easier, you’ll be getting step-by-step photo instructions below.
It wouldn’t be fair if I continued without telling you THE BAD THING ABOUT THIS RECIPE. Once you’ve smelled and tasted this one, you just won’t be able to go back to store bought pesto. Yup, welcome to the world of pesto snobs!
Ready? Let’s dig in!
The ingredients
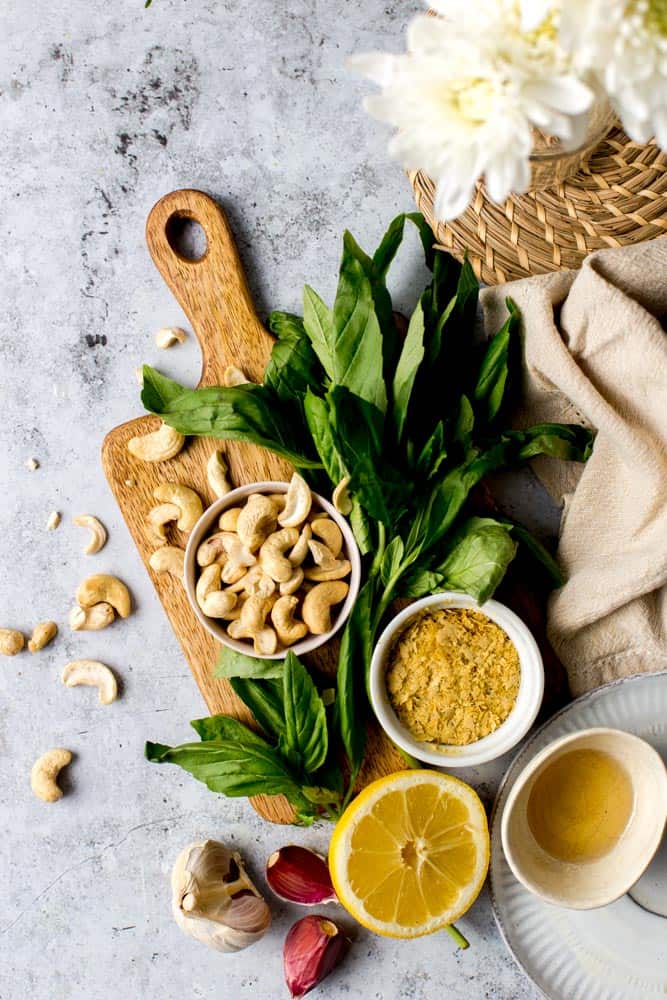
Here is what you will need to make homemade vegan pesto.
- Basil (duh!)
- Cashews
- Garlic
- Nutritional yeast (optional, but highly recommended)
- Olive oil (or other vegetable oil)
- Lemon
- Seasoning (salt, pepper)
That’s all!
Step-by-step instructions
For some reason or another, I always thought pesto would be hard to recreate at home. This couldn’t be further away from the truth. It’s quick, easy and mess-free. Plus, the gorgeous colour will SO be worth it!
Here are my easy step-by-step photo instructions. All measurements (in both European and US measurements!) can be found in the recipe card below. Are you ready? Put on your Star Baker apron and let’s get stuck in!
1. Roast your cashews and garlic (optional)
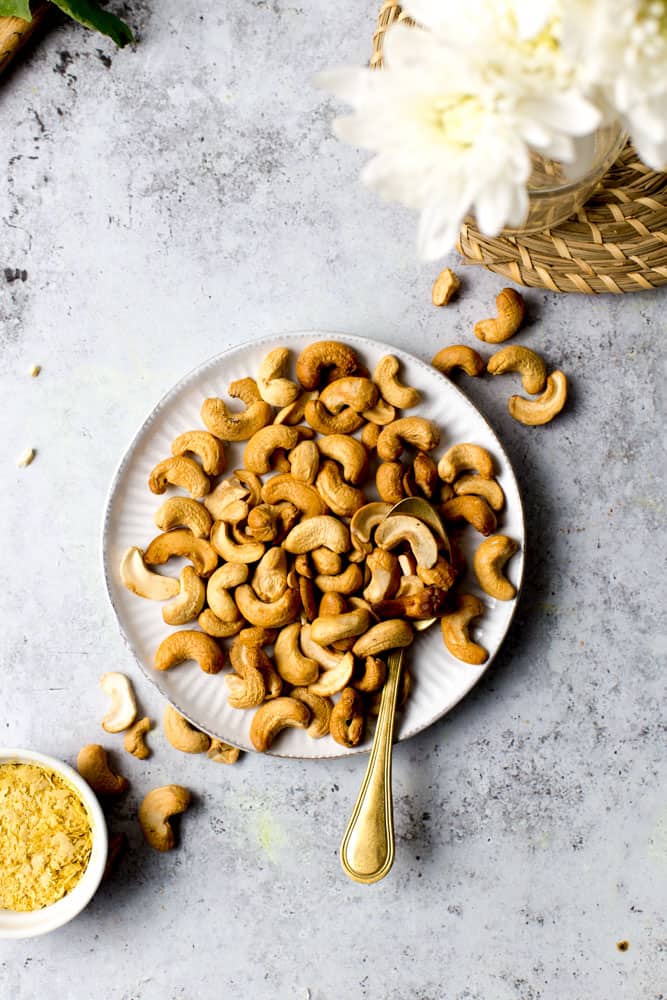
You can skip this step entirely to save time. If you do want to go that extra mile, I do recommend roasting your cashews and garlic. It won’t take too much of an effort - literally just chuck them in the oven with no oil or other seasoning and wait until they both start to get golden edges - approx. 8 minutes at 180°C/356°F.
2. Wash and drain your basil
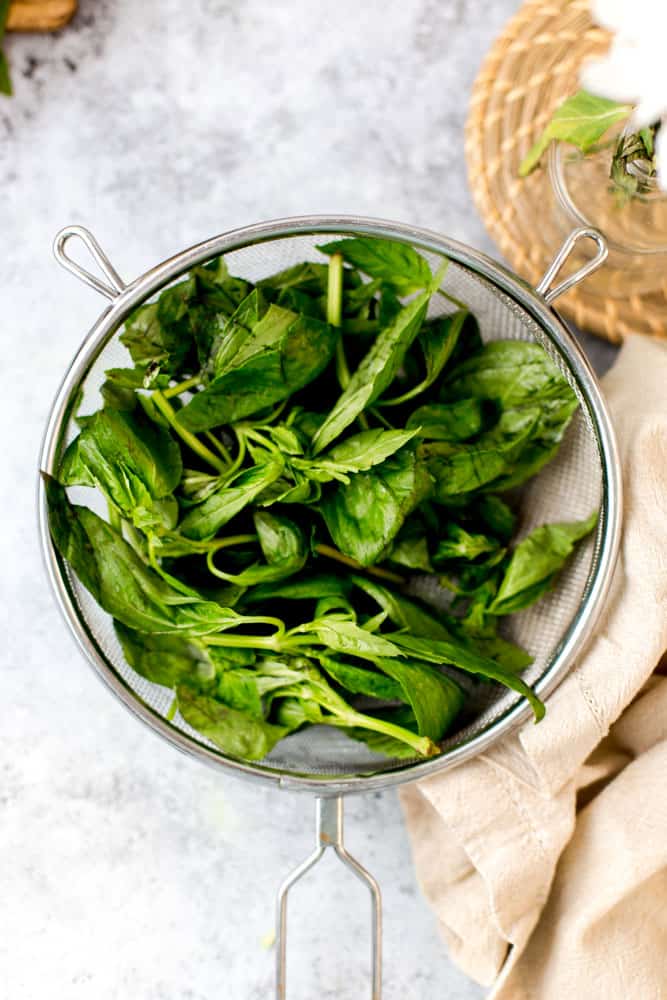
Running your basil under some cold water and giving it a very gentle rub will help release its delicious flavour and fragrance. Once you’ve done that, make sure to let it dry completely (or gently tap it dry with a clean tea towel).
3. Add to blender
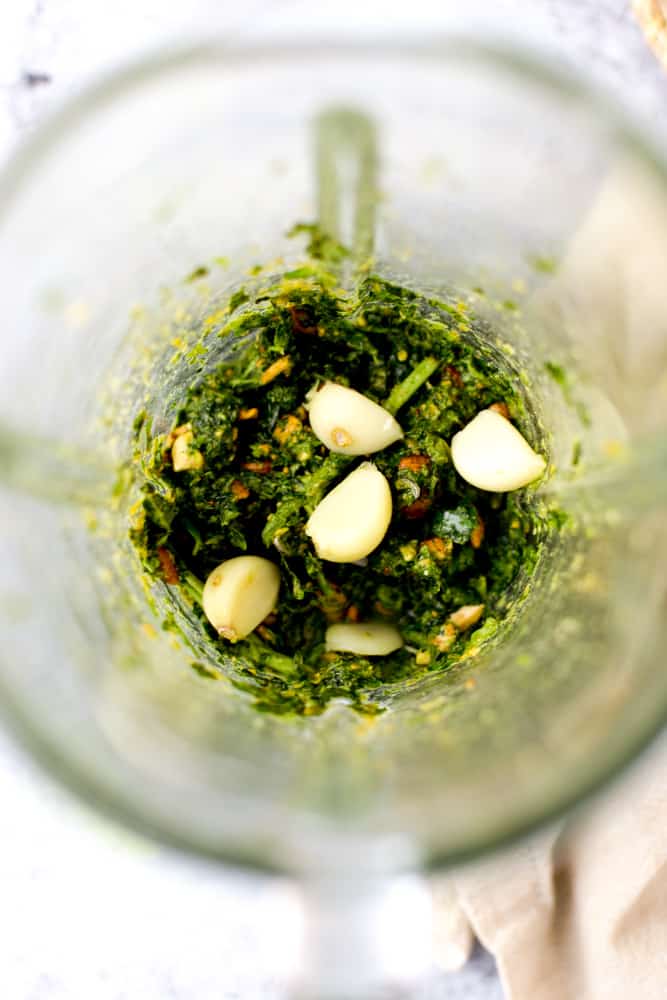
Yup, this is our final step. Add your olive oil, lemon juice, roasted garlic + cashews, washed & dried basil, nutritional yeast, salt and pepper to your food processor/blender. Make sure to always add the liquids (olive oil and lemon juice) first!
4. Blend, adjust and enjoy.
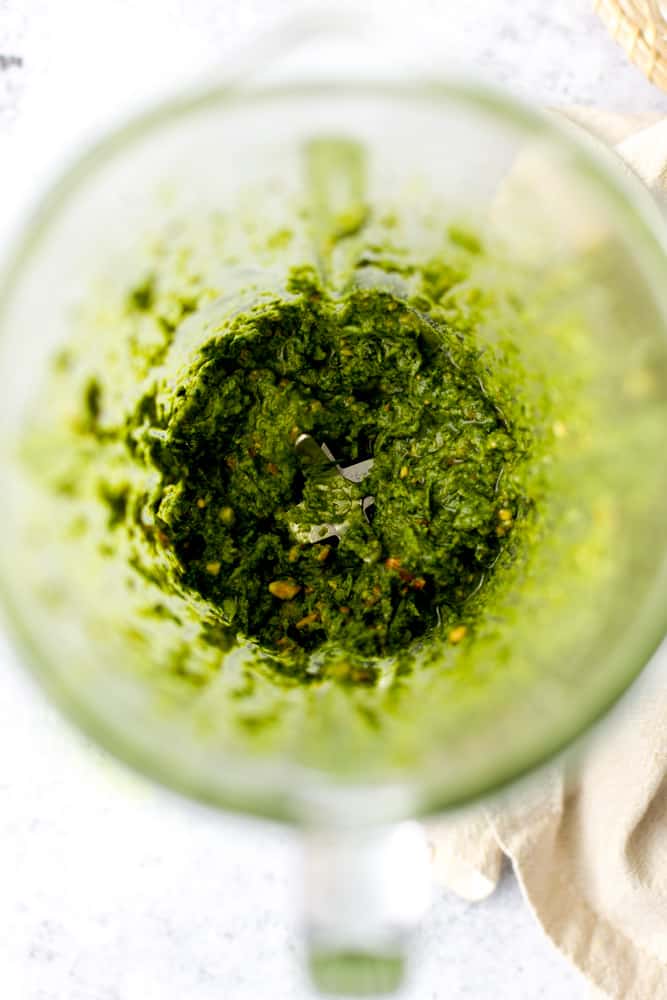
All you need to do now is blend until smooth-ish. I prefer my pesto to have some bite to it, so I don’t recommend blending it until perfectly smooth, but this is just a personal preference. If you like it smooth, go for it!
Don’t forget to taste test it and add more seasoning if required - salt is something that’s totally down to your personal preference, so make sure to adjust it to your own taste.
Any leftover pesto can be stored in an airtight container in a fridge for approx. 5-6 days.
That’s it - super straightforward, fast and easy.
Looking for more healthy vegan recipes you can make at home? Here are some just as refreshing and nourishing favourites of mine!
- 6 Plant Based Smoothies - my all time favourite smoothies collected in one big mega-post!
- The Best Healthy Granola - the one breakfast recipe you need to keep you going.
- Oat Milk Pancakes - a delicious treat that’s insanely fluffy, easy and quick to make!
Customisations
Well, it’s pretty straightforward, but let me give you some ideas.
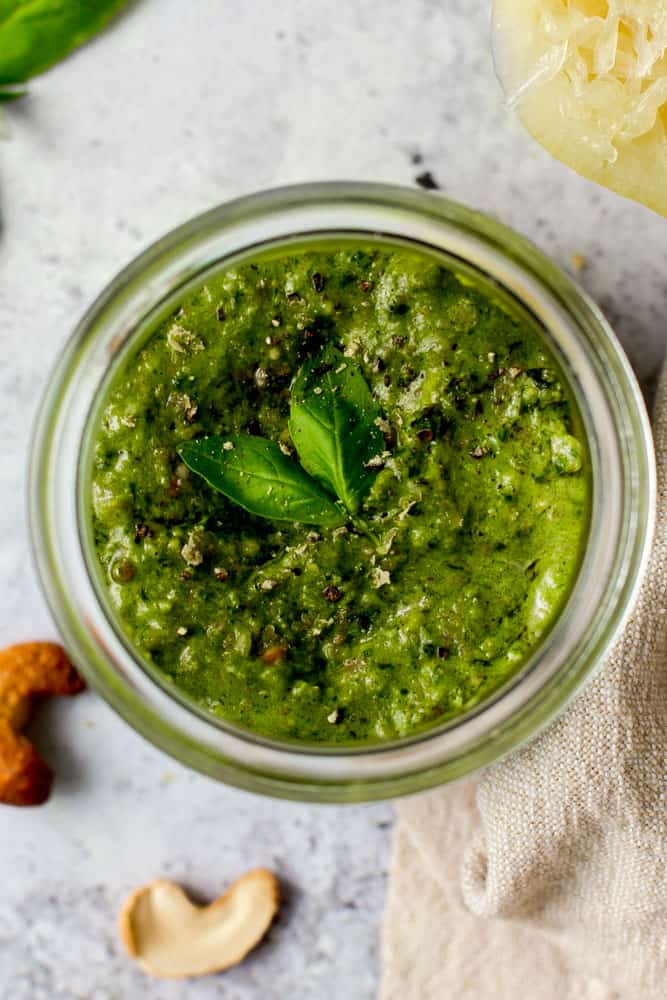
Make it oil free. If you want an oil free vegan pesto, simply just substitute olive oil for a mix of water and lemon juice!
No nutritional yeast. Depending on where in the world you’re best, nutritional yeast (or nooch) can be hard to get and nutritional yeast replacements practically don’t exist. No need to worry, simply just leave it out. Mind that the flavour won’t end up being the same as nooch adds a very unique cheesy, nutty flavour to the recipe.
Smooth or crunchy. Like I mentioned above, you can make your pesto super smooth if you just keep blending. If you prefer it slightly crunchy, you can blitz it just until all the ingredients are combined.
How to serve your pesto
If you’re anything like me, you probably have tons of serving ideas in your mind. In case you do need some extra ideas, I’ve got you covered!
- Serve it on freshly cut sourdough bread. Sprinkle with some salt flakes and try not to eat it all in one gigantic bite because oh god, it’s SO GOOD.
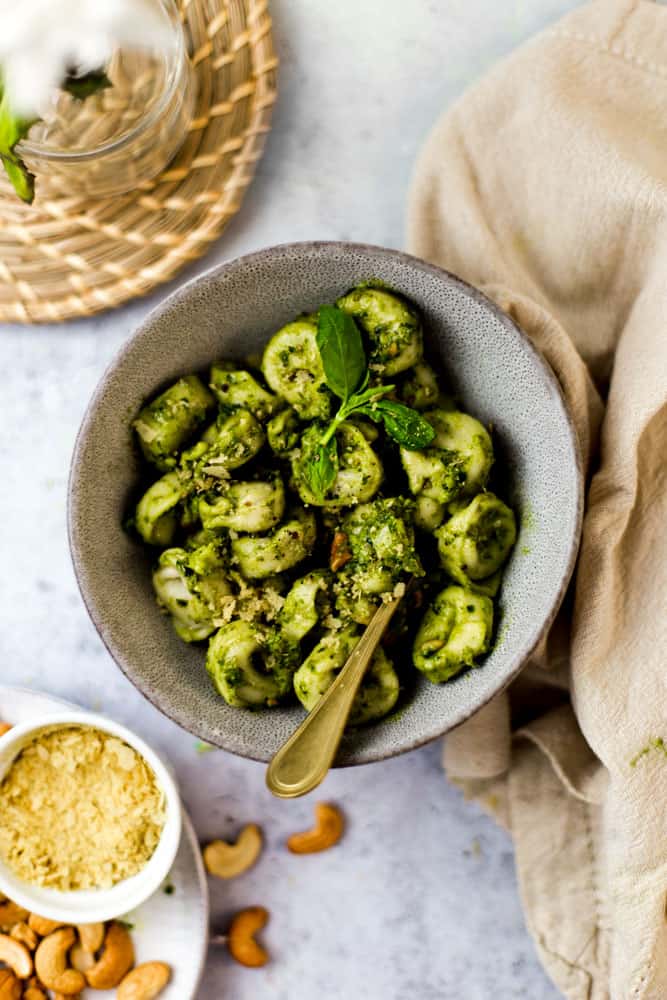
- Chuck it over cooked pasta and bam, you’ve got yourself a delicious meal. Heck, why not go crazy and top it off with some fresh arugula and sesame seeds. Best weeknight meal EVER.
- Try it in STEWS. This might sound crazy to some of you, but adding just a few teaspoons of pesto to your heart lentil stew is honestly a game changer!
- It works as a DIP. Got some bread sticks, mini pretzels, raw veggies or even crisps? Dipping them into pesto will take things to a new level.
- It’s a great SALAD DRESSING base. Pesto and salads are a natural pair.
- Use it in savoury baked dishes! Chop off the top part of your tomato, stuff it with pesto and bake. Trust me, it’s delicious! Or, you could simply spread it over freshly baked potato, carrots or other veg.
For more yummy and healthy vegan recipes make sure to check out my:
🍴Recipe
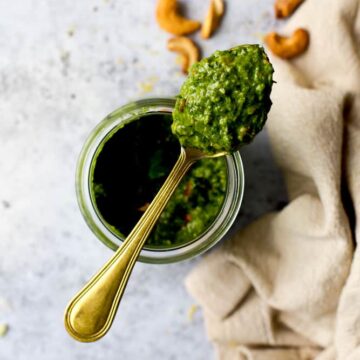
Vegan Dairy Free Pesto Recipe
Equipment
- Blender or food processor
Ingredients
- 60 g (2.12 oz) basil
- 5 cloves garlic can be substituted for 1 teaspoon of garlic powder
- 50 g (1.76 oz) cashews equals about ½ cup of cashews
- 2 tablespoon nutritional yeast
- 5 teaspoon lemon juice
- 50 ml (1.69 floz) olive oil I used light mild olive oil. Equals 3 tablespoon of olive oil.
- ¼ teaspoon salt
- 1 pinch pepper
Instructions
- 2. WASH AND DRAIN YOUR BASIL. Running your basil under some cold water and giving it a very gentle rub will help release its delicious flavour and fragrance. Once you’ve done that, make sure to let it dry completely (or gently tap it dry with a clean tea towel).
- 3. ADD EVERYTHING TO A FOOD PROCESSOR OR BLENDER. Add your olive oil, lemon juice, roasted garlic + cashews, washed & dried basil, nutritional yeast, salt and pepper to your food processor/blender. Make sure to always add the liquids (olive oil and lemon juice) first!
- 4. BLEND, ADJUST AND ENJOY! All you need to do now is blend until smooth-ish. I prefer my pesto to have some bite to it, so I don’t recommend blending it until perfectly smooth, but this is just a personal preference. If you like it smooth, go for it! ? Don’t forget to taste test it and add more seasoning if required – salt is something that’s totally down to your personal preference, so make sure to adjust it to your own taste.
Notes
- If you don't have a super powerful blender or food processor, skip adding the cashews. Blend all your other ingredients first and once you've got a smooth paste, add your cashews.
- Any leftover pesto can be stored in an airtight container in a fridge for approx. 5-6 days.
- Always adjust salt and pepper to taste.
Nutrition
Disclaimer: The nutritional information above is calculated automatically. The author of this post cannot guarantee 100% accuracy of this data.



Leave a Reply