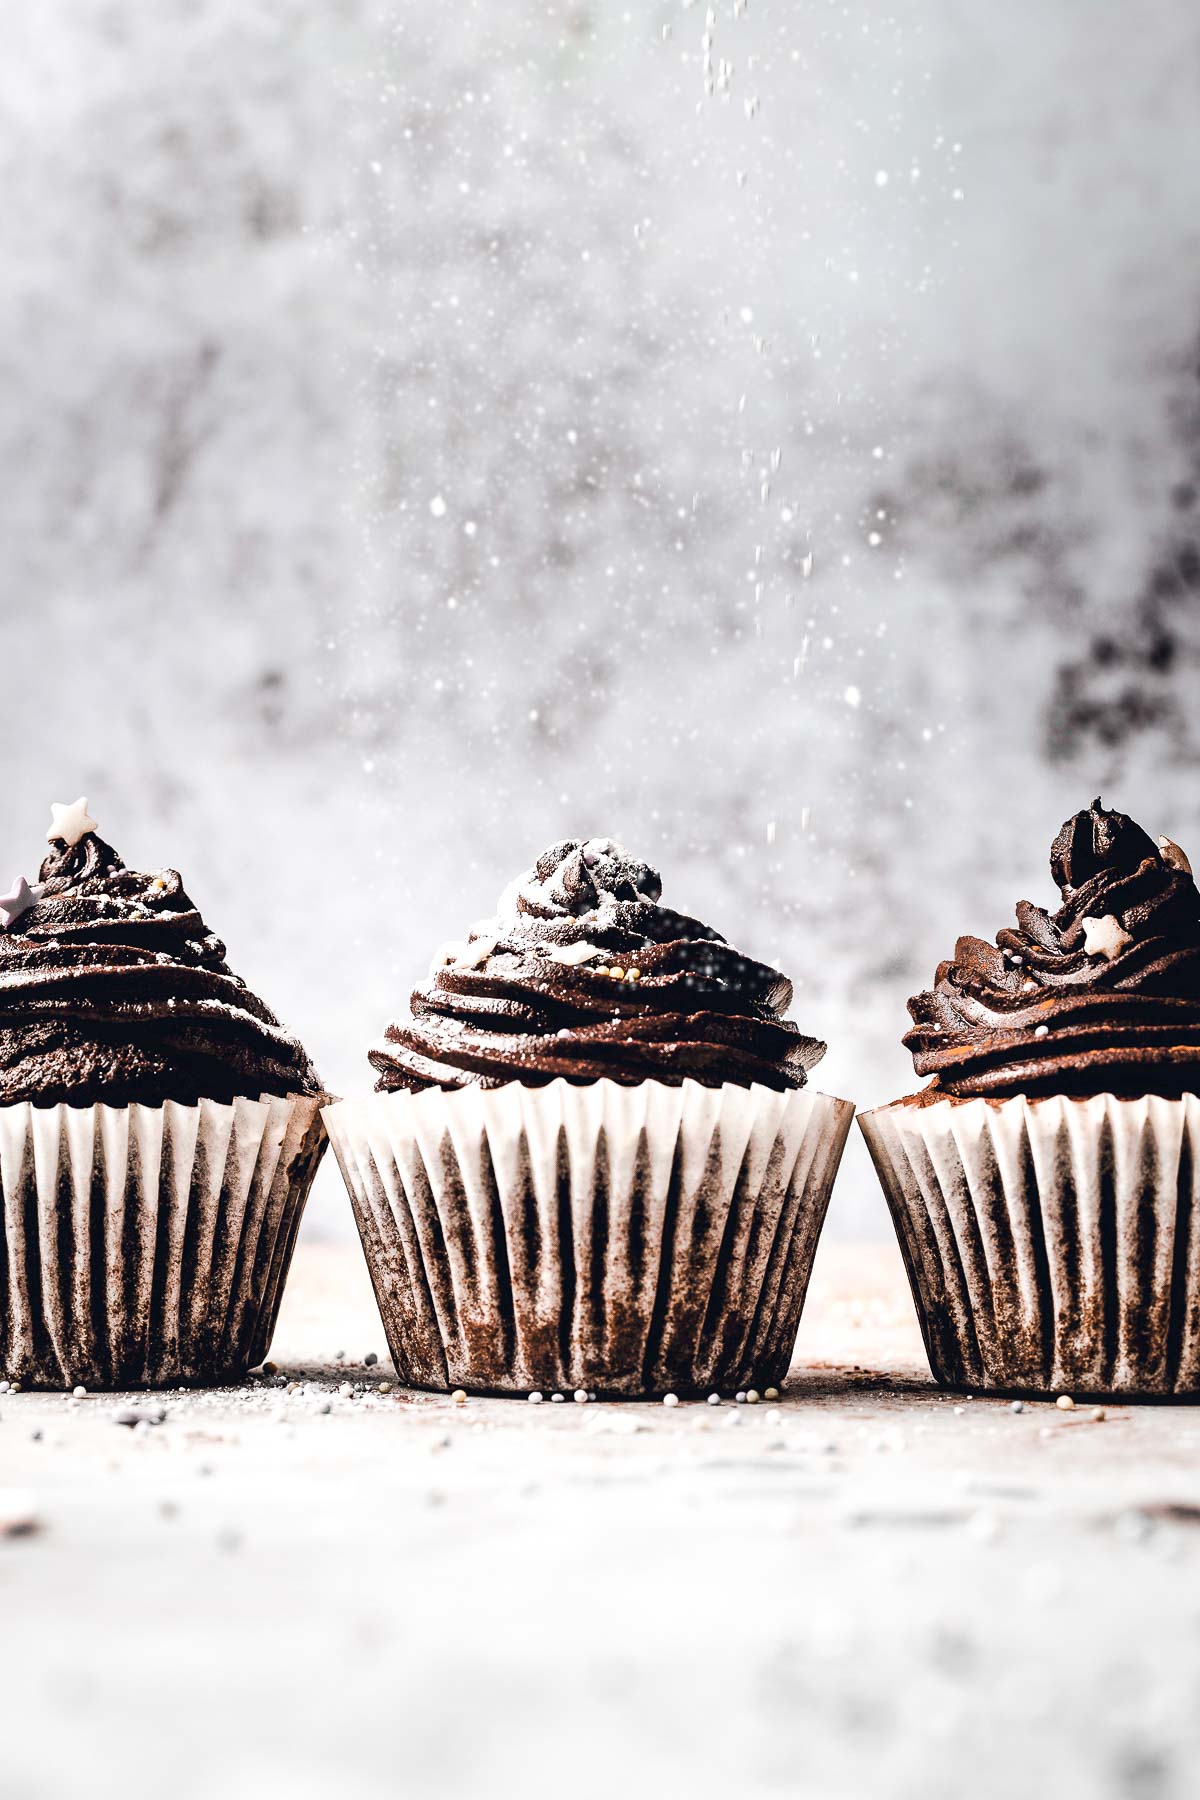
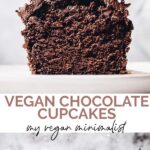
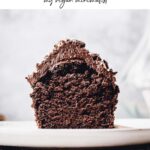
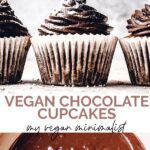
My vegan double chocolate cupcakes are beginner-friendly and so delicious. Fluffy, airy and fail-proof, topped off with rich cocoa icing.
Why choose this recipe
- It’s got double the chocolate goodness
- Staple, affordable ingredients
- Super easy to make
- Can be customised
- The richest, deep chocolate flavour
- Step-by-step baking and icing photos below
- Handy expert tips below
You’ve been warned - you might just become addicted to these little chocolate monsters.
What goes into this recipe
To make these vegan chocolate cupcakes you’ll need the following ingredients.
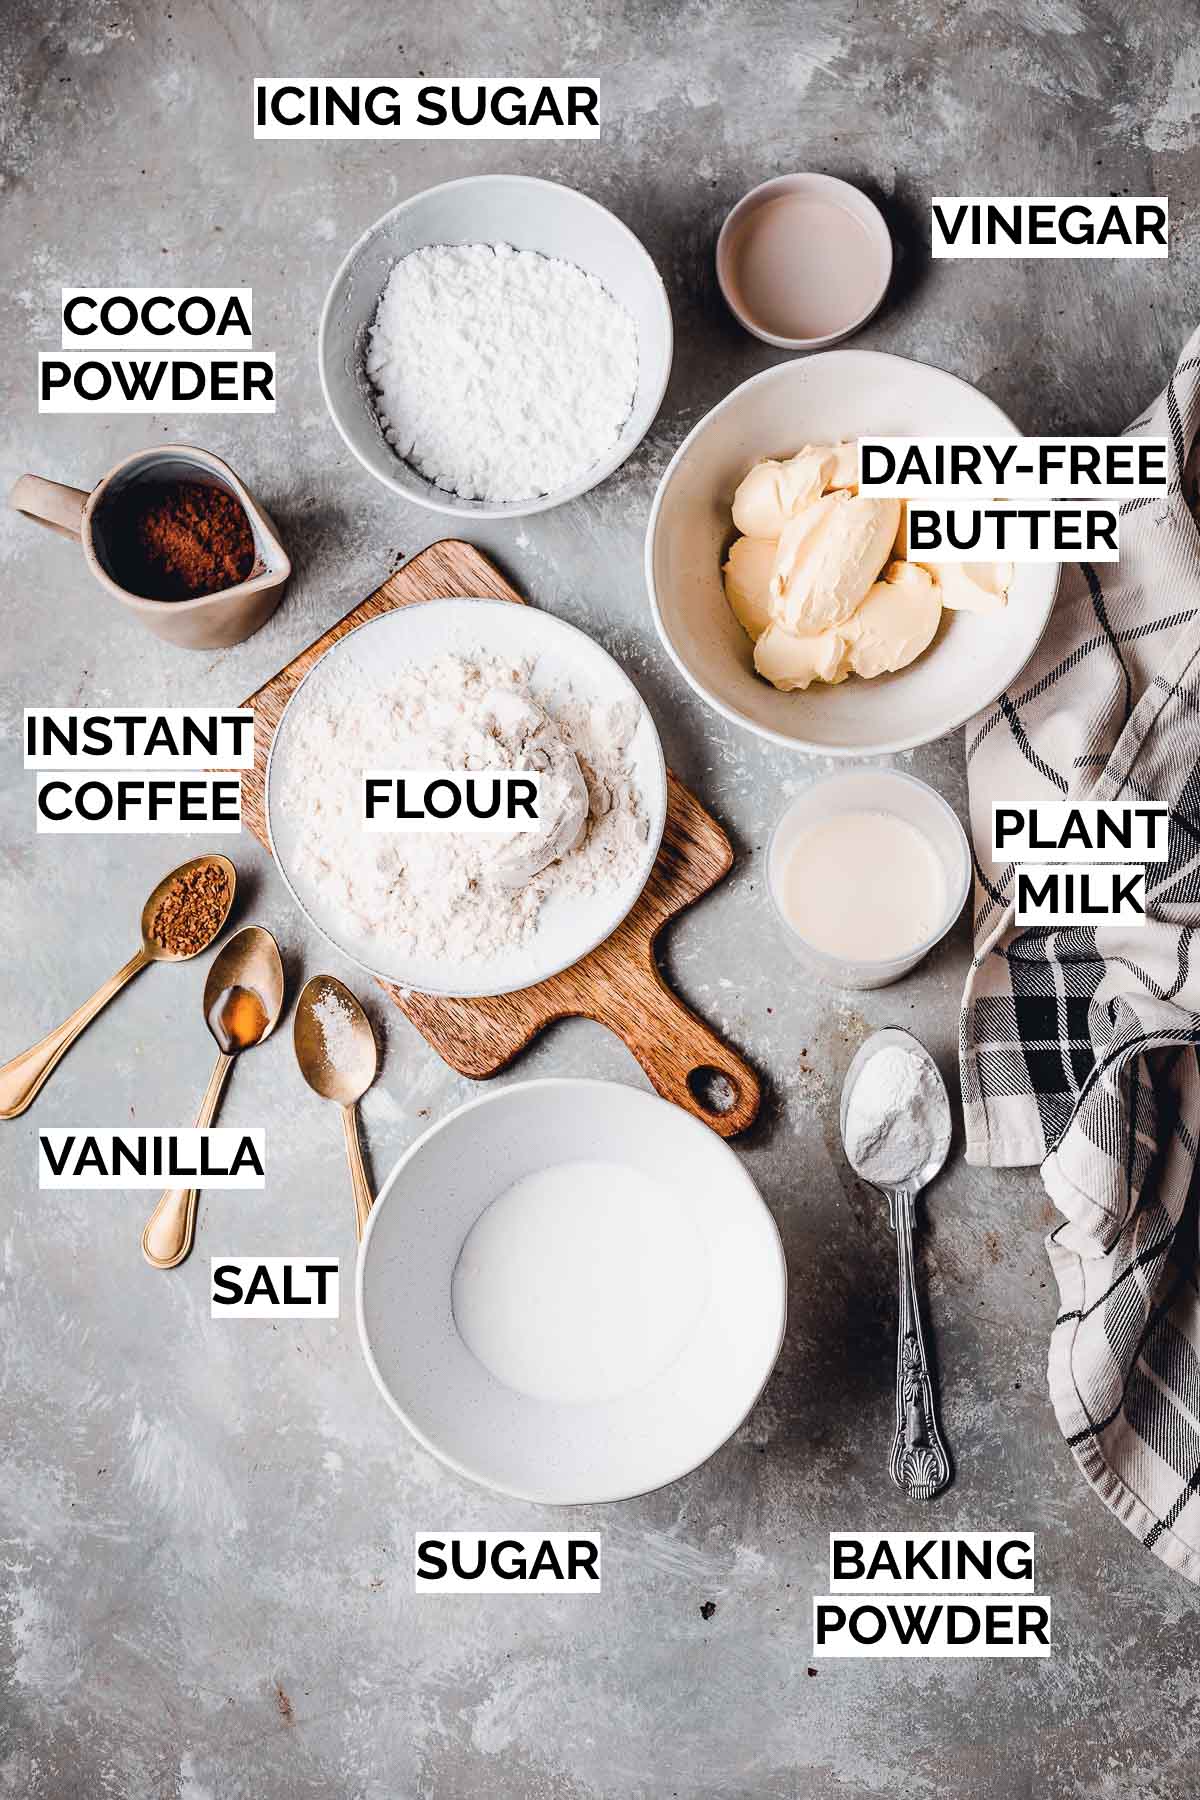
White sugar: I used white sugar, but you can substitute that for brown or other types.
Dairy free butter: I love using the brand Vitalite in my baking.
Instant coffee: No worries if you don’t have it, but it will really help enrich that chocolate flavour.
Plant milk: any plant milk such as soya, oat, almond, coconut, etc. will work.
You will also need this equipment:
- Cupcake tin with cupcake liners
- Icing bag
- Kitchen scales
- Sieve (optional)
If you don’t have an icing bag, you can use this great tutorial on how to make one.
Cupcake Step-by-Step
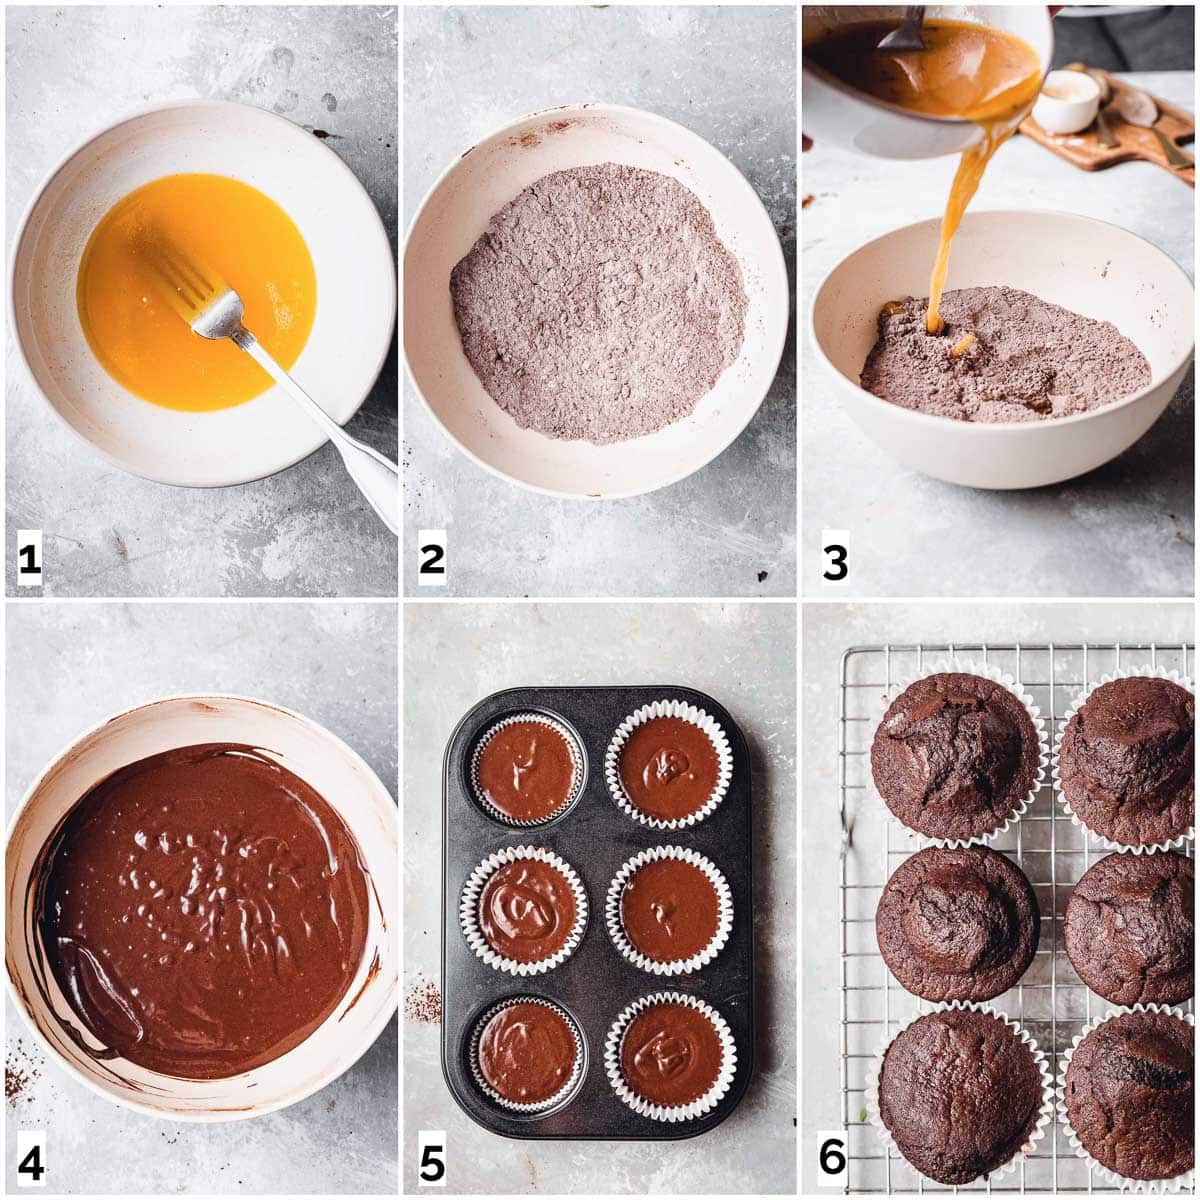
I’ve kept this recipe super simple. Even if you’ve never baked before, you should be able to make this easily. Here are the 6 steps.
- Combine almond milk and vinegar (to create what is called vegan sour milk). Stir and set aside. In a separate bowl mix melted butter and sugar. Pour over your sour milk and stir.
- In a separate bowl, sift all your dry ingredients. Mix well.
- Add your wet mixture to your dry ingredients and mix until just combined. Don’t overmix.
- This is how your final mixture should look.
- Line your cupcake tin with paper. Pour or spoon in your mixture until the cupcake mould is ¾ full.
- Bake at 180°C / 356°F (fan oven) for 20-25 minutes. Remove the cupcakes when a wooden pick inserted into the middle comes out clean.
Congrats! Your beautiful vegan double chocolate cupcakes are now baked.
Time to move onto the second part of our recipe - icing.
Icing Step-by-Step
When I first started baking, icing seemed like such a big deal. Guess what? With just a little bit of practice, it instantly becomes a lot easier.
Here’s what you’ll need to do. Whisk together all your ingredients using a metal or electric whisk. It’s very important that your icing is stiff and holds its shape
Once your icing is made, it’s time to pipe the cupcakes.
Keep in mind there are tons of different icing techniques. Below I noted down one of the easiest ones using a classic icing bag.
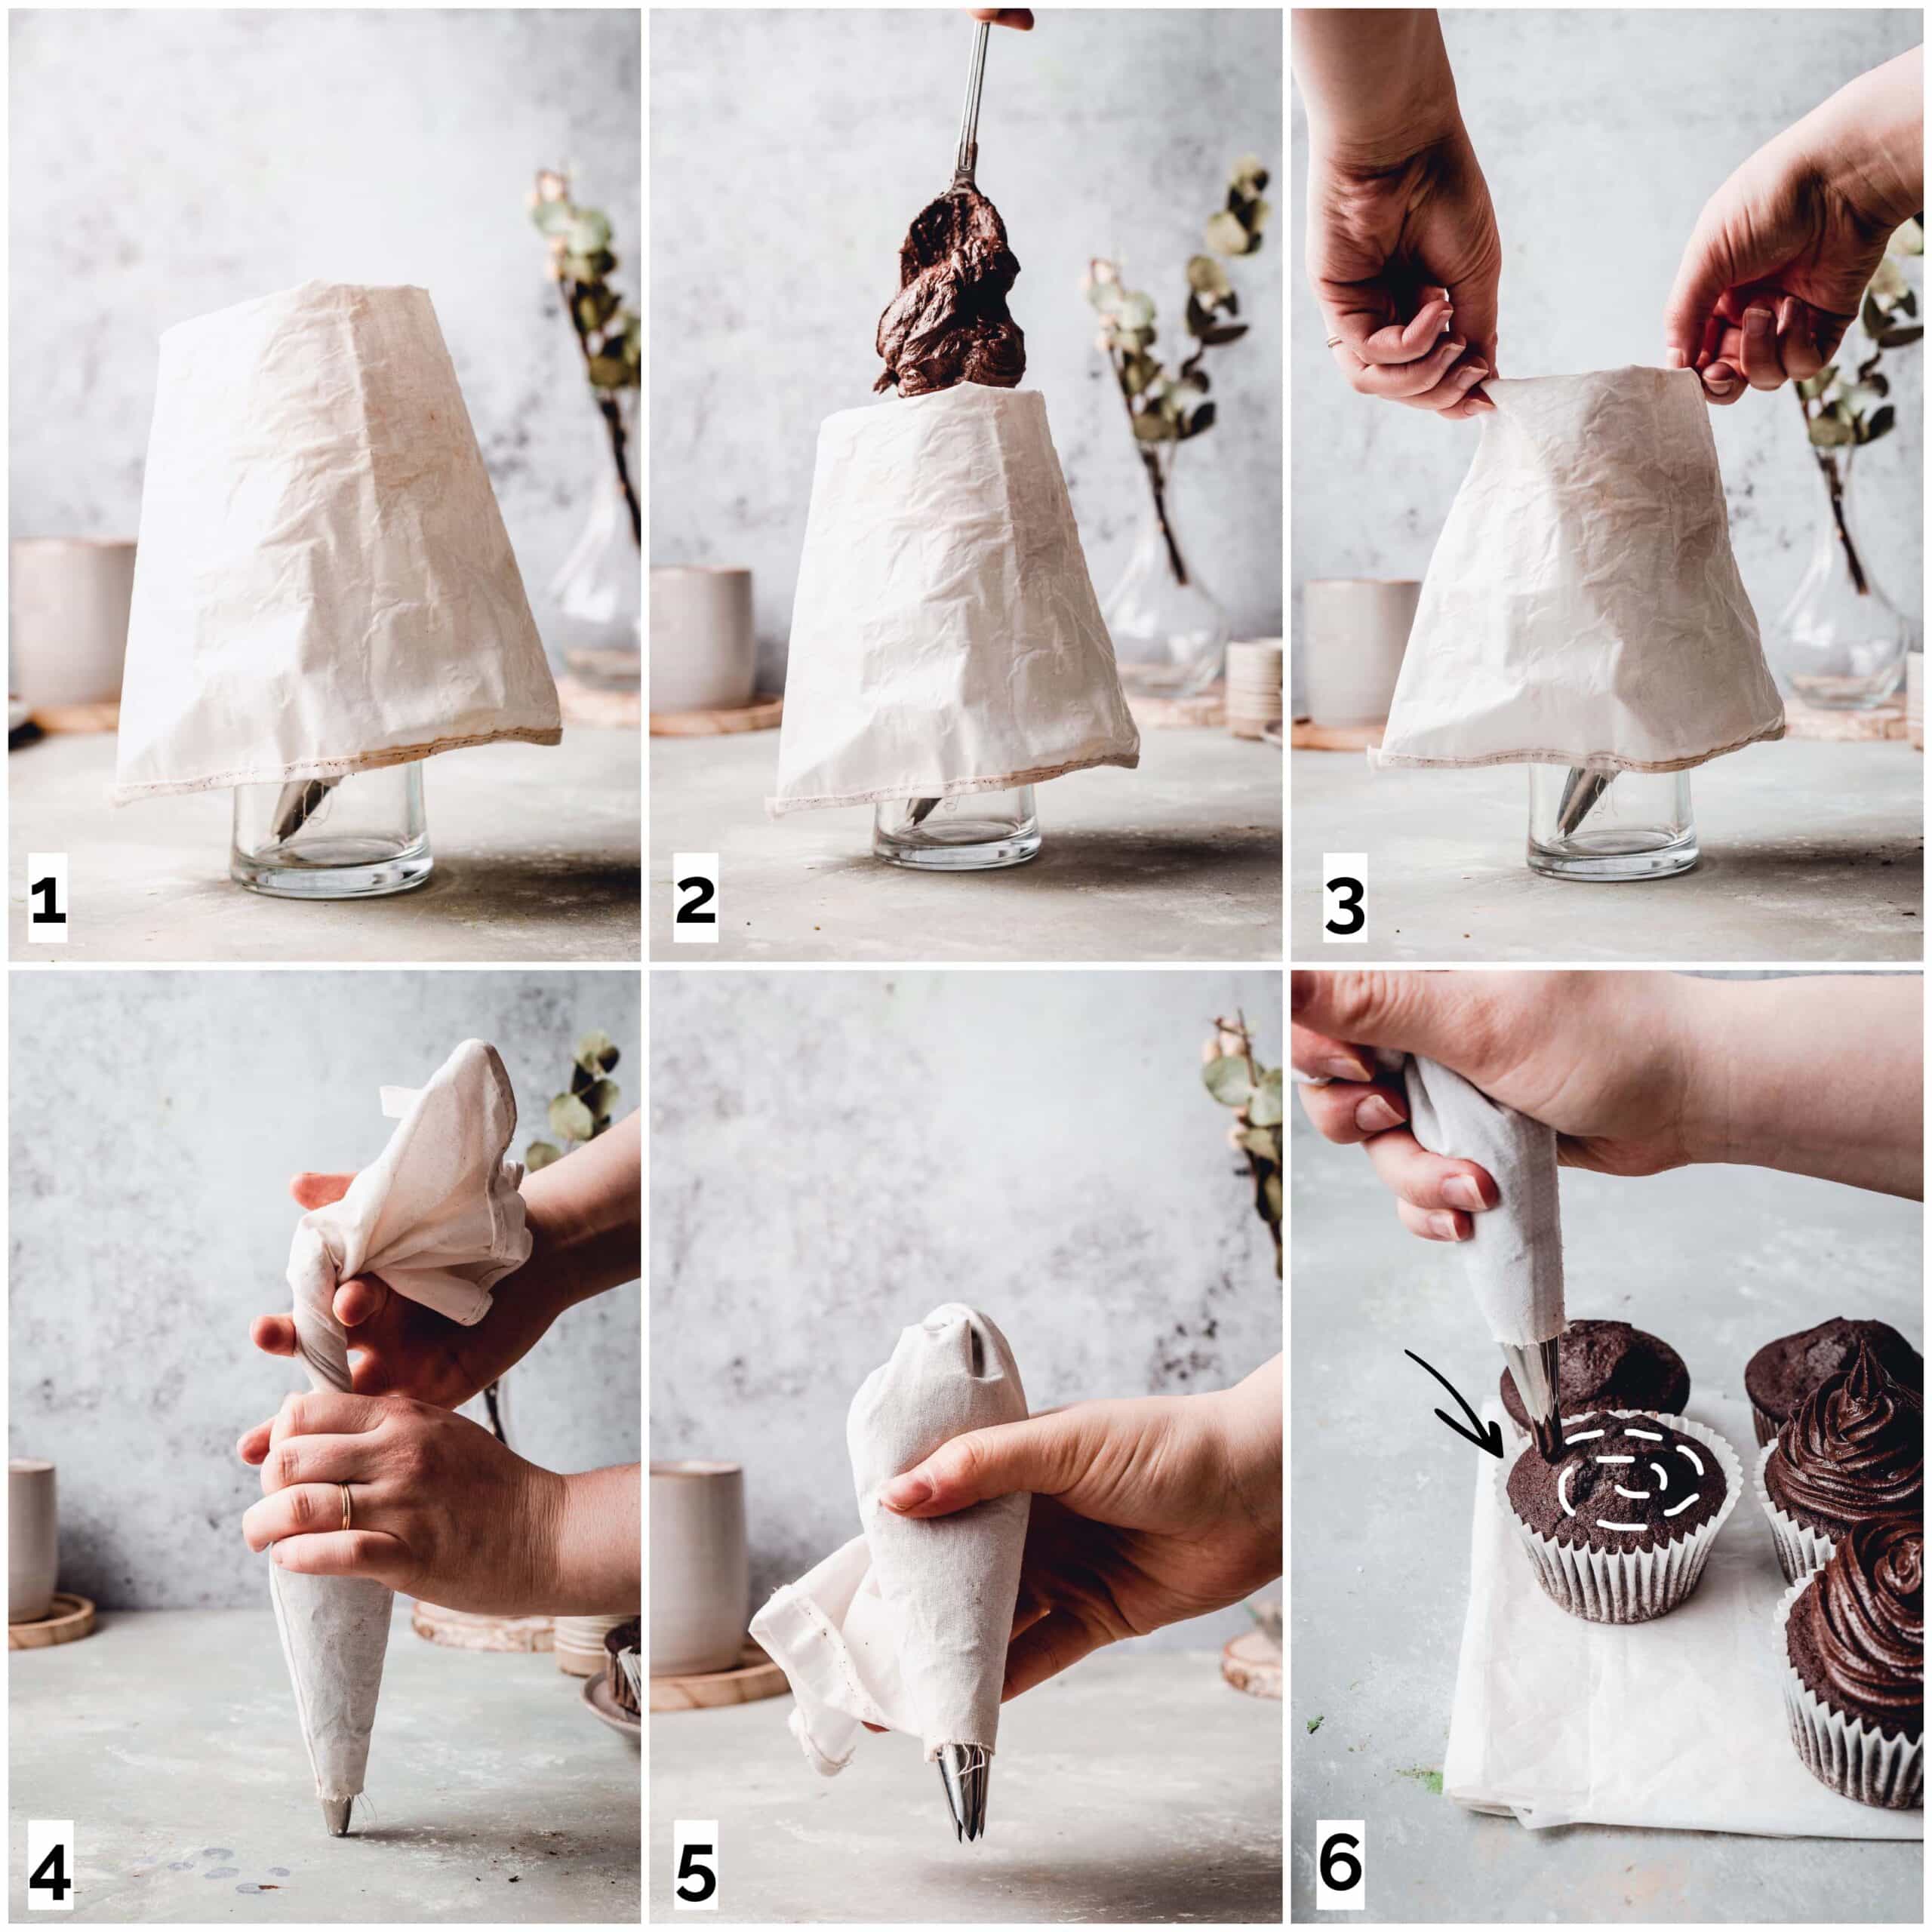
- Select your icing nozzle and secure it by pulling it through an icing bag until the nozzle is stable. Place the empty icing bag over a large tall glass (I find that pint glasses work well). Pull the sides of the bag over your glass for easier filling.
- Grab your icing and spoon it into the glass/bag.
- When filled, remove the bag from the glass.
- Grab your bag and turn the top a few times to secure it. Try to squeeze out any air bubbles that might be in there.
- Your icing bag is ready.
- In this technique, we're icing from the outside in as seeing on the photo. Start at the edge and slowly but firmly make your way towards the centre. If you’re not familiar with icing, check out my expert icing tips below.
If you're an icing newbie, I recommend watching a few videos of people icing cupcakes. This should help give you a better idea of what you need to be doing.
My Top Icing Tips
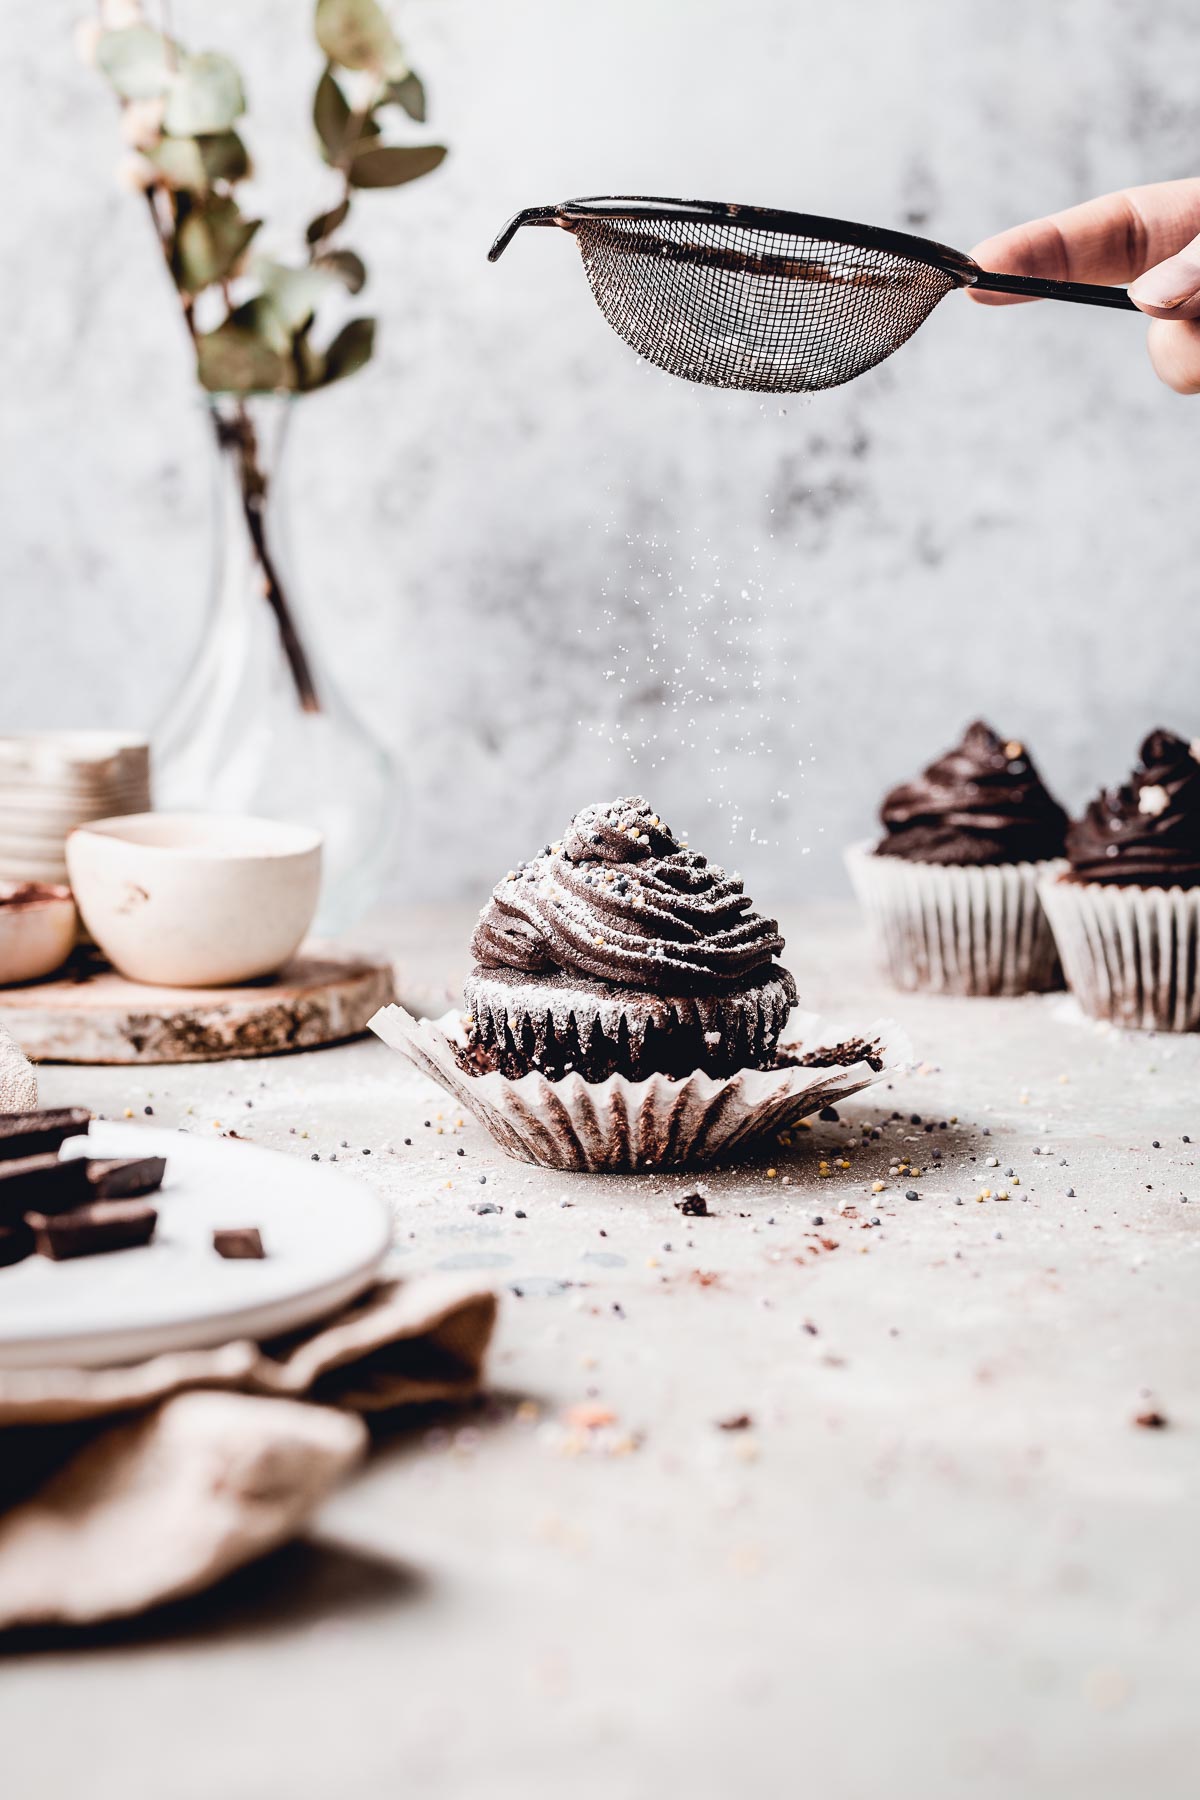
Don’t miss out on these expert tips!
Apply Even Pressure
This is the single most important piping tip. Make sure to apply even pressure the entire time. Use one hand at the bottom side of your piping bag (near the nozzle) to apply even pressure to the icing, squeezing it slowly but securely.
At the same time, use the other hand to tightly hold the top of the icing bag and keep it twister.
Select the right nozzle
When it comes to piping, it’s all about selecting the right nozzle. Use a large nozzle with a well defined, textured top.
I definitely recommend you avoid nozzles that are just a wide, smooth hole. They are not suitable for cupcakes and won't make them look appetising (especially not brown ones if you know what I mean).
Here's a great article on how to select the right nozzle.
Use stiff icing
For the perfect cupcake, we want the icing to be holding its shape. This can only be achieved by making sure the icing is stiff. You can check its stiffness by running a spoon or spatula through it. If the icing holds its shape, it is ready. If not, you’ll need to add in more icing sugar one tablespoon at a time.
Practice makes perfect
Practice piping on an empty baking paper or a plate before piping your cupcake. That first iced cupcake can often be a bit wobbly, so make sure you’re doing it where it doesn’t matter.
FAQ
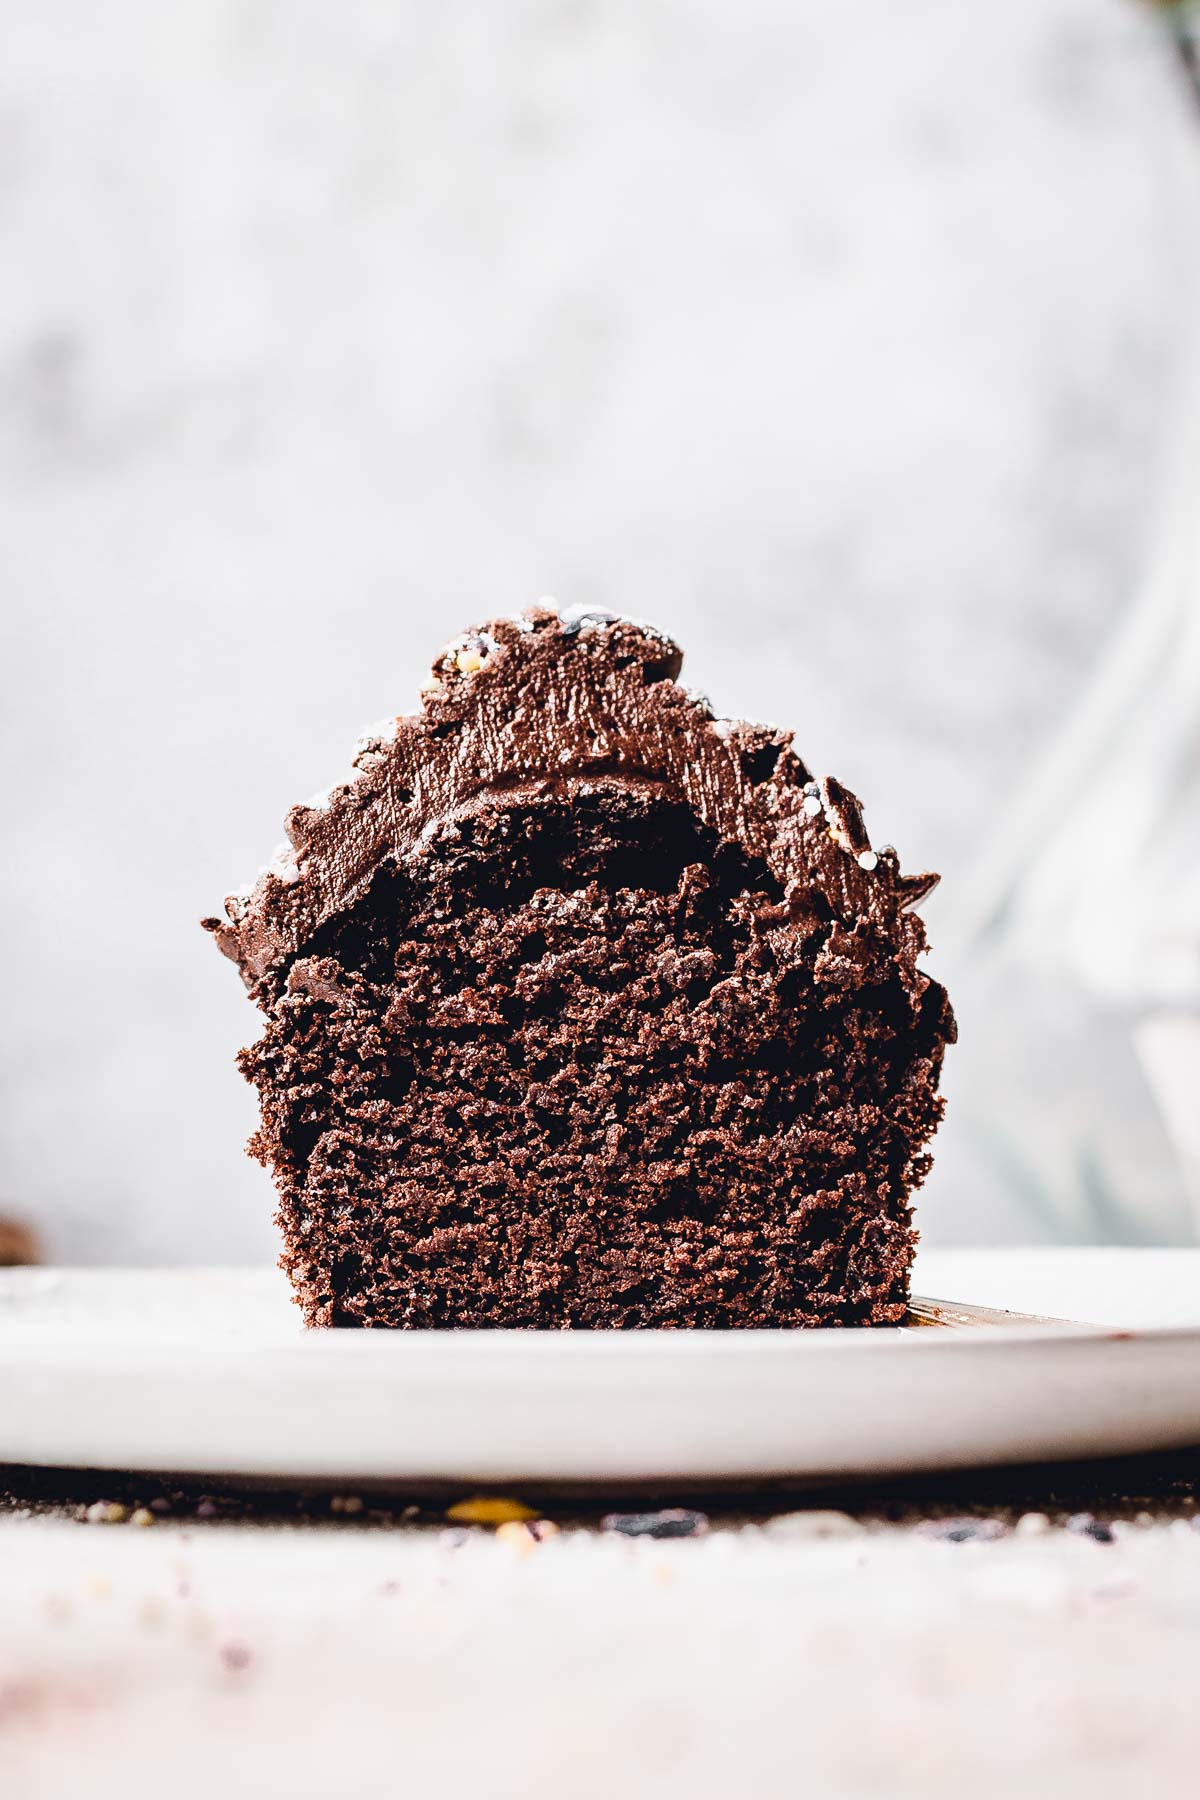
This is due to a bad distribution of your ingredients throughout the mixture. It’s very important that you sift all your dry ingredients and mix them really well before adding the wet ingredients.
If there is a large clump of flour or baking powder in your mixture, they will bake unevenly.
You probably tried to remove them from their paper liner too fast. Make sure you cool down your cupcakes properly before removing the liners.
First, make sure you've cooled them down completely. You can store them both iced or not iced. Simply just place them in an airtight container and store at room temperature.
It is important you don't store these in a fridge. Doing so will dry them out.
If stored properly in an airtight container, they should last up to five days. However, as is the case with a lot of baked goods, it is best to eat them fresh.
If you liked my vegan chocolate cupcakes, you might enjoy my desserts section. My current favourites are chocolate banana bread, blueberry scones, oatmeal cookies and aquafaba mousse.
If you’ve made this recipe I would absolutely love to hear from you! Let me know in the comments below, rate the recipe or share your creation on social media.
🍴Recipe
Vegan Double Chocolate Cupcakes
Equipment
- Icing bag and nozzle
- Kitchen scales
- Cupcake tin and liners
Ingredients
FOR THE CUPCAKE
- 225 ml (7.61 floz) almond milk or other unsweetened plant milk
- 3 teaspoon vinegar
- 115 g (4.06 oz) vegan butter melted
- 70 g (2.47 oz) white sugar equals ½ cup of white sugar
- 130 g (4.59 oz) plain white flour equals 1 cup of plain white flour
- 3 teaspoon baking powder
- 6 tablespoon cocoa powder
FOR THE ICING
- 180 g (6.35 oz) vegan butter
- 300 g (10.58 oz) icing sugar
- ½ teaspoon vanilla extract
- 6 tablespoon cocoa powder
- ½ teaspoon almond milk unsweetened
- Optional toppings: sprinkles, powdered sugar, cocoa nibs, rose petals
Instructions
FOR THE CUPCAKES
- Combine almond milk and vinegar (to create what is called vegan sour milk). Stir and set aside.
- In a separate bowl mix melted butter and sugar.
- Pour over your sour milk and stir.
- In a separate bowl, sift all your dry ingredients. Mix well.
- Add your wet mixture to your dry ingredients and mix until just combined. Don’t overmix.
- Line your cupcake tin with paper.
- Pour or spoon in your mixture until the cupcake mould is ¾ full.
- Bake at 180°C / 356°F (fan oven) for 20-25 minutes. Remove the cupcakes when a wooden pick inserted into the middle comes out clean.
- Remove the cupcakes when a wooden pick inserted into the middle comes out clean.
FOR THE CHOCOLATE ICING
- Whisk together all your icing ingredients using a metal or electric whisk. It’s very important that your icing is stiff and holds its shape.
- Check if your icing is stiff enough. Run a fork, spoon or spatula through the icing. If it stays still and firm, your icing is ready. If not, add more icing sugar one tablespoon at a time.
- Grab your icing and spoon it into your icing bag to fill it.
- When filled, grab your bag and turn the top a few times to secure it. Try to squeeze out any air bubbles that might be in there.
- Start at the outer side and create a spiralling circle on top of your cupcake. Move slowly but firmly.
- Optional step: top off with powdered sugar.
Notes
- Do not overmix your cupake mixture. When you're adding your wet ingredients to your dry mixture, make sure you've mixed them until just combined.
- Do not overfill your cupcake tin. Fill only about ¾ full.
- The perfect cupcake needs stiff icing that holds its shape. If your icing is not stiff enough, add more powdered sugar.
- Make sure to remove any air bubbles in your icing.
- Practice the first icing swirl on a plate before icing your first cupcake.
Nutrition
Disclaimer: The nutritional information above is calculated automatically. The author of this post cannot guarantee 100% accuracy of this data.



Grace
These are so goodddd! Turned out so well. Really soft (fluffy) middle and firm icing. Thank you! Making these again.
Tajda Ferko
Thank you for your lovely review Grace, really appreciate it! Glad you liked these so much x
ulrika
What size approx should the cupcake tins be? I understand if i picka different size cook time will be wrong. Sorry, i dont bake much., stupid question but would like to try thesr
Tajda Ferko
Hi lovely, it's not a stupid question at all, I'm glad you asked! I used a 'standard' size cupcake tin. It should hold between 75ml and 100ml of batter per cupcake (2.5 to 4 oz). I hope this helps!
Ambika
Thanks for the recipe
Cathy
They are lovely and chocolatey, added in chocolate chips. Soft and light, I would definitely make them again. Thanks for the recipe.
Tajda Ferko
Glad you liked them Cathy! xx
Stacy
Can these be made with a gluten free flour?
Tajda Ferko
Hi Stacy, I think should technically work with GF flour, but to be fully transparent - I've never tried making them like that before 🙂 Only tested the regular flour version.