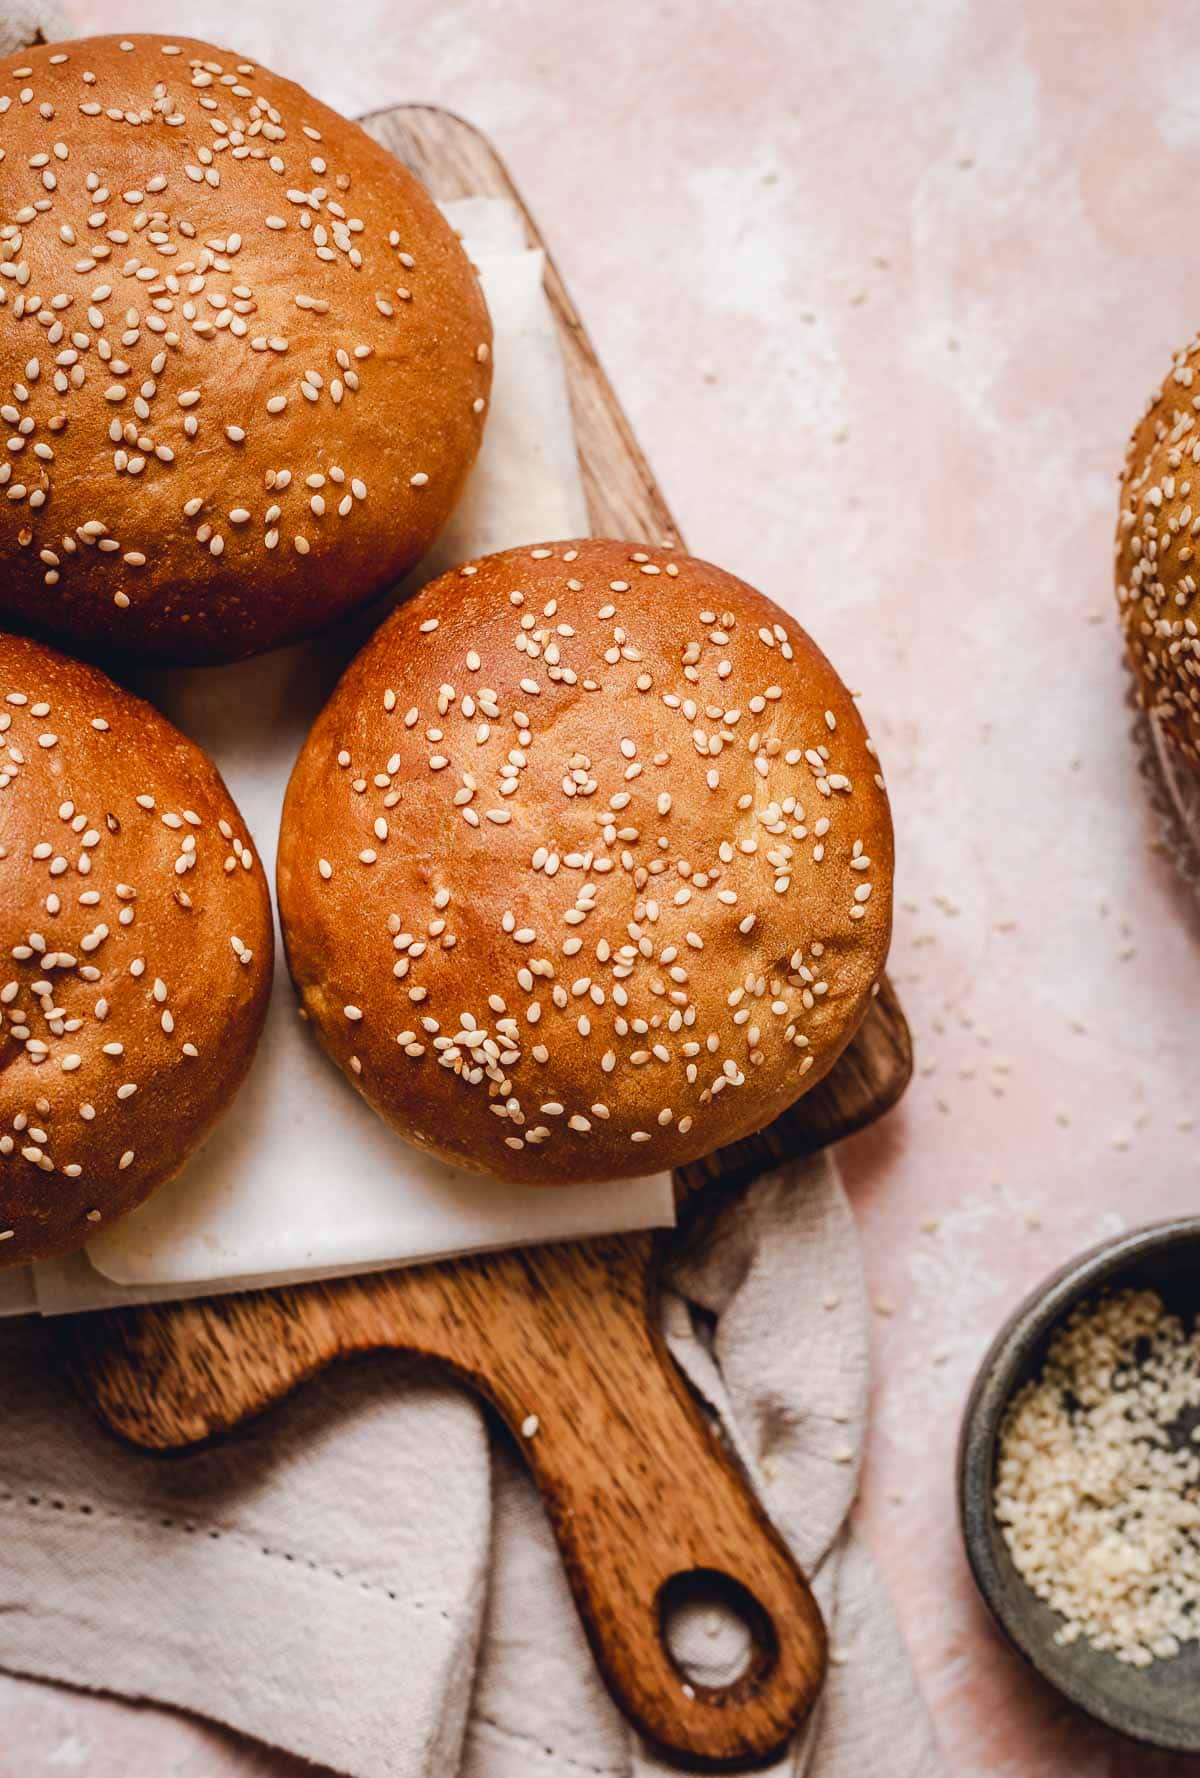
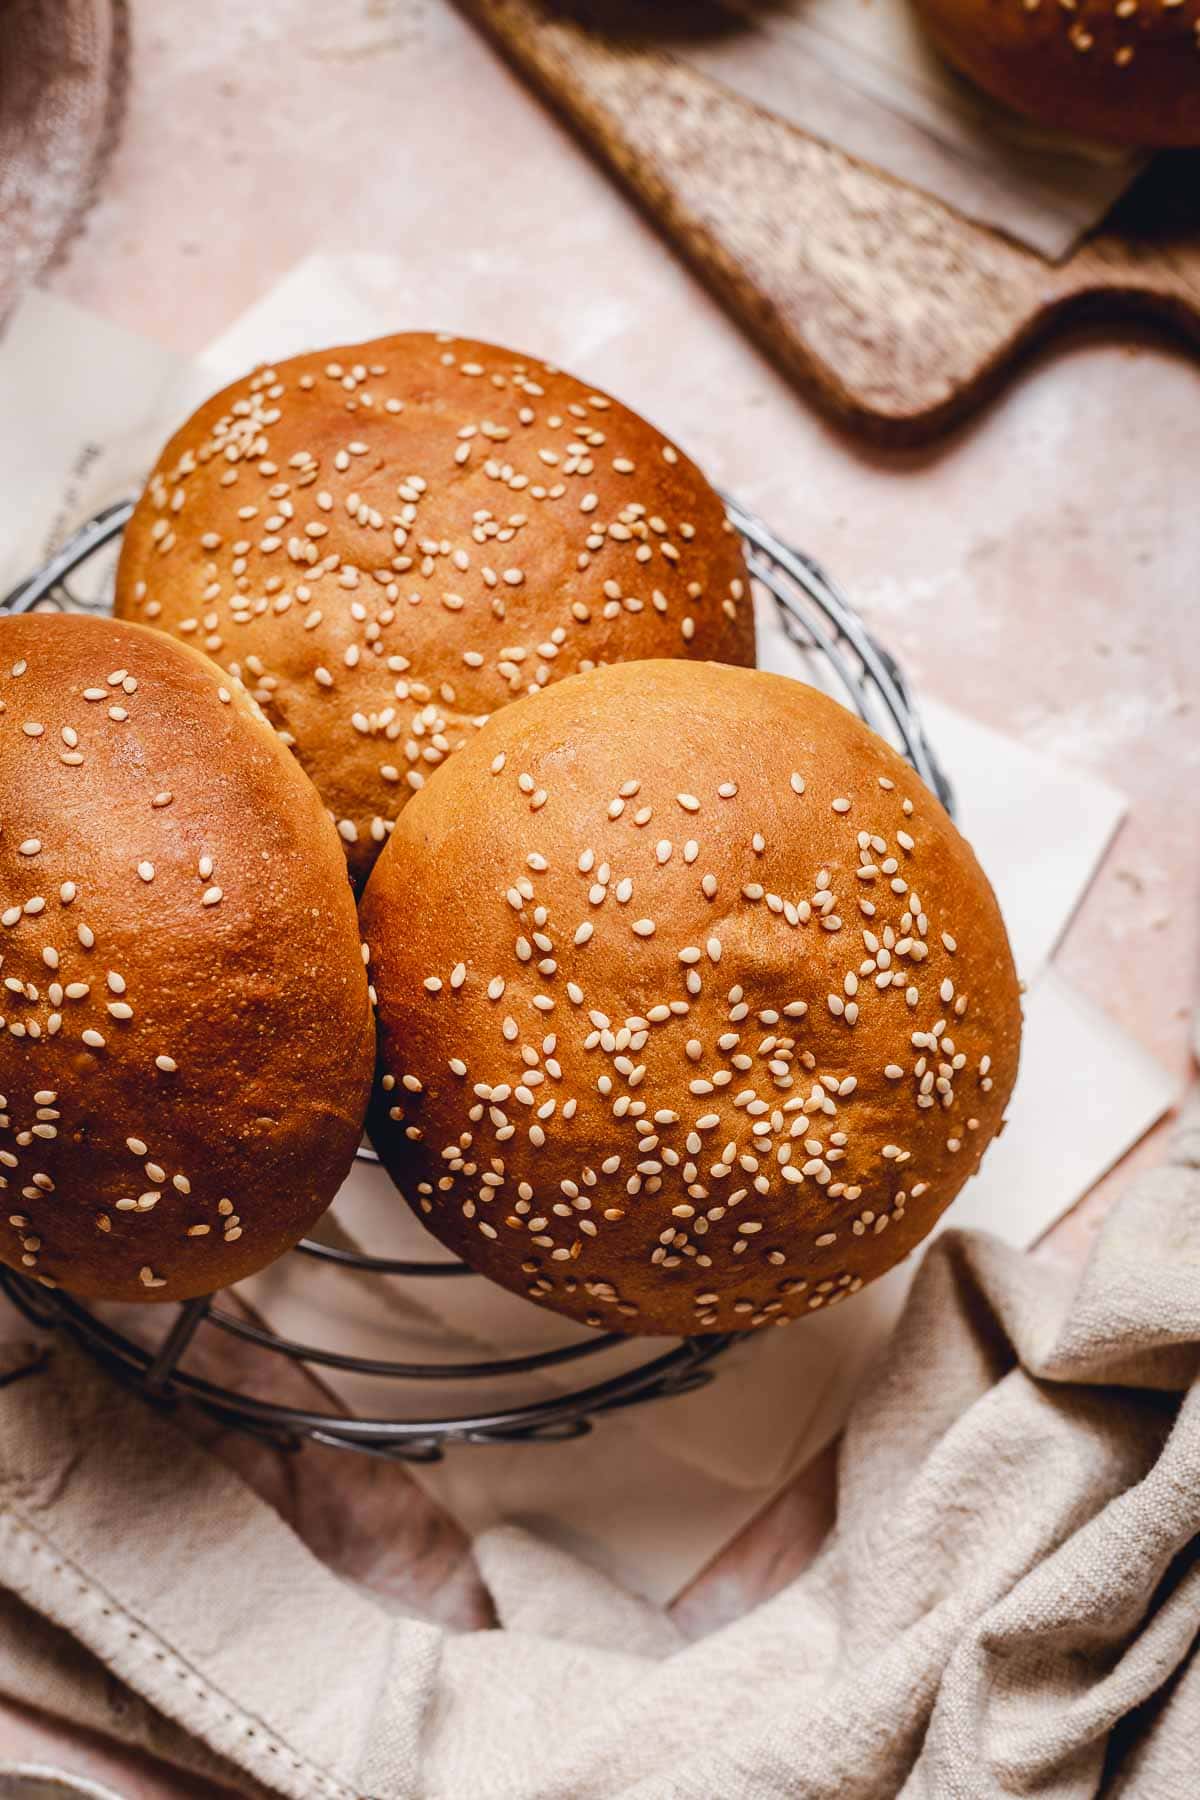
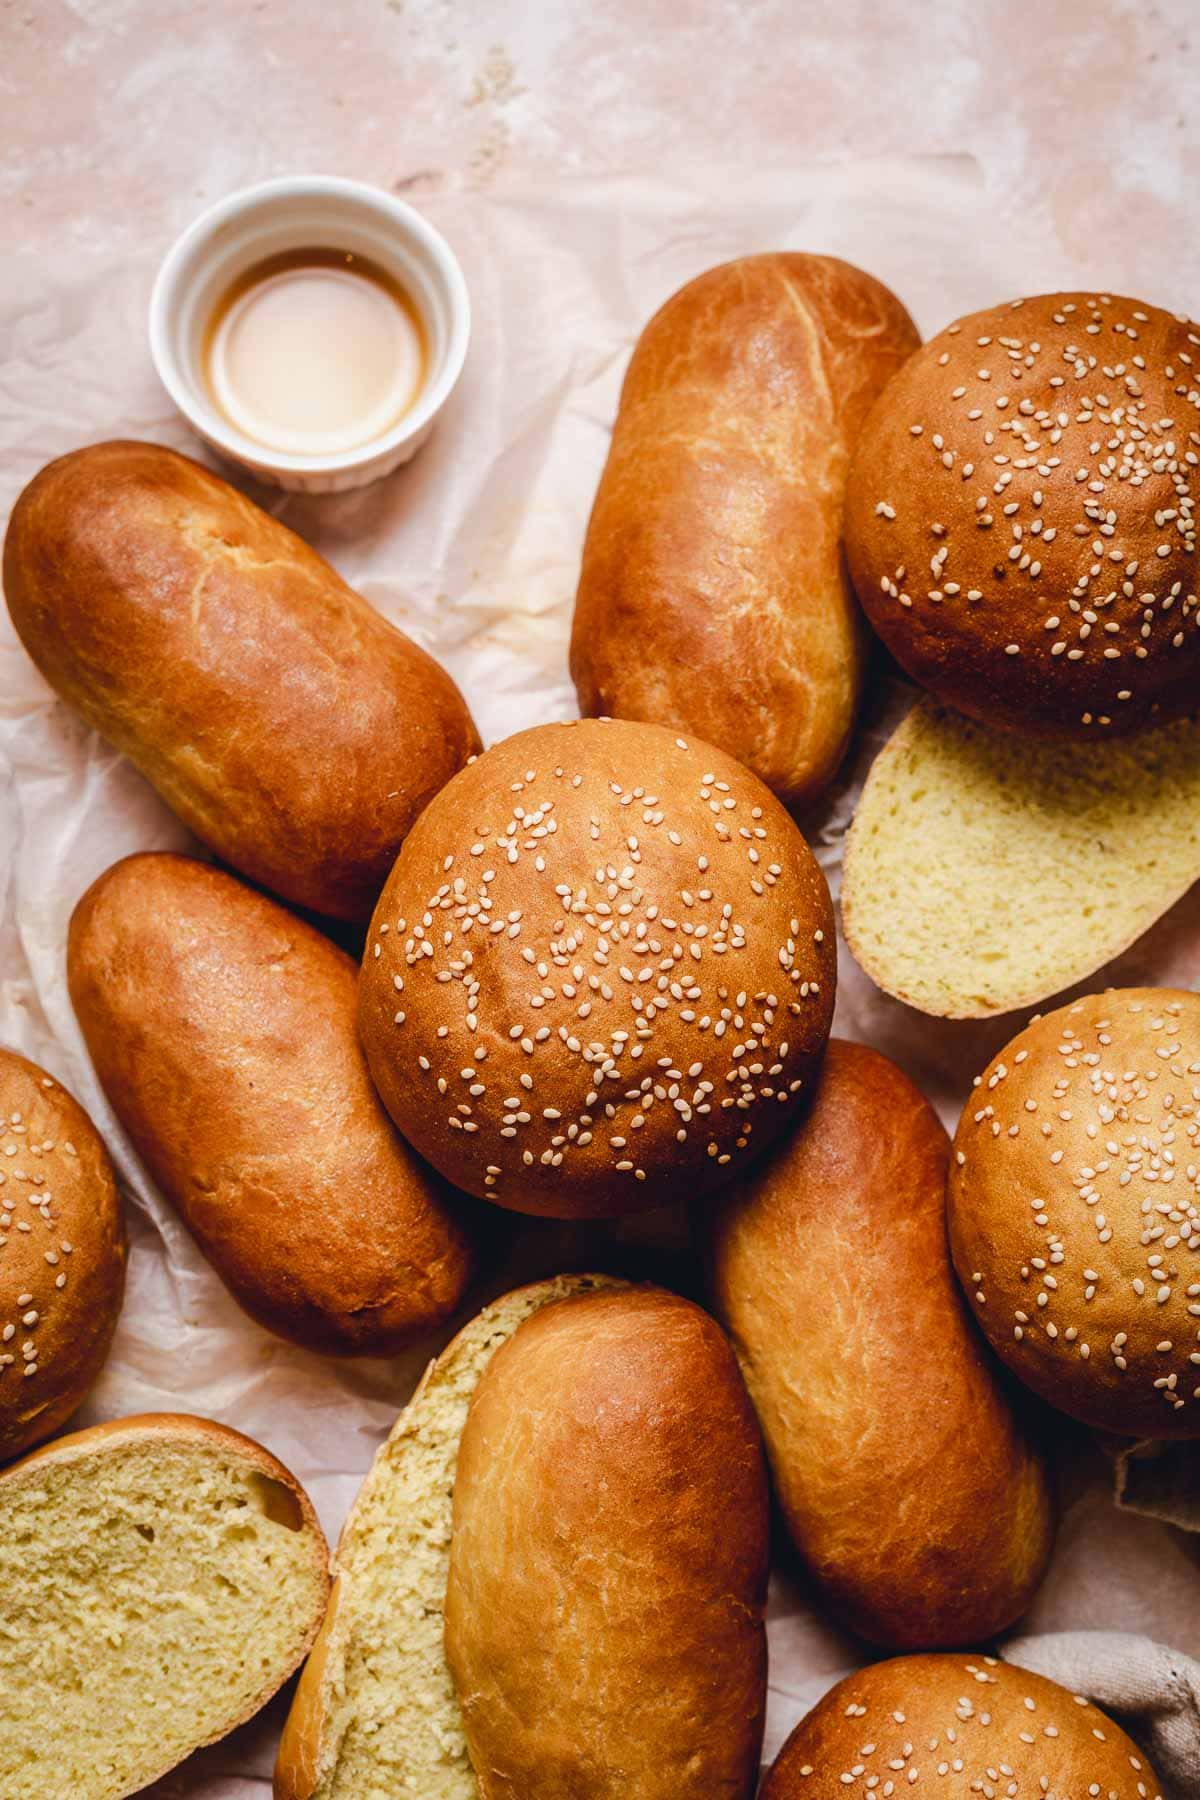
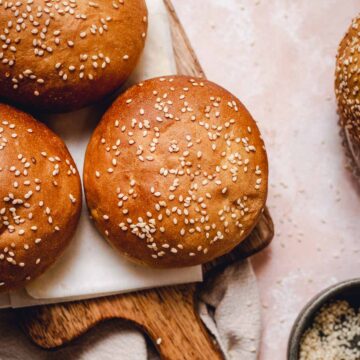
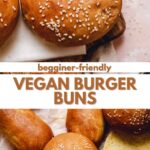
Super soft vegan burger buns with a signature brioche bread texture. These are easy enough for beginners and make the perfect companion to your gourmet vegan hamburger! Topped off with crunchy sesame seeds and a golden maple glaze.
Why this recipe is great
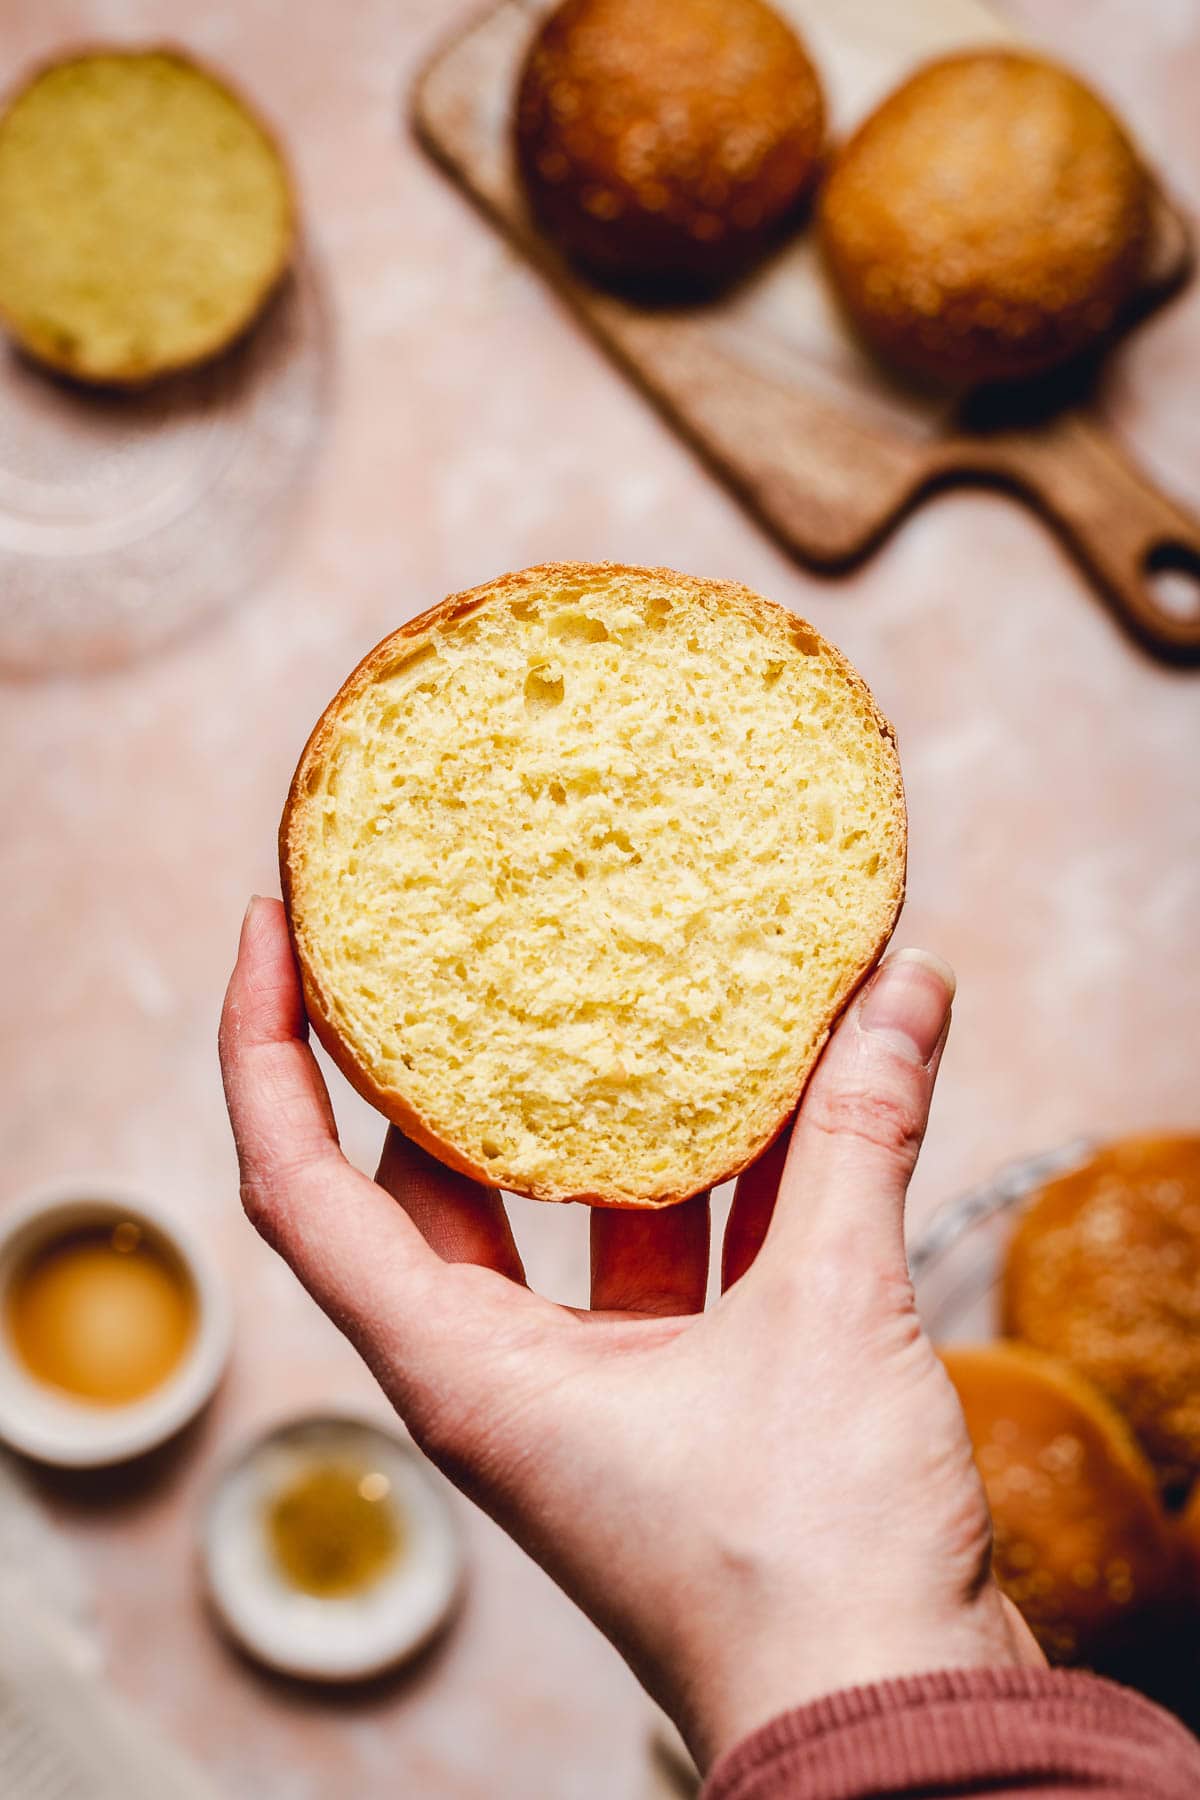
- Texture: super soft and fluffy
- Undetectably vegan and approved by vegans and non-vegans alike
- Versatile: Can be eaten alone as a snack or made into a satisfying meal
- The perfect vegan burger bread
- A surefire way to impress your friends and family with your baking skills
- Affordable: Cheap ingredients and no need for any specialist equipment
- Secret tip: Includes a secret ingredient for that signature yellow brioche tint
And if that's not enough, these vegan slider buns are super easy to make!
Ingredients
Below are the ingredients you will need to make these delicious vegan hamburger buns.
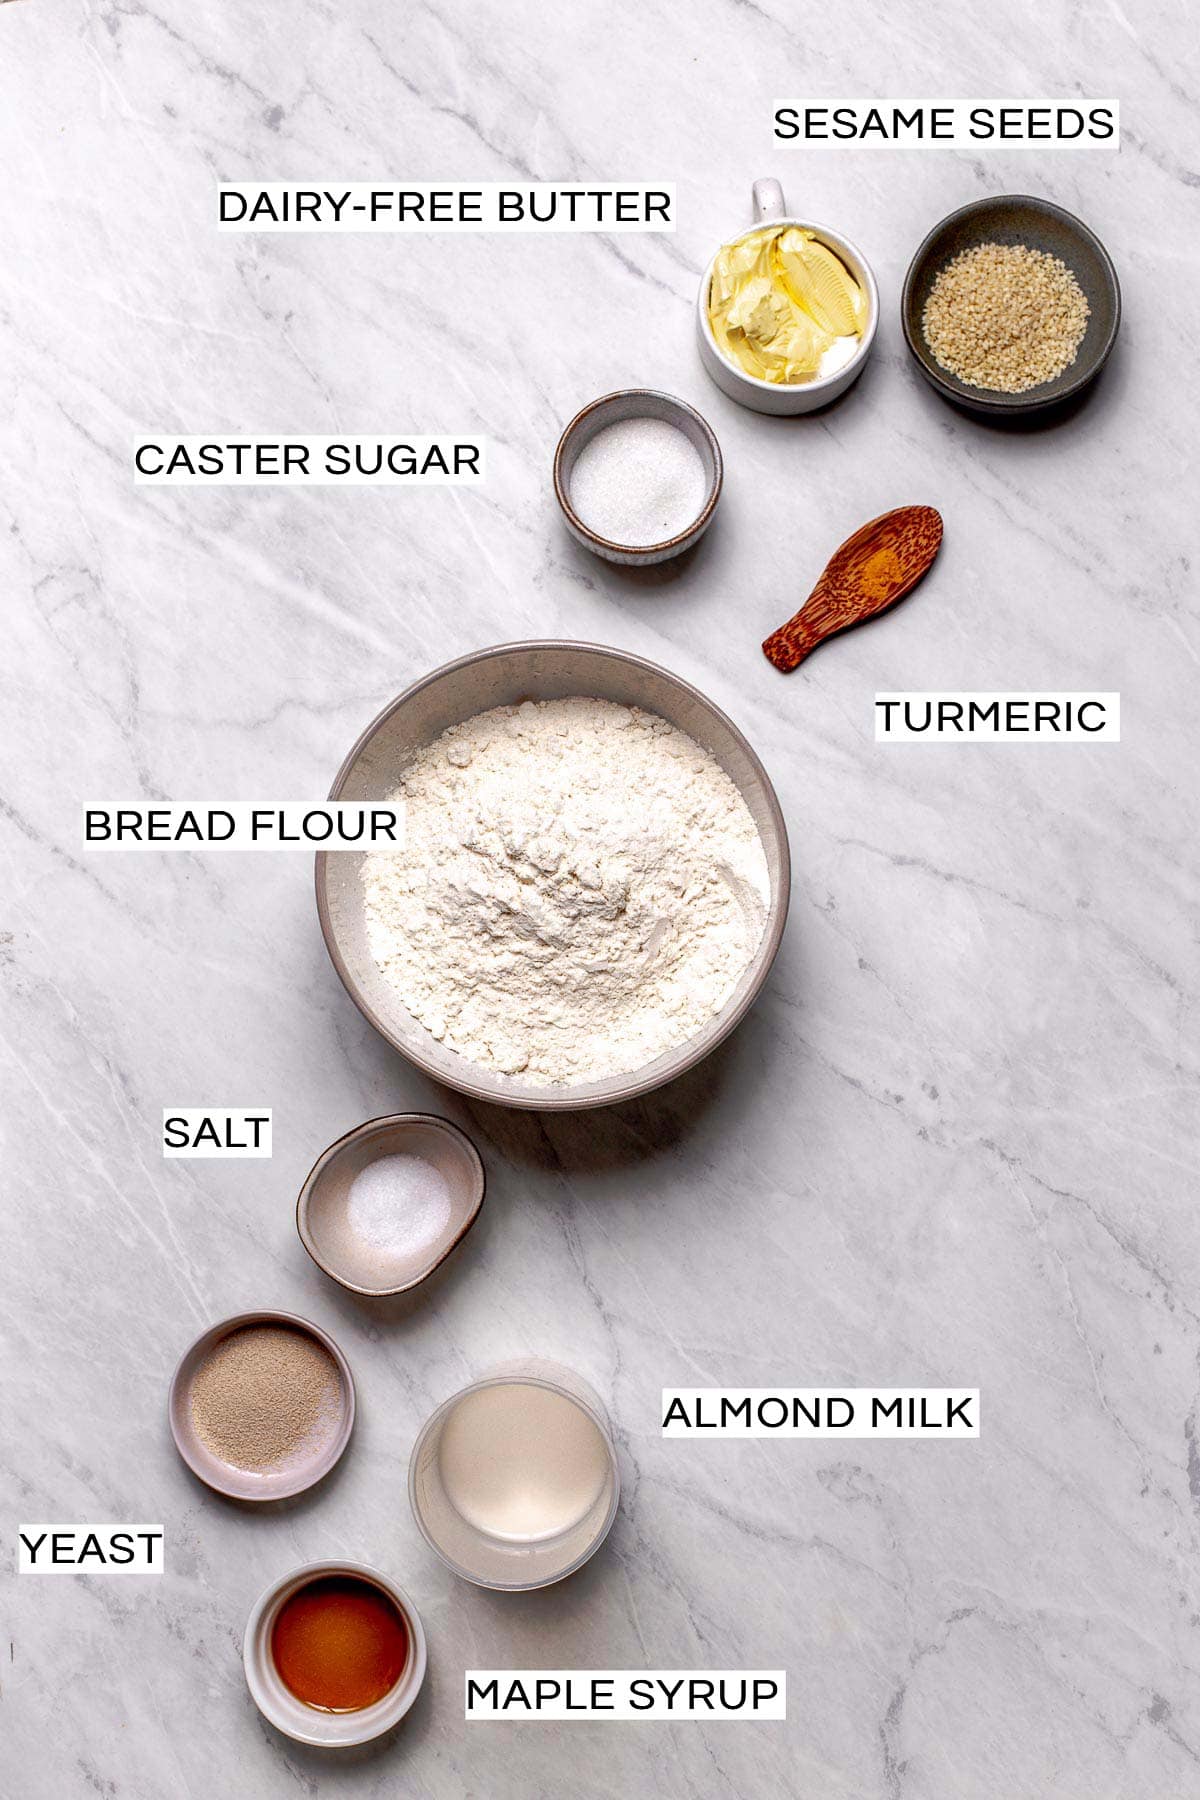
A Few Notes About the Ingredients
- Flour - make sure to use bread flour (not all-purpose flour). This will give the dough and bread buns the stretch and spring they need to become fluffy and hold their shape.
- Sugar - any sugar will work fine but remember that anything other than white sugar will make the bread turn out darker.
- Turmeric - an optional ingredient to give the buns the signature yellow tint.
- Yeast - I used dry instant yeast. If you use a different type of yeast, you may need to rise your dough for a little bit longer. As long as you make sure that the dough has doubled in size after the first rise you're good!
Step-by-step Overview
Below is a really quick visual guide to making these vegan hamburger buns.
For detailed instructions including exact ingredients make sure to scroll to the bottom of the page.
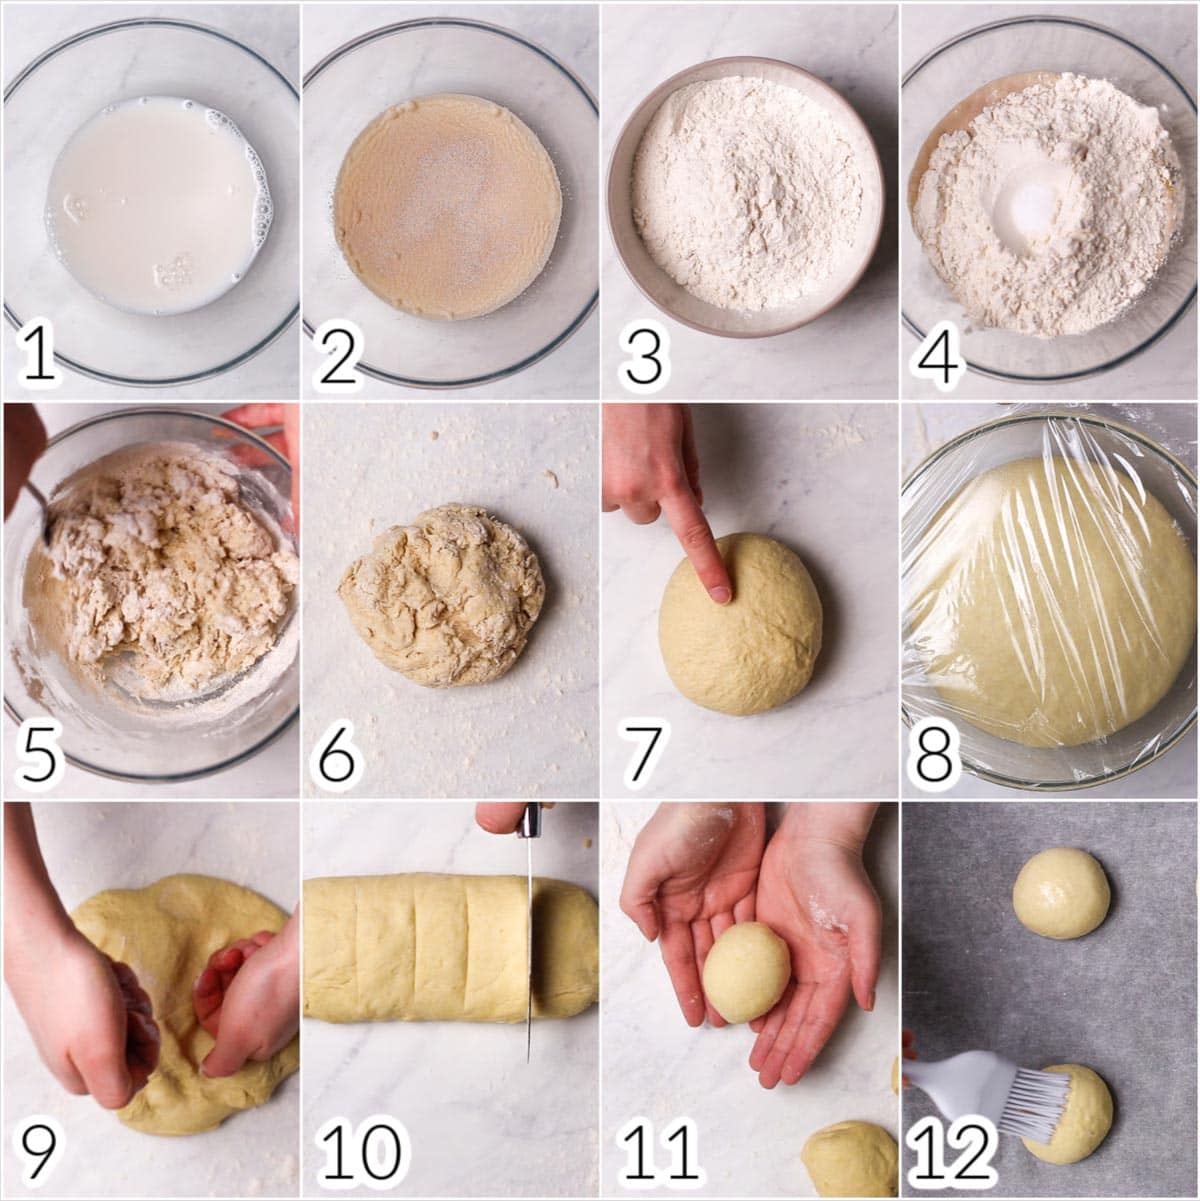
- Combine warm water, warm milk, and sugar in a large bowl and stir.
- Sprinkle yeast on top and set aside.
- In a second bowl mix together flour and turmeric.
- Add butter and flour to your yeast mixture. Make a small well into the flour and pour in the salt.
- Stir until a rough dough is formed.
- Knead for 5-10 minutes on a floured surface.
- Shape the dough into a ball. Press gently with your finger to see if it springs back. If not, you'll need to knead it for longer.
- Cover with cling film and let rest until doubled in size (approx. 2 hours).
- Place dough on a floured work surface and knock back using your fists.
- Divide dough into 6 equal pieces.
- Shape each piece into a ball,
- Brush with almond milk, cover loosely with cling film and leave to proof for 50-60 minutes.
After the second proof is done, all you need to do is brush it again with your glaze and top it off with sesame seeds.
Then bake for 20 minutes at 374°F / 190°C until dark golden brown.
Expert Tips
- Flour the surface well - this will prevent the dough from sticking to the work surface when kneading and shaping. It will make shaping the round dough balls a whole lot easier.
- Oil the bowl before the rise - this will prevent the dough from sticking to the bowl when you need to take it out.
- Let rise until at least doubled in size - the rising time for these buns is longer than most. It's really important that you let the buns rise until doubled in size. This will ensure a plump, springy bun, the classic dome shape, and a light, airy inside.
- Tightly shape the dough balls - the key to getting these burger buns to puff up instead of sideways in the oven is the shaping. Make sure to shape the balls into a tight sphere, pinched at the bottom. The pinched part must stay at the bottom, leaving the beautiful dome up top.
- Cover loosely with cling film - cling film that's too tight will prevent the dough balls from rising up to create their signature dome. If you don't want your buns dense and flat, make sure they are covered, but leave plenty of space to rise up.
FAQ
These burger buns rise slower than other buns. They should take around 2 hours for their first and 1 hour for the second rise.
If they're rising slowly, don't worry. Sometimes there are factors beyond our control that can affect the rising time, such as the room temperature. Simply let them rise for longer until doubled in size.
If the dough doesn't rise at all this could be down to three reasons:
- your yeast was too old
- water or milk were too hot and damaged the yeast
- the salt directly touched the yeast and damaged it.
This is why it's important to:
- test that your yeast is fresh
- check that the water and milk are not too hot
- make a small well for the salt
If this problem occurs when you're still kneading, simply knead some more flour into the dough.
If your dough is still sticky after the first rise, make sure to use plenty of flour on your work surface and hands when shaping the buns. This should make the dough less sticky and much easier to shape.
Here are some more tips on how to handle sticky dough.
Here are some common reasons:
- you haven't measured the ingredients correctly,
- different brands of flour can differ slightly,
- similarly, bread flour can vary across different countries.
If you feel like your dough is too dry, don't worry about it at all. Simply add a small splash of water to it and continue kneading.
Keep them in an airtight container for up to 5 days. However, remember that these are by far the most delicious when eaten fresh, preferably on the first day.
As time goes by, the buns might become a bit drier. To fix that you can pop them in the microwave for about thirty seconds. Alternatively, slice them open and lay face down in a frying pan, then fry until golden brown.
Yes, let them cool, then freeze them in an airtight container or freezer bag. Keep for up to 1 month.
Ingredient Substitutions
Missing some of the ingredients? Here's what you can do:
- Almond milk - If you don't have almond milk at hand that's not a problem. Any plant-based milk will work in this recipe as long as it's unsweetened and unflavoured. As a general rule, I would stay away from coconut milk due to its strong, overpowering flavour.
- Maple syrup - Try another syrup like agave and follow the same instructions. As long as your sweetener includes some sugar to ensure the rich brown colour of the buns, it doesn't matter what you use.
- Bread flour - If you want to add a little bit of wholemeal bread flour that's not a problem. You will need to let the bread rise for a bit longer, and possibly add a splash of water. If you do want to add wholemeal flour, I suggest you don't add more than half (for example 140g white flour and 140g wholemeal). Anything more than that will make the dough too heavy and not give you that fluffy inside. For best results add up to a third of wholemeal and leave the rest white.
You've made it all the way to the recipe card! If you're looking more more vegan bread recipes, check out my personal favourites below:
- Soft Vegan Sesame Pretzels (sweet or savoury)
- Garlic Herb Twist Bread
- Vegan dinner rolls
- Vegan banana bread
Made my vegan burger buns? I would love to hear from you! Hearing about and seeing your remakes of my recipes is my absolute favourite part of being a food blogger.
🍴Recipe
Vegan Burger Buns
EQUIPMENT
- Baking paper
- Measuring scales or cups
- Cling film
INGREDIENTS
BUNS
- 30 g (2 tablespoon) dairy-free butter melted
- 125 ml (½ cup) almond milk unsweetened and unflavoured
- 60 ml (¼ cup) warm water
- 20 g (1⅔ tablespoon) sugar
- 1¼ teaspoon (1.25 teaspoon) instant yeast
- 280 g (2 cups) white bread flour
- ⅛ teaspoon (0.13 teaspoon) turmeric optional
- 1 teaspoon salt
- 1 tablespoon sesame seeds
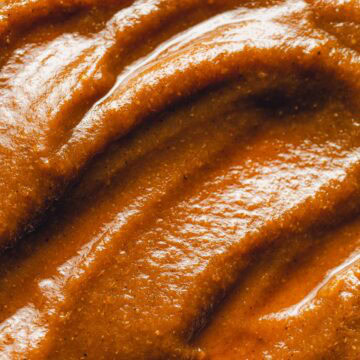
GLAZE
- ½ tablespoon (0.5 tablespoon) maple syrup
- ½ tablespoon (0.5 tablespoon) almond milk unsweetened and unflavoured
INSTRUCTIONS
- In a small bowl melt the butter and set it aside to cool.
- Warm up your milk until it's warm to the touch but not hot.
- Combine the warm water, milk and sugar in a large bowl and stir.
- Sprinkle yeast on top and set aside for 5 mins until lightly foamy.
- In a second bowl mix together flour and turmeric (if using) and set aside.
- Pour the butter into the yeast mixture and add flour + turmeric on top.
- Make a small well into the flour and pour in the salt, keeping the salt separate from the yeast mixture.
- Use a fork to stir the mixture to combine the flour and yeast until it all comes together to form a dough.
- Place the dough onto a floured work surface to knead.
- Knead for 5-10 minutes until the dough springs back to the touch.
- To test that it's ready, use a finger to gently press it. If it springs back, the dough is ready.
- Shape the dough into a ball.
- Oil a large bowl, place the dough in the bowl, and cover with cling film.
- Leave to rise in a warm place for 2 hours (or until doubled in size)
- In the meantime line your baking tray with baking paper.
- Once risen place the dough on a floured work surface and use your firsts to knock it back.
- Divide dough into 6 equal pieces.
- Shape each piece into a ball and place onto the lined baking tray with at least 5cm (2 inch) of space between each ball.
- Brush each ball with enough almond milk to cover the top.
- Cover the tray with cling film and leave to proof for a second time for 50-60 mins in a warm place.
- Preheat your oven to 374°F / 190°C.
- Mix together maple syrup and almond milk to make your glaze.
- Once risen, remove the cling film, brush each bun with the glaze, and top with sesame seeds.
- Bake for 20 minutes at 374°F / 190°C until dark golden brown.
Notes
- Important: Whilst I do provide cups measurements above, I do recommend using weights measurements as they are more accurate.
- Make sure to use bread flour - this recipe won't work with all-purpose flour.
- Rise until at least doubled in size - do not be tempted to make the rising time shorter. It should take about 2 hours for it to double in size depending on the room temperature.
- Flour the surface well - this will prevent the dough from sticking to the work surface when.
- Oil the bowl before the rise to prevent it from getting stuck.
- Tightly shape the dough balls - Before your second rise, make sure to shape the balls into a tight sphere, pinched at the bottom. The pinched part must stay at the bottom, leaving the beautiful dome up top.
- Cover loosely with cling film - if you don't want your buns dense and flat, make sure they are covered, but leave plenty of space to rise up.
Nutrition
Disclaimer: The nutritional information above is calculated automatically. The author of this post cannot guarantee 100% accuracy of this data.


Leave a Reply