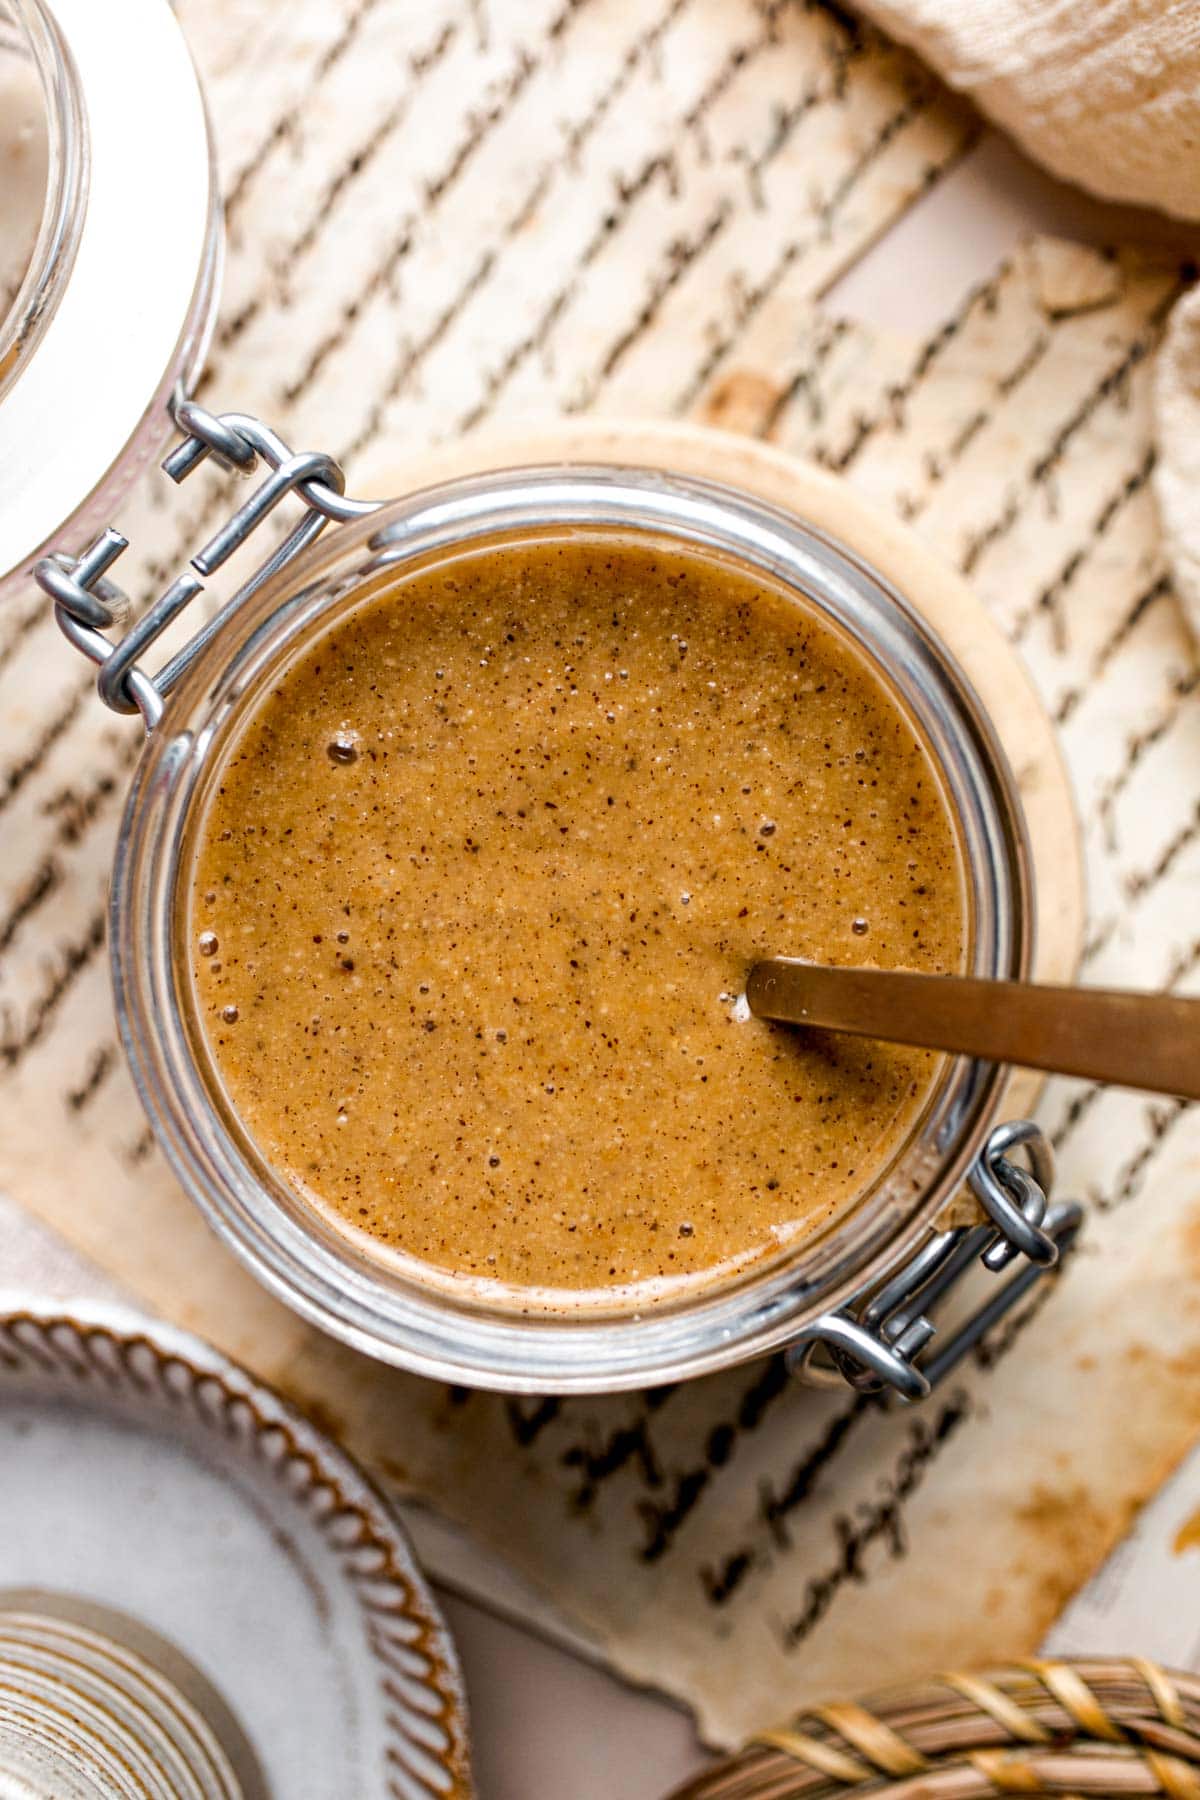
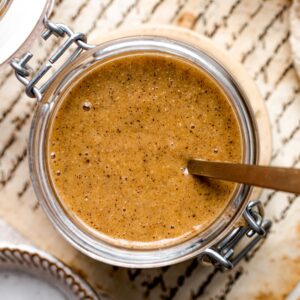
This homemade Brazil nut butter celebrates the true flavors of the nuts and makes a fantastic base for a variety of recipes. Packed with monounsaturated fats, with a decadent texture and unbeatably nutty flavor.
Jump to:
Turn this pantry essential into a delightful, creamy treat packed with good-for-you fats. Best part? It's a breeze to make!
💌 Why I Love This Recipe
Once you've tried this homemade Brazil Nut Butter, you're not going back.
- Fresher than anything you can find in the grocery store
- No added oils
- Packed with healthy fats
- Customizable with added ingredients
- A versatile base for many recipes
And last but not least, it's packed with essential nutrients like vitamin E, zinc & calcium (Source: BBC).
🛒 Ingredients
To create your homemade nut butter, you'll need the following ingredients:
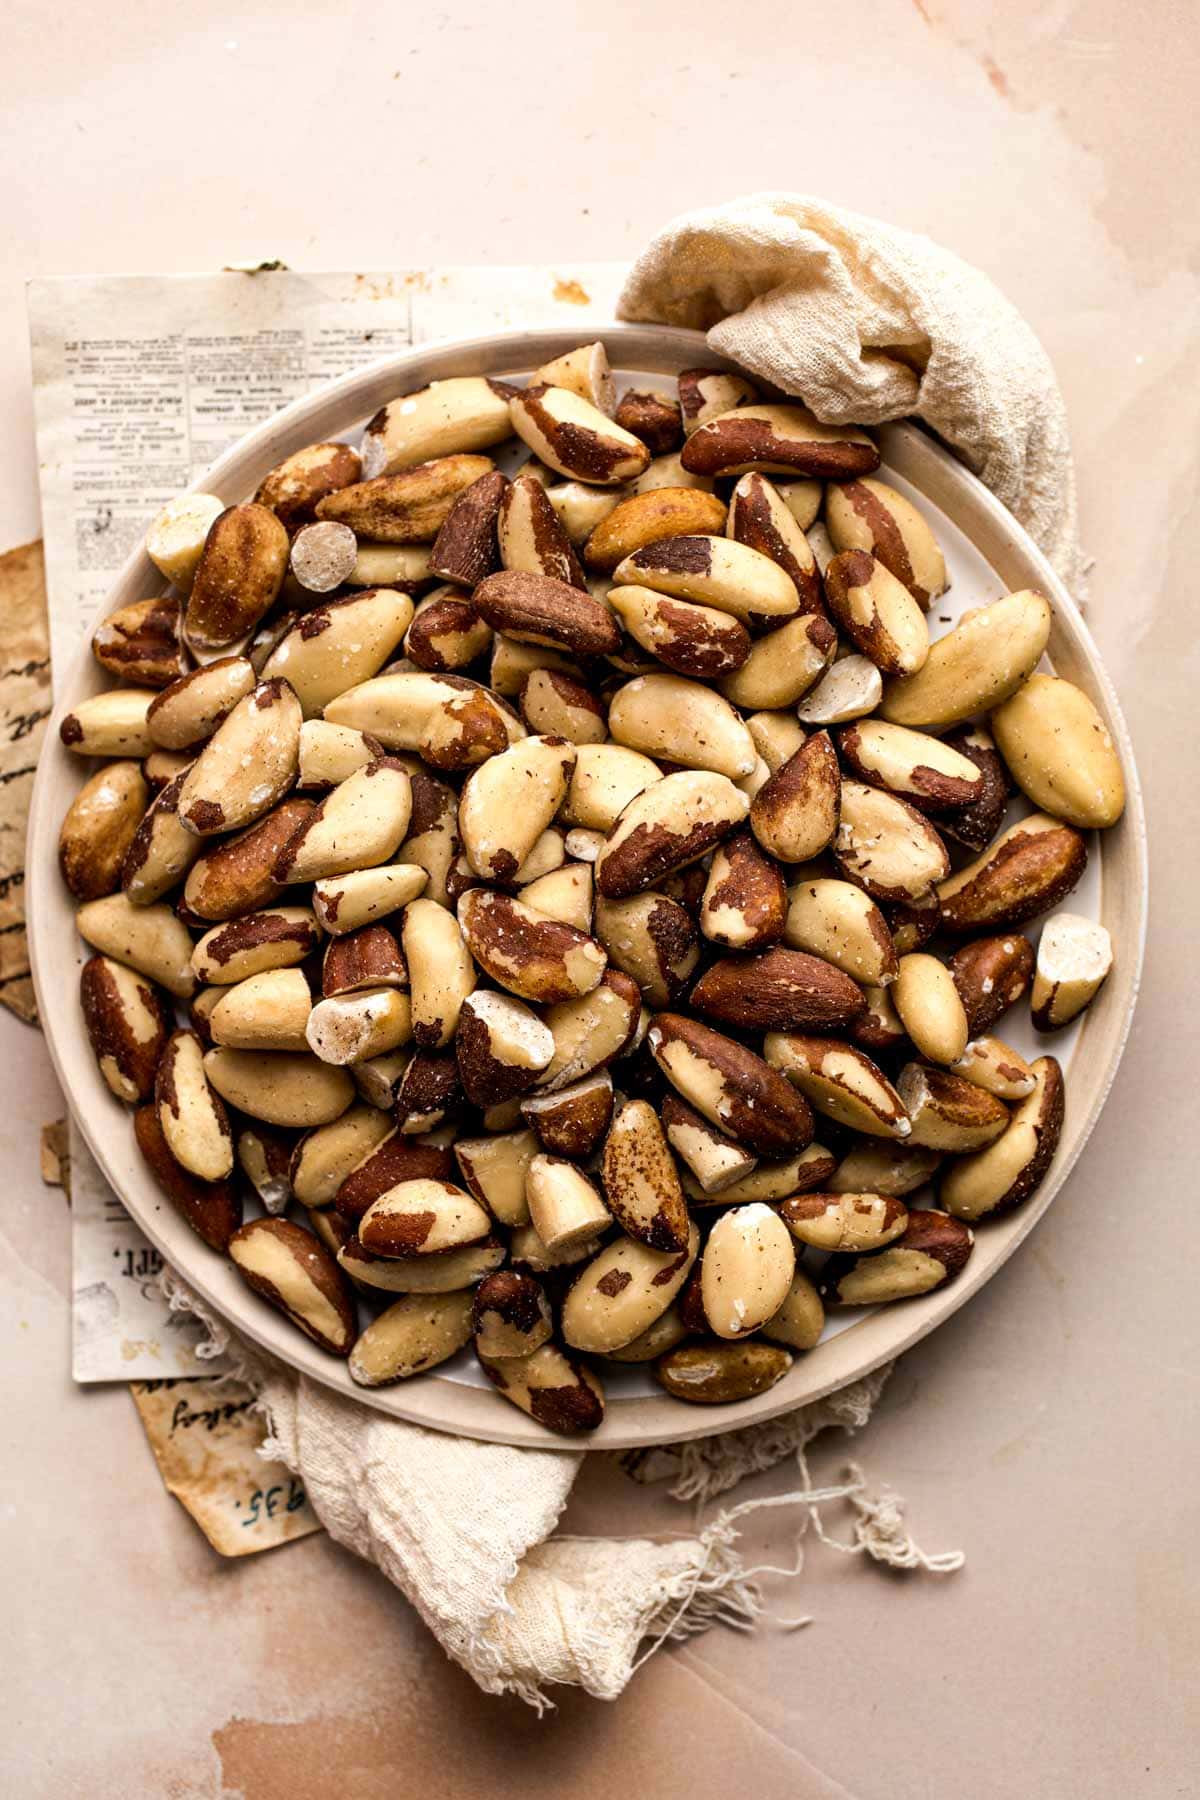
- Raw Brazil nuts - head to the nut aisle of your local supermarket, and you'll find them there. Always opt for unsweetened and unsalted Brazil nuts.
- A pinch of salt (optional) - this is completely optional, but it can help intensify the flavor of this nut butter without making it salty.
🔪 Equipment
For best results, use the following tools:
- Food processor or high-speed blender
- Lined baking sheet
- Clean spoon
- Airtight glass container for storage
👣 Step-by-Step
Now, let's break down the process into simple steps:
Remember! You can find the full recipe (including exact ingredients and in-depth instructions) at the bottom of this page.
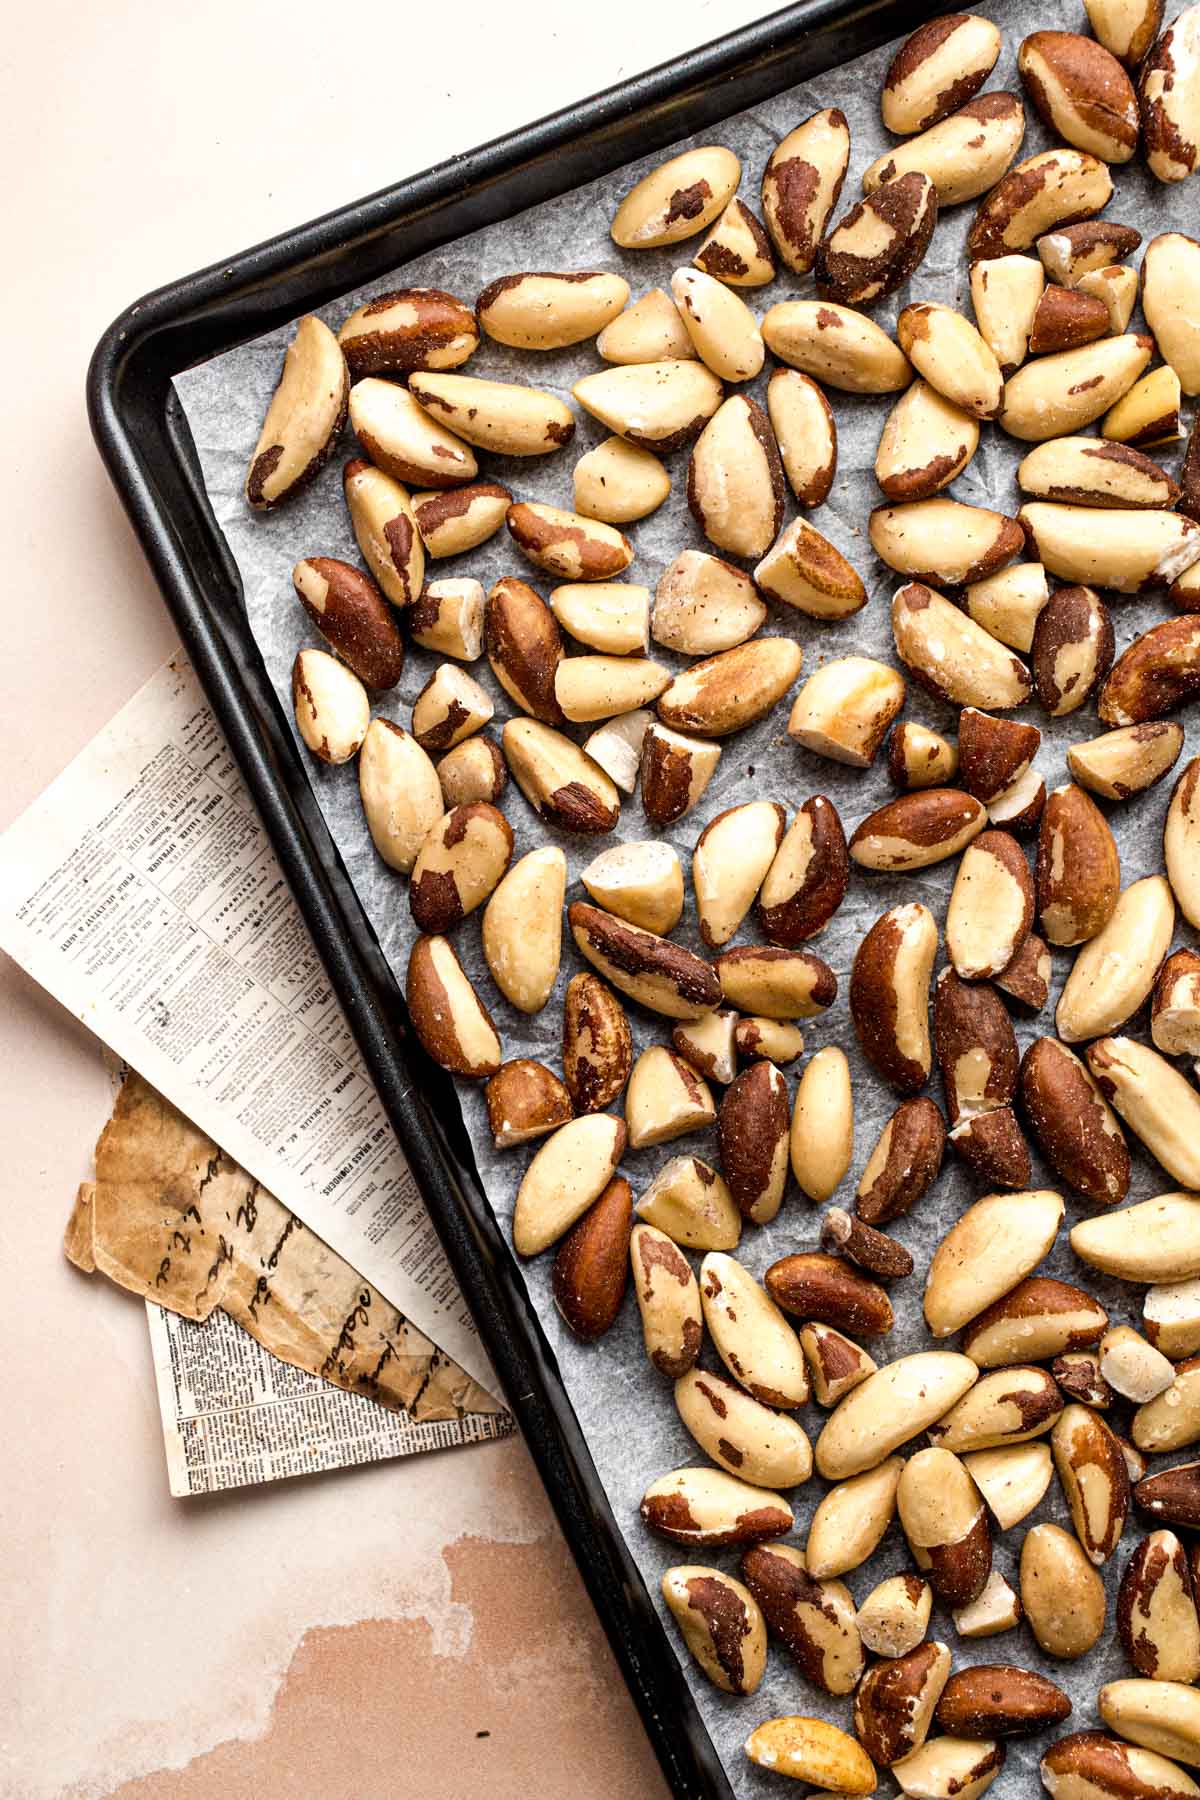
Prepare the Brazil Nuts: Measure raw Brazil nuts, then spread them out in one layer on a lined baking sheet.
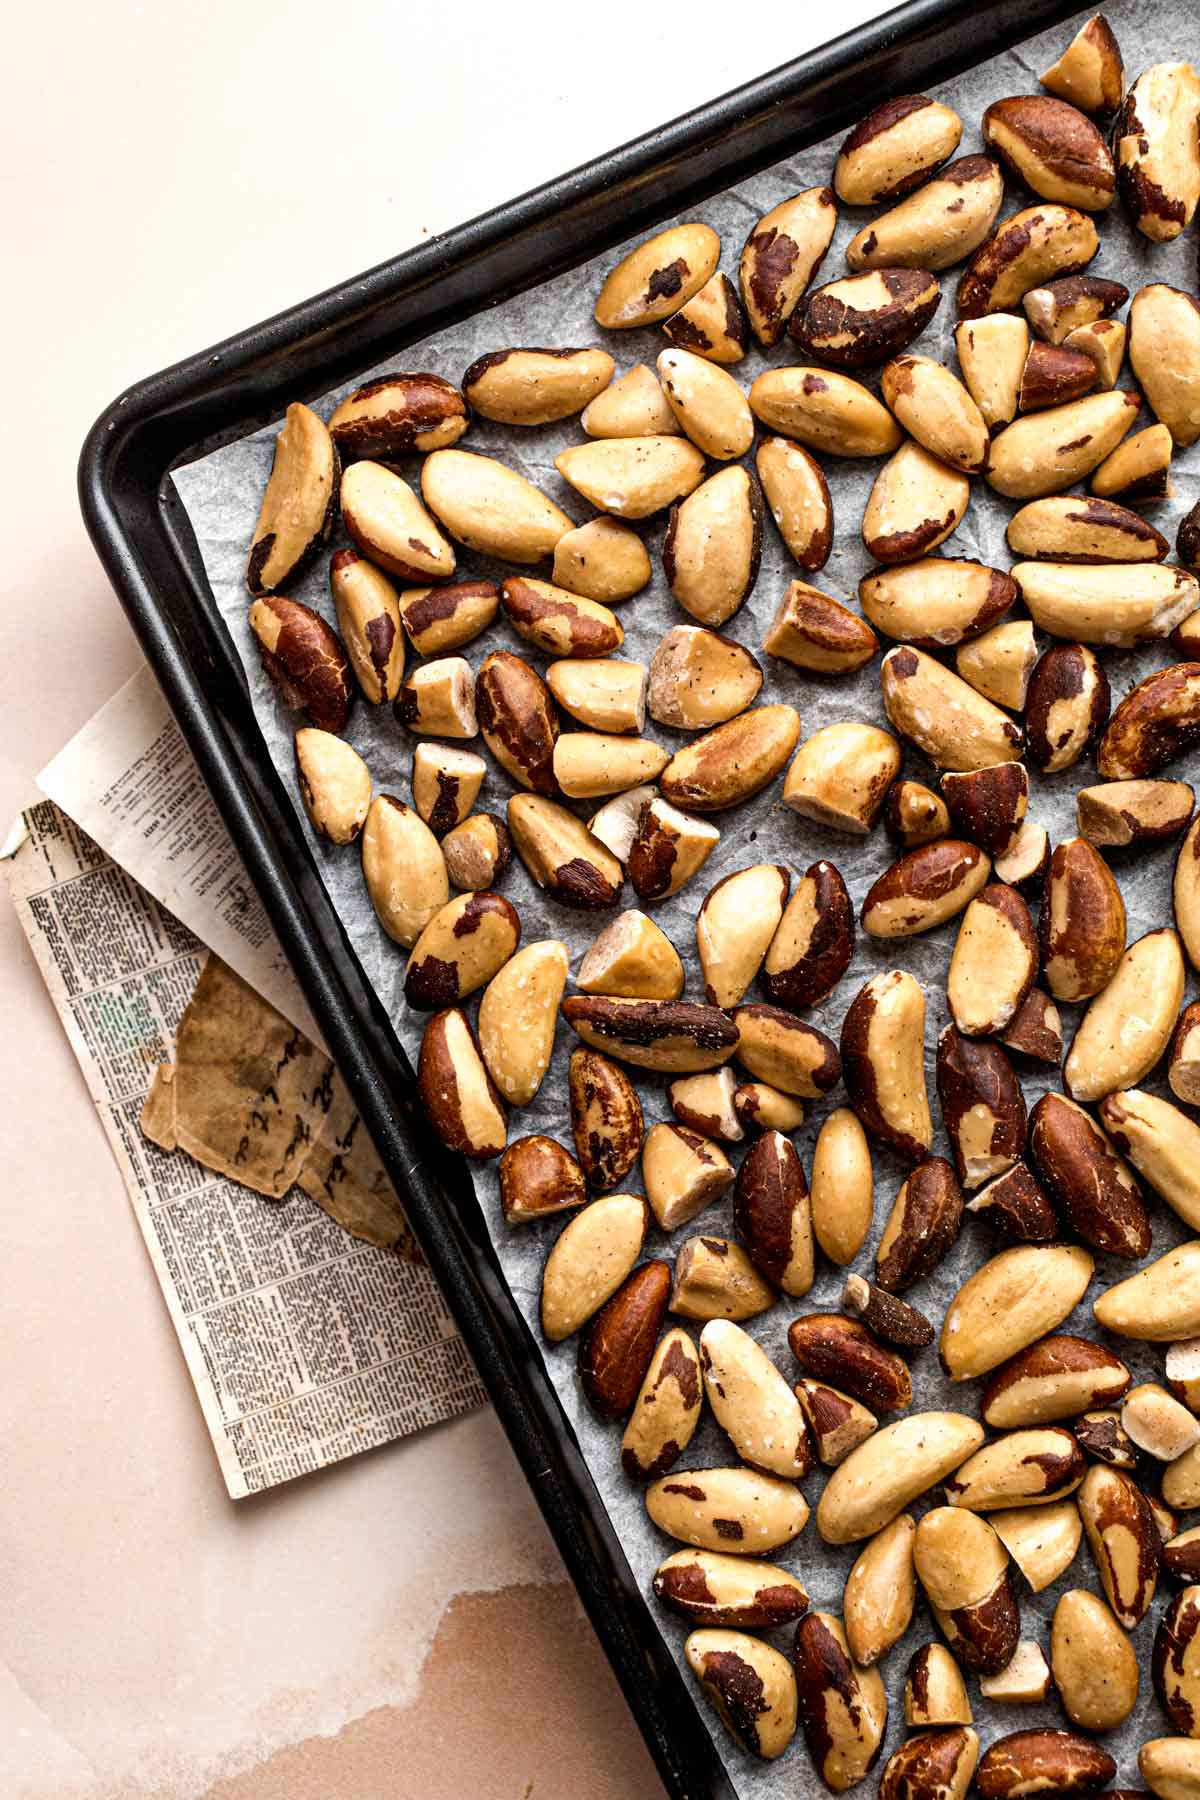
Roast 'Em. Lightly roast them in the oven at 345F/180C for 10 minutes, stirring halfway through.
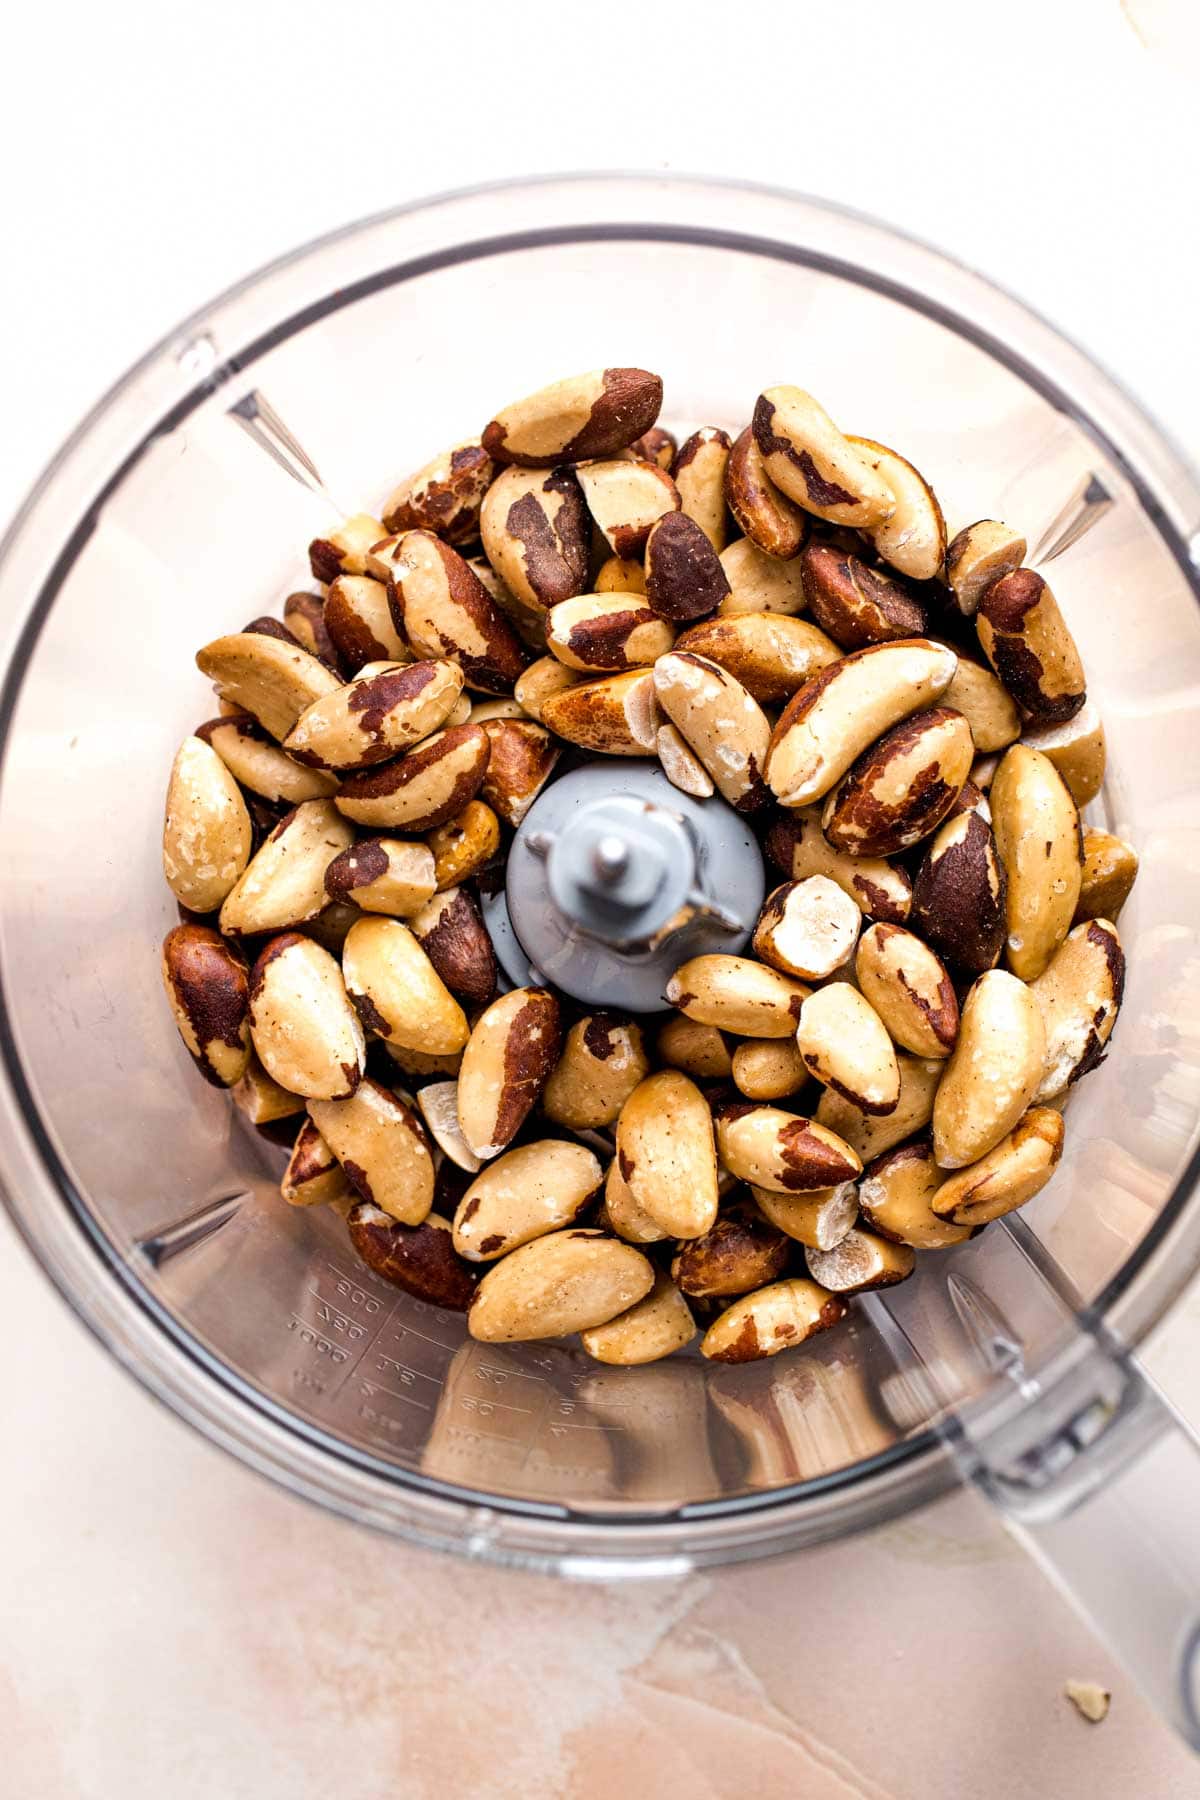
Cool & Blend: Let them cool, then place the Brazil nuts in your food processor or high-speed blender. Blend for 2-3 minutes at a time, pausing to scrape down the sides as needed. Continue this process until you achieve your desired consistency.
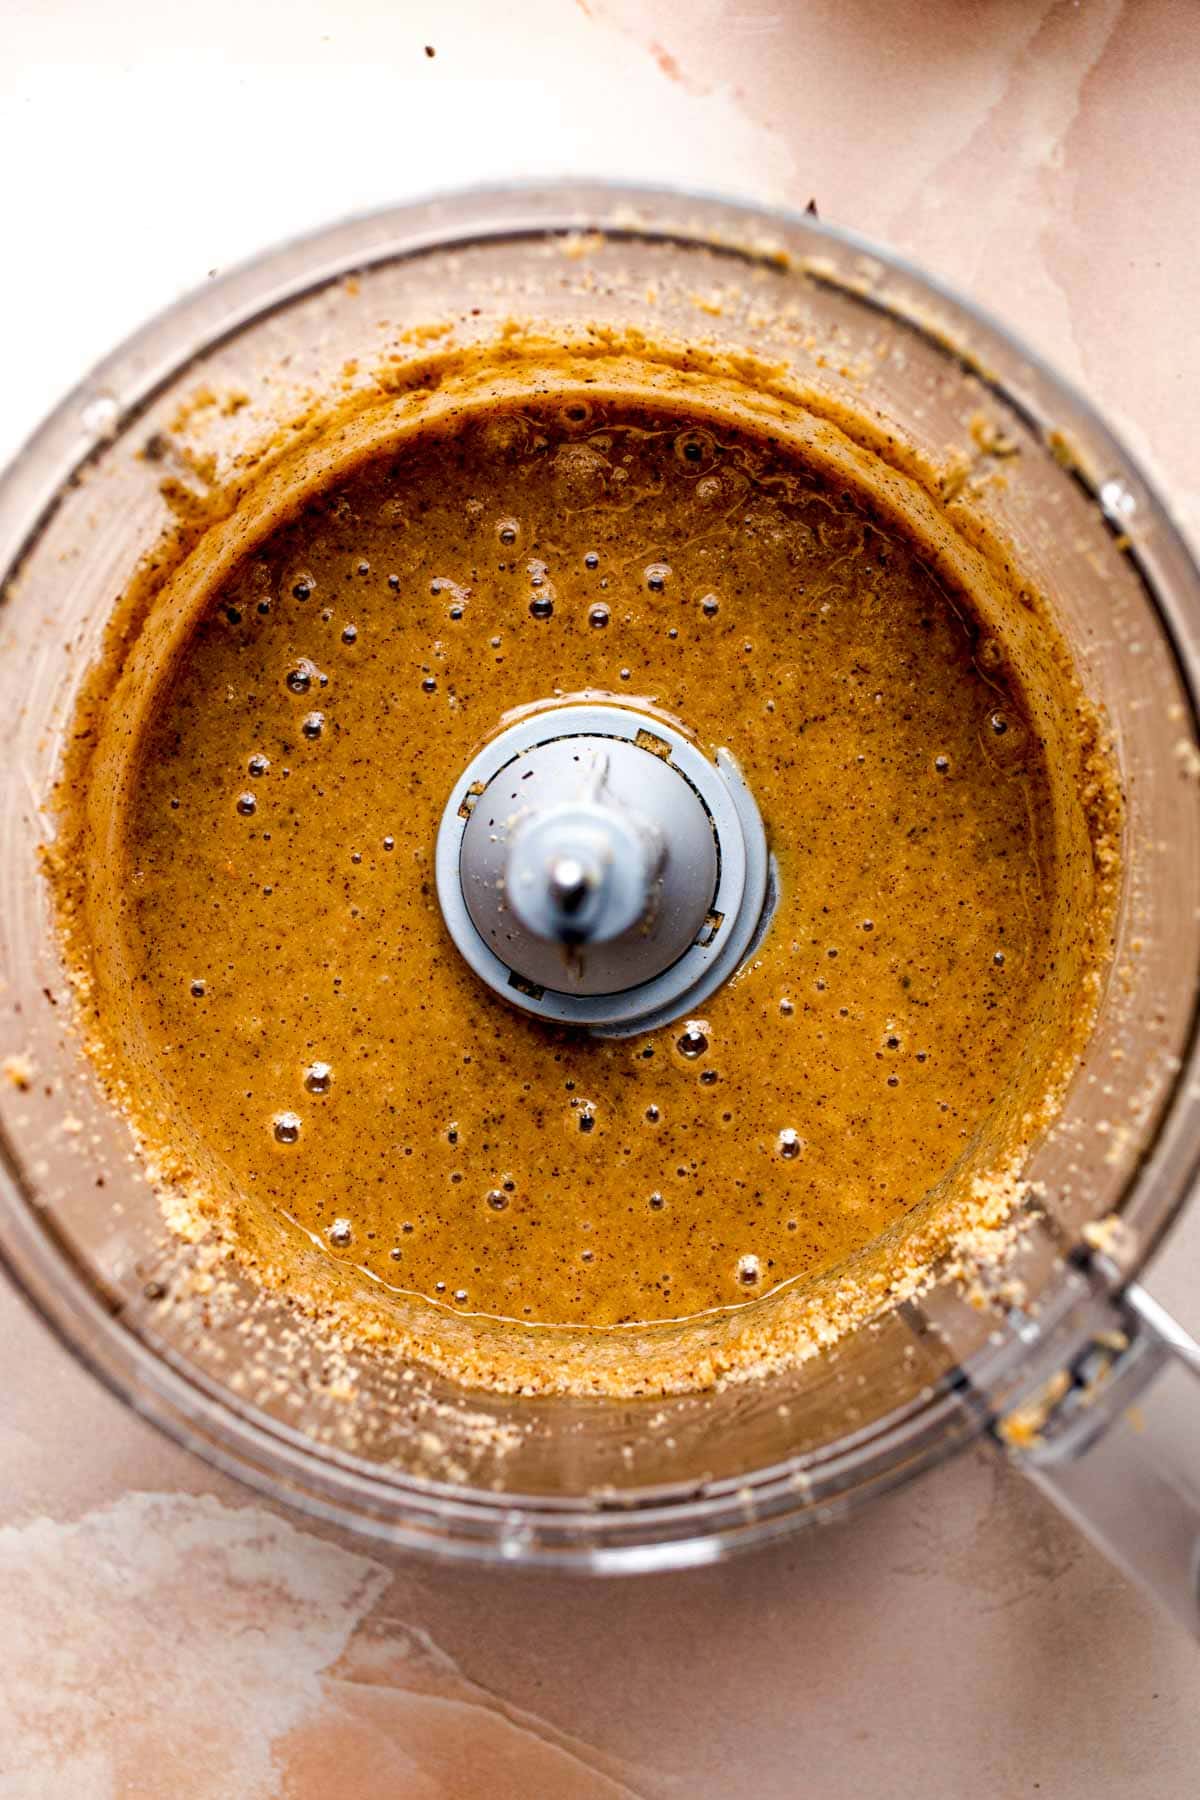
Patience Is Key: Be patient; reaching the desired texture might take some time. The nuts will go from whole to chopped to crumbly to a thick paste before finally becoming a creamy butter.
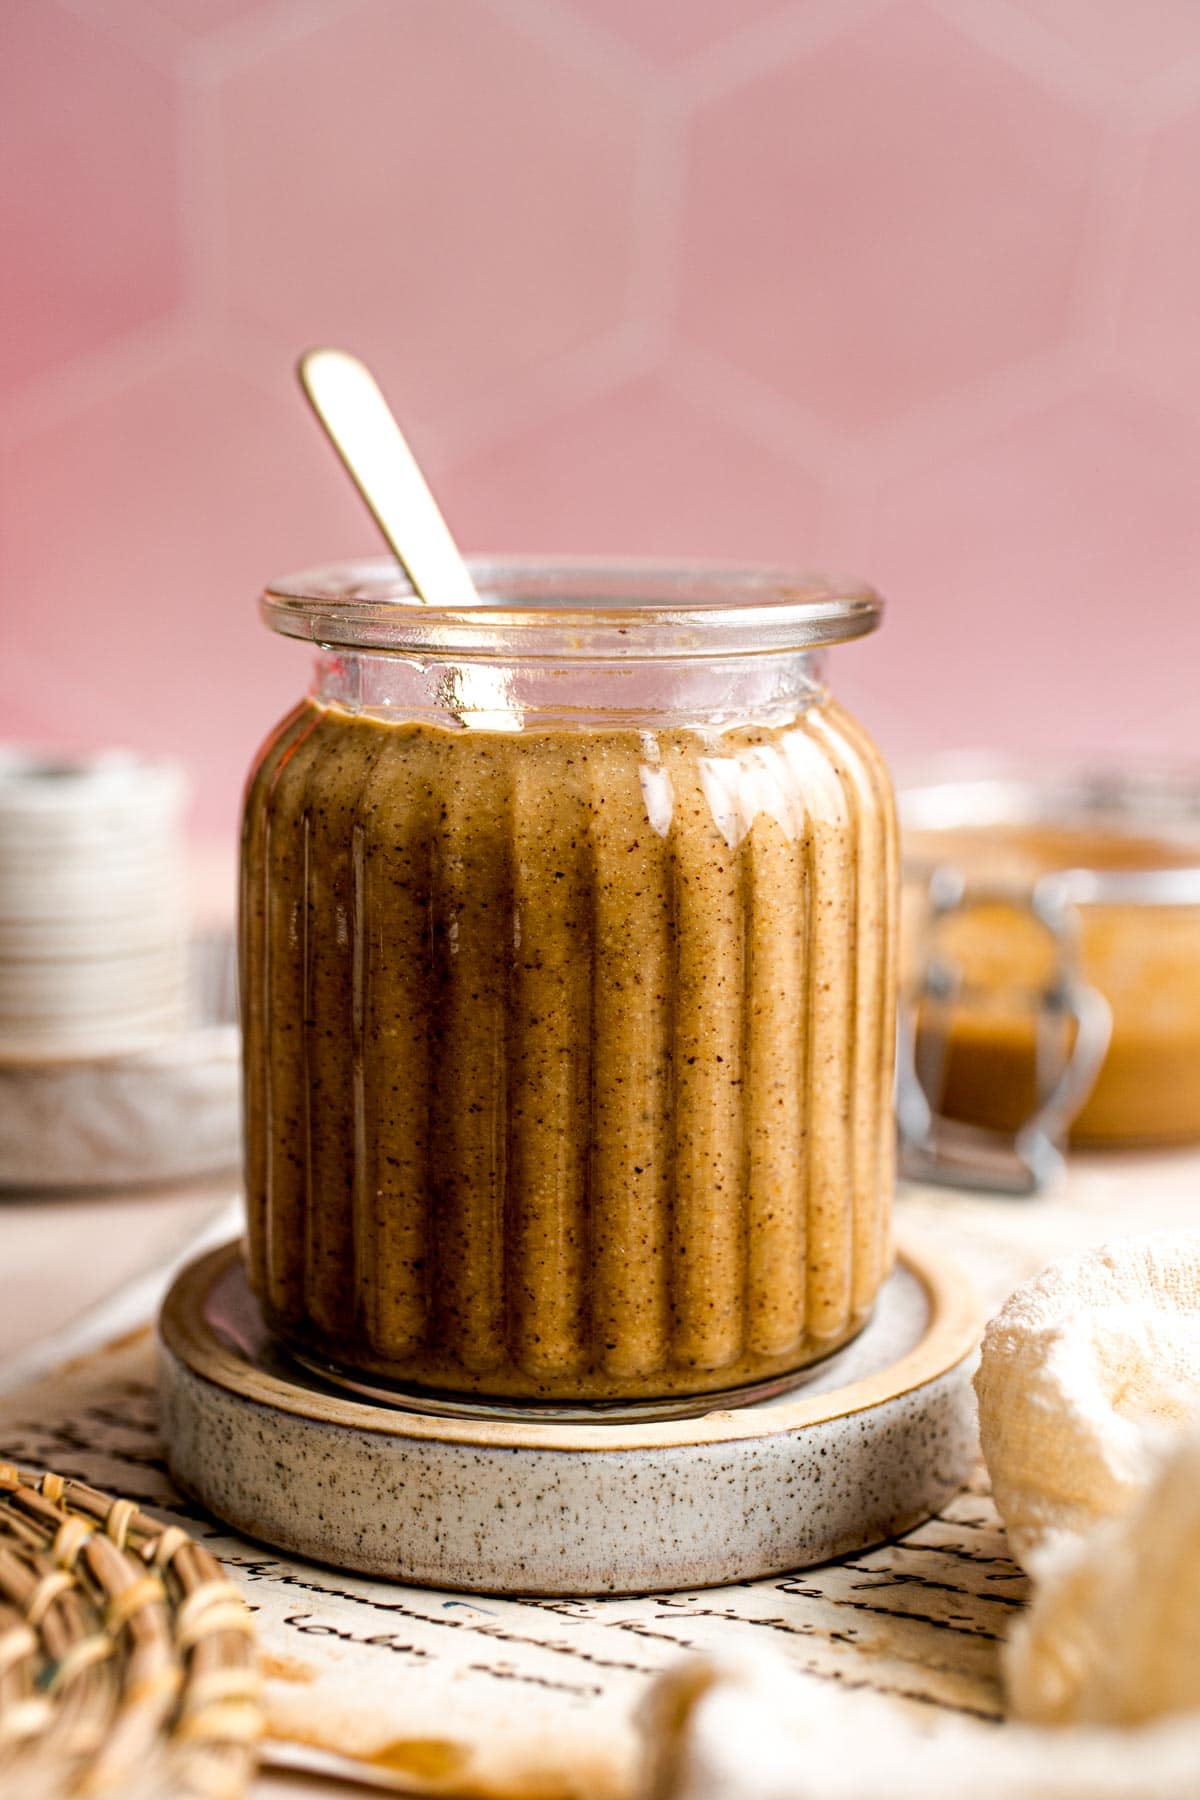
To store, transfer your deliciously smooth homemade Brazil Nut Butter to an airtight glass container.
Don't have an oven? No problem! Lightly toast the Brazil nuts in a dry skillet for a few minutes. Stir consistently and keep an eye out to prevent them from burning.
👨🍳 Chef's Tips
- Be careful not to burn the brail nuts, it can happen quickly!
- Once the Brazil nuts are roasted, let them cool completely. Do not skip this step.
- Keep an eye on your blender or food processor to prevent overheating.
- If the mixture seems too dry, add a touch of neutral oil (like olive or sunflower oil) for more effortless blending.
- Remember that oil separation can occur over time; you might need to give it a good stir after a while.
- The recipe can be scaled down as desired, making it convenient for any batch size.
Variations - you can customize this recipe by adding vanilla extract, coconut oil, cocoa powder, maple syrup, other sweeteners, etc.
❓ Frequently Asked Questions
Yes. You can use the same method to make various kinds of nut butter, like peanut, cashew, or almond butter.
You can even try out seed butters like sunflower or pumpkin seed butter.
Absolutely. You can add sweeteners if you prefer a sweeter flavor. I think liquid sweeteners like maple syrup and agave nectar work best.
If your nut butter is too thick, add a small amount of neutral oil (like almond or vegetable oil) to adjust the consistency.
If it's too runny, you can refrigerate it to firm it up slightly.
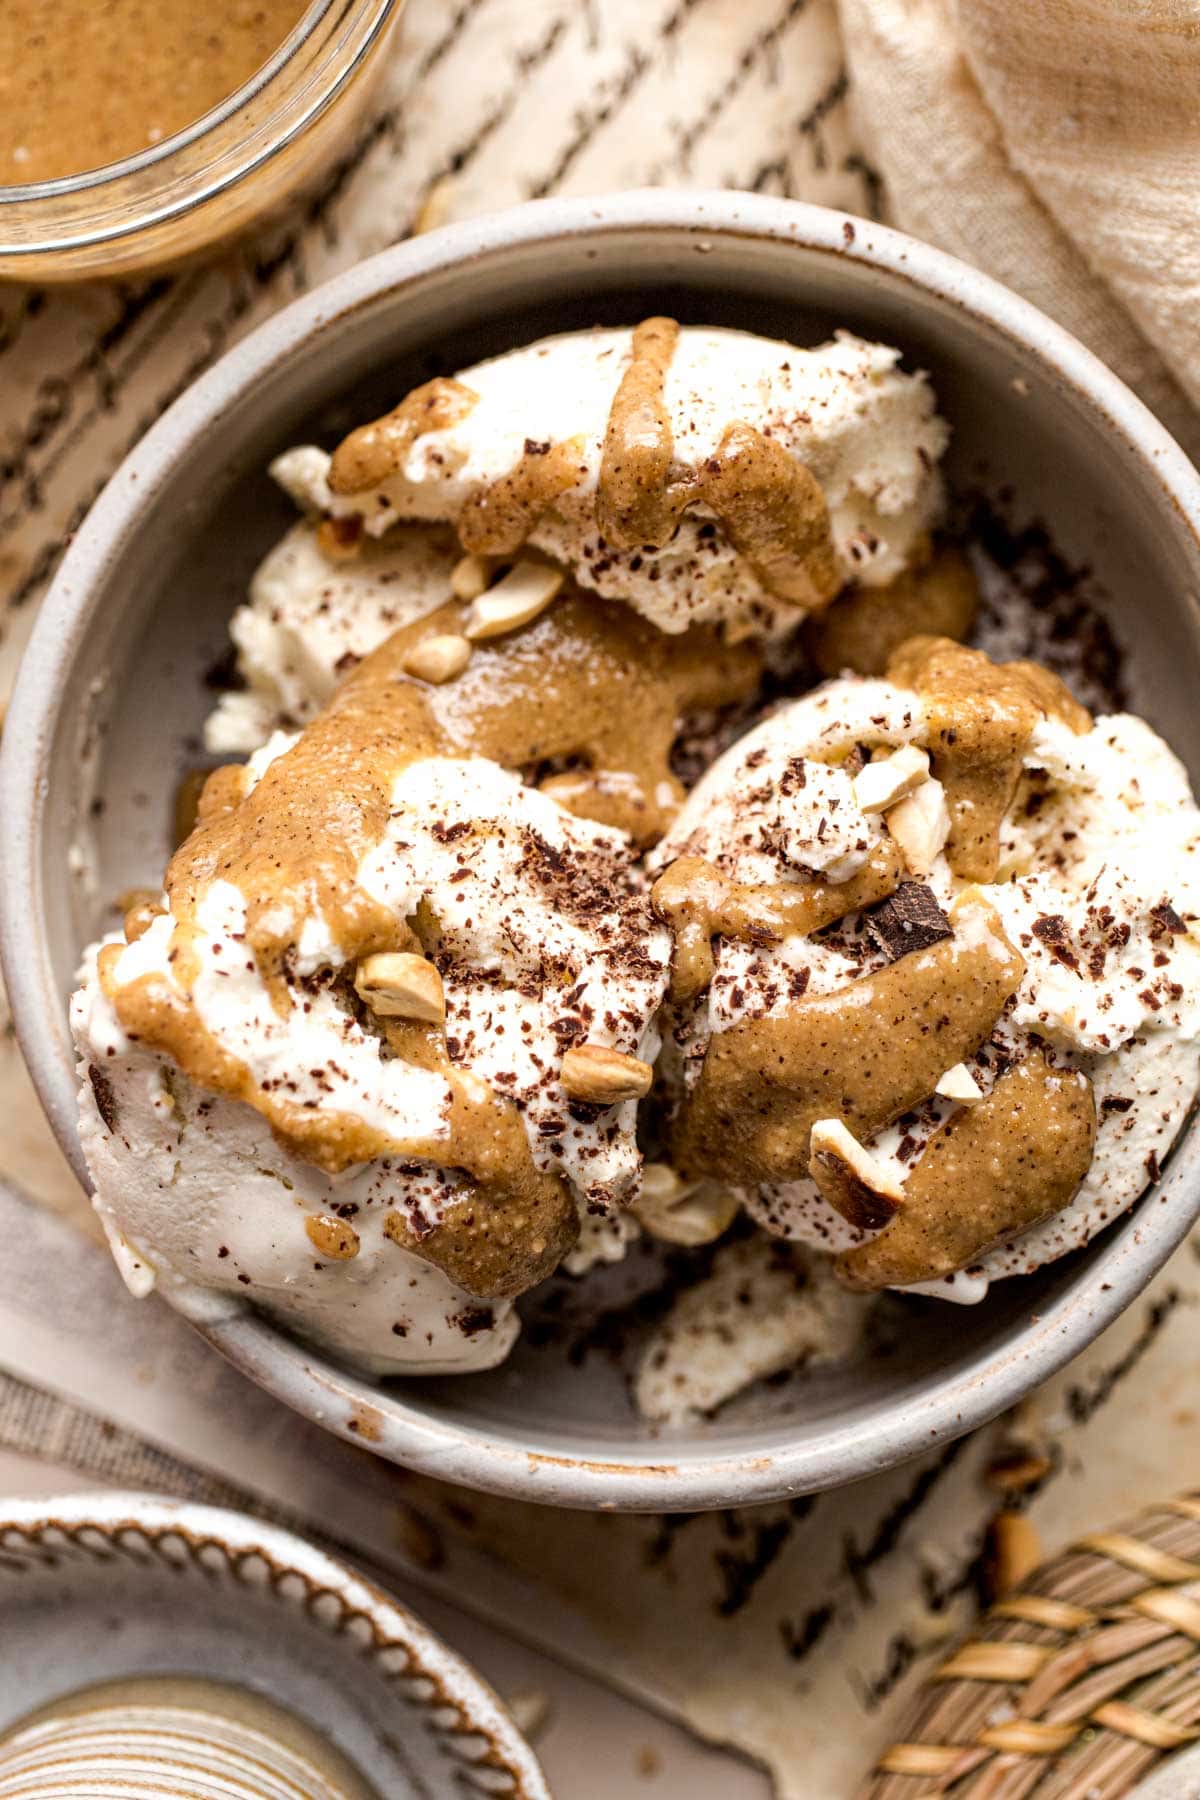
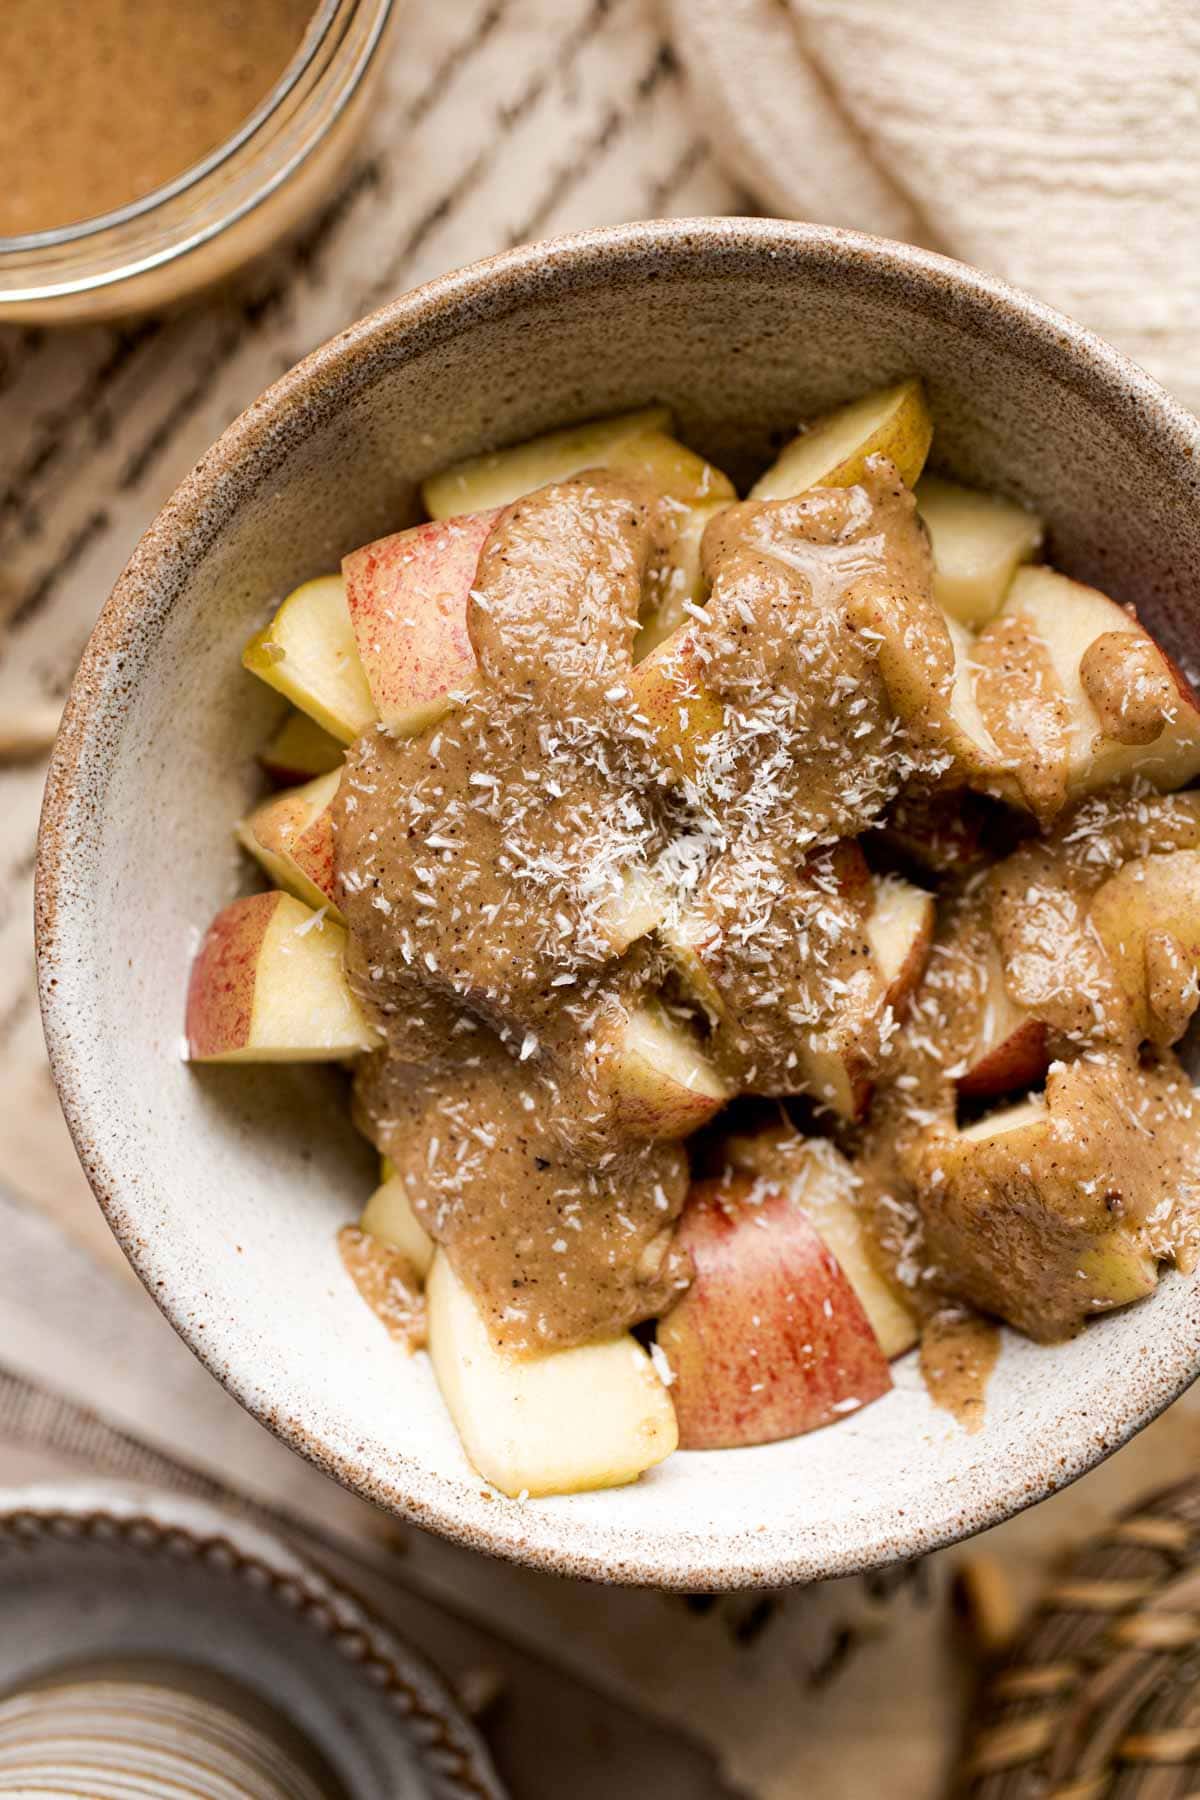
🍽 Serving Ideas
Now that you've mastered the art of homemade Brazil Nut Butter, here are some fantastic ways to enjoy it:
- Spread it: Slather it on bread, toast, bagels, or crackers for a delightful breakfast or snack.
- Smoothies: Add a spoonful to your morning smoothie for a creamy texture and nutty flavor.
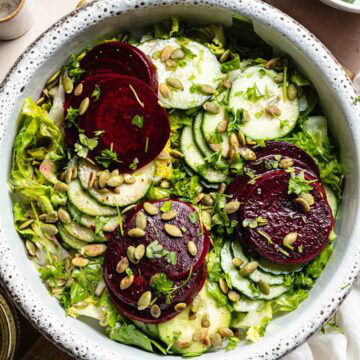
- Dressings and Sauces: Incorporate it into salad dressings or savory sauces for a rich, nutty twist.
- Desserts: Drizzle it over ice cream, milkshakes, pancakes, crepes, or waffles for a decadent treat.
📦 Storage Tips
To keep your delicious nut butter at its best:
- Store it in an airtight container to prevent moisture and air exposure.
- Keep it in a dark place away from direct sunlight and at room temperature.
- Use within a few weeks for optimal freshness.
- Give it a good stir before serving again.
👋 Conclusion
This wraps it up!
Do you have questions about making this delicious homemade nut butter? Let me know in the comments below, and I'll help!
Tried out this great nut butter recipe? You can help me by leaving a star rating and comment below. Your feedback supports my blog and helps me bring you more free recipes!
🍴Recipe
1-Ingredient Homemade Brazil Nut Butter Recipe
EQUIPMENT
- Food processor or high-speed blender
- Lined baking sheet
- Clean spoon
- Airtight glass container
INGREDIENTS
- 14 oz (400 g) raw Brazil nuts 3 cups
- pinch of salt optional
INSTRUCTIONS
- Prepare the Brazil Nuts: Measure raw Brazil nuts, then spread them out in one layer on a lined baking sheet.
- Roast 'Em. Lightly roast them in the oven at 345F/180C for 10 minutes, stirring halfway through.
- Cool & Blend: Let them cool, then place the Brazil nuts in your food processor or high-speed blender. Add salt if desired. Blend for 2-3 minutes at a time, pausing to scrape down the sides as needed. Continue this process until you achieve your desired consistency.
- Patience Is Key: Be patient; reaching the desired texture might take some time. The nuts will go from whole to chopped to crumbly to a thick paste before finally becoming a creamy butter.
Notes
Nutrition
Disclaimer: The nutritional information above is calculated automatically. The author of this post cannot guarantee 100% accuracy of this data.


Leave a Reply