CBD chocolate bark topped off with pistachios and zesty orange. This in-depth guide will help you temper chocolate like a pro. It's vegan, gluten-free, and makes the perfect gift!
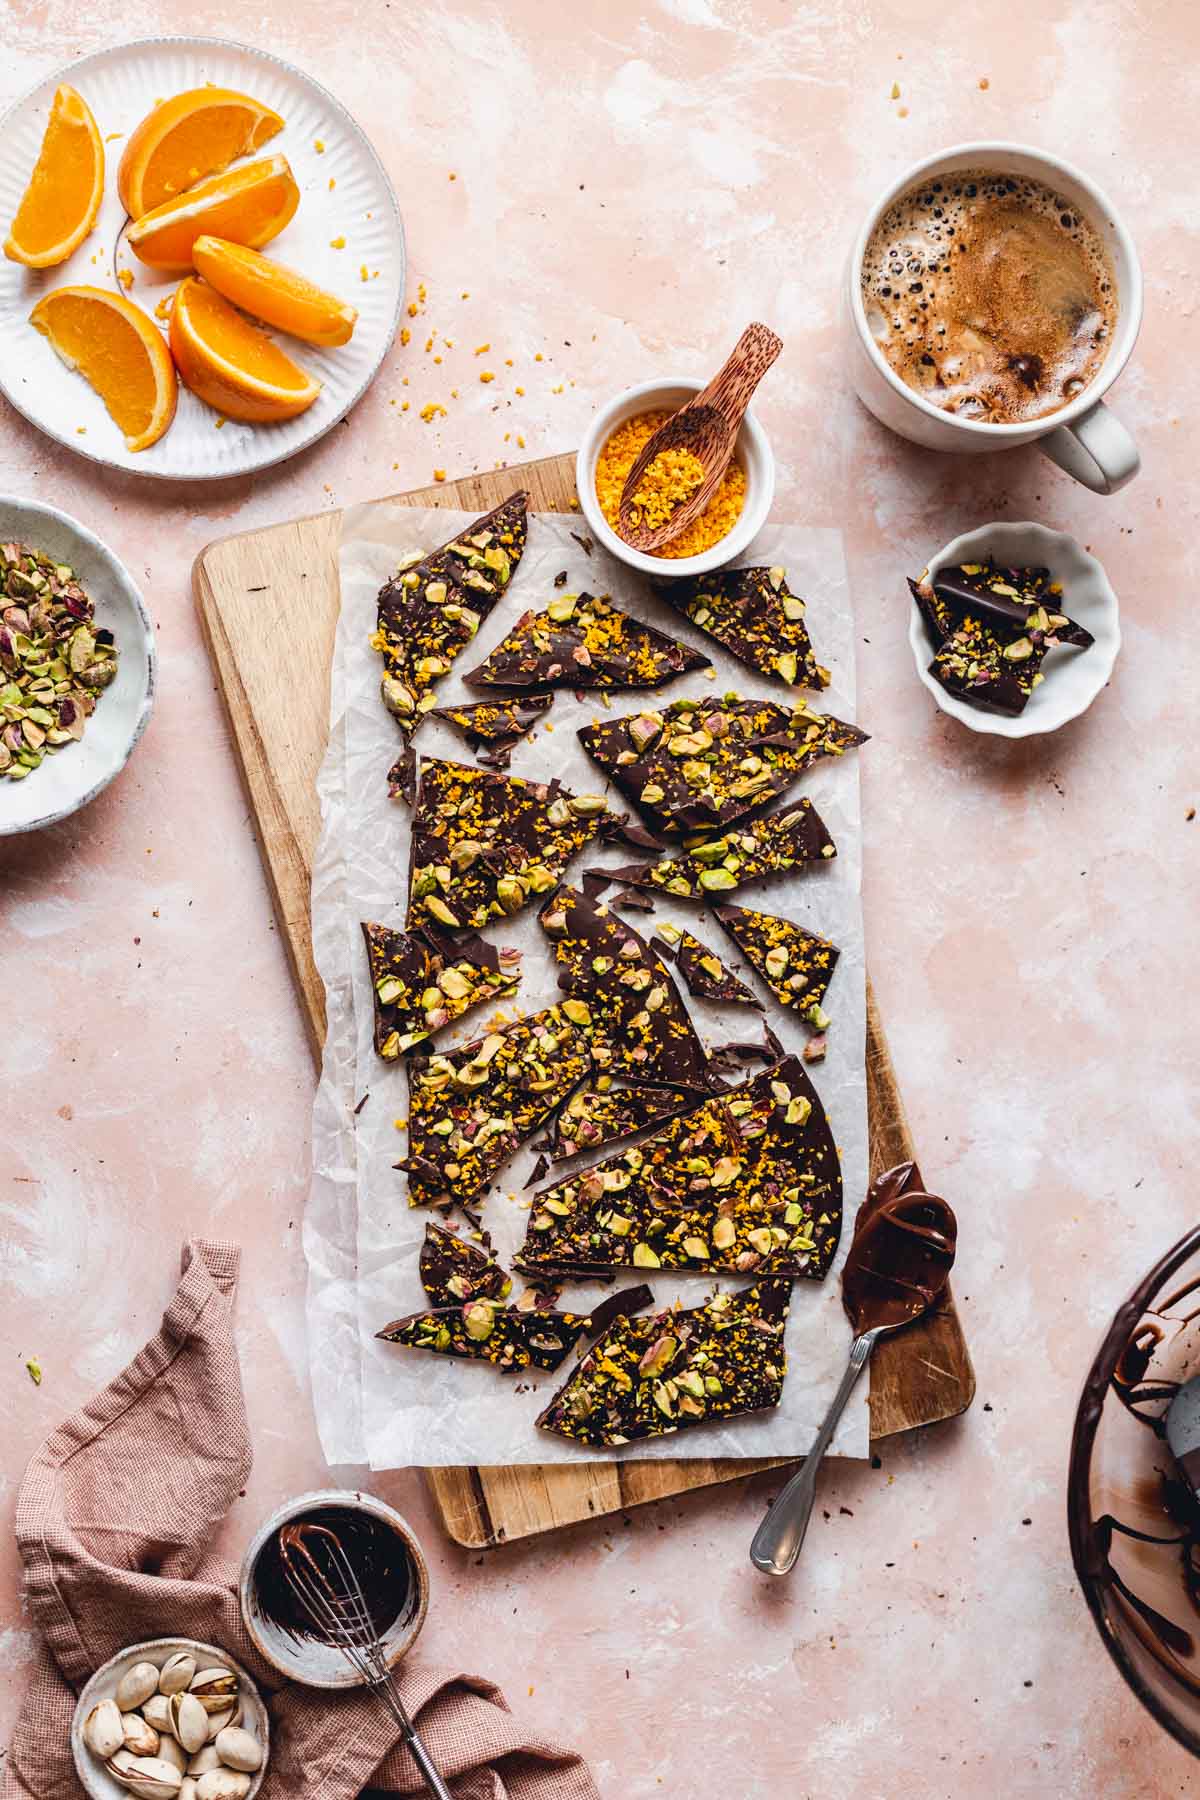
Why make this bark?
- You'll need just 4 ingredients
- It's vegan and gluten-free
- This recipe includes in-depth tips on how to perfect your tempering technique
- Easy to customise with flavourings and toppings of your choice
- Wrapped in some baking paper and a piece of ribbon, it makes a beautiful gift
- Perfect for those who don’t like the taste of CBD but still want to enjoy all its benefits.
And if that's not enough, my friend Jenny's reaction might just convince you - 'it tastes like something from Hotel Chocolat!'.
The Ingredients
You will need the following ingredients to make your vegan CBD chocolate bark.
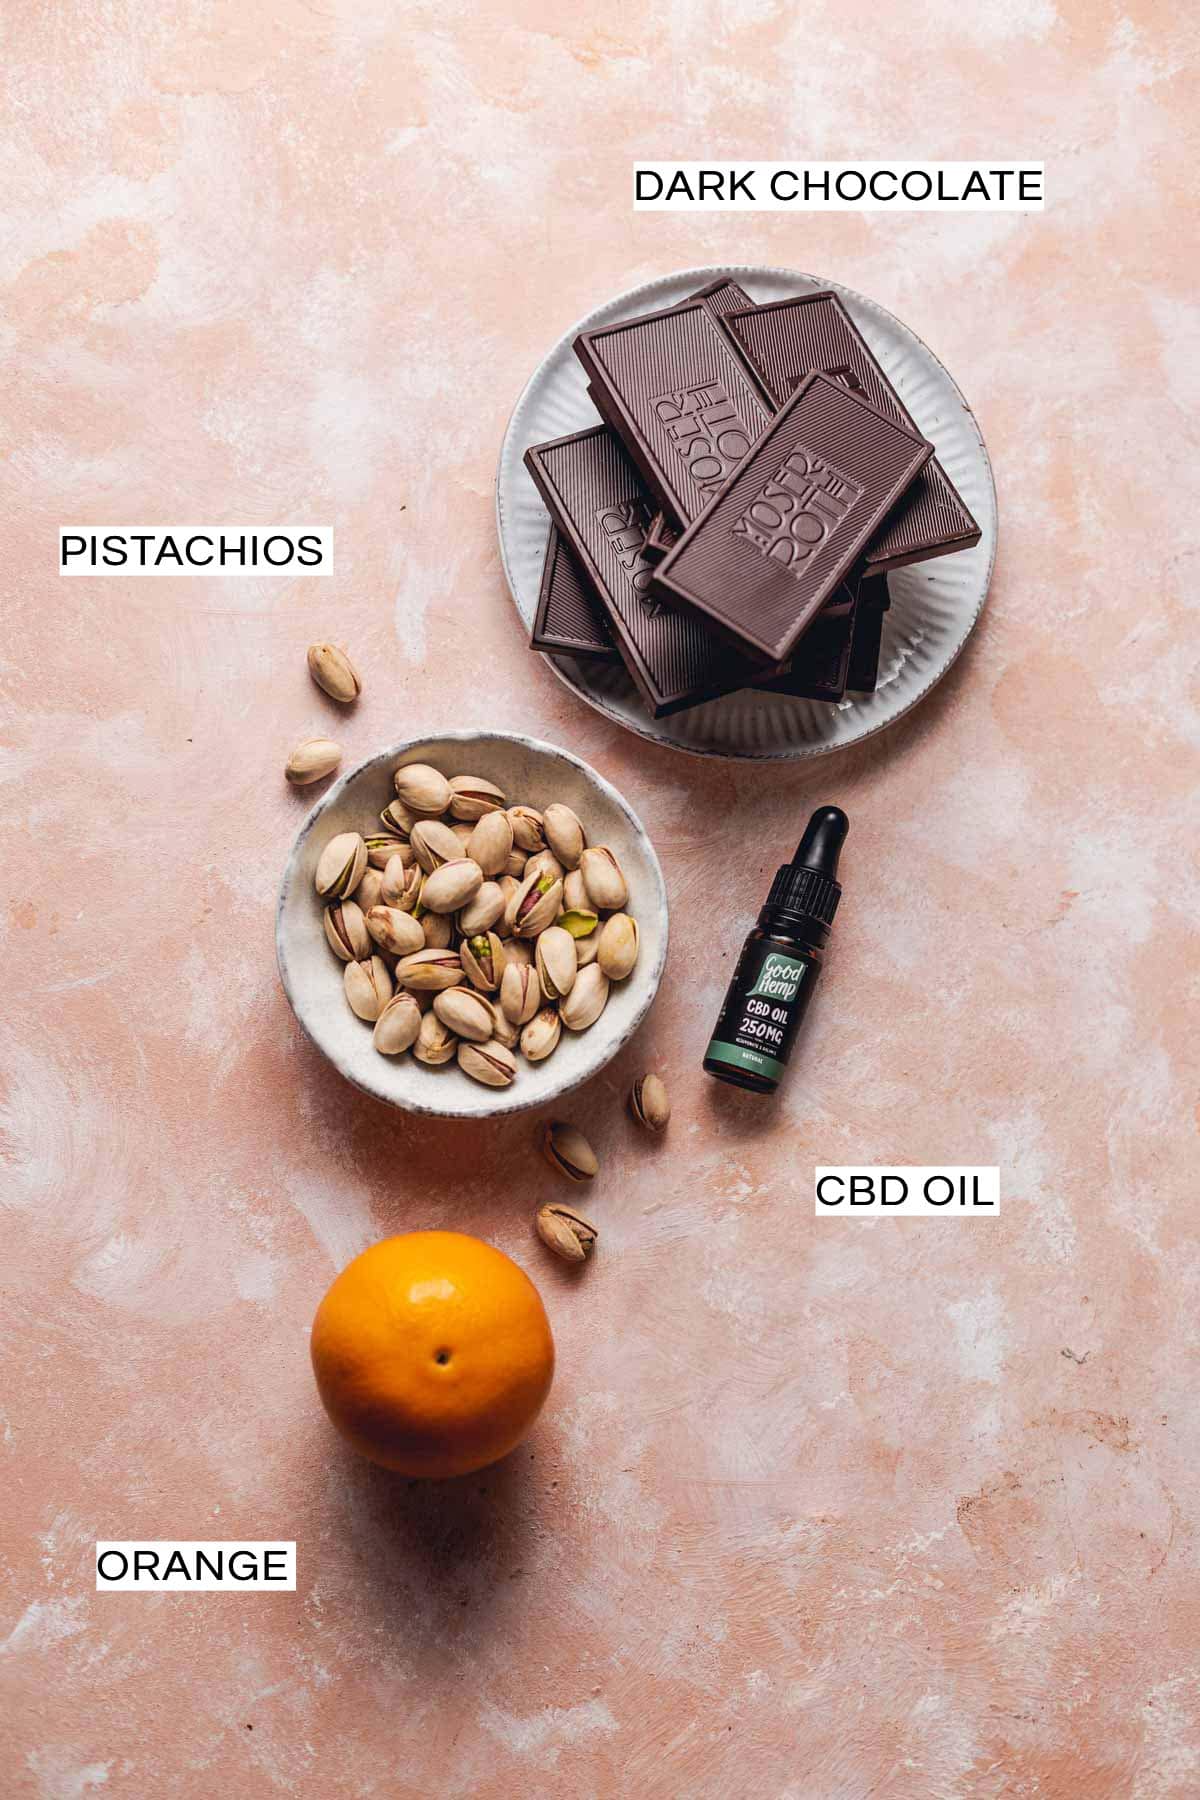
Ingredient Notes
- Use good quality chocolate - avoid baking chocolate or compound chocolate. Your chocolate’s ingredients should be cocoa, cocoa butter, salt, vanilla, sugar, and any flavourings but no additional vegetable oils.
- CBD oil - you need an oil-based CBD because the chocolate will not work well with any water-based liquids. Water cannot mix in with the high-fat content of the chocolate.
- Pistachios - I used unsalted, unroasted pistachios. Remove the shells and chop the pistachios finely.
Step-by-step Photos
Below is a handy visual guide to help you make this recipe. For full instructions and exact ingredient amounts, scroll down to the bottom of this page.
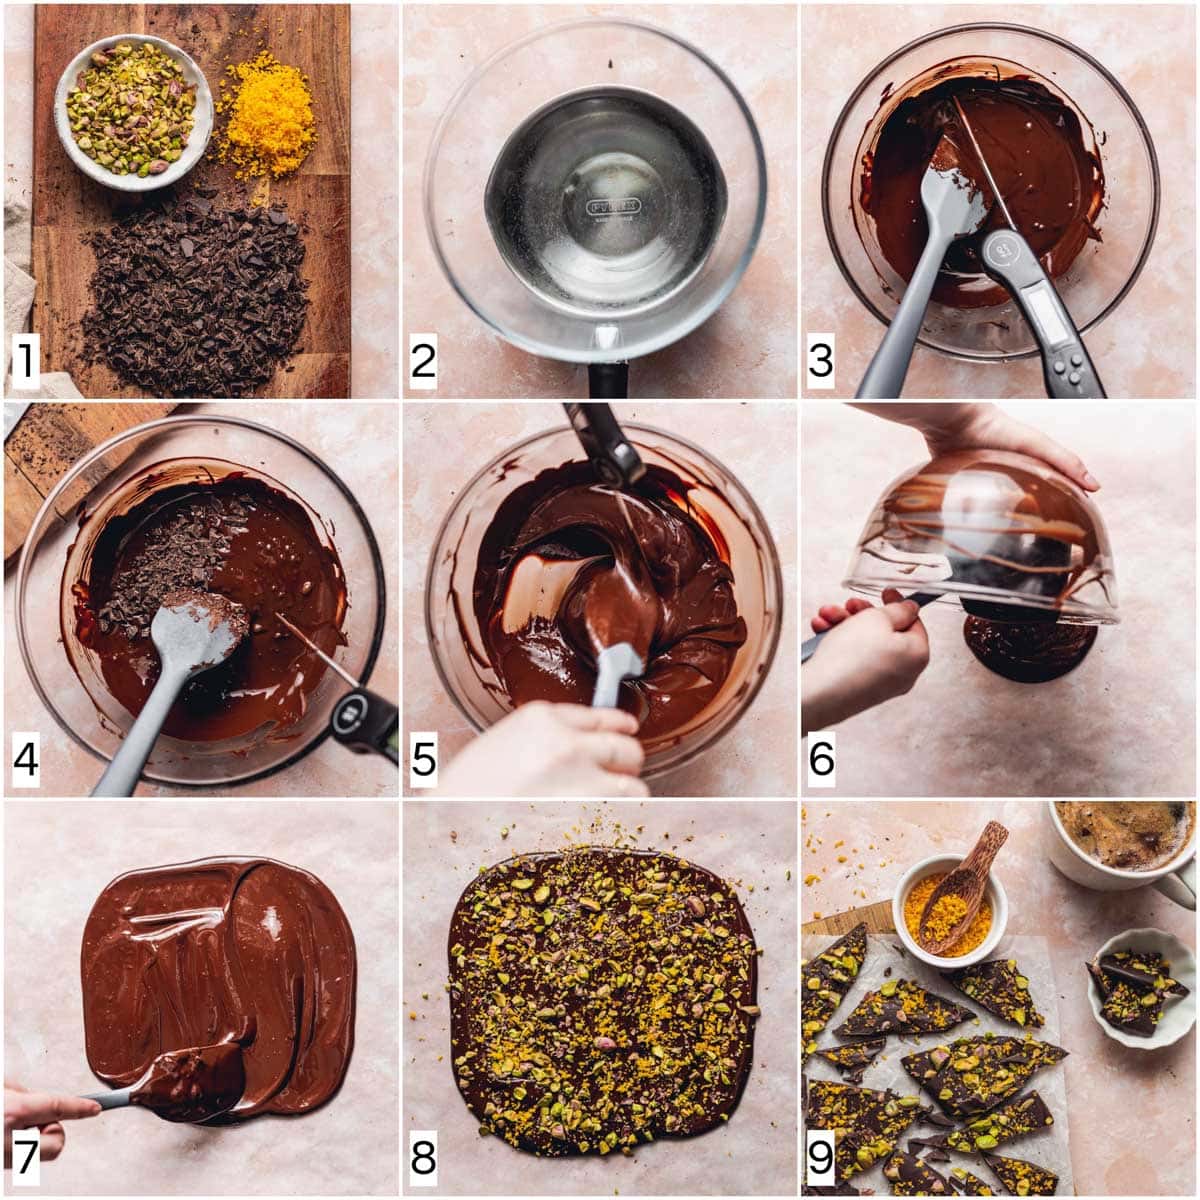
- Chop the pistachios and zest the orange. Set aside for later. Chop half of the chocolate finely and break the other half into larger bitesize chunks.
- Create a double boiler by placing a large glass bowl over a small pan of boiling water. Place the large chunks of chocolate in a glass bowl. Melt the chocolate above simmering water until it reaches 50°C/122°F and remove from the heat.
- When removed from heat, add in a third of the remaining chocolate.
- Keep stirring until all the chocolate has fully melted. Gradually add more chocolate and stir. When the temperature reaches 35°C/95°F, add the final bits of chocolate.
- Keep stirring gently now until the temperature measures approx. 31-32°C/88°F. Then add 1 pipette of CBD oil and stir well. See if the chocolate sets by performing a simple test (see recipe card below). Pour all your chocolate mixture onto a large piece of baking paper
- Spread it thinly with a silicon spatula.
- Sprinkle with chopped pistachios and orange zest and leave to set.
- Cut or use your hands to break into shards and serve.
Expert Tips
- Prepare your toppings - you won't have the time to chop your pistachios or zest your orange after melting the chocolate. Instead, make sure to do this right at the start and have the toppings at hand for when you need them.
- Use a thermometer - having a thermometer will make your job a whole lot easier. Don't worry, you don't need anything fancy. Just a regular food thermometer will do. I prefer digital ones because they're more accurate than analogue thermometers.
- Keep your ingredients at room temperature - adding cold ingredients can shock the chocolate and make the sugar crystals clump together.
- Avoid water-based liquids - if you add any additional flavours make sure they are oil-based or dry ingredients. Any liquids like fruit juices or coffee can seize the chocolate and undo the tempering.
- Use good quality chocolate – if you can, try not to skimp on the choccy! As a general rule, your chocolate's ingredient list should feature just cocoa and cocoa butter (with some optinal vanilla, sugar, and salt). Most importantly, it should not contain any added vegetable oils such as palm oil. This type of chocolate is called compound chocolate. It will melt and set by itself but, won't have the smooth finish and melt-in-the-mouth texture that real chocolate has.
- Read the recipe thoroughly before starting - tempering chocolate is an advanced technique and might prove tricky with beginners. In either case, make sure you read the entire recipe before your start. This will give you a good idea of the cooking process.
What is the process of tempering chocolate?
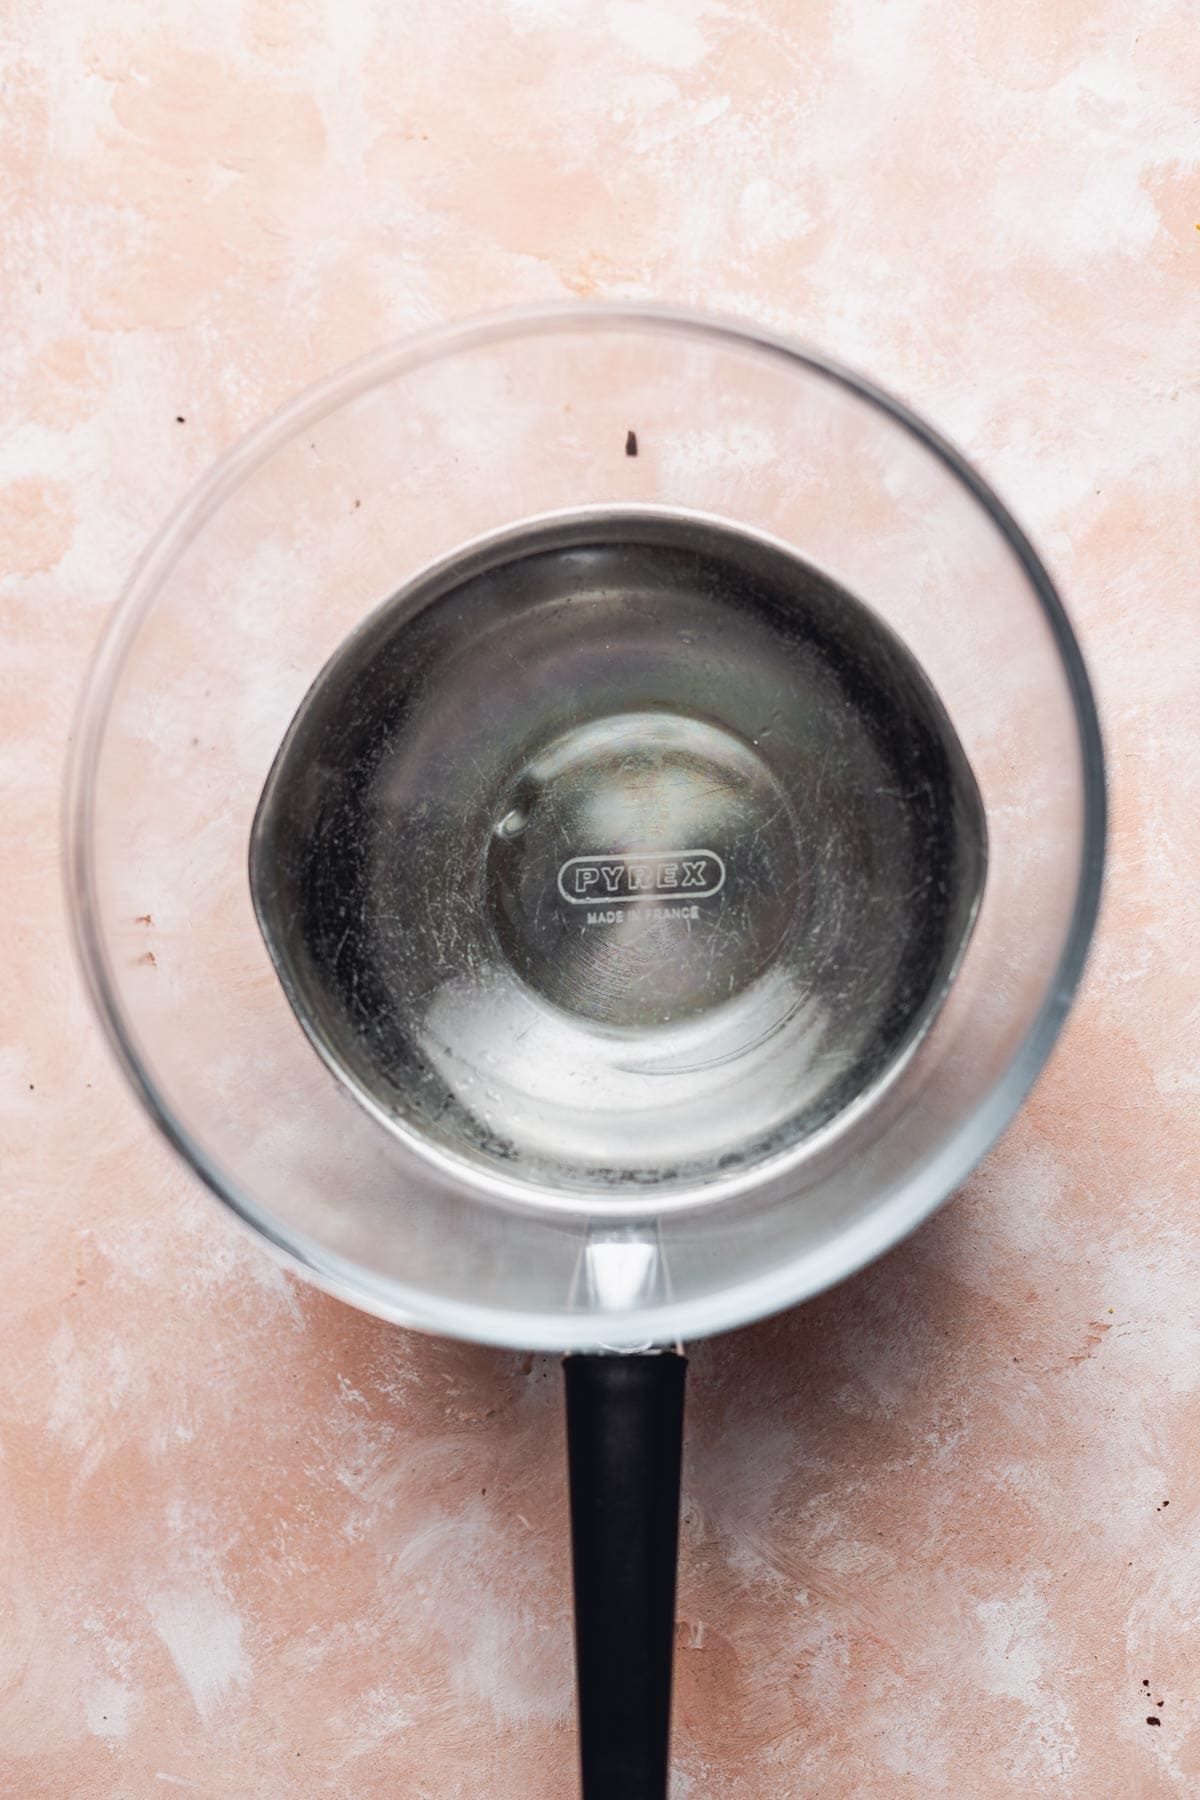
Tempering is a technique of melting chocolate and setting it again to give it a shiny, glossy finish. It requires you to slowly heat up the chocolate to a certain temperature before slowly cooling it down again and leaving it to set.
To temper your chocolate you will need a double boiler, sometimes called bain-marie. Luckily, this won't require you to buy any special equipment because there's an easy way you can 'make' a double boiler yourself. Simply place a heatproof bowl over a pot of simmering water (see photo for reference).
Tips for tempering chocolate

- Keep stirring your chocolate consistently until it reaches 35°C (95°F). That’s when the right kind of crystals will form and temper the chocolate mixture. This is a very important step - not stirring the chocolate will cause it to form different types of crystals, not allowing it to temper.
- Using a double boiler with a glass bowl? Remove from heat when the chocolate reaches 3 to 5°C less than the goal temperature. The glass bowl retains a lot of heat. The residual heat from the bowl will heat the chocolate even after it has been taken off the heat.
- Once your chocolate reaches its final temperature for tempering, it should be completely smooth. If you have any hard, unmelted pieces of chocolate left at the end, make sure to remove them before setting the chocolate.
- Test it in the fridge - to test your chocolate has tempered correctly, you can perform a simple fridge test. Before adding any toppings and making your finished bark, pour a small amount of chocolate onto a piece of baking paper. Spread it to form a thin disc. Leave it in the fridge for about 5 minutes. After that, it should snap when you try to break the piece.
Last but not least, remember that the temperatures differ slightly depending on the type of chocolate you use. For this recipe I used 70% dark chocolate so the temperatures given in the recipe correspond to dark or semi-sweet chocolate.
For milk and white chocolate you’ll need to adjust the temperatures by a few degrees. As a general rule of thumb, the lower the cocoa percentage, the lower the temperatures used for tempering.
Feel free to refer to the chart below:
- Dark chocolate: heat up to 50-55°C and cool down to 31-32°C
- Milk chocolate: heat up to 45-50°C and cool down to 30°C
- White chocolate: heat up to 45-50°C and cool down to 28-29°C
This also goes for vegan milk and vegan white chocolate.
FAQ + Troubleshooting
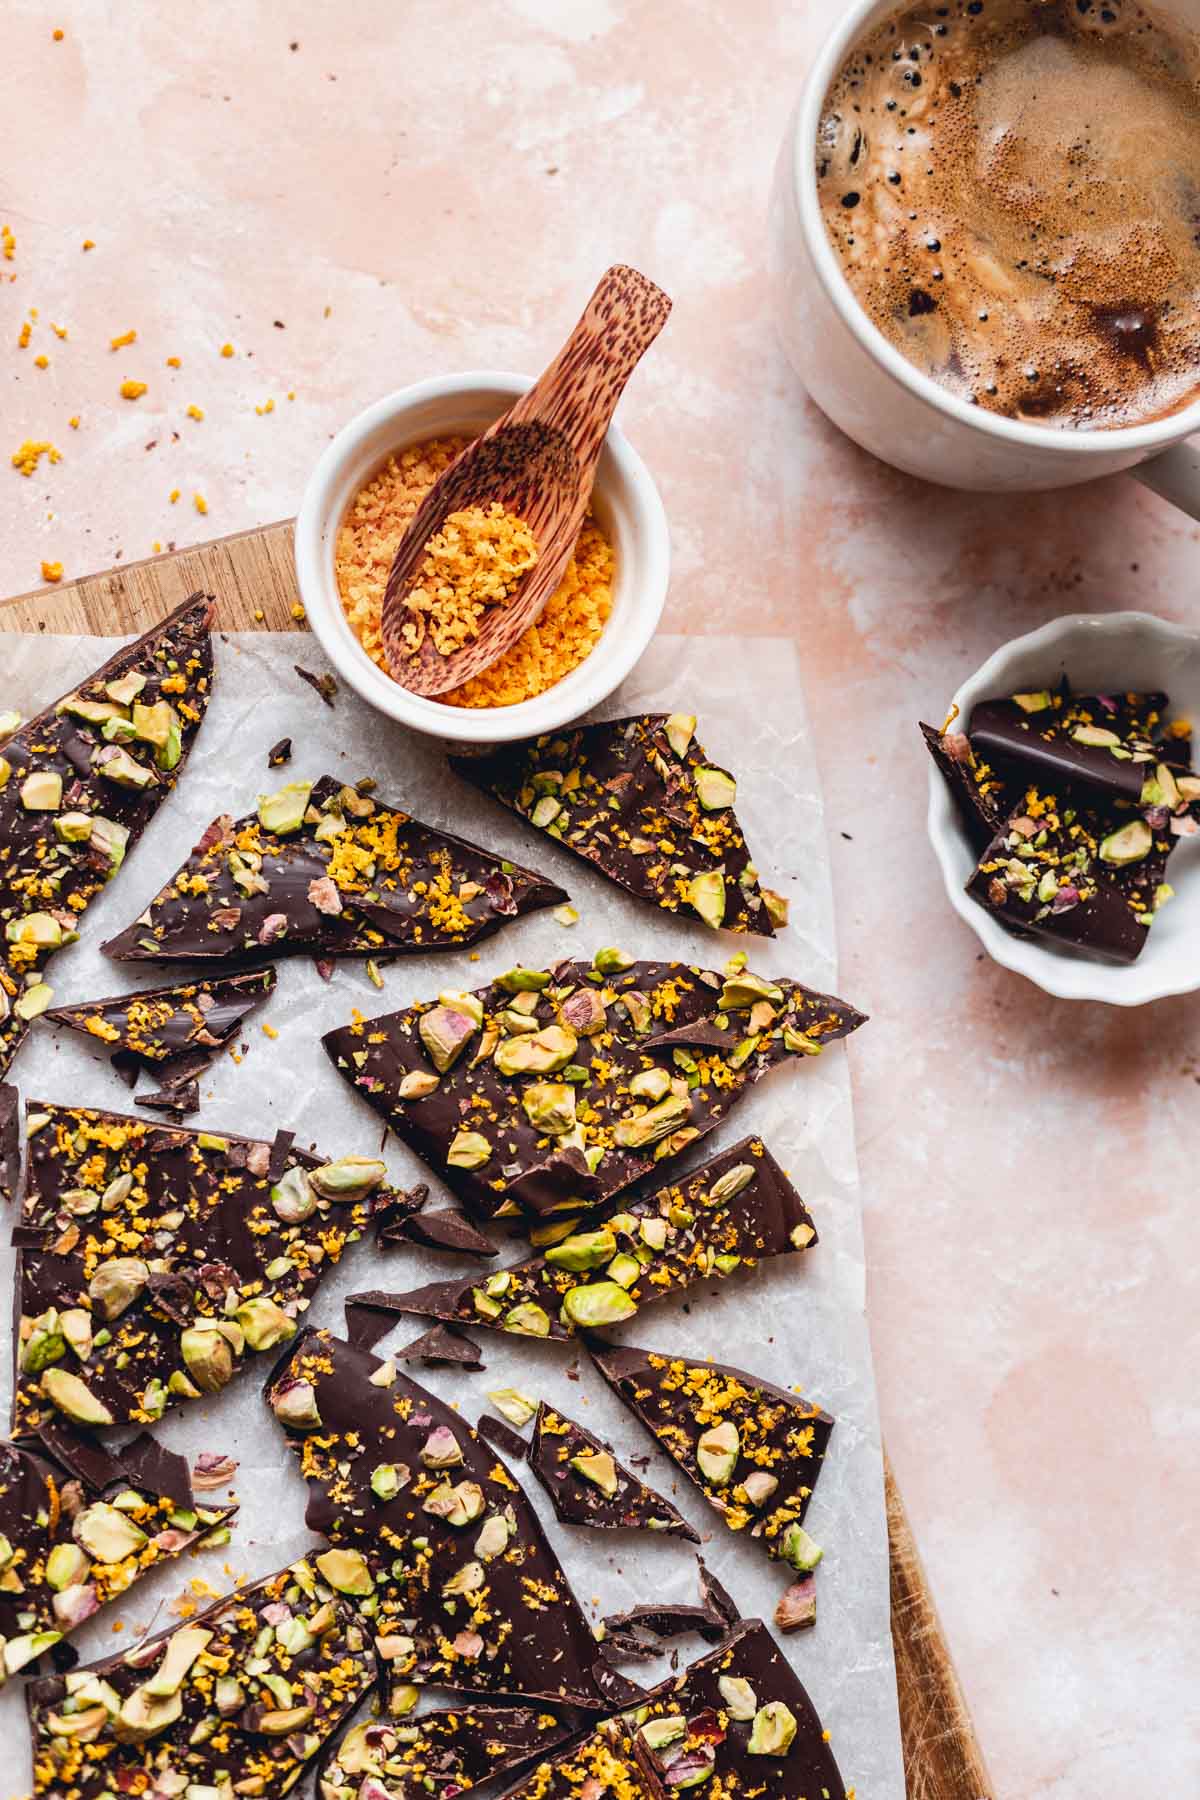
CBD oil is made by extracting CBD from the cannabis plant before diluting it with a carrier oil such as hemp oil. It's often used to help relieve symptoms of anxiety and chronic pain (source).
If you're wondering about different ways of using CBD oil, check out this article by Good Hemp.
Your chocolate might need longer to set. Depending on the temperature of the room it can take longer or shorter for the chocolate to set.
If it hasn’t set after 2-3 hours at room temperature, try setting it in the fridge.
If it still doesn’t set then the chocolate might not have tempered properly.
Don’t worry at all, it will still be delicious but won't have the same snap. If you haven’t decorated it with toppings yet try heating the chocolate up again to about 45-50°C degrees and add more unmelted chocolate.
Any tempered chocolate that hasn't been set in a silicon mould will look slightly duller. However, it should still snap and have a glossy finish.
A slightly duller finish won't affect the taste at all. In the case of this chocolate bark, the toppings will ensure that your chocolate looks stunning regardless of how shiny the finish is.
If it's already decorated leave it as is and enjoy, it will taste just as lovely but might not have the snap.
Don't worry at all, tempered chocolate is supposed to melt at body temperature.
However, if you feel like it hasn’t set at all, then the tempering process hasn't been successful.
To solve this, repeat the tempering process, adding more solid chocolate to the melted chocolate. Make sure to follow the recipe steps precisely and look out for the temperature markers.
Store the bark in an airtight container at room temperature for up to a week.
The bark will keep for up to a week.
It will keep longer if you skip the orange zest and only use nuts.
If you are using only nuts and dry ingredients it will keep for a few months if stored properly.
Ingredient Substitutions
Here are some ideas on how you could substitute the ingredients.
- Chocolate - You can use any chocolate you like as long as it’s real, not compound chocolate. If you want to use milk or white chocolate, make sure to adjust your temperatures when tempering (see Expert tips above).
- Toppings - Top off your chocolate with any dry ingredients or flavoured oils. Make sure to avoid any other liquid-based flavourings. Barks work great with various nuts, dried fruit, zest, spices, and even herbs.
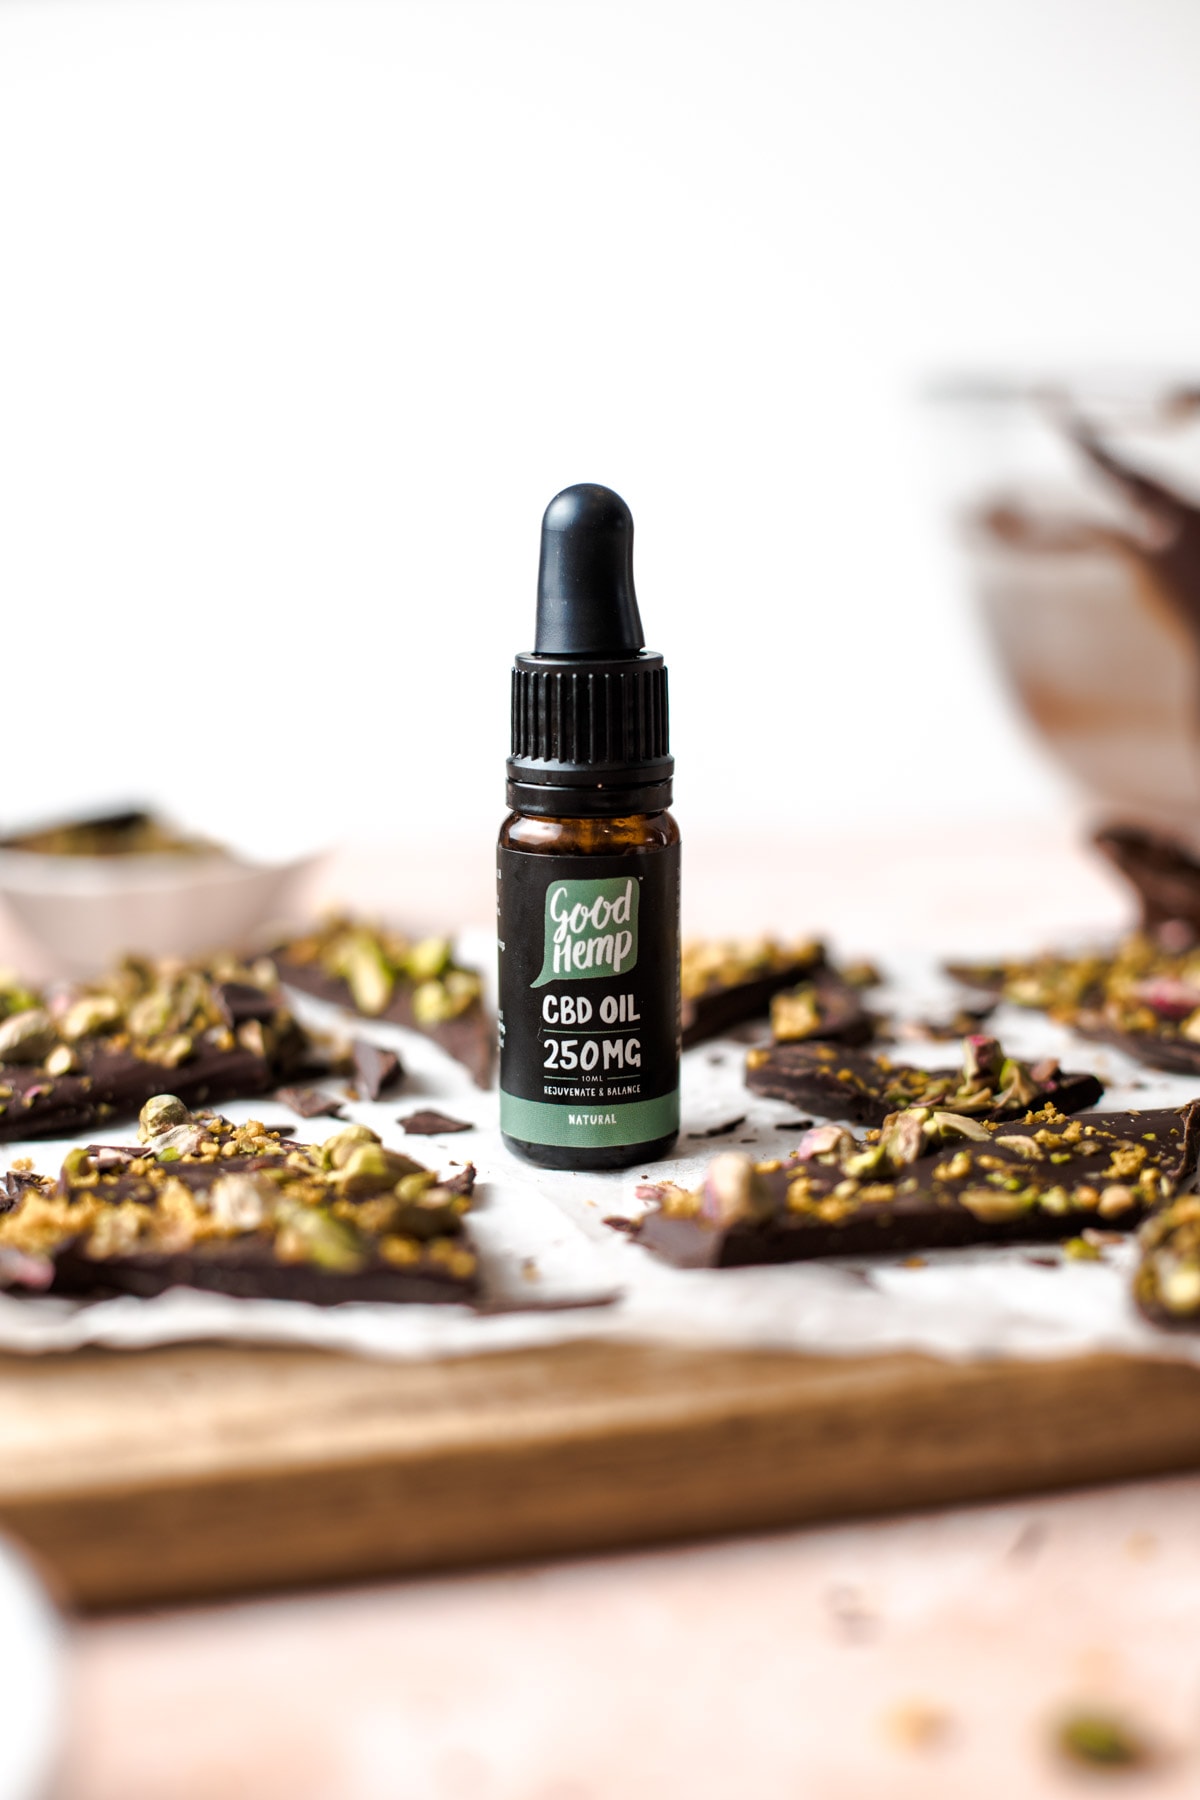
- CDB oil - I used Good Hemp 250mg CBD oil. They also have a line of flavoured CBD oils such as peppermint and citrus which I hugely recommend if you want to add an extra flavour kick to your bark.
Enjoyed my CBD chocolate bark recipe? I've selected a few of my favourite vegan chocolate recipes for you to try below:
- Vegan chocolate banana bread
- Double chocolate cupcakes
- Aquafaba chocolate mousse
- Oat milk hot chocolate
Or check out my full desserts section here.
🍴Recipe
CBD Chocolate Bark
Equipment
- Thermometer
- A small pan
- A mixing bowl
- Silicone spatula (optional)
Ingredients
- 25 g (0.88 oz) pistachios shells removed
- ½ orange zest only
- 250 g (8.82 oz) dark chocolate
- 1 pipette CBD oil
Instructions
- Start by preparing all your ingredients. Chop the pistachios, zest the orange, and set them aside for later.
- Chop half of the chocolate finely and break the other half into larger bitesize chunks.
- Create a double boiler by placing a large glass bowl over a small pan of boiling water. Make sure the water doesn't touch the bottom of the bowl.
- Place the large chunks of chocolate in the glass bowl. Reserve the finely chopped chocolate for later.
- Melt the chocolate above simmering water until it reaches 50°C/122°F. Remove from heat. After removing, the temperature might climb up to 55°C/131°F but that’s not a problem at all.
- When removed from heat, add in a third of the remaining chocolate.
- Keep stirring until the chocolate has fully melted. Keep track of the temperature, making sure it hasn't fallen under 35°C/95° yet.
- Keep stirring and gradually adding pieces of chocolate.
- When the temperature reaches 35°C/95°F, add the final bits of chocolate.
- Keep stirring gently now until the temperature measures approx. 31-32°C/88°F. Then add 1 pipette of CBD oil and stir well.
- Perform a simple tempering test - pour half a teaspoon of your mixture onto a piece of baking paper. Spread it into a thin disc and refrigerate for about 5 minutes. After 5 minutes, it should be hard and split sharply when you try to break it.
- If it's not hard yet, wait a few more minutes to see if it sets. If the chocolate is still soft and won't harden you will need to repeat the tempering process from the start.
- After you've performed the refrigerator test, pour all your chocolate mixture onto a large piece of baking paper and spread it thinly with a silicon spatula.
- Sprinkle with chopped pistachios and orange zest and leave to set for 1 hour (or 1,5 hours) at room temperature.
- Cut or use your hands to break into shards and serve.
Notes
- Always read the recipe thoroughly before you start.
- Prepare your toppings ahead - before you start melting the chocolate.
- If you're adding any additional flavours or ingredients, make sure they are at room temperature.
- Don't use compound chocolate - use real, dark chocolate. I went for 70% dark chocolate from Moser Roth.
- It's important to add your last bits of chocolate when the temperature hits 35°C as this will allow it to form the correct crystal structure.
- Store in an airtight container at room temperature for up to 1 week.
Nutrition
Disclaimer: The nutritional information above is calculated automatically. The author of this post cannot guarantee 100% accuracy of this data.





Sophie
Hi! Love this thank you for making it such a fab read, I was wondering if you really feel the benefits using the good hemp oil as I am considering purchasing some 🙂 Thanks in advance , Sophie <3
Tajda Ferko
Hi Sophie! I love the Good Hemp CBD Peppermint Oil the most (you can find it on their website) 🙂 It's so refreshing and doesn't have the strong CBD aftertaste that non-flavoured oils sometimes have. I usually add a few drops to my matcha latte or just have it as is. In terms of the benefits, I like to think it helps me manage anxiety especially if I get into the habit of taking it regularly. It's also just a really great way to feel refreshed in the morning if you add it to your morning cuppa. I also have it if I can't concentrate and I feel like it helps to bring me into the work zone haha. However, full disclosure, I'm not a doctor or nutritionist so definitely can't vouch for any benefits!