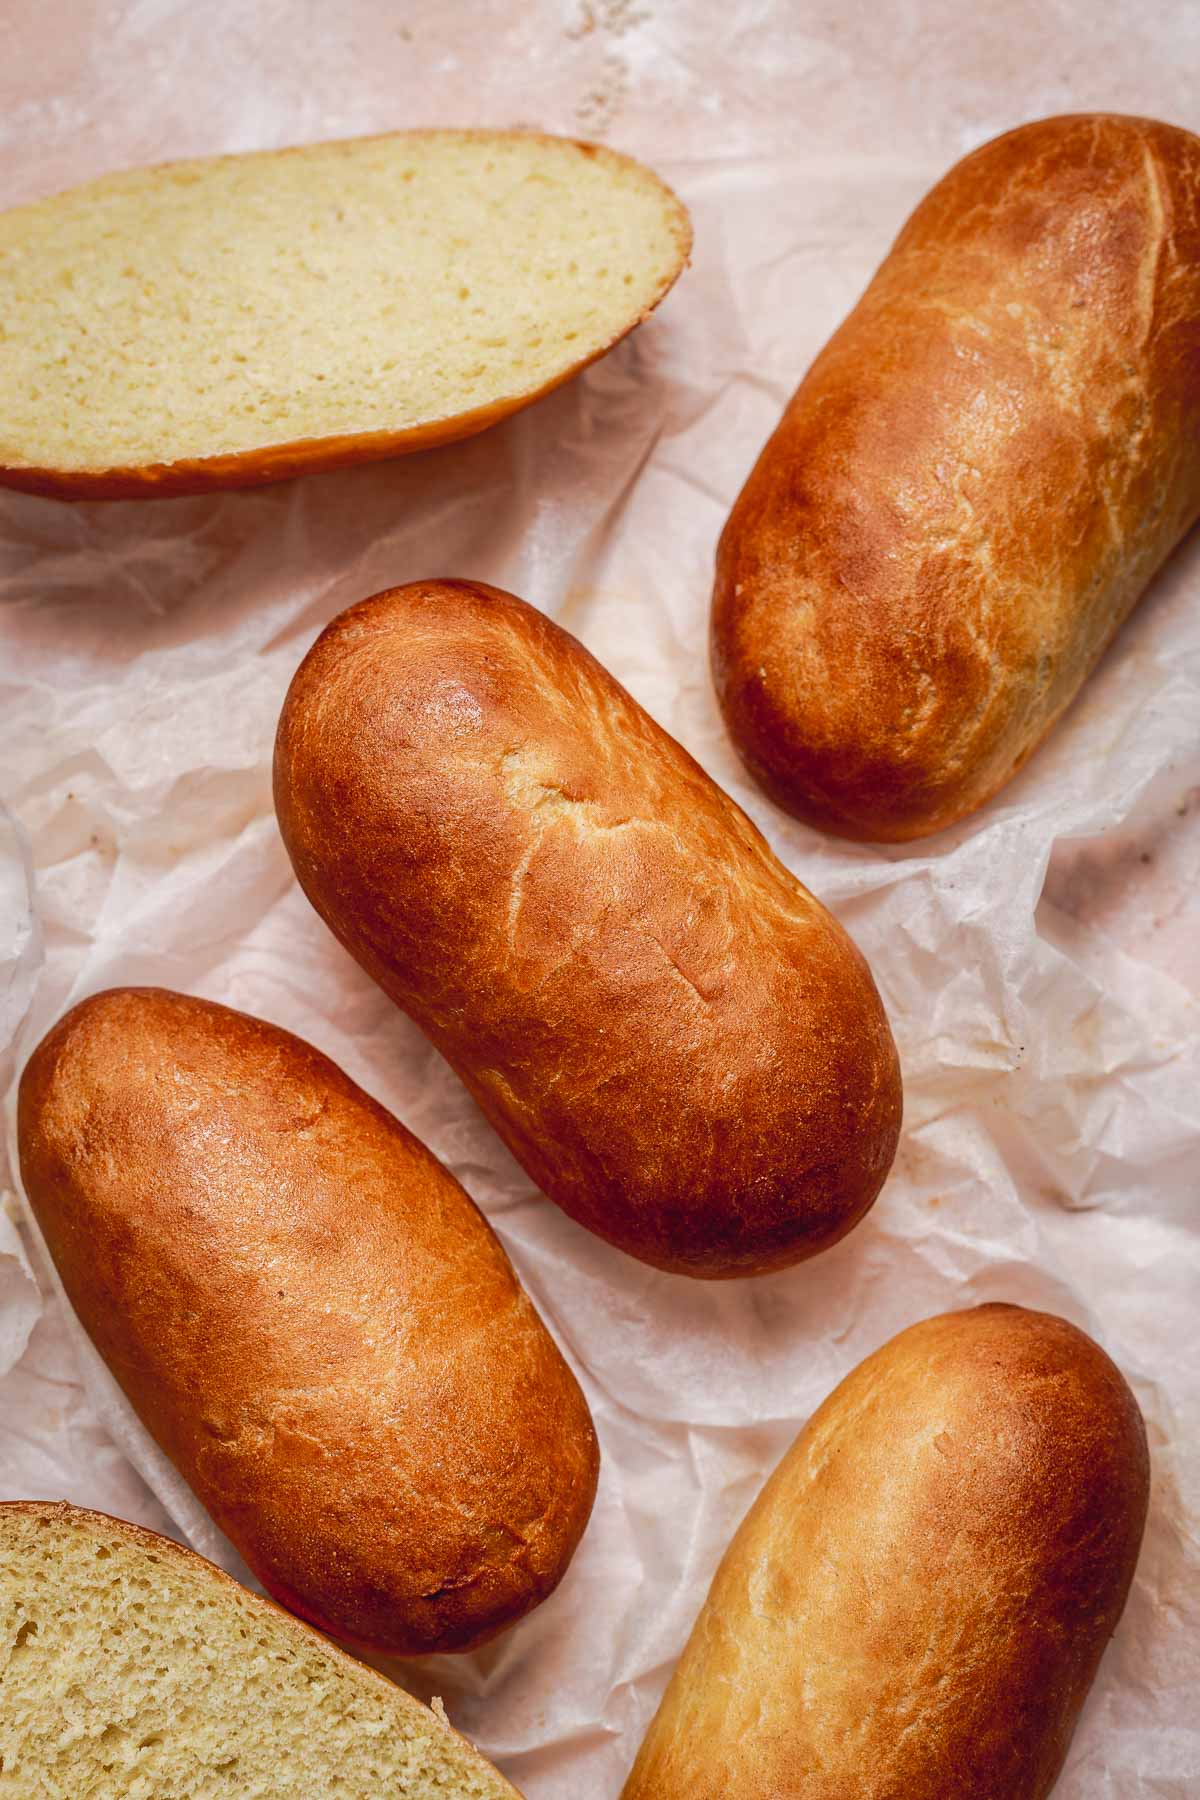
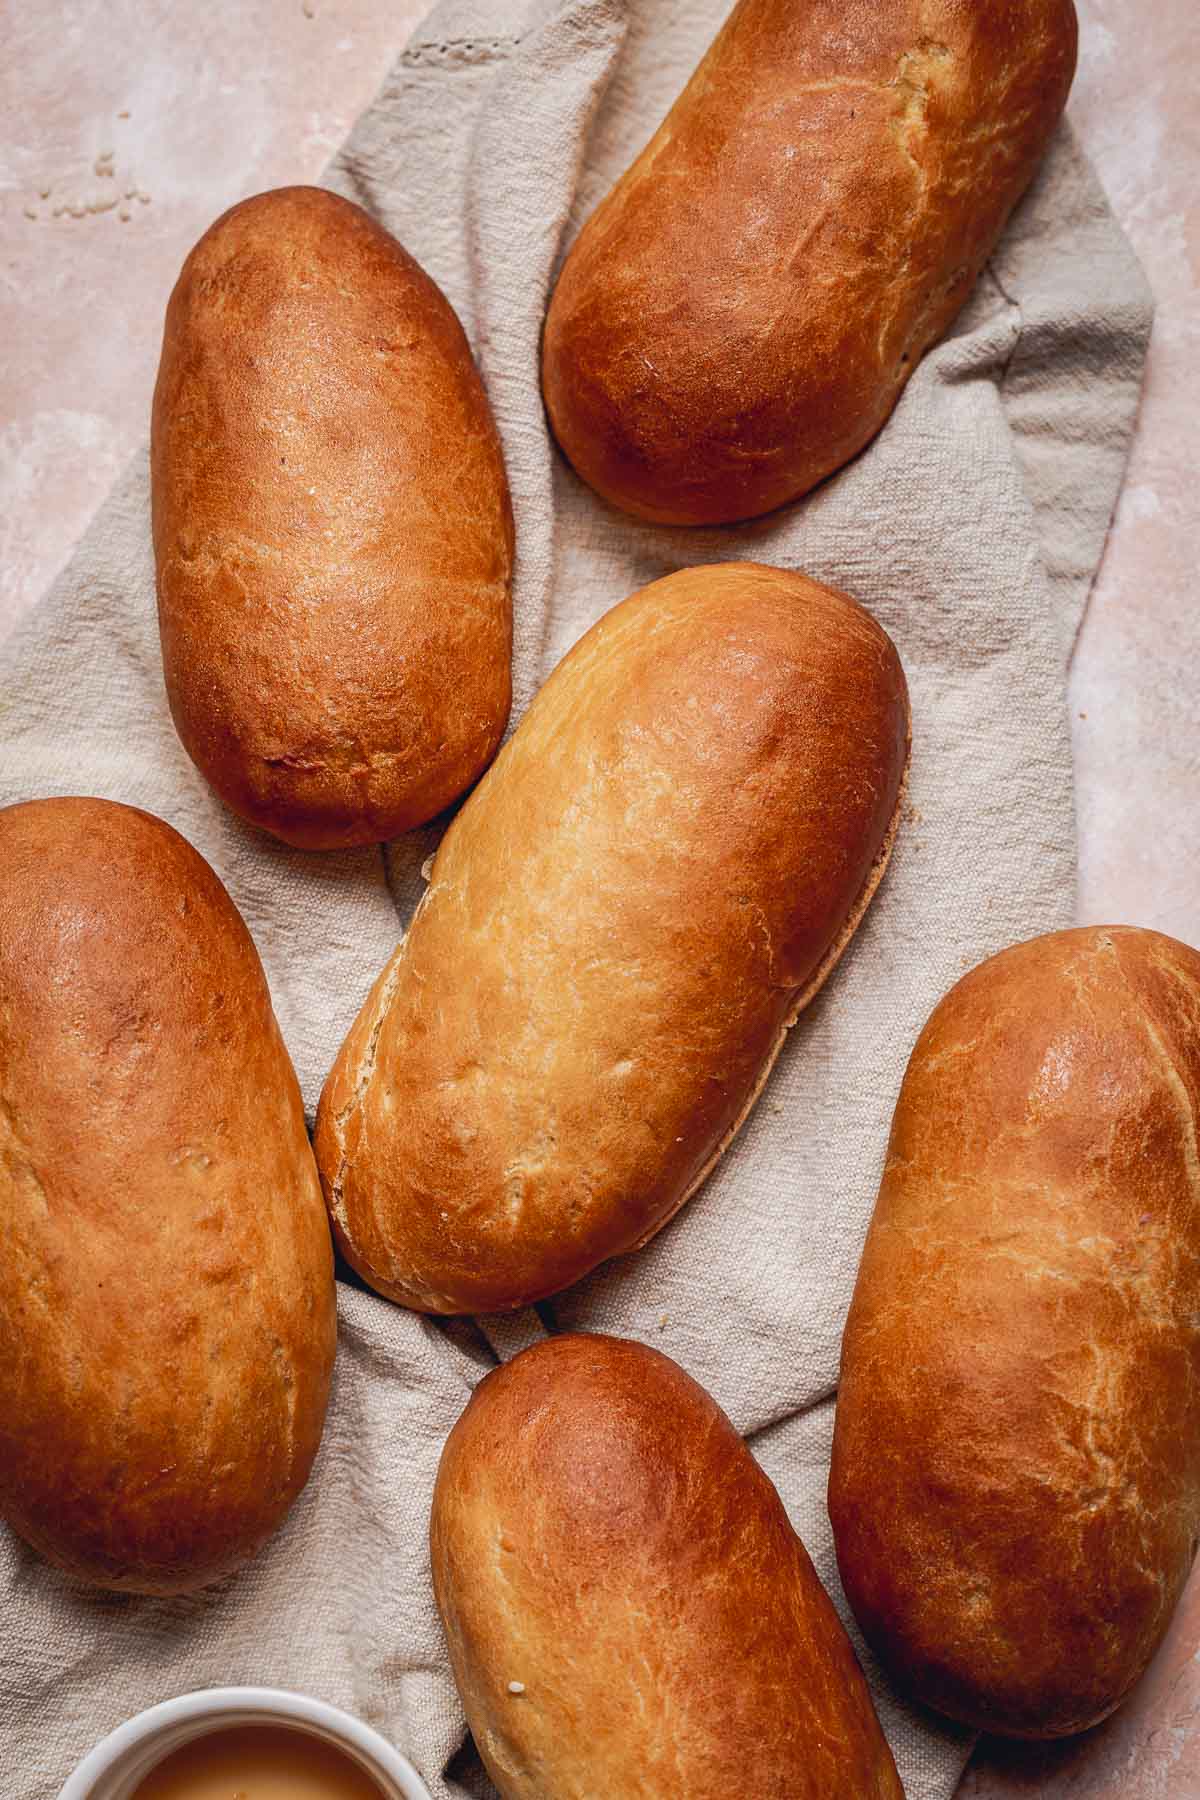
My easy vegan hot dog buns, complete with a signature brioche texture, are a true winner. Served alone or with juicy vegan sausages, these buns are airy, soft, and have a glowing golden brown finish. Irresitible!
What Makes This Recipe Great
- Easy enough for beginners
- No fancy equipment required - just the basics
- Approved by my vegan and non-vegan friends alike
- Soft and fluffy texture
- Uses the same base as my family-favorite vegan burger buns
- Doesn’t require any expensive ngredients, just cupboard staples
- Includes an expert tip on how to get that trademark yellow brioche tint
- Equipped with step-by-step photos to help you along
Ingredients
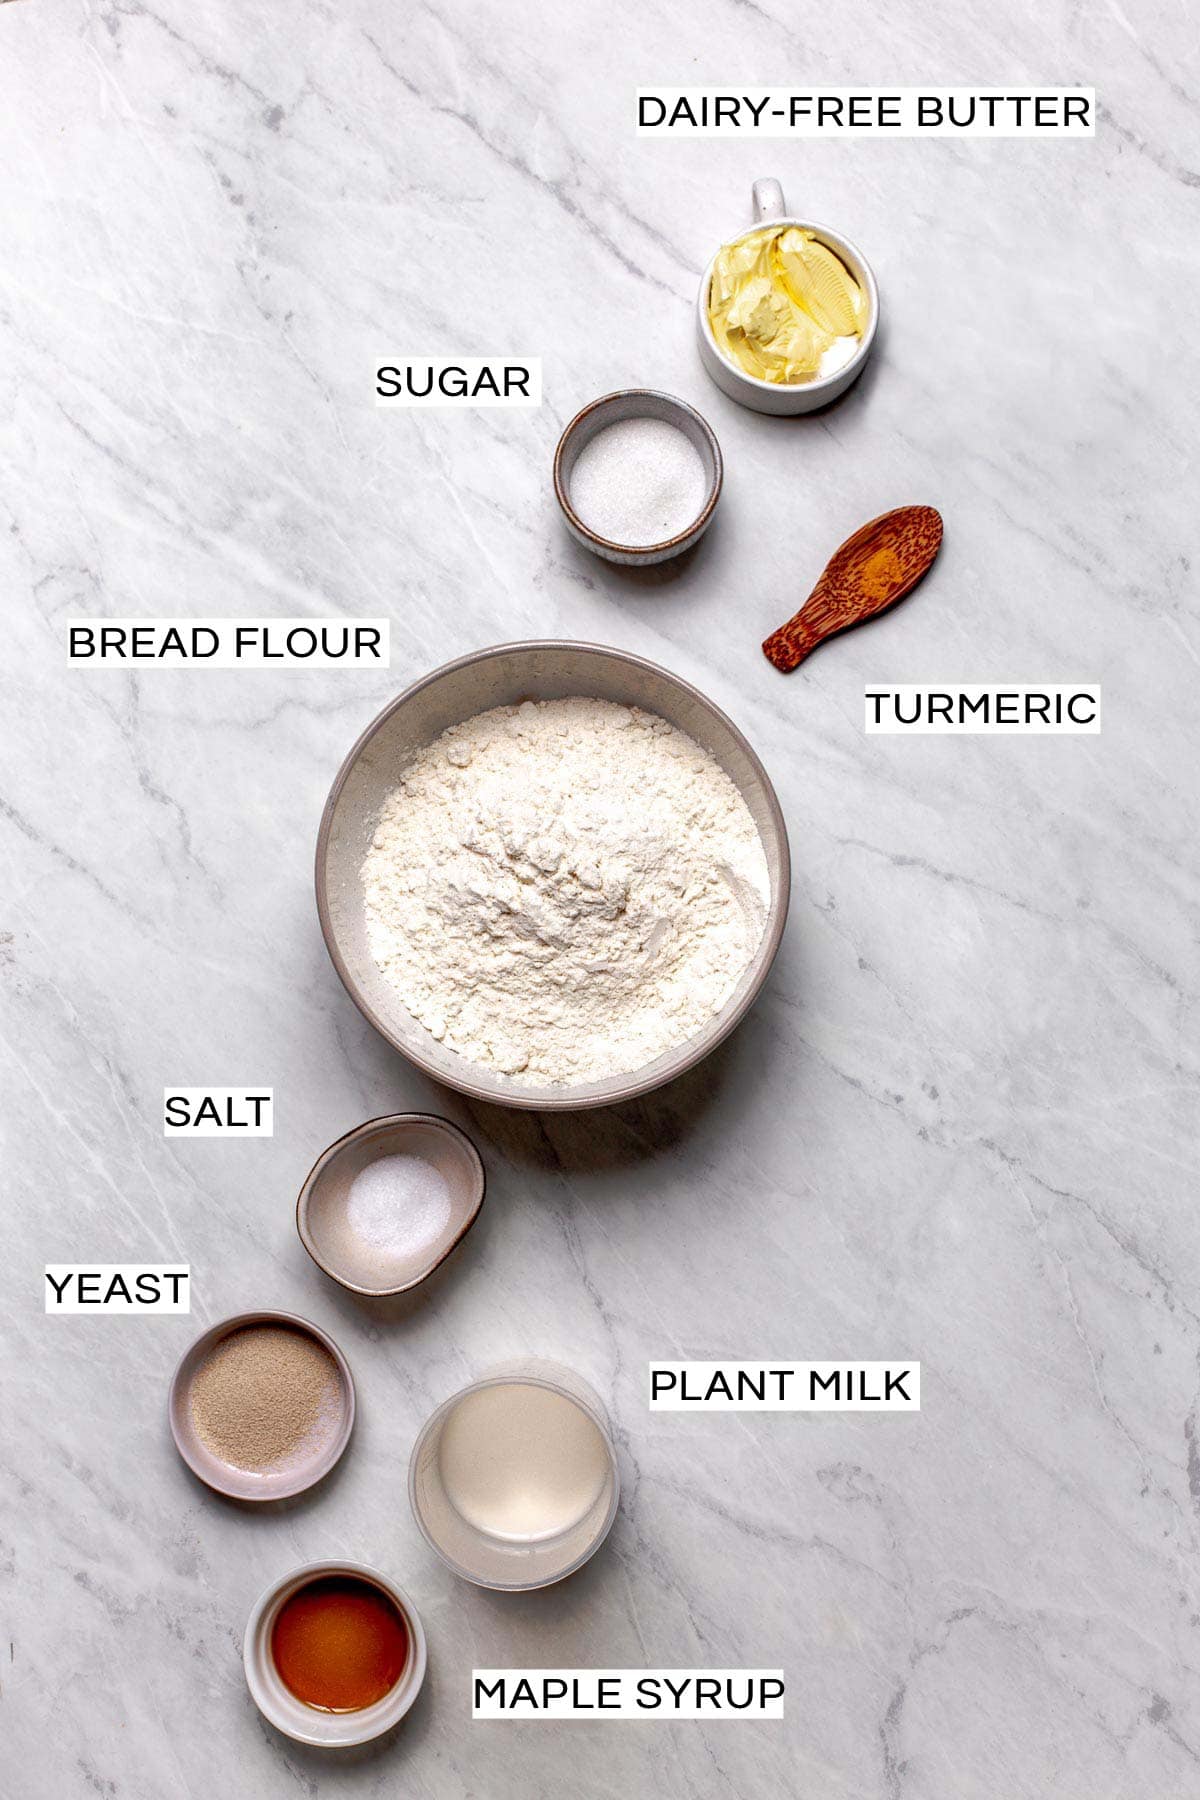
It's clear that you just need to try these beauties. Here are the ingredients you will need.
Ingredient Notes
- Flour - For best results use bread flour (not all-purpose flour). This recipe won't work if you use plain flour.
- Yeast - I used dry instant yeast. This can be substituted for a different type of yeast, but you may need to adjust the rising time.
- Sugar - I recommend using white caster or granulated sugar for best results. Brown sugar might alter the colour.
- Turmeric - Optional but highly recommended and helps give these buns a lovely yellow finish.
Step-by-step Guide
Want a quick overview of the baking process? Here’s your handy visual guide to these vegan hot dog buns!
Remember that detailed instructions and exact ingredients can be found at the bottom of this page.
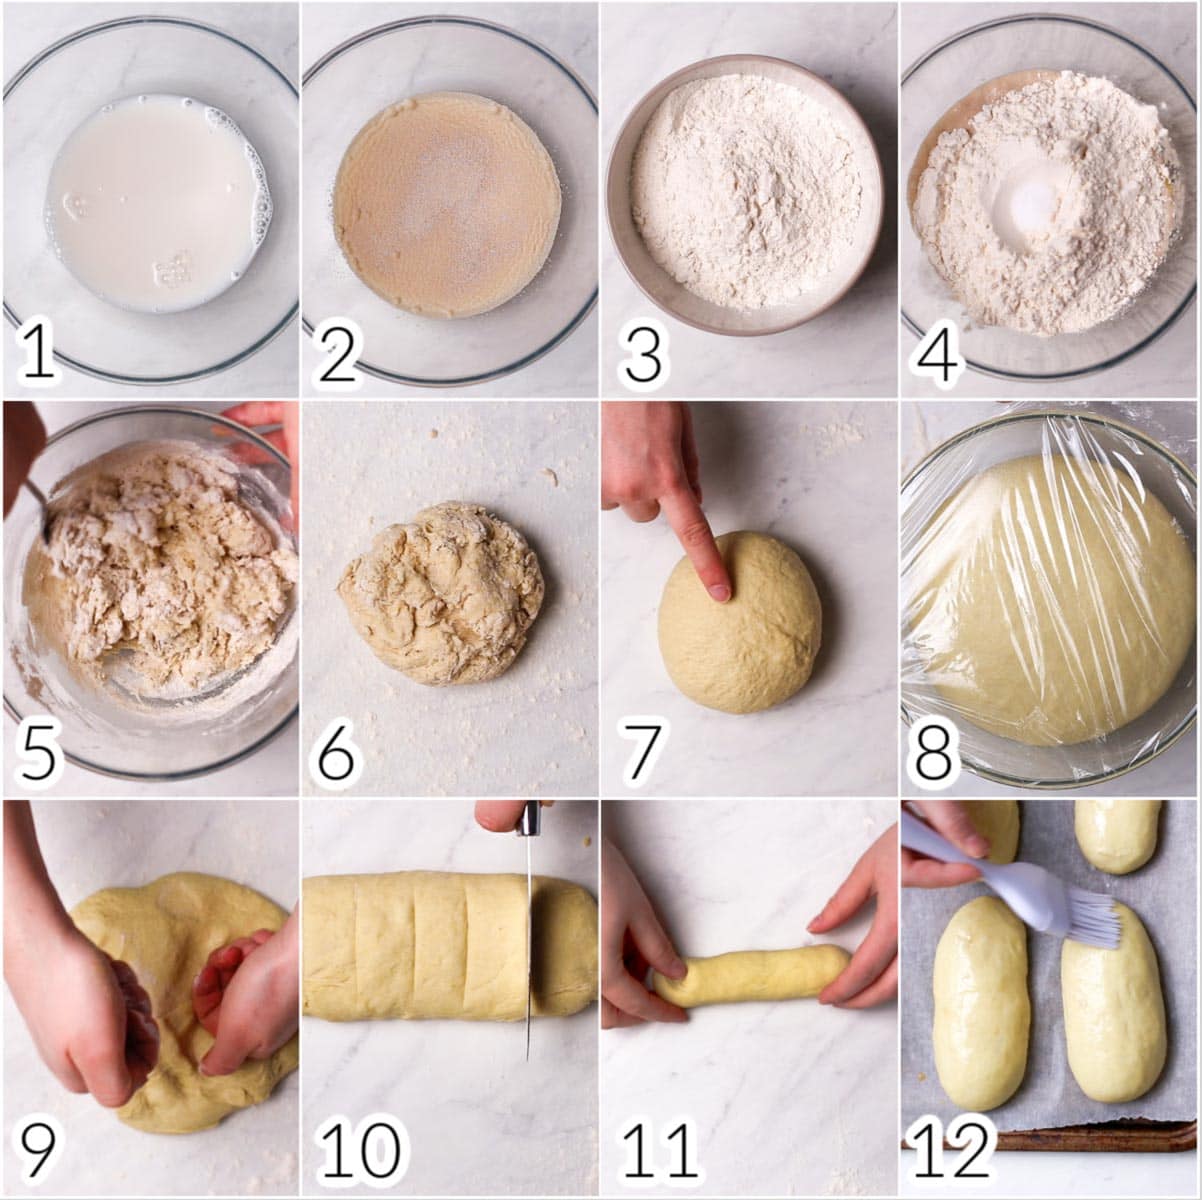
- Combine warm water, warm milk, and sugar in a large bowl and stir.
- Sprinkle yeast on top and set aside.
- In a second bowl mix flour and turmeric.
- Add dairy-free butter and flour to your yeast mixture. Make a small well into the flour and pour in the salt.
- Stir until a rough dough is formed.
- Knead for 5-10 minutes on a floured surface.
- Shape the dough into a ball. Press gently with your finger to see if it springs back. If not, you'll need to knead it for longer.
- Cover with cling film or a damp cloth and let rise until doubled in size (approx. 2 hours).
- Place dough on a floured work surface and knock back using your fists.
- Divide dough into 6 equal pieces.
- Shape each piece into a long bun.
- Brush with almond milk, cover loosely with cling film and leave to proof for 50-60 minutes.
After the second proof is done, all you need to do is brush again with your glaze to give it that beautiful glossy finish.
Pop it in the oven for 20 minutes at 374°F / 190°C (fan-assisted oven) until golden brown on top.
Expert Tips
- Use plenty of flour on your work surface – the last thing you want is for the dough to keep sticking to your hands or work surface. Make sure you’ve sprinkled plenty of flour before starting and always keep some flour on hand in case you need more.
- Brush your bowl with oil before the rise - you’ve made the dough, waited for it to rise and then your bread dreams are crushed when the dough is stuck to the bowl. Instead of struggling to remove it from the bowl, make sure to brush the bowl well with any neutral-tasting oil before the first rise.
- Don’t rush - you might have noticed that the rise time for these buns is longer compared to other bread. This is why it’s so important that you don’t try to cut the rising time. Always wait until your dough has doubled in size. Doing so will ensure a springy bun with a gorgeous light & airy inside.
- Loosely cover with cling film - after you’ve placed your dough in the bowl ahead of the first & second rise, you will need to cover it with cling film or a damp cloth. Make sure that your dough is covered loosely! If cling film is pressing tightly into your dough, it will make it difficult to rise as high.
FAQ + Troubleshooting
Roughly 2 hours for the first and 1 hour for the second rise.
Remember that there are certain outside factors that might affect the rising time, particularly the temperature of your kitchen. A warmer kitchen means your buns might rise quicker and vice versa.
This could be down to:
- Your yeast was too old
- The salt directly touched the yeast before kneading and damaged it
- Water or milk were too hot and damaged the yeast
This is why it's crucial that you always:
- Test your yeast is working
- Check the water & milk are warm, but not too hot
- Make a small well for the salt before mixing the ingredients
Simply add more flour to the dough. If your dough is sticky as you're kneading it, add plenty of flour to your work surface.
Just add a small splash of water to it and continue kneading. Make sure to add just a teaspoon at a time and if that doesn't work, keep adding until your dough is moist and bouncy.
These are best enjoyed fresh. However, if you'd like to store them for later you can follow the steps below.
First, let them cool down completely. Then pop into an airtight container and store at room temperature for up to 4 days.
Do keep in mind that as with any homemade bread, these will get less airy and delicious as time goes by. I would recommend eating them as soon as possible after baking or freezing for later.
Yes. First, let them cool, then freeze in an airtight container for up to 1 month.
When you're ready to eat them, remove from the freezer and let thaw, then warm up in the oven until hot.
Ingredient Substitutes
If you'd like to substitute some ingredients here are my suggestions:
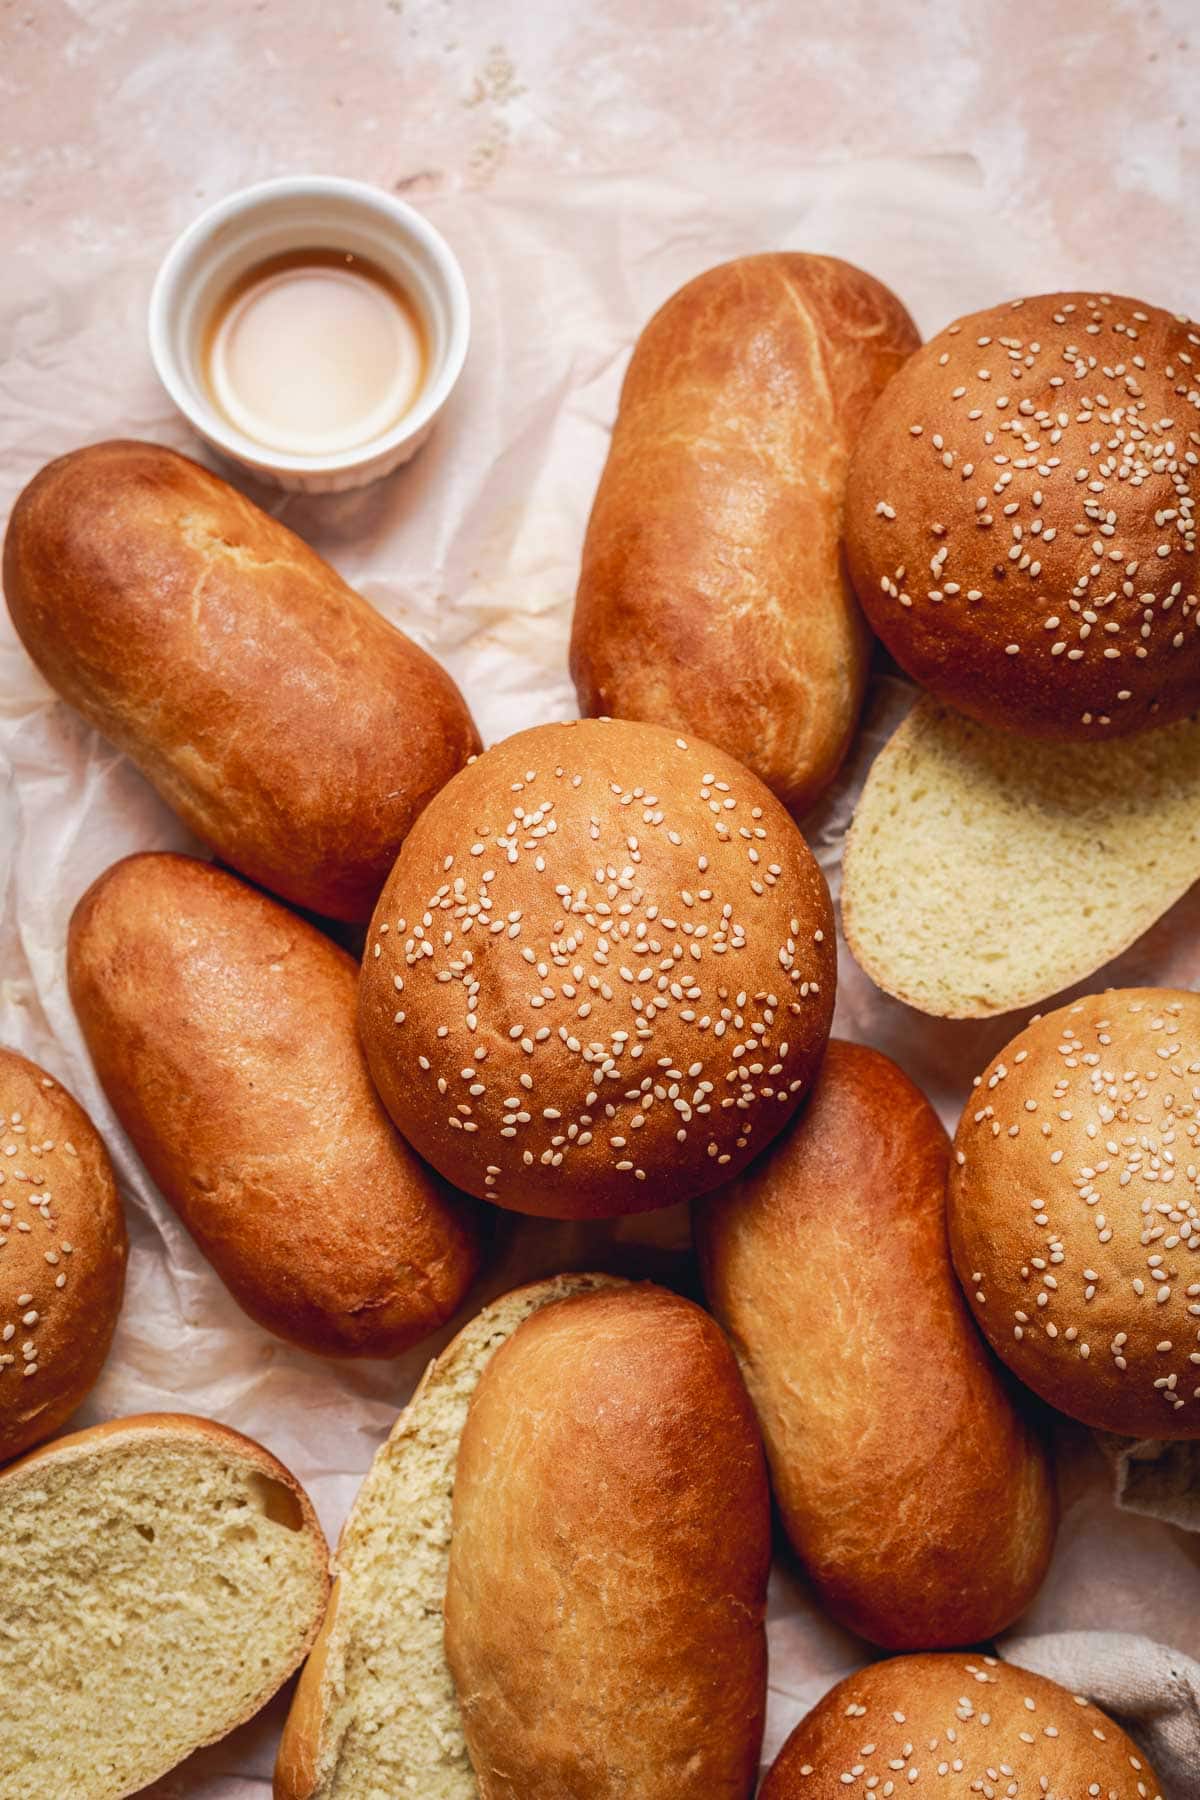
- Almond milk - Simply substitute for any other unsweetend and unflavoured plant milk. Soy, oat and hemp work particularly well. I would stay away from coconut milk as it tends to have an overpowering flavour.
- Maple syrup - Feel free to use agave nectar or another liquid sweetener if desired.
- Bread flour - If you want to use less white flour, you could add up to a third of wholemeal bread flour. Make sure to keep the ratio of wholemeal to white bread flour 1:3.
Looking for more bread recipes with a vegan twist? Don't miss my:
- Soft Vegan Sesame Pretzels (sweet or savoury)
- Vegan dinner rolls
- Vegan banana bread
- Garlic & Herb twist bread
Or heck out my full recipes section here.
If you tried my vegan hot dog buns recipe I would love to hear your thoughts! Seeing and hearing about your remakes never fails to make my day.
🍴Recipe
Vegan Hot Dog Buns
Equipment
- Baking paper
- Measuring scales or cups
- Cling film or cloth
Ingredients
BUNS
- 30 g (2 tablespoon) dairy-free butter melted
- 125 ml (½ cup) almond milk unsweetened and unflavoured
- 60 ml (¼ cup) warm water
- 20 g (1⅔ tablespoon) sugar
- 1¼ teaspoon (1.25 teaspoon) instant yeast
- 280 g (2 cups) white bread flour
- ⅛ teaspoon (0.13 teaspoon) turmeric optional
- 1 teaspoon salt
GLAZE
- ½ tablespoon (0.5 tablespoon) maple syrup
- ½ tablespoon (0.5 tablespoon) almond milk unsweetened and unflavoured
Instructions
- In a small bowl melt the butter and set it aside to cool.
- Warm up the almond milk until it's warm to the touch (but not too hot).
- Combine warm water, warm milk and sugar in a large bowl and stir.
- Sprinkle yeast on top and set aside for 5 mins until it's starting to foam.
- In a second bowl mix flour and turmeric (if using) and set aside.
- Pour the melted butter into the yeast mixture and add flour + turmeric on top.
- Make a small well into the flour and pour in salt, keeping the salt separate from the yeast.
- Use a fork to gently stir the mixture to combine the flour and yeast until it all comes together to form a rough dough.
- Place the dough onto a floured work surface to knead.
- Knead for 5-10 minutes until the dough springs back to the touch.
- To test that it's ready, use a finger to gently press it. If it springs back, the dough is ready.
- Shape the dough into a ball.
- Oil a large bowl, place the dough in the bowl, and cover with cling film or a damp cloth.
- Leave to rise in a warm place for 2 hours (or until doubled in size)
- In the meantime line your baking tray with baking paper.
- Once risen place the dough on a floured work surface and use your fists to knock it back.
- Divide dough into 6 equal pieces.
- Shape each piece into a long bun shape and place onto the lined baking tray with at least 5 cm (2 inch) of space between each bun.
- Brush each ball with enough almond milk to cover the top.
- Cover the tray with cling film and leave to proof for a second time for 50-60 mins in a warm place.
- Preheat your oven to 374°F / 190°C (fan oven).
- Mix together maple syrup and almond milk to make your glaze.
- Once risen, remove the cling film and brush each bun with the glaze.
- Bake for 20 minutes at 374°F / 190°C (fan assisted oven) until dark golden brown.
Notes
- Important: Whilst I do provide cups measurements above, I do recommend using weights measurements as they are more accurate.
- Use bread flour - this recipe won't work with plain / all-purpose flour.
- Rise until at least doubled in size - do not be tempted to make the rising time shorter. It should take about 2 hours for it to double in size depending on the room temperature.
- Flour the surface well – this will prevent the dough from sticking to the work surface when.
- Oil the bowl before the rise to prevent it from getting stuck.
- Cover loosely with cling film – if you don't want your buns dense and flat, make sure they are covered, but leave plenty of space to rise up.
- If you're not using a fan-assisted oven, make sure to adjust the temperature to 410°F / 210°C.
Nutrition
Disclaimer: The nutritional information above is calculated automatically. The author of this post cannot guarantee 100% accuracy of this data.







Leave a Reply